Routine Maintenance of Nozzles on M5
Daily Cleaning and Maintenance of Nozzle
A. Cleaning the Nozzle Before Printing
- Before Printing and Automatic Leveling:
- Wipe the outside of the nozzle clean.
- Specific method: After heating the nozzle using Preheat > Start Preheating, carefully use pliers to wipe the outside of the nozzle clean with a tissue.
- When Changing Material Type or Color:
- Clean up any residual material in the nozzle.
- Specific method: After heating the nozzle through Control > Extrude > Extrude, clean out the residual filament by extruding it.


Nozzle Replacement Recommendations
- For Low Temperature Printing (≤ 220°C) over 200 Hours:
- Replace the nozzle.
- Specific method: After heating the nozzle to 180°C through Preheat > Start Preheating, use an M6 socket wrench to twist the nozzle to the left and replace it.
- For High Temperature Printing (≥ 240°C) over 100 Hours:
- Replace the nozzle using the same method as above.
- For detailed instructions:
- Article: How to Replace the Nozzle
- Video: How to Replace the Nozzles
C. Post-Printing Check for Non-Recommended Materials
- After Printing with Materials Like Carbon Fiber or PC:
- Check the nozzle outlet for wear or burrs.
- If wear or burrs are found, replace the nozzle.
- Specific method: Follow the same procedure as explained in the previous article.
Nozzle Exception Handling Methods
A. Handling Nozzle Foreign Bodies
- Judgment Method:
- The filament discharge is not smooth, uneven, or cannot be extruded vertically when the nozzle is extruded alone.
- Solution:
- Heat the nozzle to 180°C through Preheat > Start Preheating.
- Insert a through-hole needle to stir, then manually extrude until the extrusion is smooth.
- For detailed instructions:
- Article: How to Replace the Nozzle
- Video: How to Clean the Nozzle
B. Handling Nozzle Blockage
- Judgment Method:
- After heating the nozzle to 180°C through Preheat > Start Preheating, if the through-hole needle still cannot be inserted into the nozzle.
- Solution:
- Use an M6 socket wrench to twist the nozzle to the left and replace it.
- For detailed instructions:
- Article: How to Replace the Nozzle
- Video: How to Replace the Nozzle
If you have any further questions, please contact AnkerMake Customer Support for assistance.


119 undefined
How to Fix WiFi Connection Issues?


How to Fix the Extruder Filament Feeding Issue
How to Fix Auto-Level Errors for M5
How to Fix Homing Fail Issue
How to Fix a Clogged Extrusion Gear
How to Remove Filament and Clean Up Residual Filament of M5
Abnormal Heating of the Nozzle or Hot Bed
Filament Cannot Pass the Filament Detection Sensor of M5
Analyzing Bottom Layer Error
How to Fix the Data Transmission Error

M5C X Axis Belt Adjuster.gcode
Ankermake Studio Guide(V1.5.21)
M5C Y axis belt adjuster.gcode
V8110 AnkerMake M5C EU Declaration of Conformity
V8110_UK Declaration of Conformity
M5C Y Axis Belt Adjuster.gcode
View More

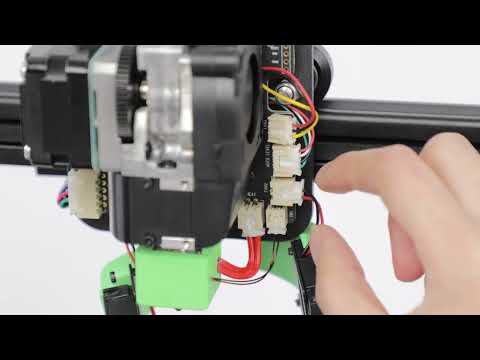
How to Replace the Air Guide of the Print Model Fan
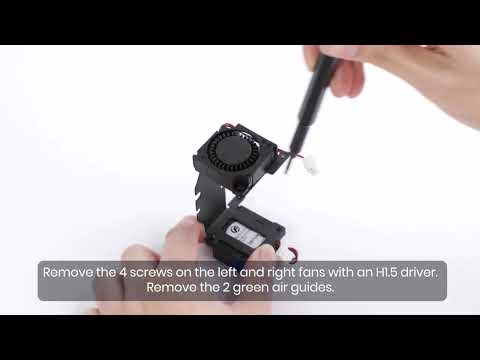
How to Replace the Print Model Fan
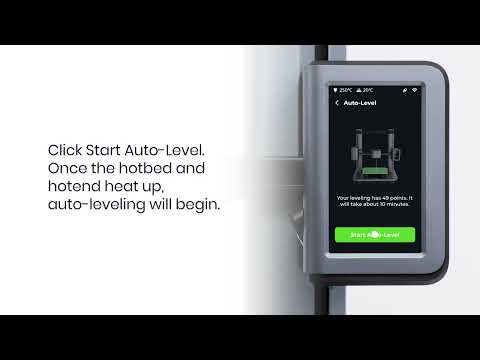
Auto Leveling
V Wheel Adjustment
How to Transfer Files and Start Printing
Loading Filament
View More


