How to Remove Filament and Clean Up Residual Filament of M5
Usage Scenarios:
When printing is complete, the filament needs to be taken out for storage.
Other colors and types of filament need to be replaced.
When there is a blockage or other malfunction.
When equipment needs maintenance or replacement of parts, such as nozzle replacement, hotend replacement, etc.
Operating Steps
I. Remove the Remaining Filament
Preheat the Nozzle:
Turn on the device power.
Click Control > Extrude > Retract on the right shoulder screen to preheat the nozzle.
Remove Filament:
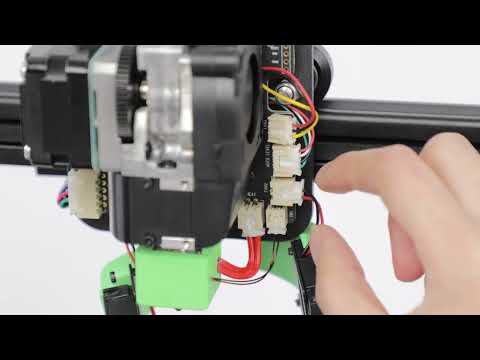
Hold the extrusion clip on the extruder assembly.
Pull the filament out from the left shoulder filament entry until fully withdrawn.
Remove Residual Filament
Usage Scenarios:
When the break detection alarm occurs, indicating that the filament is broken or missing. This situation might still exist in the filament section from the nozzle to the break detection.
Remove Filament from Guide Tube:
Press the gasket under the pneumatic connector.
Pull out the guide tube and remove the filament from it.
Preheat the Nozzle:
Turn on the device power.
Click Control > Extrude > Retract on the right shoulder screen to preheat the nozzle.
Remove Remaining Filament:
Press and hold the extrusion clip on the nozzle assembly.
Remove the remaining filament.
Load New Filament
Prepare the Filament:
Place the new filament on the material rack.
Straighten the filament at the front end and use pliers to cut a 45° angle slope. Ensure to rotate the spool clockwise when pulling the filament.
Insert Filament:
Insert the filament from the left shoulder of the equipment until it reaches the extruder (encountering blockage).
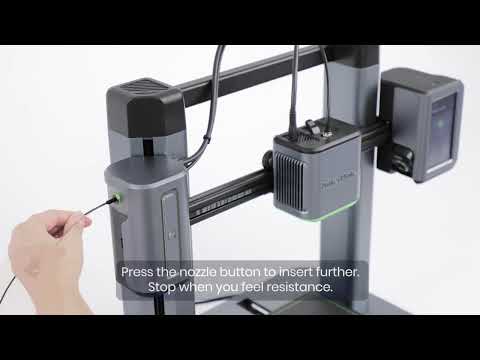
Press and hold the extrusion clip marked in the figure below, and insert the filament again until it encounters resistance and cannot continue to insert.
Raise Nozzle Assembly:
Turn on the device power switch.
First, lift the nozzle component to a certain height (≥ 30mm, to facilitate the observation of whether the flow is continuous and uniform when loading filament later).
Click Control > Move > Z on the right shoulder screen to raise the nozzle assembly.
Load Filament:
Click Control > Extrude > Extrude.
After the temperature reaches the required level, check the extrusion of the filament to ensure continuous and uniform extrusion.
Begin Printing:
If the filament is evenly extruded, normal printing can begin.
By following these steps, you can successfully handle and replace the filament for your AnkerMake M5 printer. If you have any questions, please contact us for assistance.