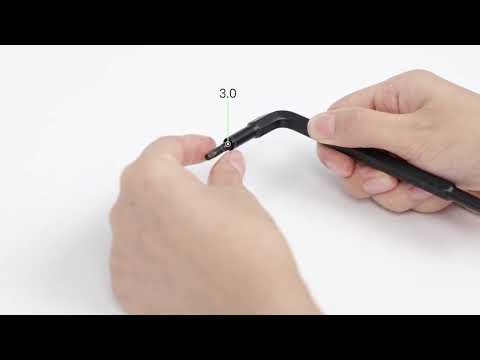
Use a 2.5mm hex wrench to loosen the two Y-axis belts at the rear of the M5.
Remove the Bottom Cover:
Lay the M5 machine back and use an H2.0 hex wrench to remove the 7 bottom cover bolts (green mark) and an H2.5 hex wrench to loosen the 4 foot pad bolts (red mark).
Disconnect Cables:
Open the small cover plate of the bottom cover. Use an H2.0 hex wrench to release the TYPE-C wire fixing bolt and pull out the TYPE-C wire and Z-axis motor wire.
Remove the Y-Axis Motor:
Open the bottom cover and remove the Y-axis motor wire.
Use an H2.0 hex wrench to remove the Y-axis motor holder
Replace the Y-Axis Motor:
Remove the Y-axis motor and use an H2.0 hex wrench to remove the Y-axis motor mount.
Install the removed motor mount on the new Y-axis motor.
Transfer the Synchronous Wheel:
Use an H2.0 hex wrench to loosen the top screw on the old motor shaft's synchronous wheel.
Remove the synchronous wheel from both ends of the Y-axis motor shaft and install it on the new Y-axis motor.
Install the New Y-Axis Motor:
Thread the installed Y-axis motor assembly into the Y-axis belt and fix it back to the base.
Use an H2.0 hex wrench to lock the screws of the motor fixed base and base, and plug in the Y-axis motor wire.
Reassemble the Bottom Cover:
Use an H2.0 hex wrench to fix the bottom cover fixing bolts.
Use an H2.5 hex wrench to fix the foot pad fixing bolts.
Plug in the Z-axis motor wire and TYPE-C wire (ensure the Z-axis motor wire and TYPE-C wire correspond to "R/L").
Lock the TYPE-C wire retaining bolts with an H2.0 hex wrench.
Reattach the Bottom Cover Panel:
Install the back bottom cover panel.
Adjust the Y-Axis Belt Tension:
Re-adjust the tightness of the Y-axis belt. Refer to the following resources for detailed instructions: