How to Replace the Extruder Shell of M5

Fault Description:

  1. The extruder shell is damaged.

Method of Replacement:

  1. Prepare the Printer:
    1. Turn on the M5 switch.
    2. Click Control > Move on the screen to raise the Z-axis of the extruder assembly by 200mm and move it to the middle of the X-axis for easy replacement.
    3. Make sure the consumables are removed and turn off the power. Wait for the hotend to cool down for easy replacement.

Remove PTFE Guide Tube:

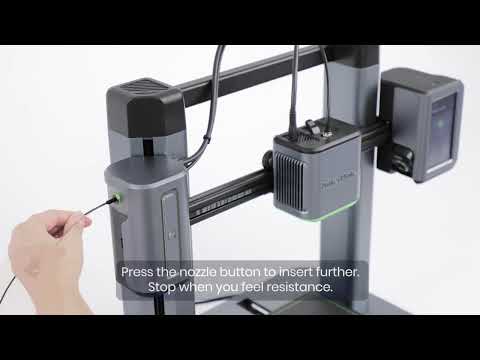
  • Press and hold the pneumatic connector of the guide tube on the extruder assembly and pull out the PTFE guide tube.

Disconnect Type-C Cable:

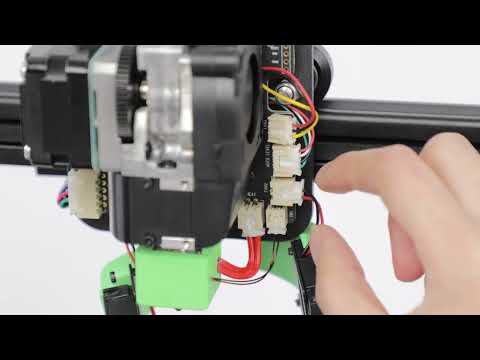
  • Use the H2.0 hex wrench to loosen the 2 bolts on the Type-C cable on the extruder assembly and pull out the Type-C cable.

Remove Top and Extruder Cover:

  • Use the H2.0 hex wrench to loosen the 4 bolts on the back of the extruder assembly.
  • Remove the top cover and extruder cover of the extruder assembly.

Remove Front Bottom Cover:

  • Use an H2.0 hex wrench to loosen the front bottom cover bolts and remove the bottom cover.

  1. Install New Extruder Shell:
    1. Place the new extruder shell and secure the front bottom cover with an H2.0 wrench.
  2. Reattach Top and Extruder Cover:
    1. Install the new extruder cover and top cover of the extruder assembly.
    2. Tighten the back 4 screws of the extruder assembly with an H2.0 wrench.
  3. Reconnect Type-C Cable:
    1. Insert the Type-C cable and use the H2.0 hex wrench to tighten the 2 bolts of the Type-C cable on the extruder assembly.
  4. Insert PTFE Guide Tube:
    1. Insert the PTFE guide tube into the pneumatic connector.

By following these steps, you can successfully replace the extruder shell on your AnkerMake M5 printer. If you have any questions, please contact us for assistance.


Unresolved icon
119 undefined
TroubleShooting
Daily Maintenance
FAQ
Part Replacements
Manual
Get Started
How to Fix WiFi Connection Issues?
29417 views2 likes/2025-04-07 18:26:11
How to Fix the Extruder Filament Feeding Issue
22077 views2 likes/2023-03-14 09:55:35
How to Fix Auto-Level Errors for M5
96 views1 likes/2026-08-14 16:11:08
How to Fix Homing Fail Issue
3951 views1 likes/2025-04-07 18:05:40
How to Fix a Clogged Extrusion Gear
3693 views3 likes/2025-04-08 13:37:22
Abnormal Heating of the Nozzle or Hot Bed
92 views1 likes/2026-08-14 16:11:09
Filament Cannot Pass the Filament Detection Sensor of M5
3356 views9 likes/2025-04-07 18:25:03
Analyzing Bottom Layer Error
3690 views3 likes/2024-05-30 17:46:41
How to Fix the Data Transmission Error
1946 views2 likes/2025-04-07 18:24:26
Download icon
M5C X Axis Belt Adjuster.gcode
Download icon
Ankermake Studio Guide(V1.5.21)
Download icon
M5C Y axis belt adjuster.gcode
Download icon
V8110 AnkerMake M5C EU Declaration of Conformity
Download icon
V8110_UK Declaration of Conformity
Download icon
M5C Y Axis Belt Adjuster.gcode
View More
Play videoHow to Replace the Air Guide of the Print Model Fan
How to Replace the Air Guide of the Print Model Fan
Play videoHow to Replace the Print Model Fan
How to Replace the Print Model Fan
Play videoAuto Leveling
Auto Leveling
Play videoV Wheel Adjustment
V Wheel Adjustment
Play videoHow to Transfer Files and Start Printing
How to Transfer Files and Start Printing
Play videoLoading Filament
Loading Filament
View More