After installing the M5 for the first time, it is necessary to check the voltage setting
Step 1: Importance of Voltage Check
Before powering on the AnkerMake M5 printer for the first time, it is crucial to check and adjust the voltage setting. This step prevents incorrect voltage settings, which can damage the printer's components.
Step 2: Locate the Voltage Display Module
Find the voltage display module on the right base of the AnkerMake M5 printer.
There are two voltage settings: 115V and 230V.
Step 3: Verify the Voltage Setting
Determine if the current voltage setting matches your local voltage standard.
Step 4: Adjust the Voltage Setting
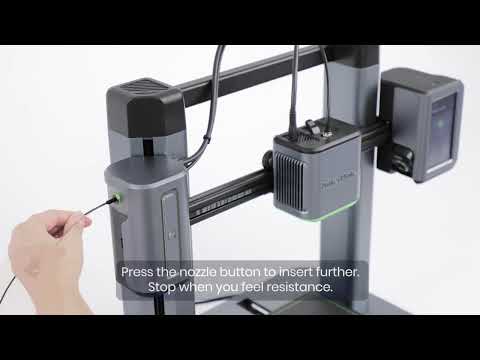
If the voltage setting does not match, use a hexagonal wrench or a rod-shaped object.
Lightly slide the adjustment switch to the left or right to select the correct voltage setting (115V or 230V).
If there are any other questions, please feel free to contact us via us.