How to replace the Type-C cable for the M5C printer
When to Replace the Type-C Wire
Poor Contact: Issues such as extruder motor jitter and abnormal nozzle temperature.
Damage: Damaged terminals leading to communication issues.
Disassembly:
Turn off the printer.
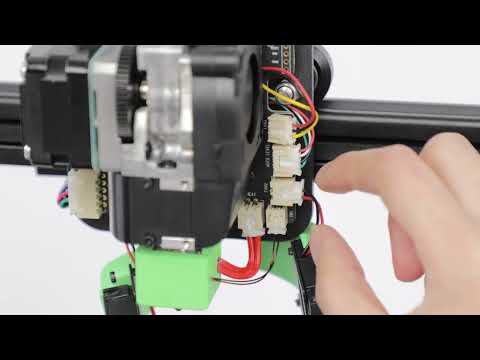
Use a 2.0mm wrench to remove the 2 Type-C wire fixing bolts on the nozzle and unplug the Type-C plug from the nozzle.
Detach the front shell of the left shoulder pendant.
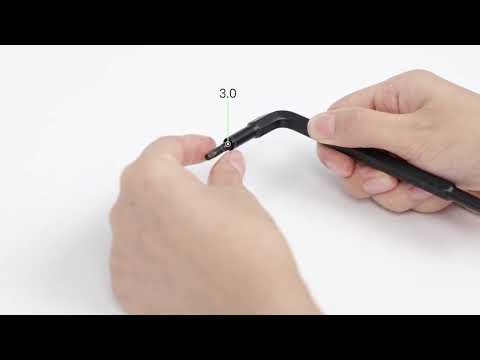
Use a 2.0mm wrench to unscrew the back shell fixing bolt of the left shoulder pendant. Use a 1.5mm wrench to unscrew the Type-C wire fixing bolt on the left shoulder pendant.
Remove the nozzle assembly cable terminal on the back of the left shoulder pendant and remove the back shell.
Use a 2.0mm wrench to unscrew the 2 Type-C retaining bolts on the left shoulder pendant.
Remove the 2 Type-C wire terminals from the left shoulder pendant and remove the Type-C wire.
Installation:
Insert the 2 Type-C wire terminals into the left shoulder pendant.
Use a 2.0mm wrench to tighten the 2 Type-C retaining bolts on the left shoulder pendant.
Install the left shoulder firmware back cover.
Use a 2.0mm wrench to tighten the back shell fixing screws of the left shoulder pendant, and use a 1.5mm wrench to tighten the Type-C wire fixing screws.
Insert the nozzle assembly cable terminal on the back of the left shoulder pendant.
Attach the front shell of the left shoulder pendant.
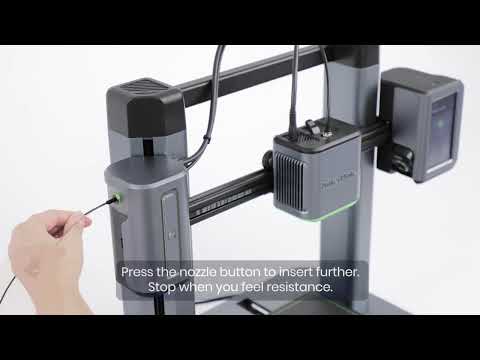
Insert the Type-C terminal into the nozzle assembly and use a 2.0mm wrench to lock the 2 Type-C fixing bolts.
Turn on the printer and start a new print job.
If the above problems cannot be solved, please get in touch with us at us.