Fault Phenomenon
During automatic measurement by the rotary attachment, error code 0xFD011E0005 appears, causing the measurement to fail.
Cause Analysis
1. The cup shape is irregular, causing the automatic measurement to fail.
2. The diameter or taper of the conical cup is within the critical range, affecting measurement accuracy.
Troubleshooting
1. Refer to this article to check if the cup meets the requirements. Rotary Printing Attachment: Substrate Compatibility & Precautions
Check whether the cup mouth diameter and taper are within the critical range.
2. If they fall within the critical range, it is recommended to use UV DTF for transfer printing.
Cup mouth diameter inspection
Use a measuring tool to check the diameter of the cup mouth. If the result exceeds the specified range, the cup is not compatible with the Rotary Printing Attachment.
- The diameter specification for conical cups is 45 mm ≤ diameter ≤ 97 mm
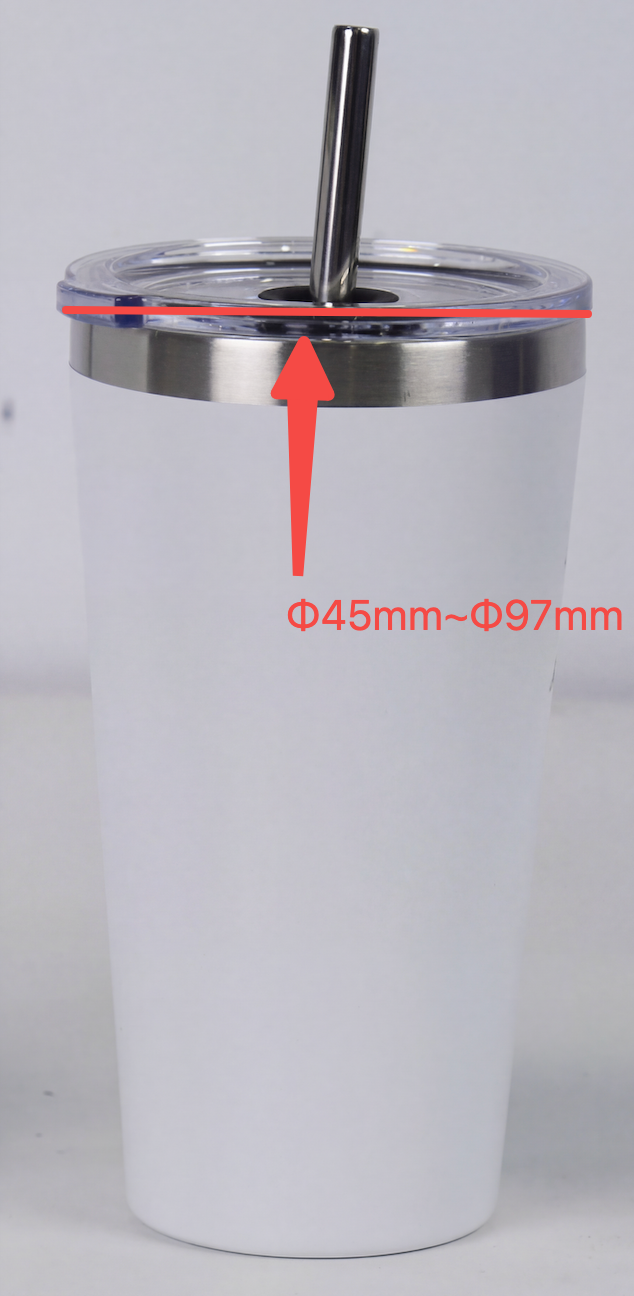
- The diameter specification for cylindrical cups is 45 mm ≤ diameter ≤ 100 mm
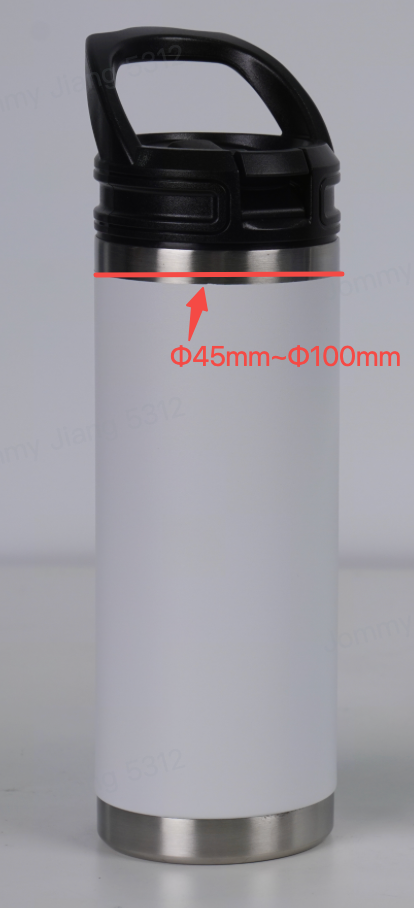
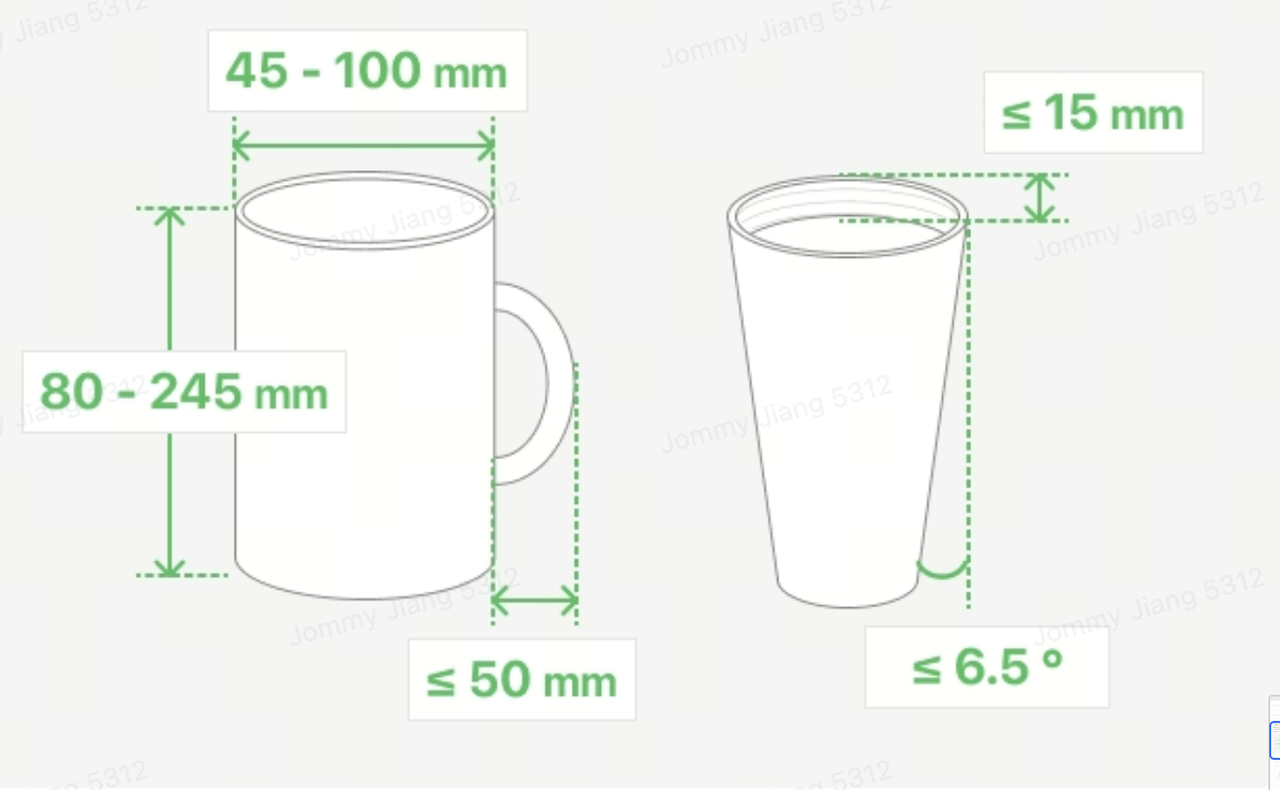
Taper Inspection
Check whether the cup’s overall taper meets the requirement:
The rotary printing attachment is suitable for conical cups with an overall taper angle ≤ 13° (taper value ≤ 0.23).
How to measure the taper of your cup:
- Measure the cup mouth diameter (D), cup bottom diameter (d), and effective cup height (L).
- The taper formula is: taper = (D − d) / L. Taking the example shown: (80 − 60) / 120 = 0.17. Since 0.17 is less than the maximum allowable value (0.23), the cup meets the printing requirements.
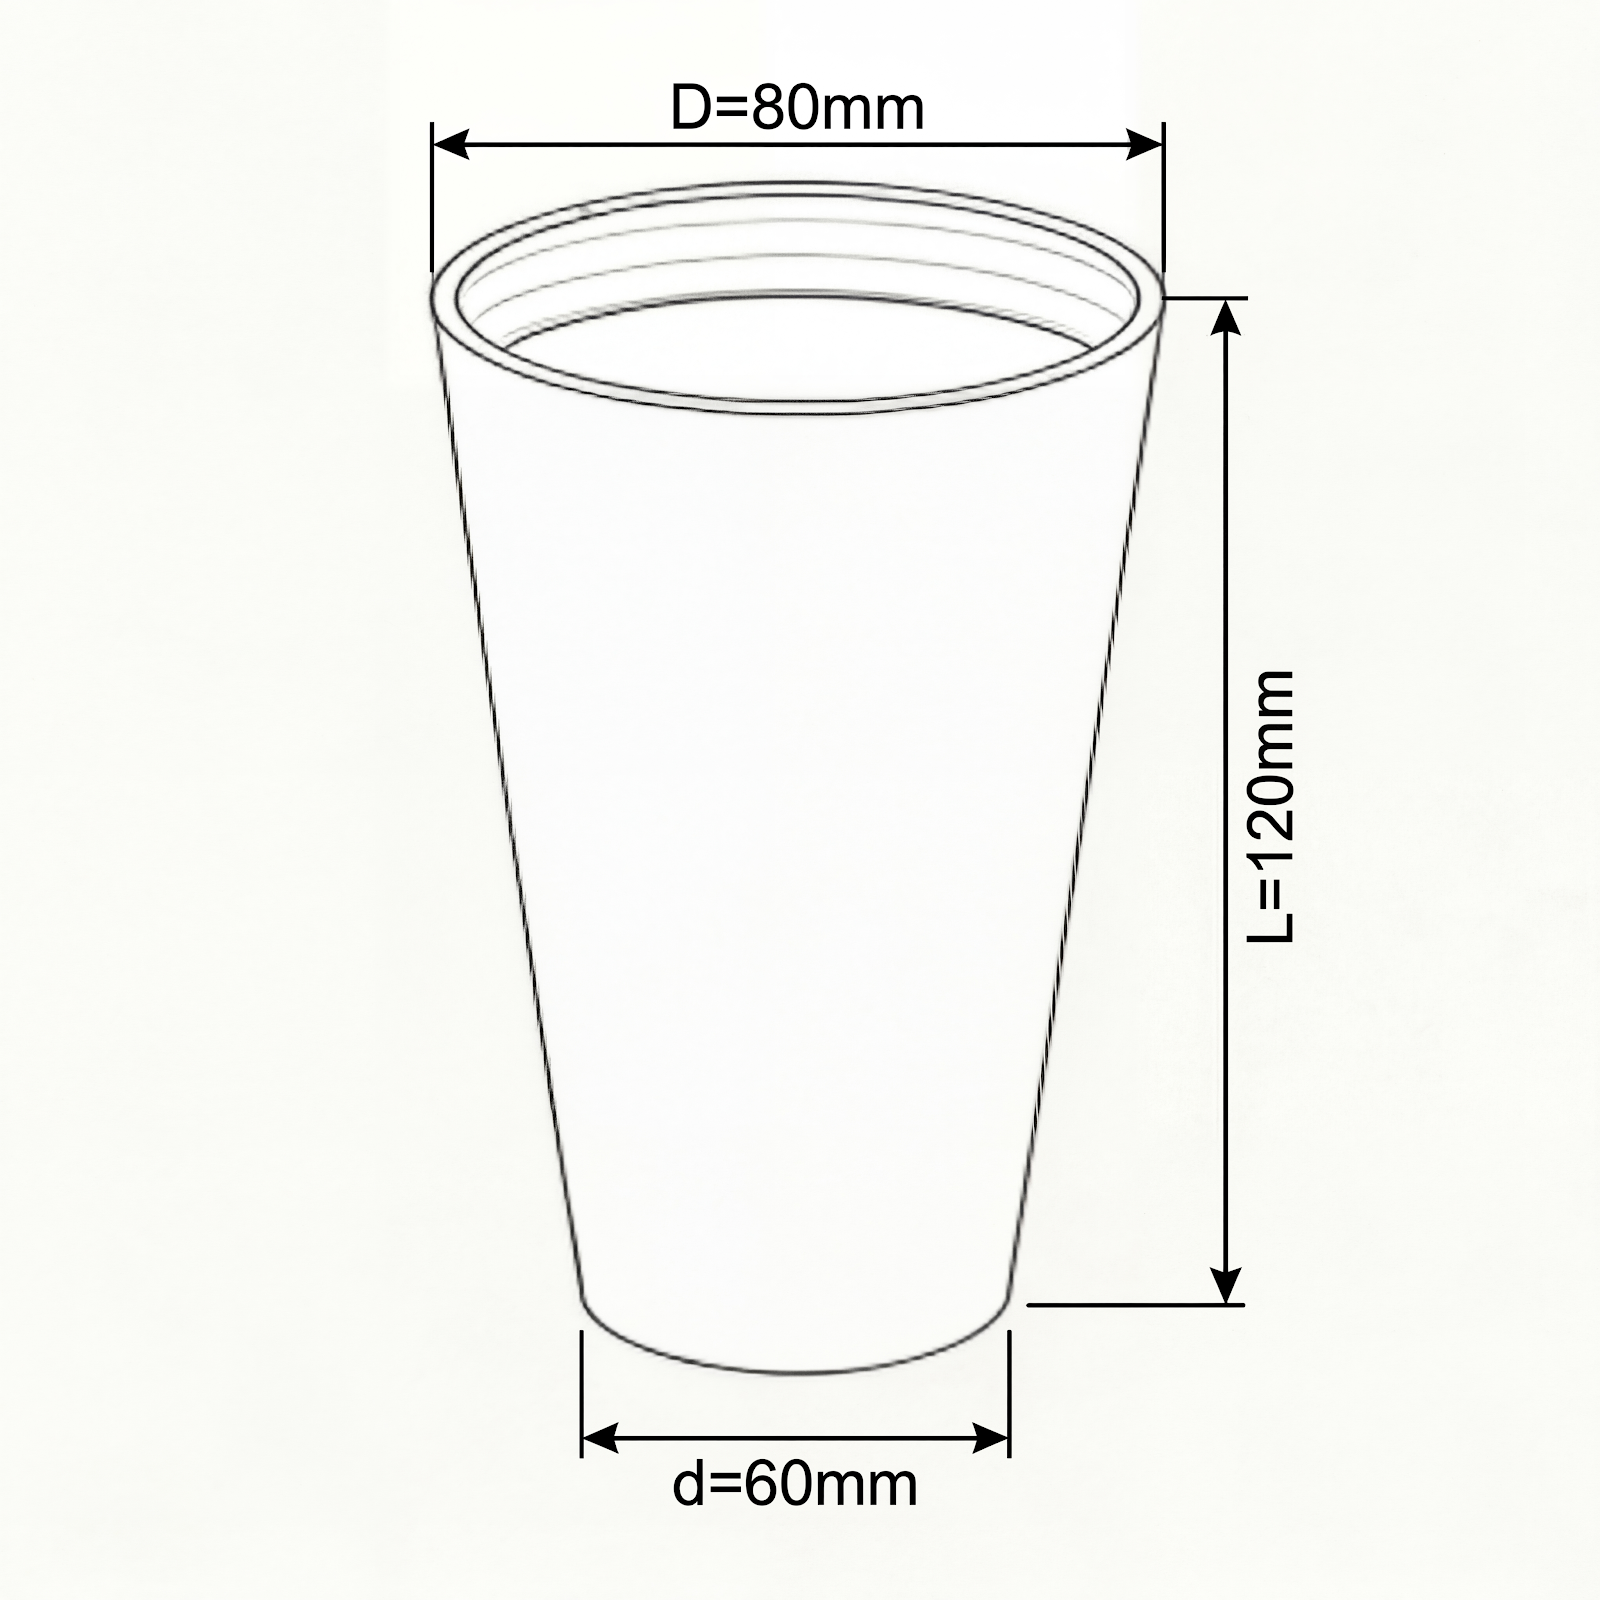
- If the taper value is greater than 0.23 (approximately equal to an overall taper angle greater than 13°), the cup is not within the supported specifications.
-
Check whether the cup is installed correctly
-
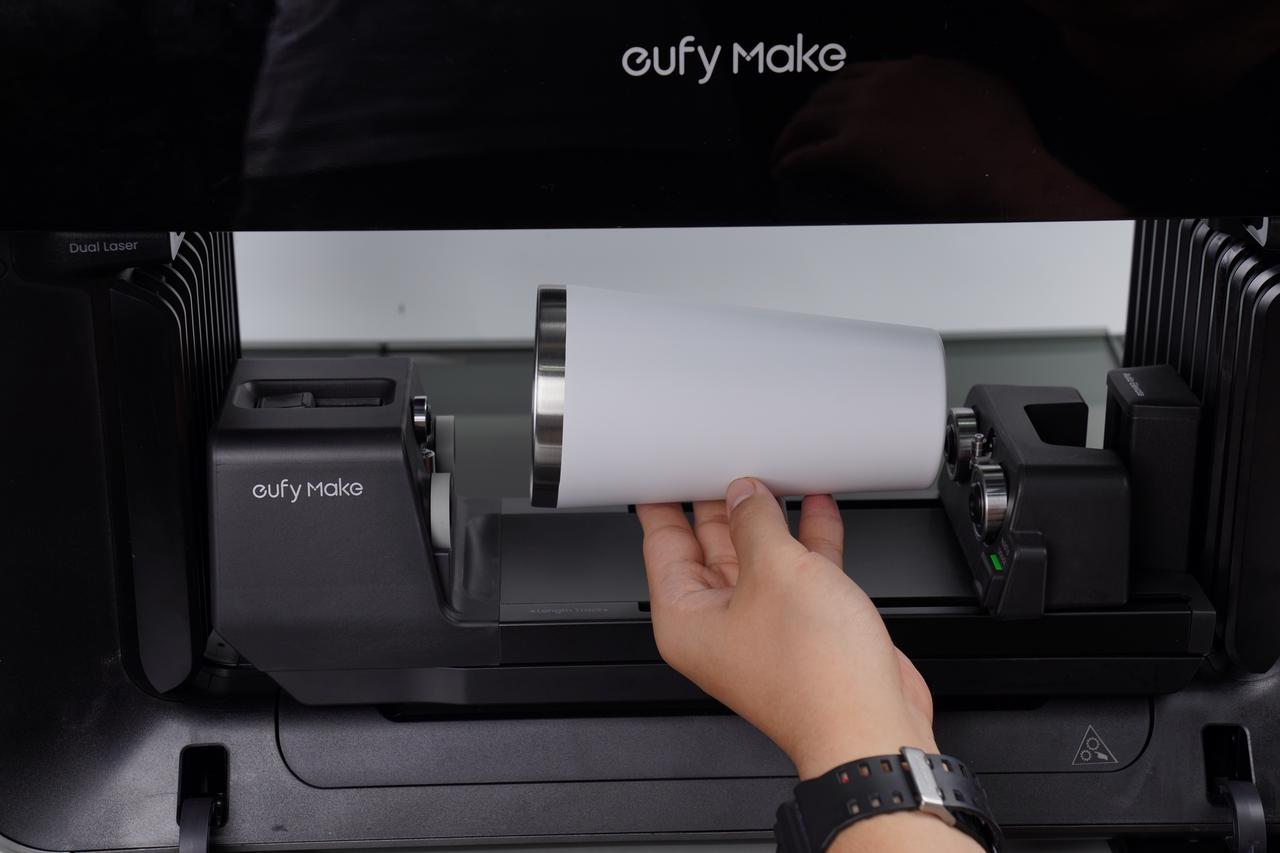
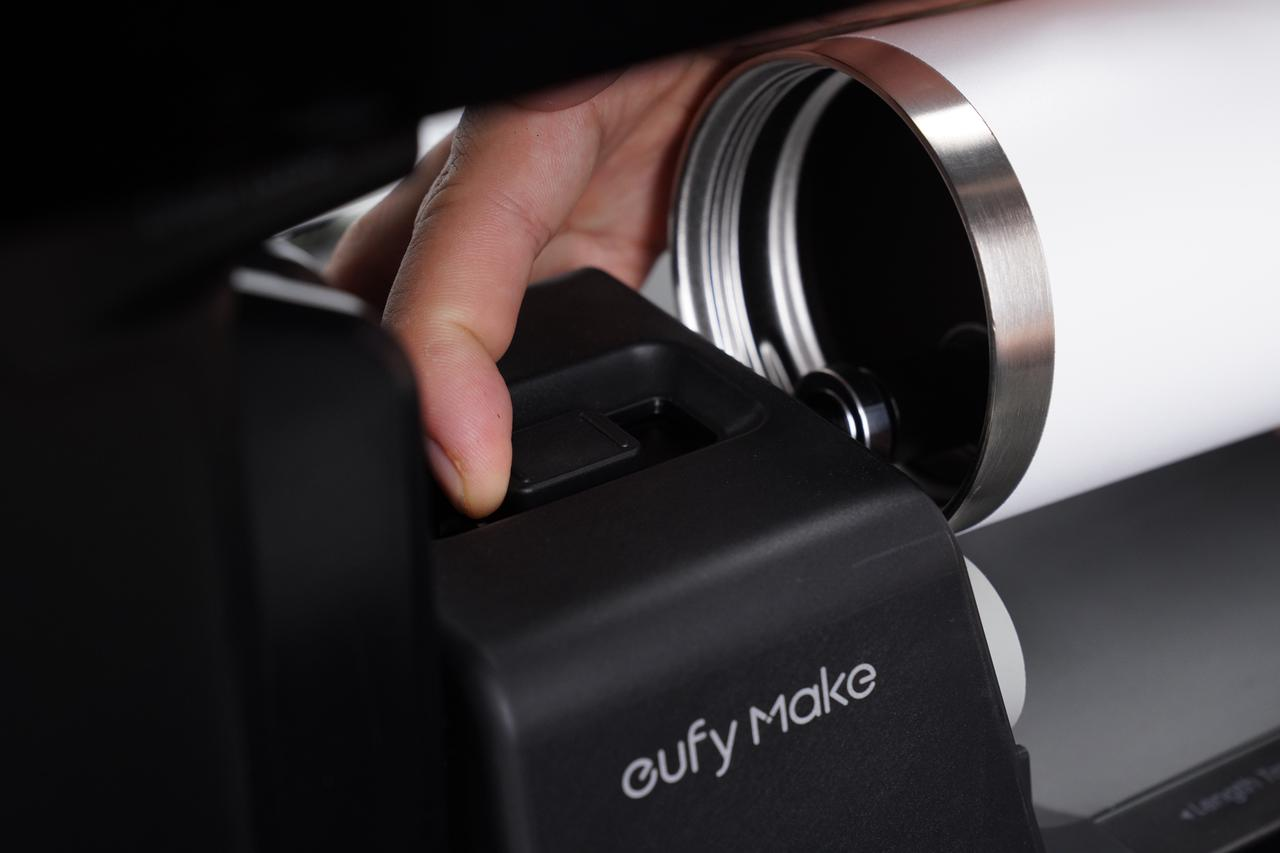
Confirm the cup orientation. The cup mouth should face the left side of the rotary attachment.
-
Use the pressure rod to firmly secure the cup at the mouth to prevent movement during printing.
-
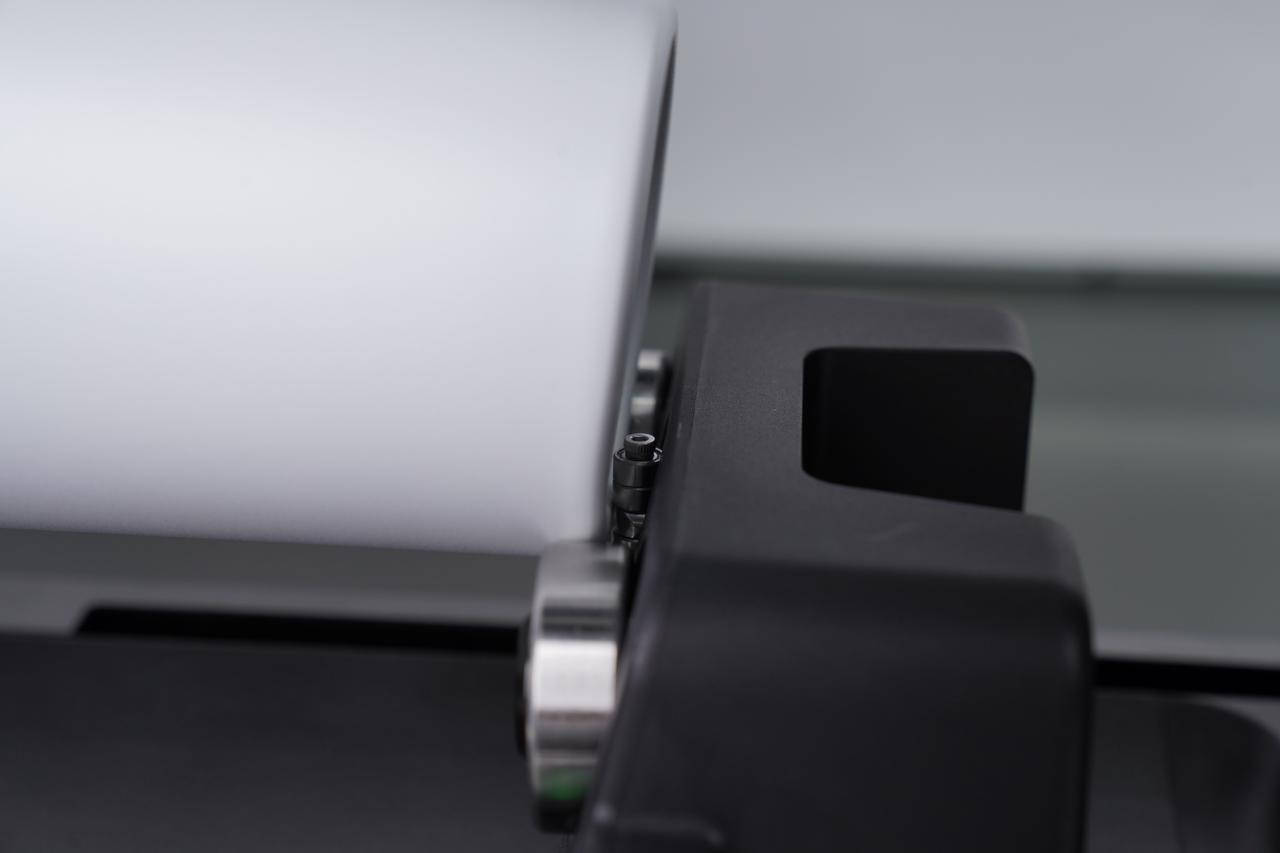
Ensure the bottom of the cup is positioned against the driven wheel and fits tightly against the rear stop.
Support Contact
If the issue persists after completing the above steps, please contact eufyMake Customer Support at support@eufymake.com with the following information:
-
Your Order Information
-
Printer SN. Please refer to: How to Check the Device Serial Number (SN)
-
Printer and App Logs. Please refer to Log / Feedback Upload Process (App & PC) – Overview
-
Relevant photos and videos