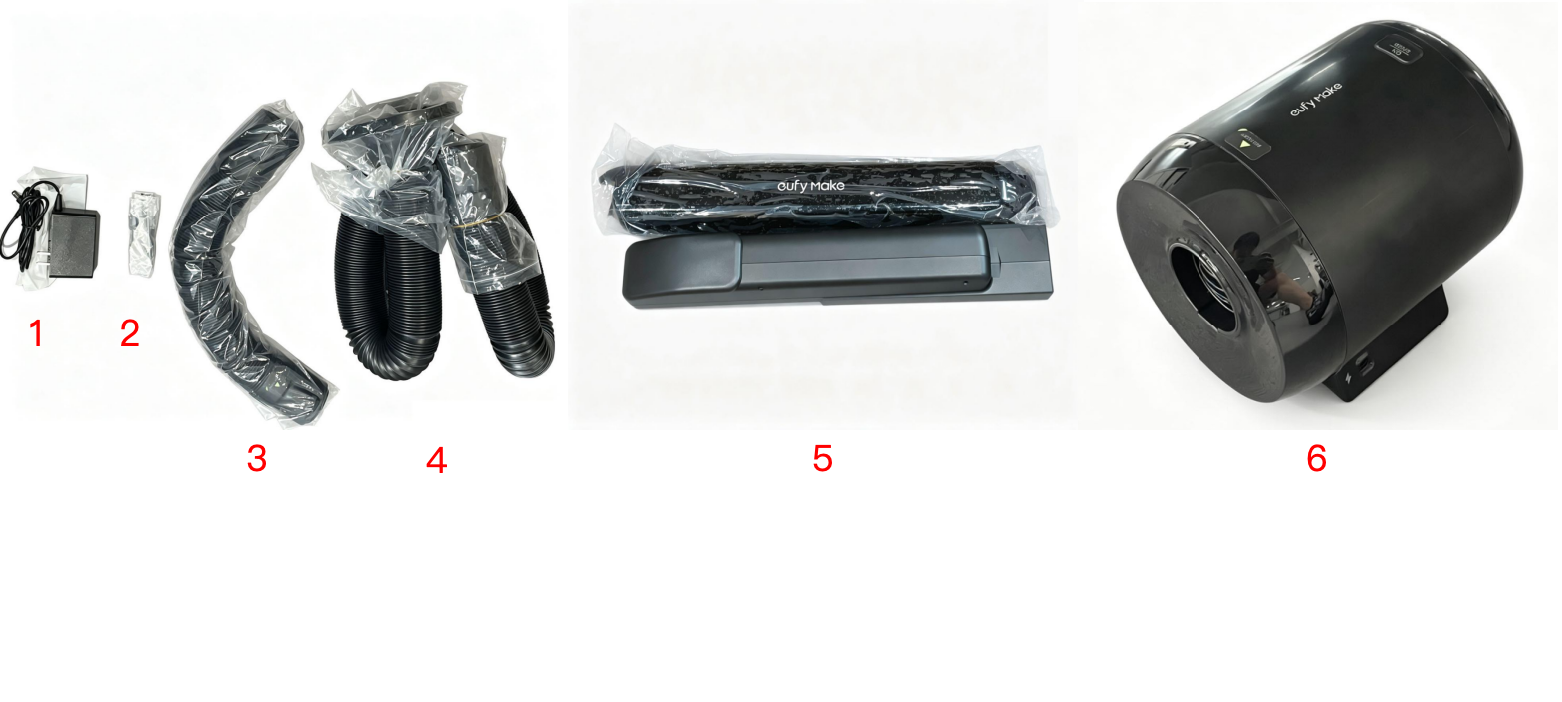
Package Contents
-
Power Adapter
-
Exhaust Fan
-
Wall-Mount Kit
-
1 m Exhaust Hose
-
3 m Exhaust Hose
-
Exhaust Duct
After unboxing, check that all accessories are included. If anything is missing, contact customer service.
Installation Steps
Step 1: Install the Air Guide
-
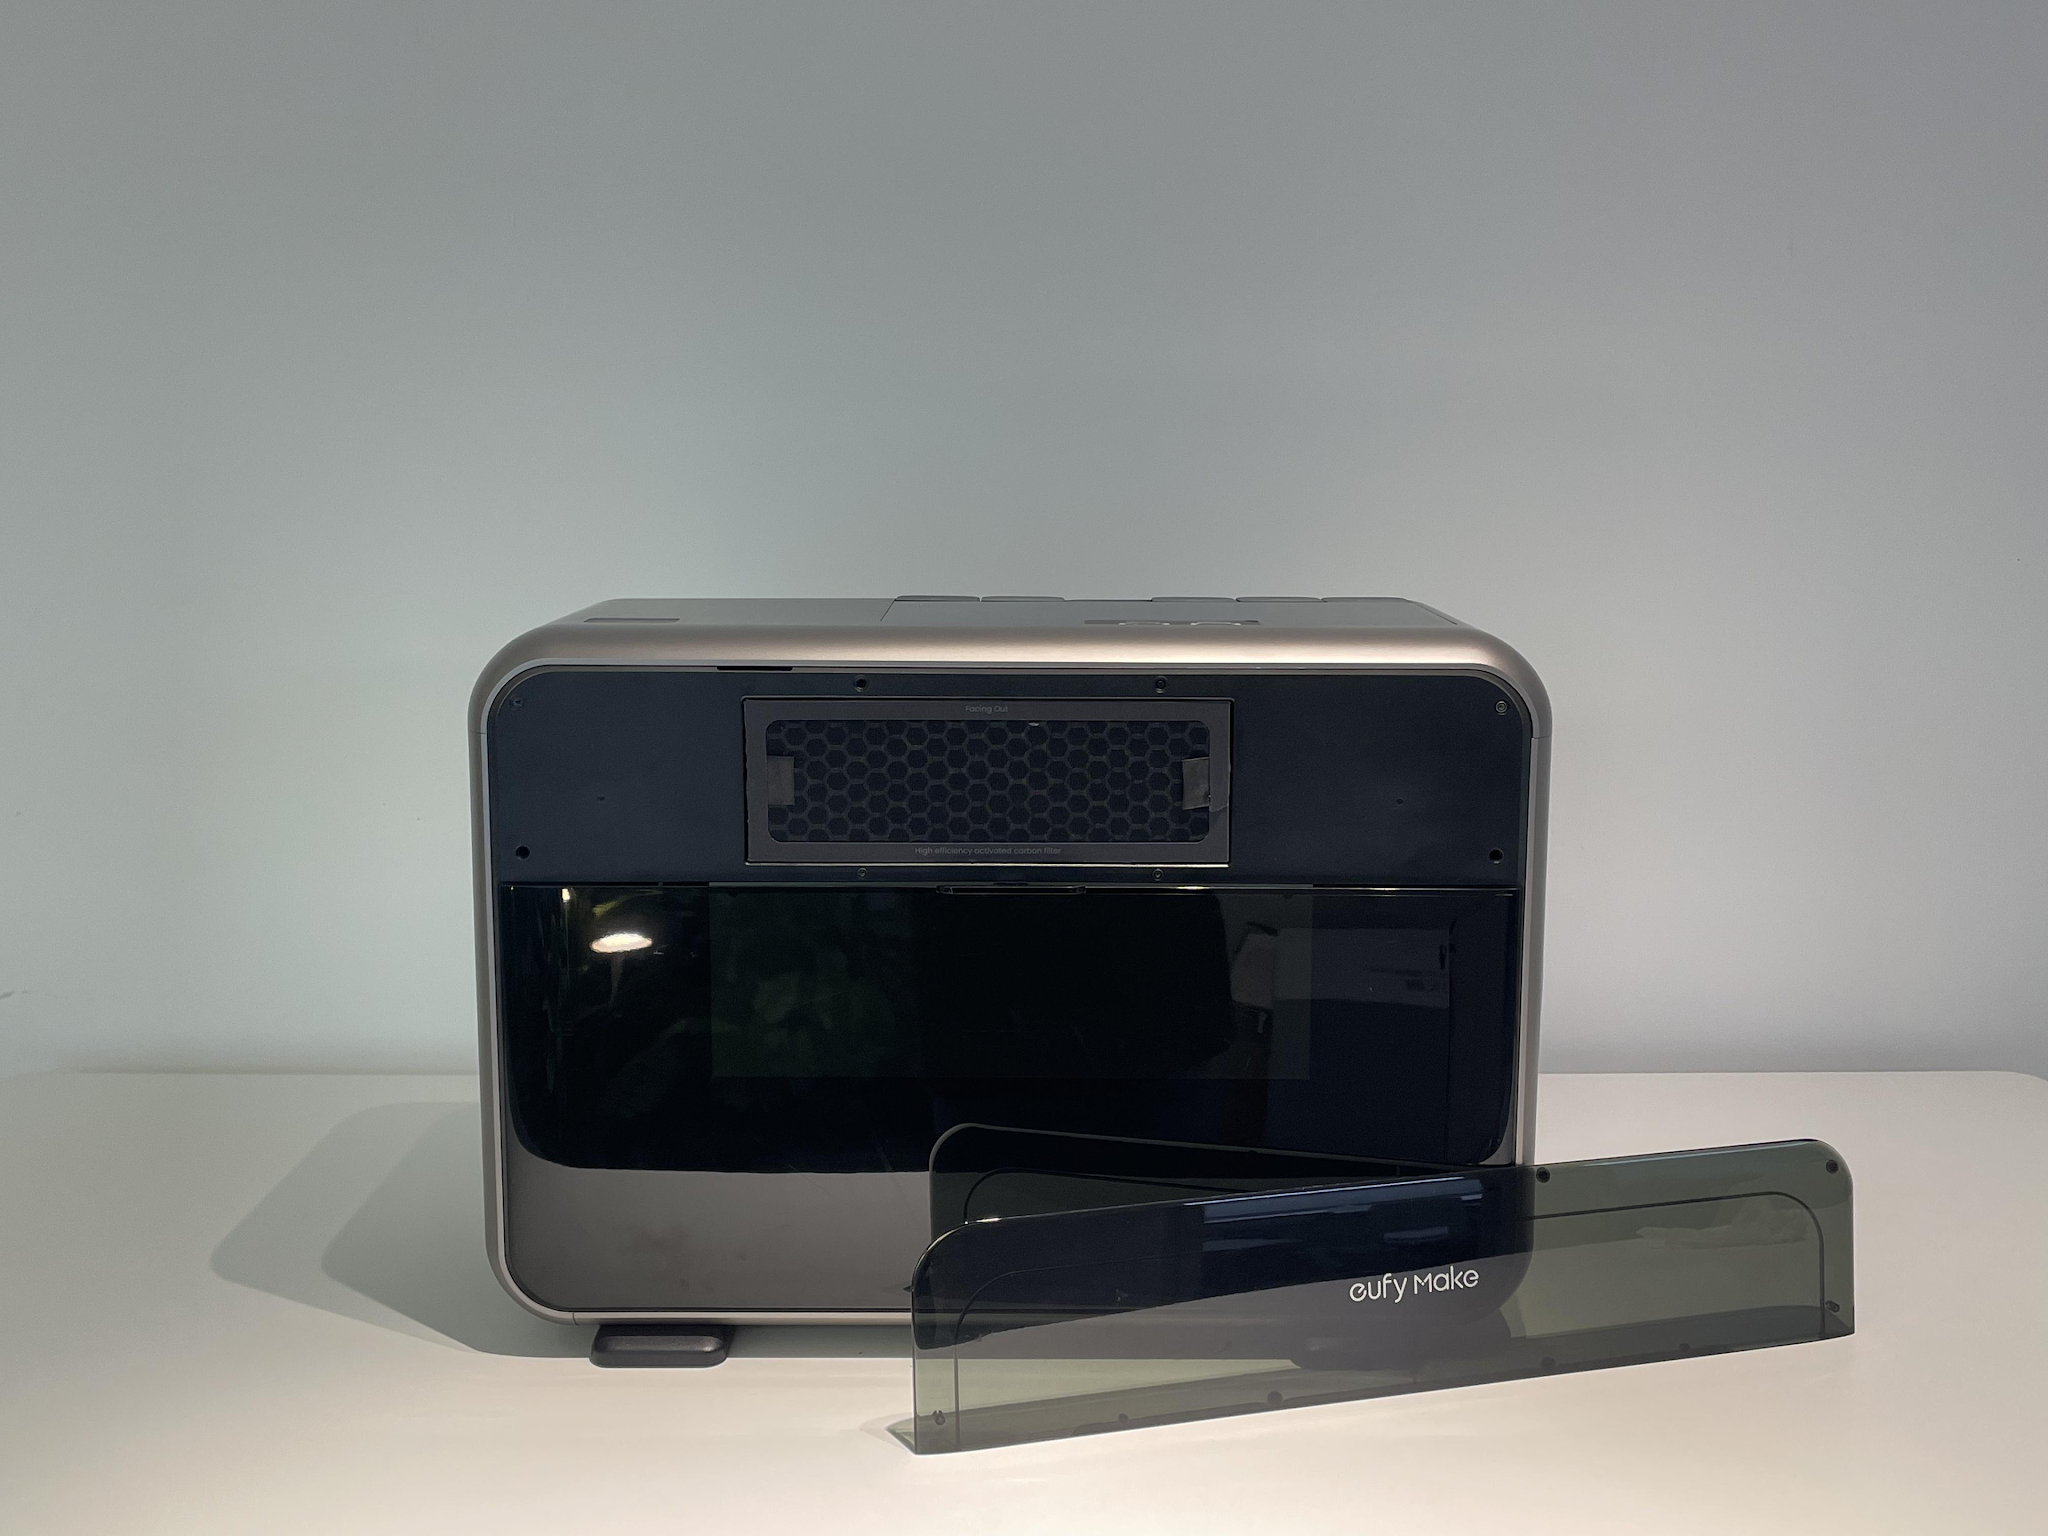
Remove the cover panel from the printer's air filter chamber.
-
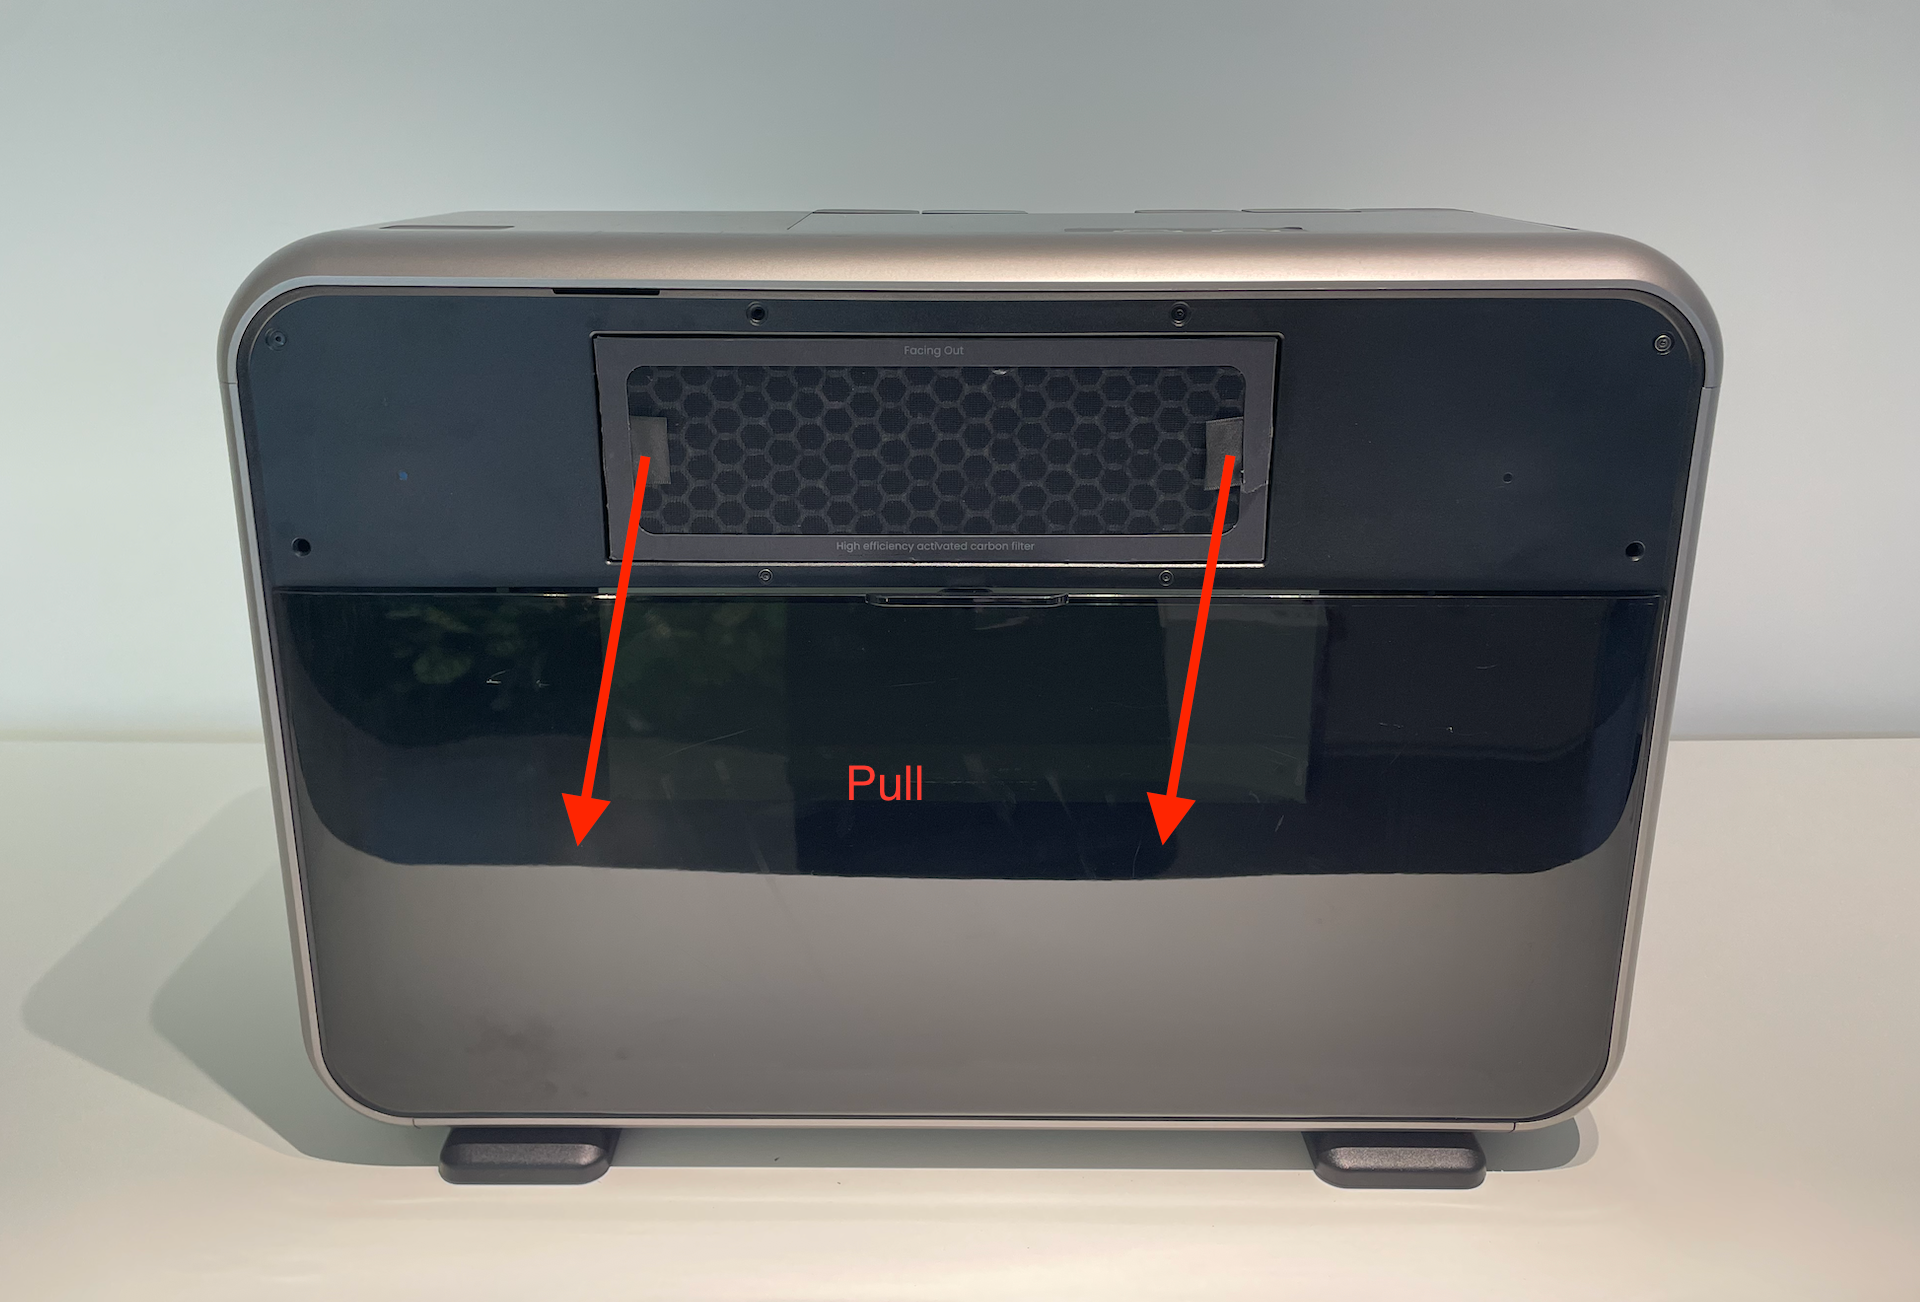
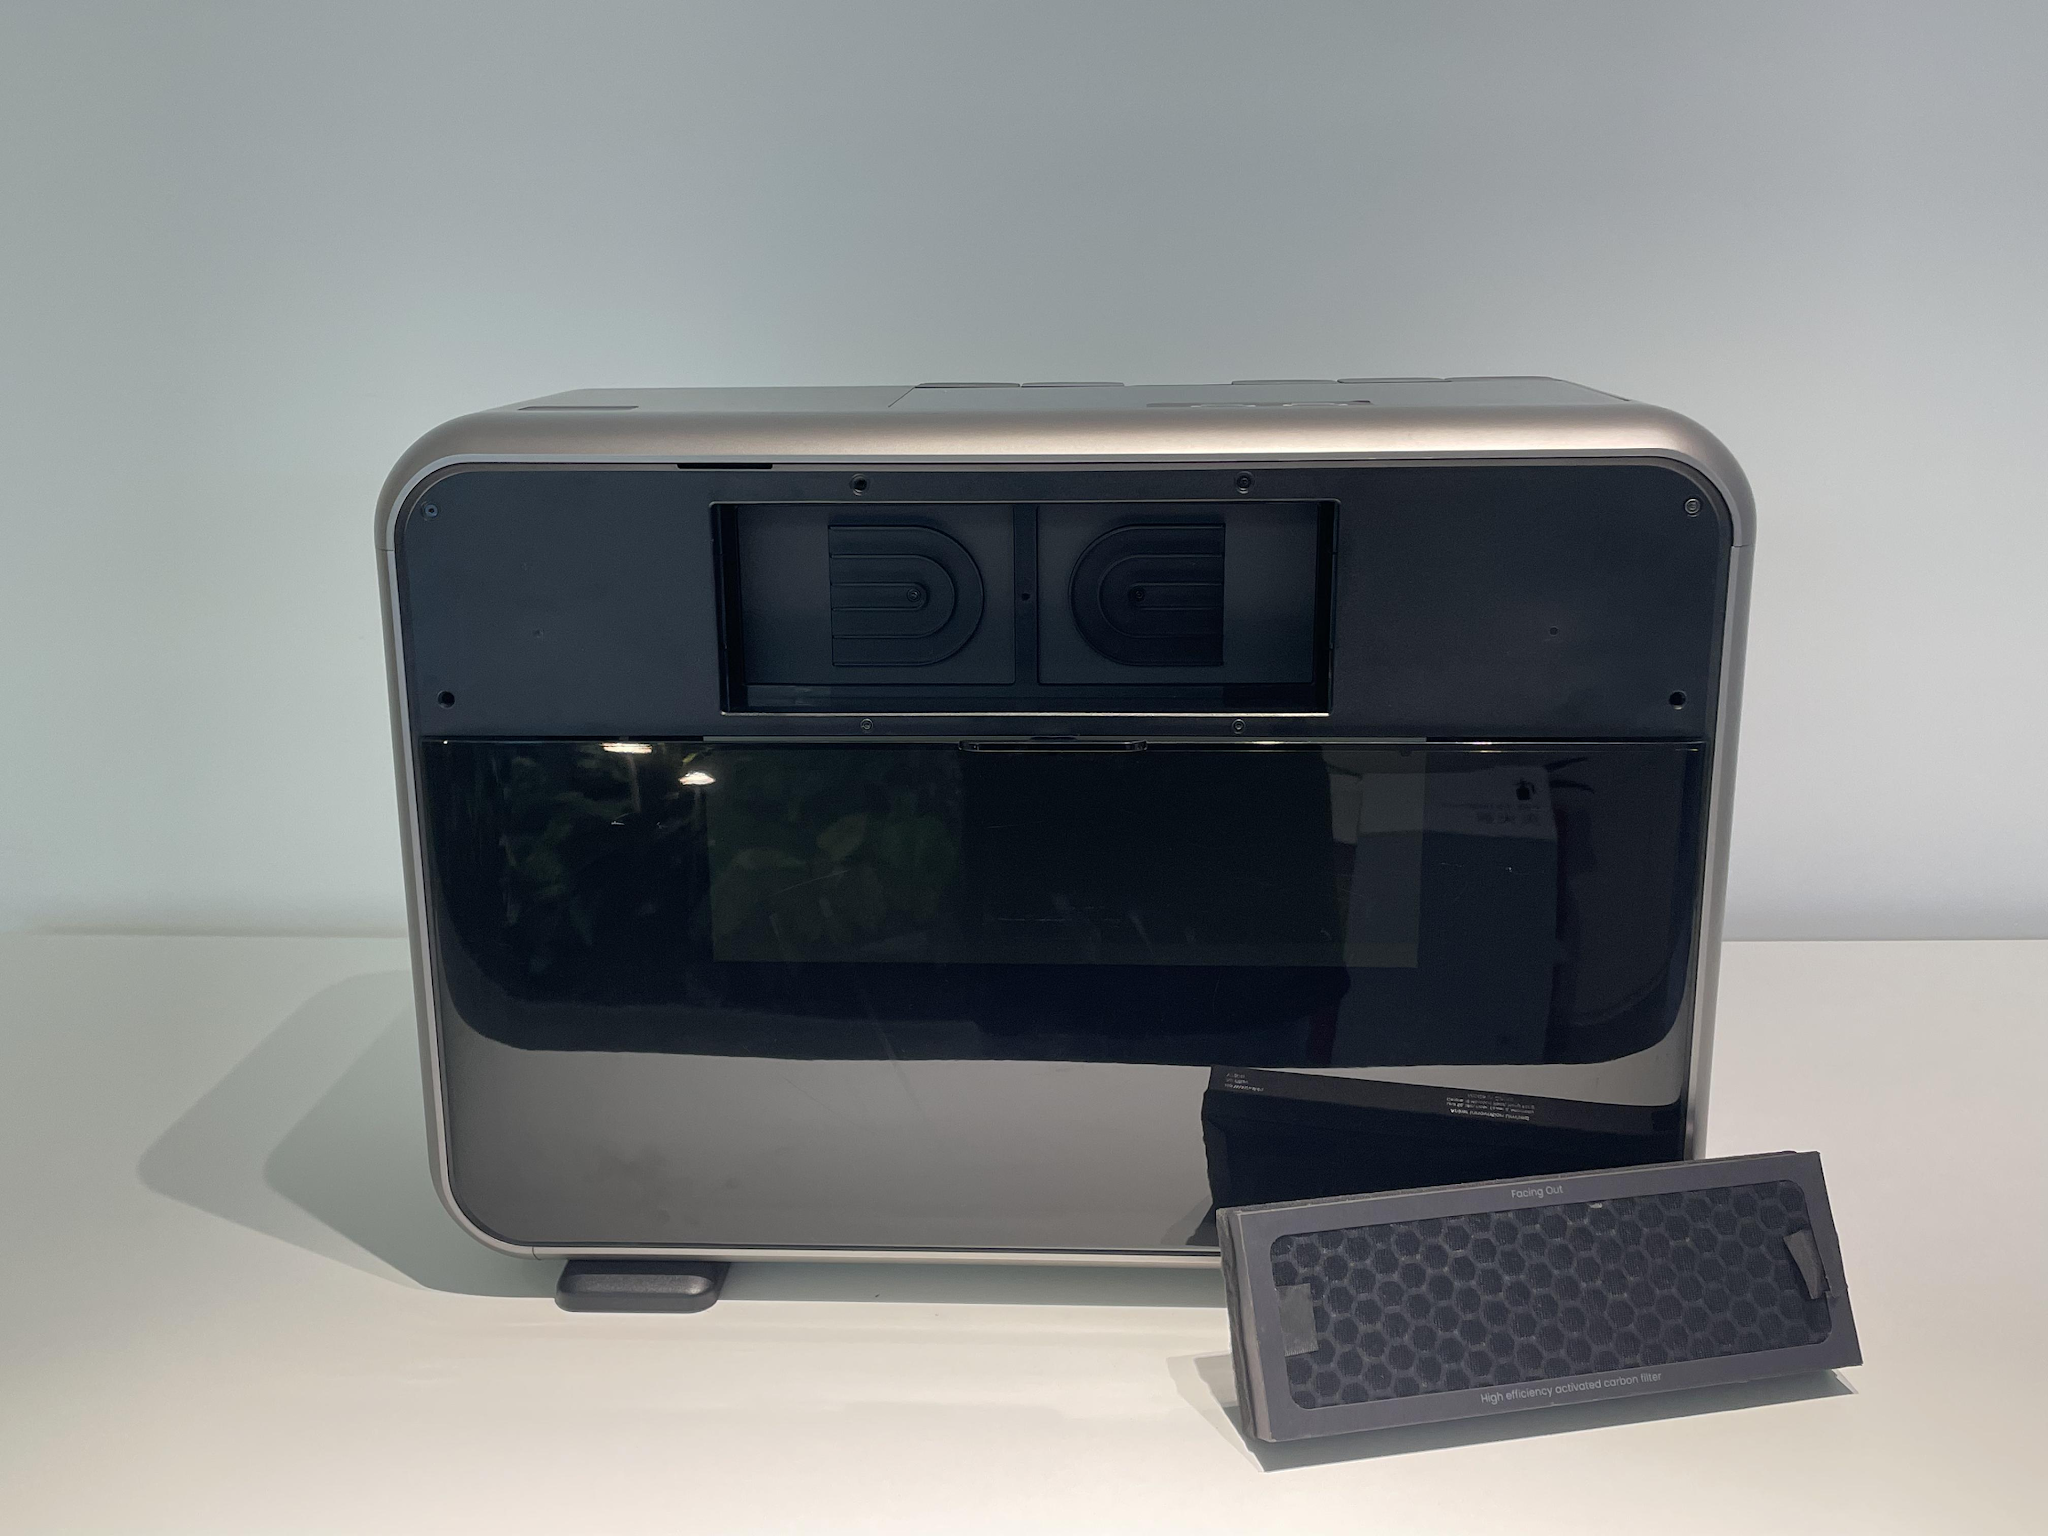
Pull the tabs with both hands and remove the original filter.
-
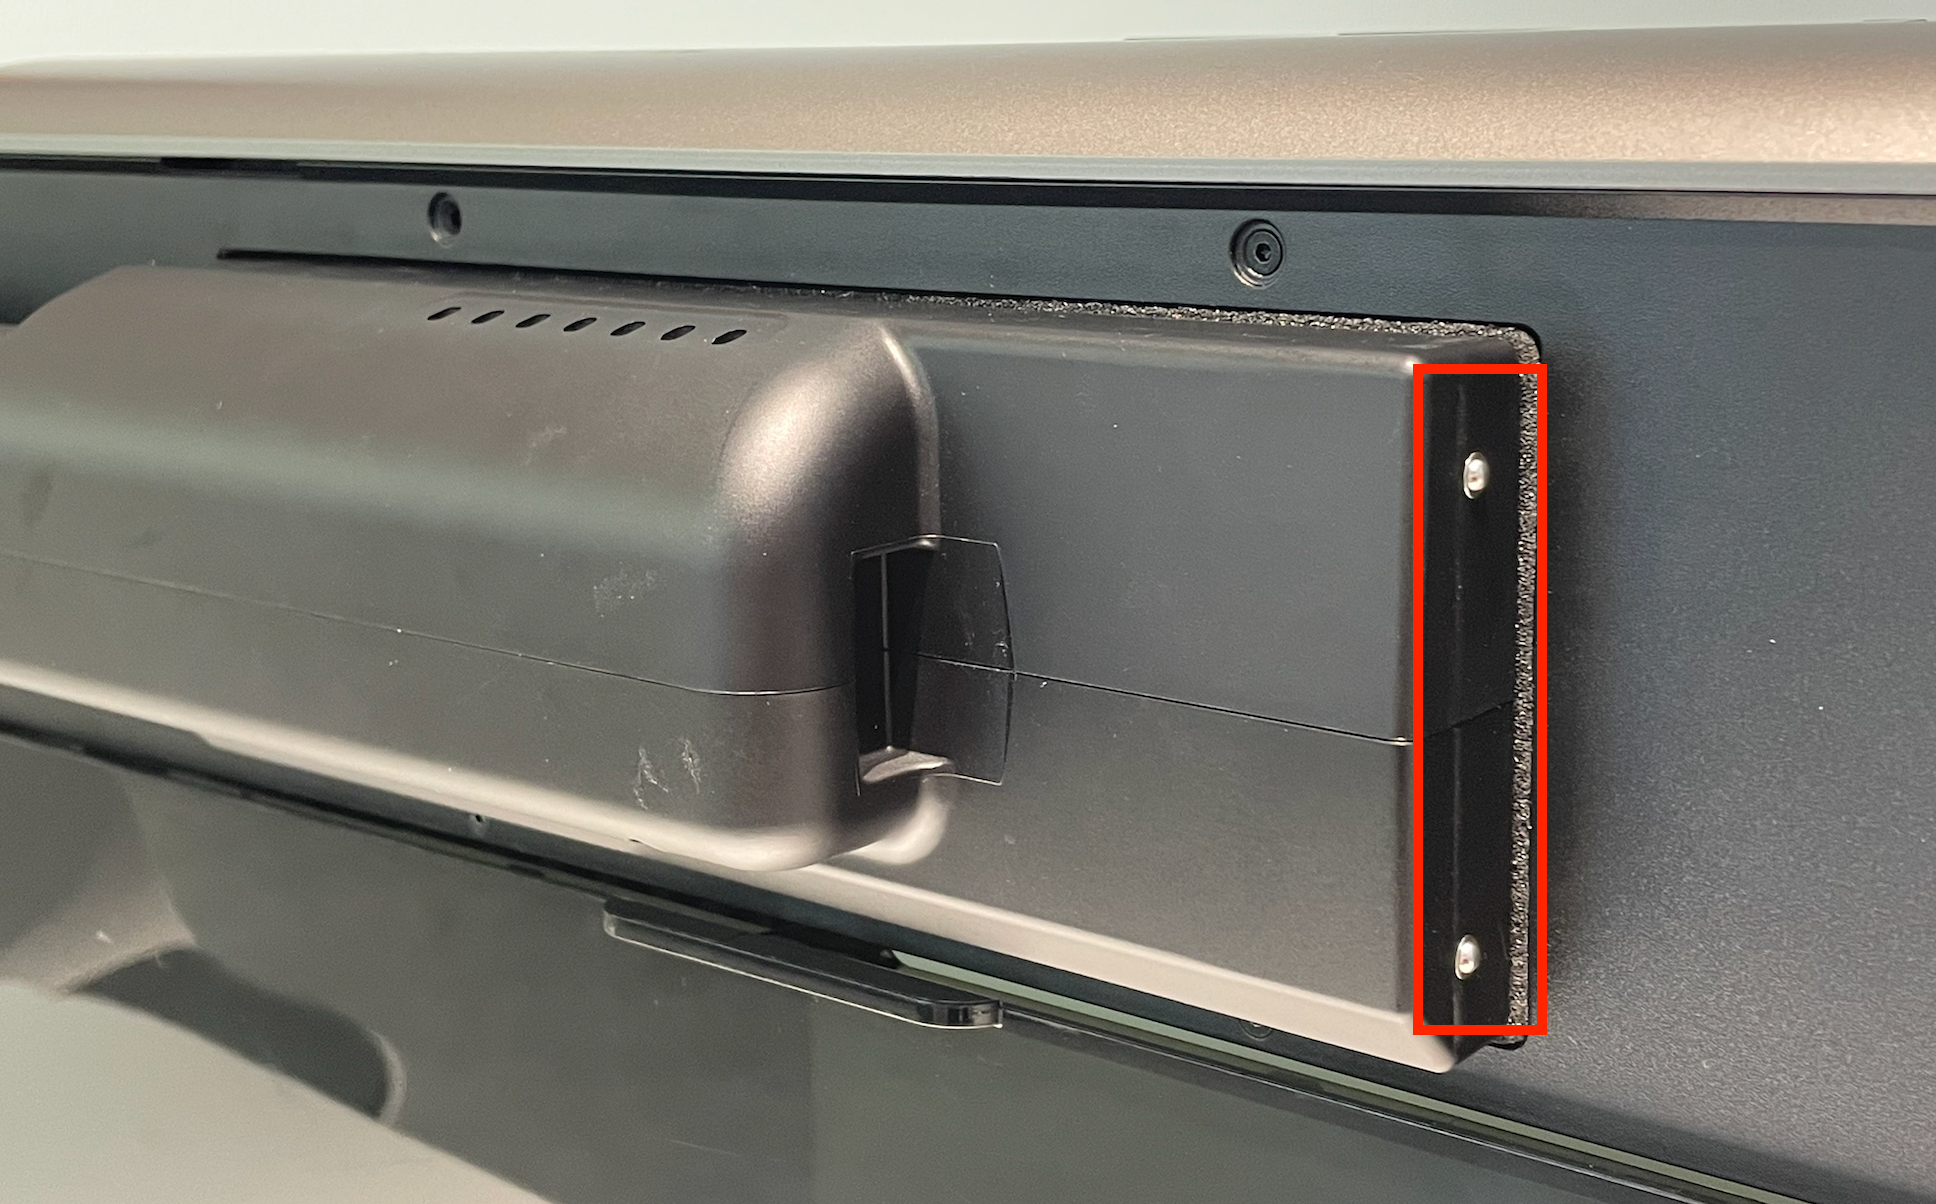
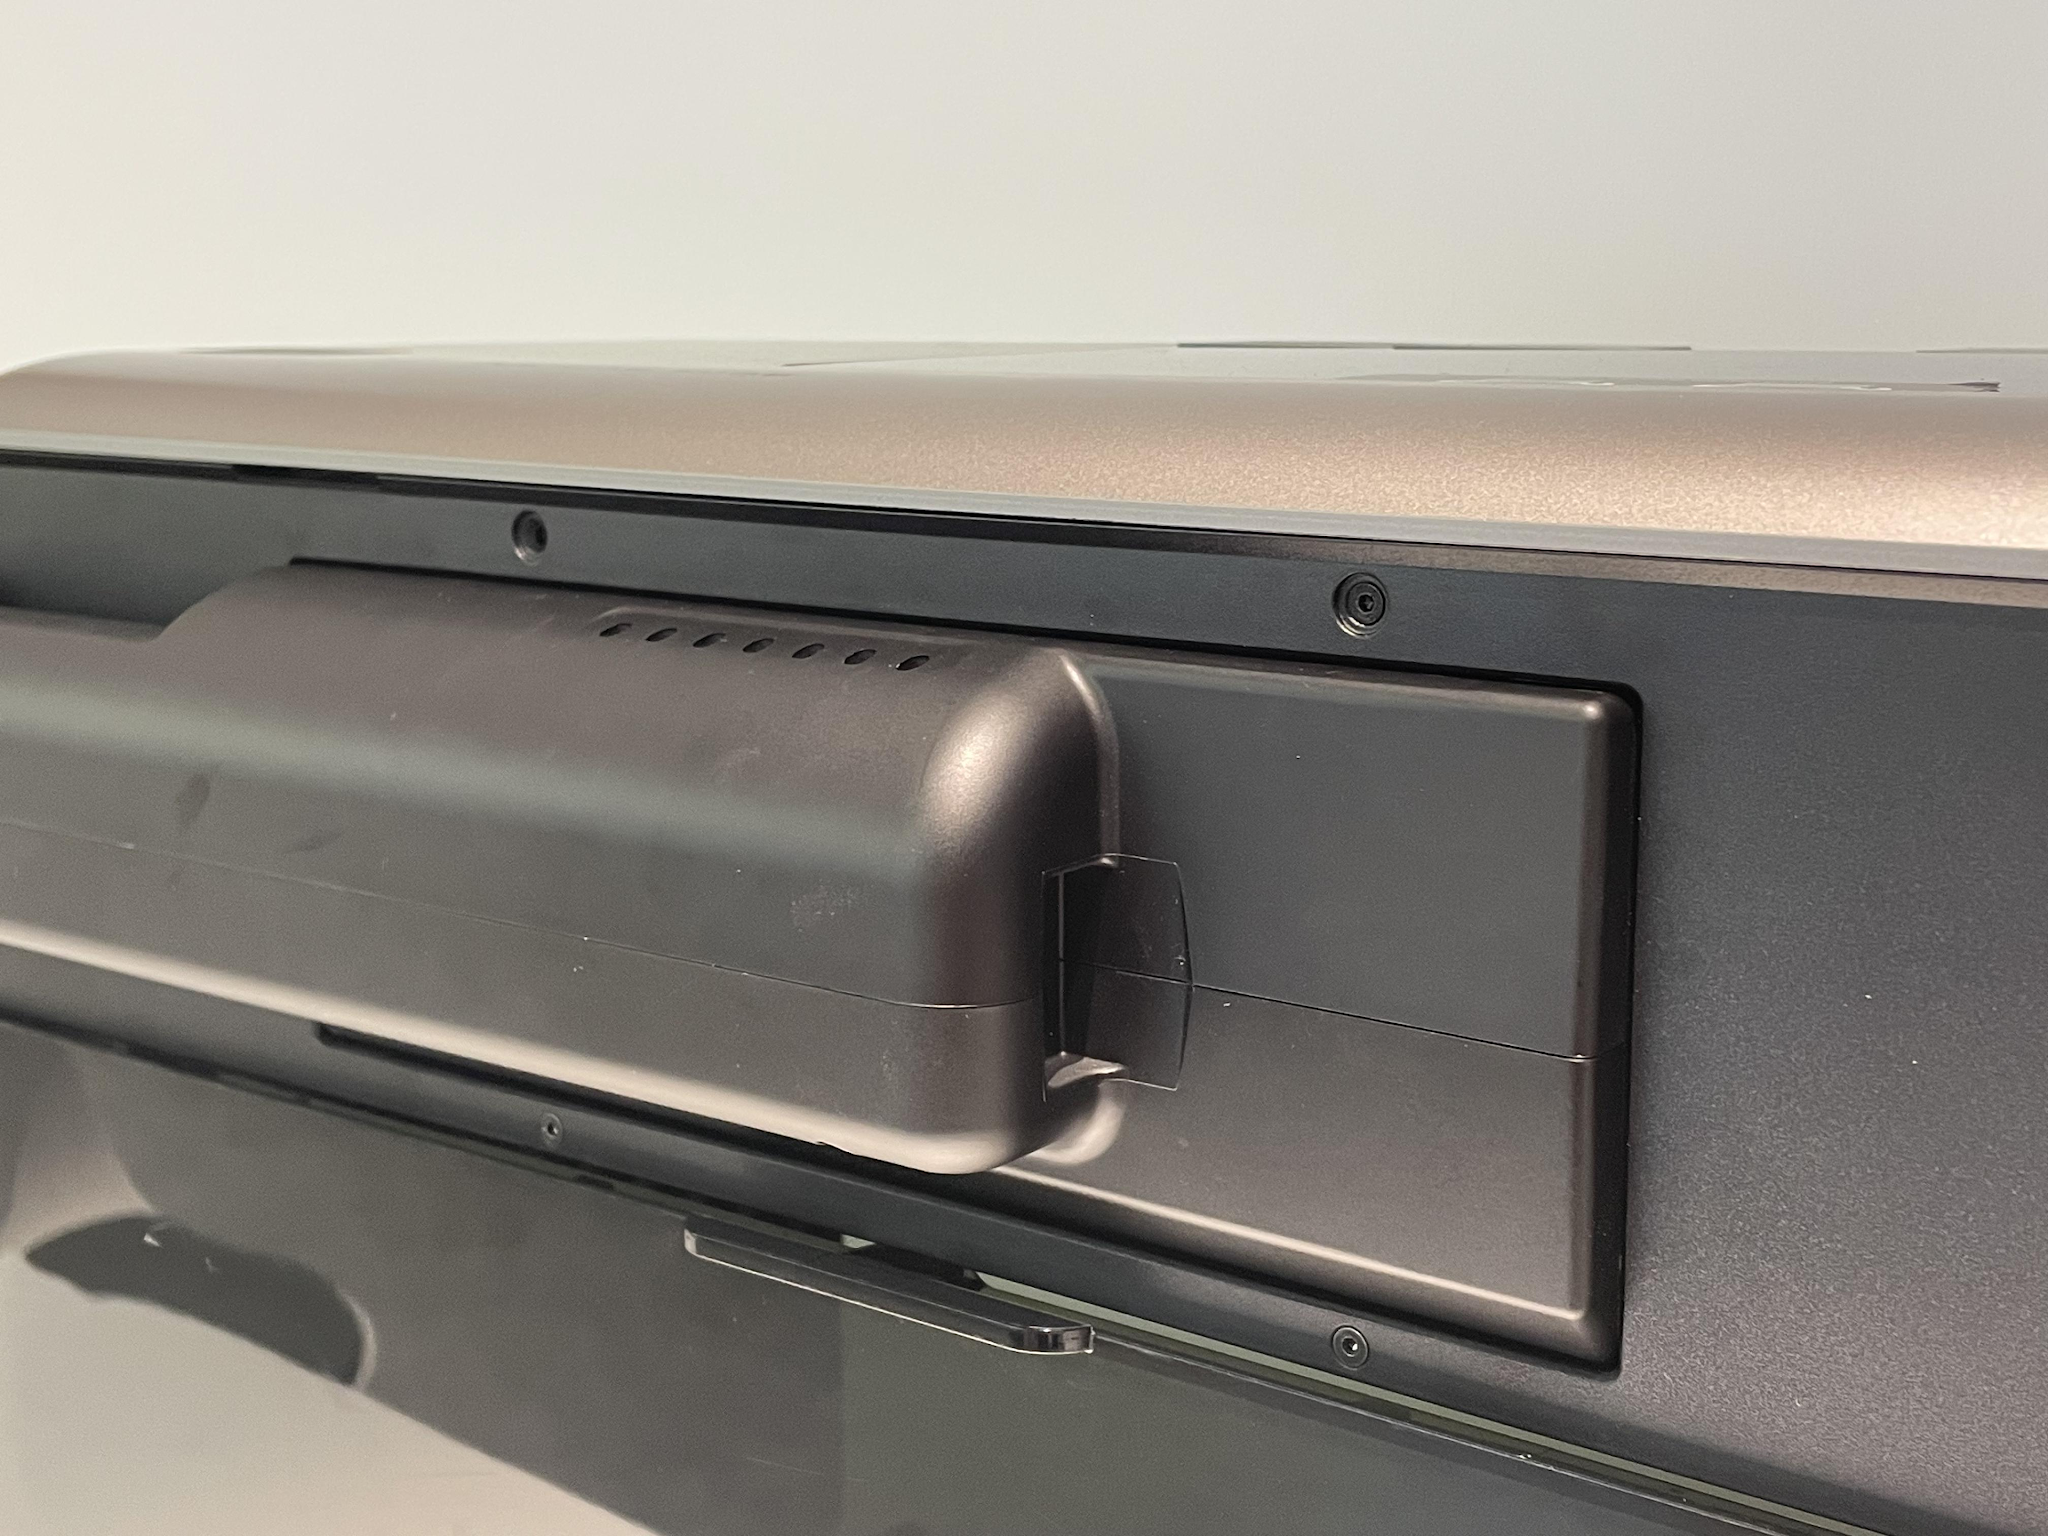
Insert the air guide firmly into place.
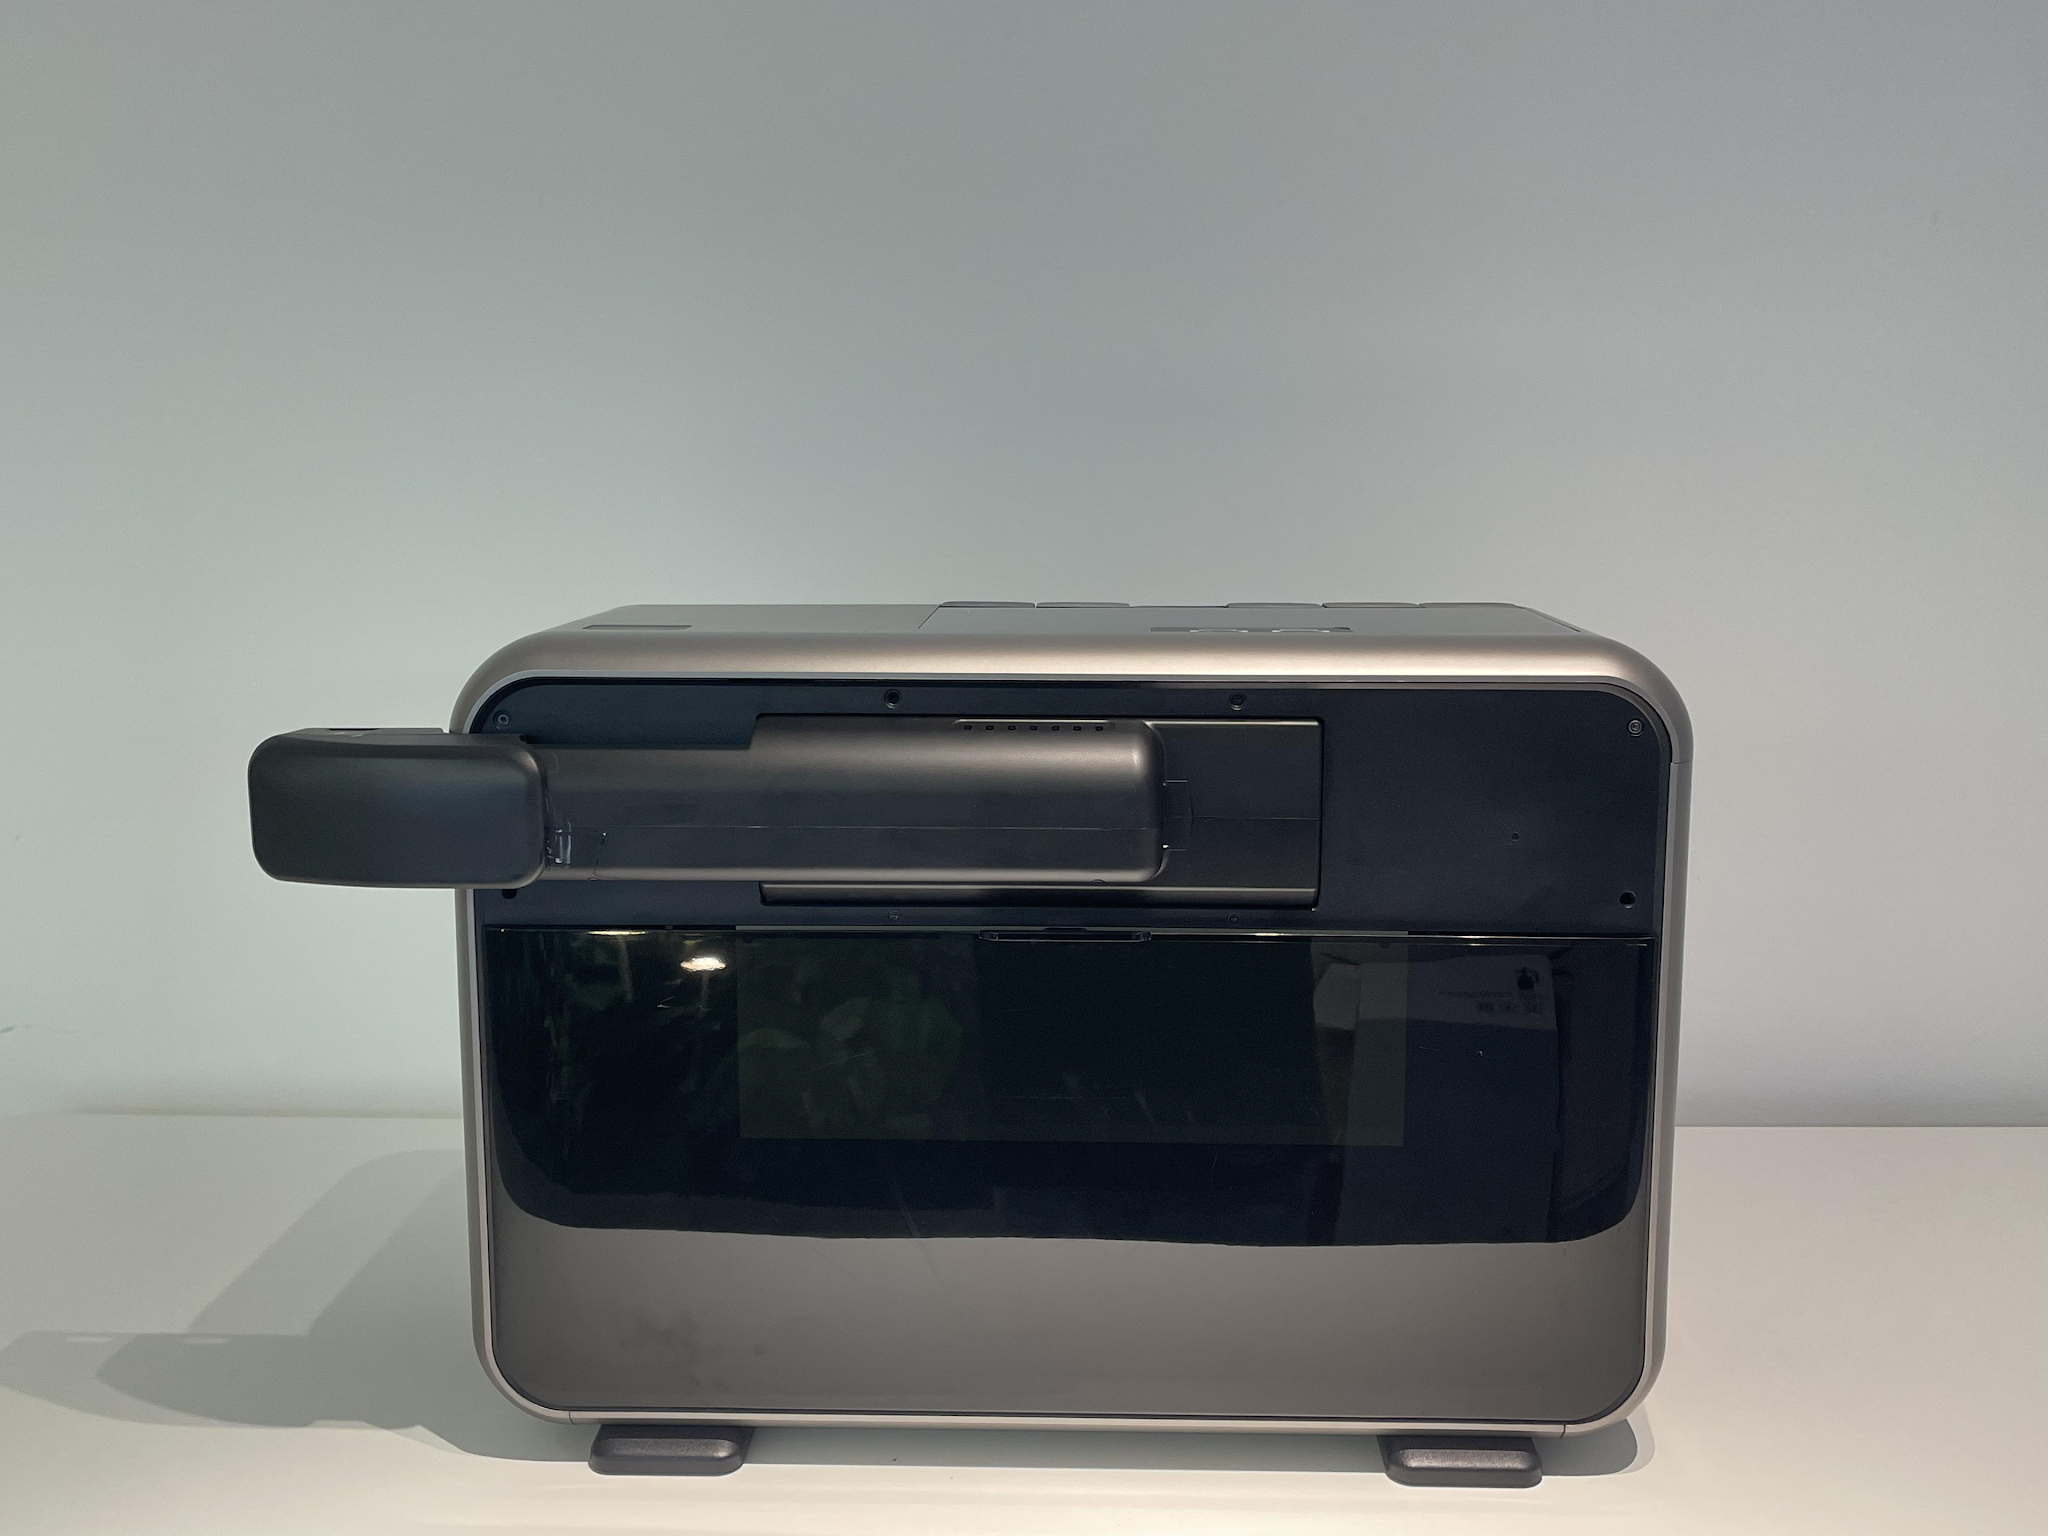
Note: Make sure the steel ball locating pin on the air guide is fully inserted.
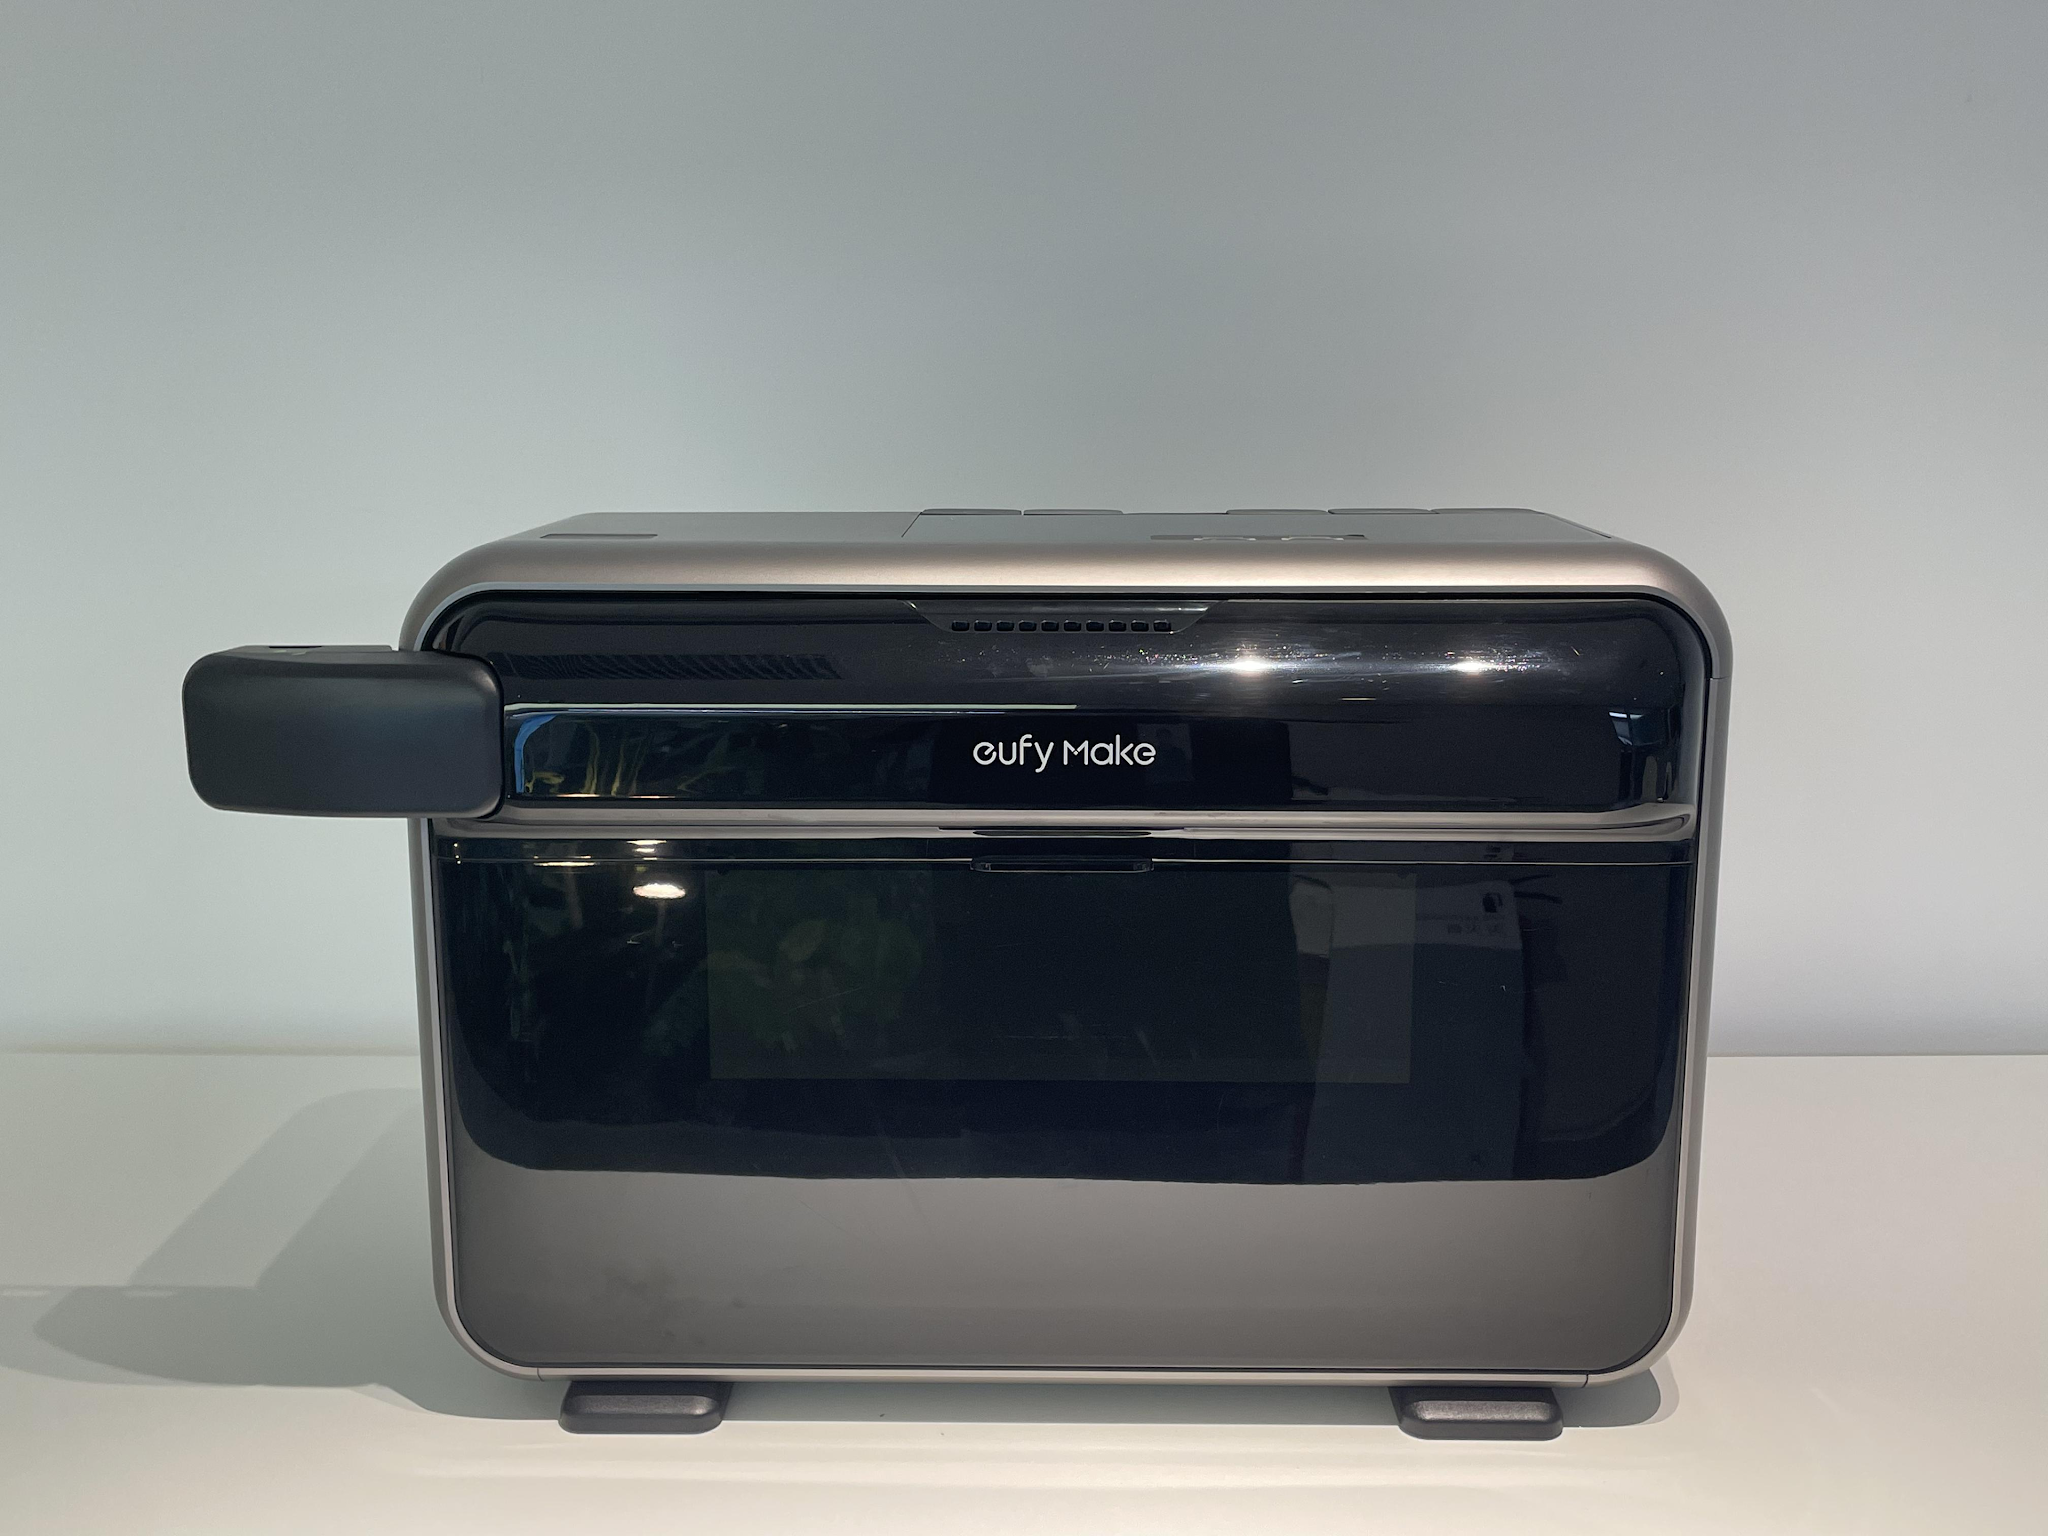
Step 2: Install the Cover Panel
Snap the cover panel onto the air guide.
Step 3: Connect the 1 m Exhaust Hose
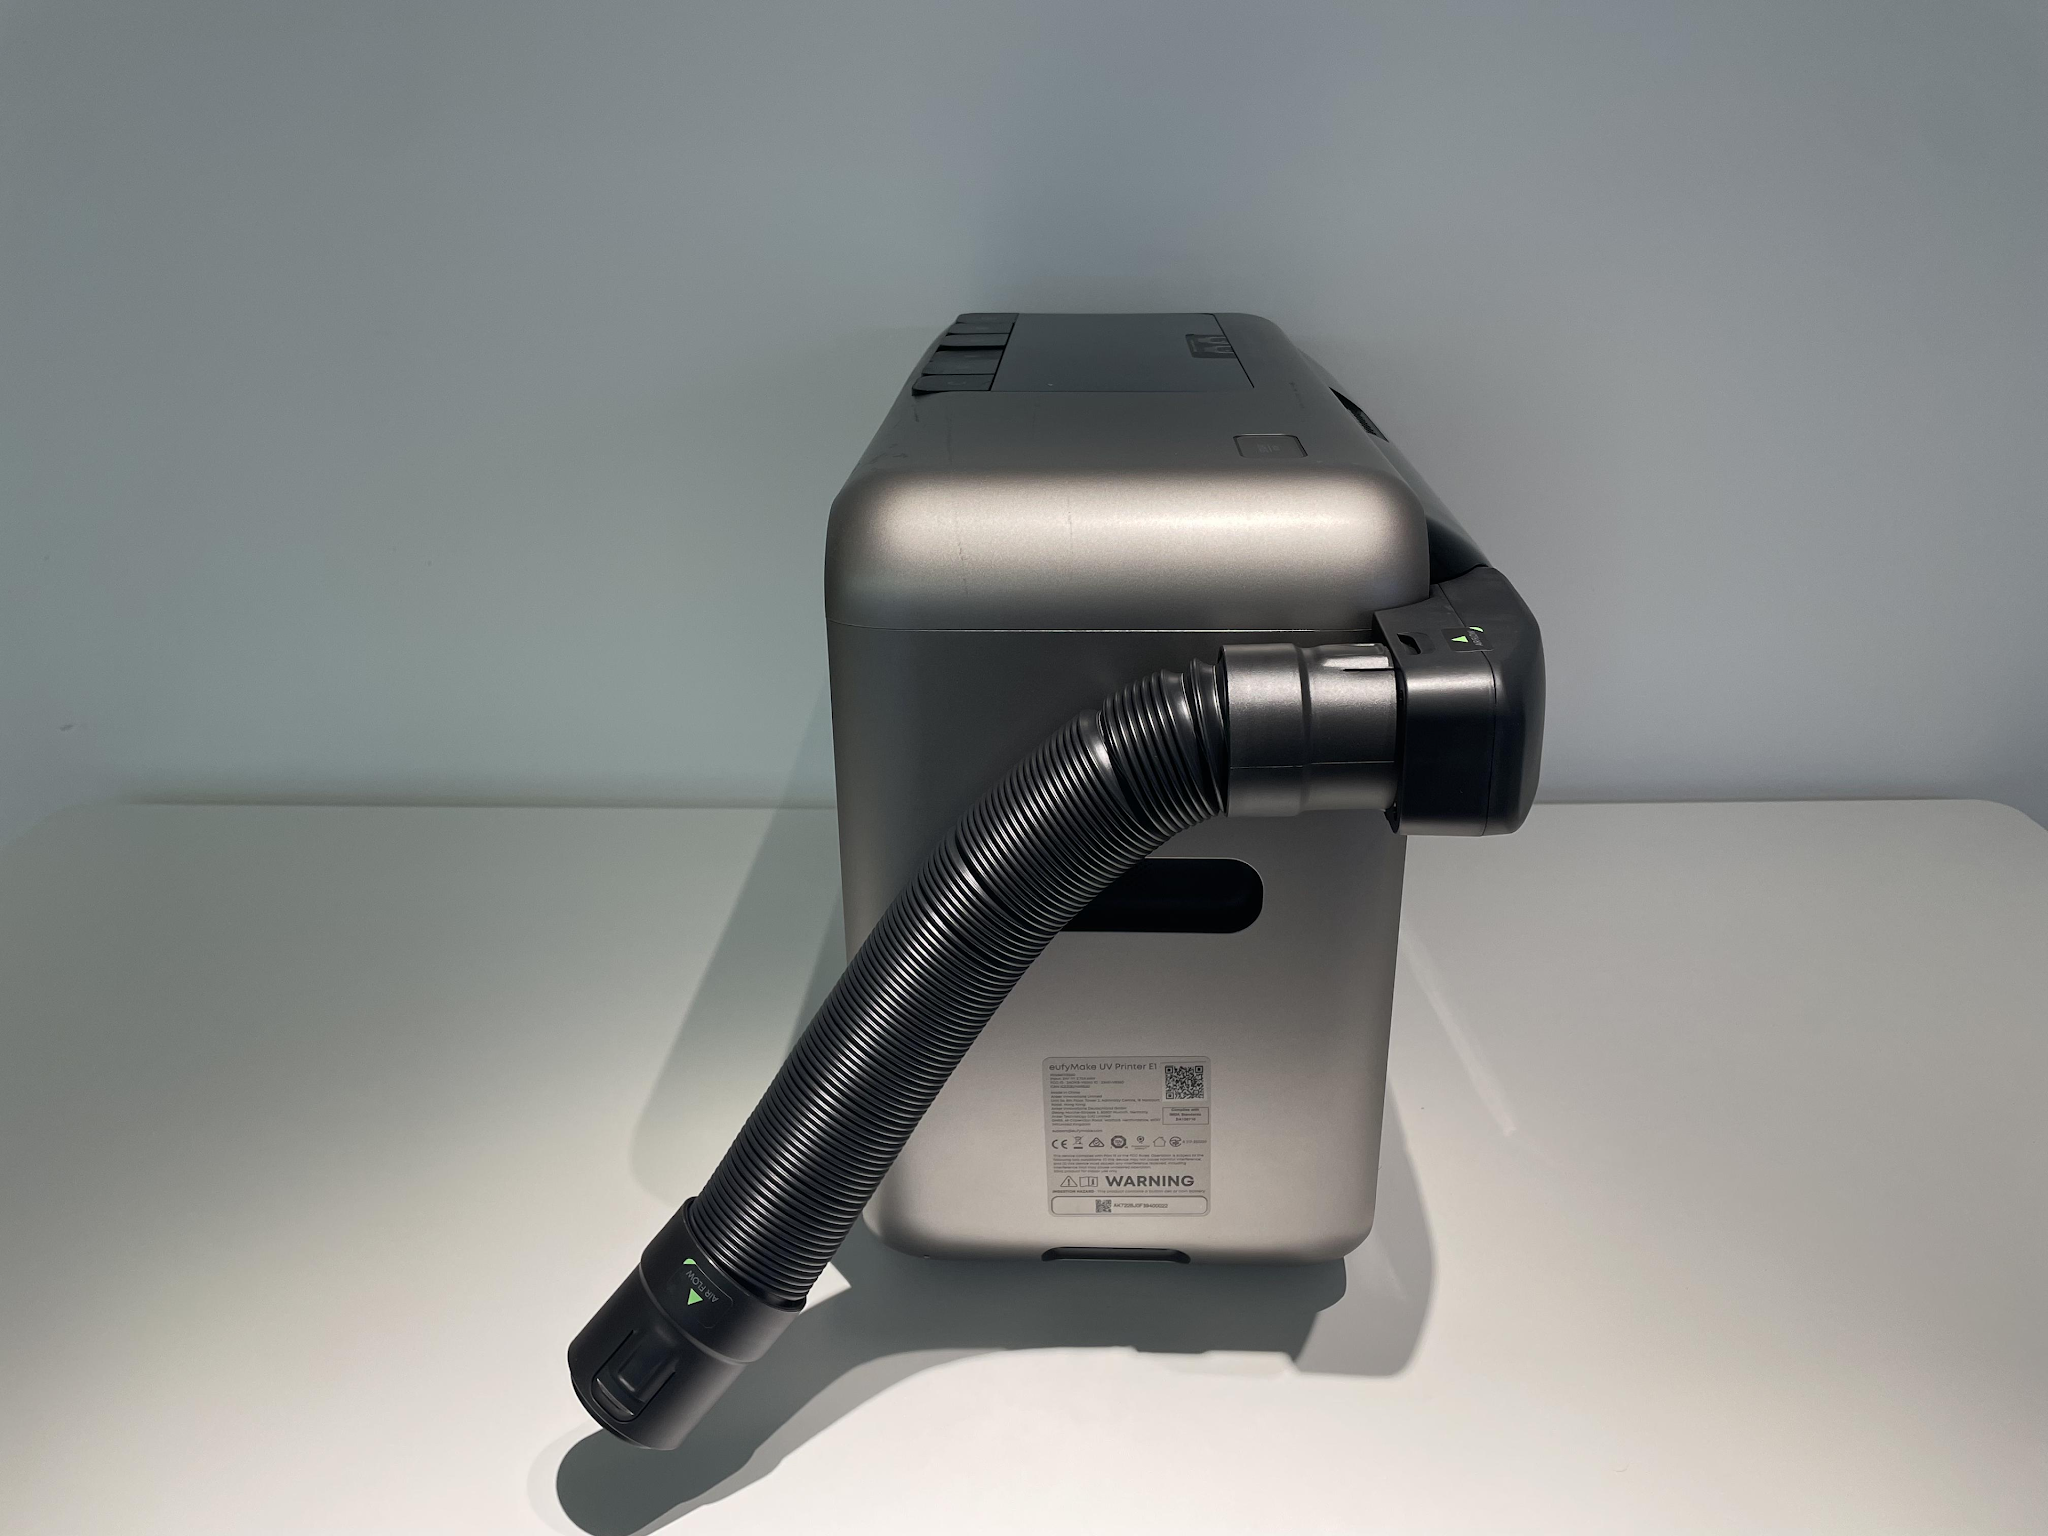
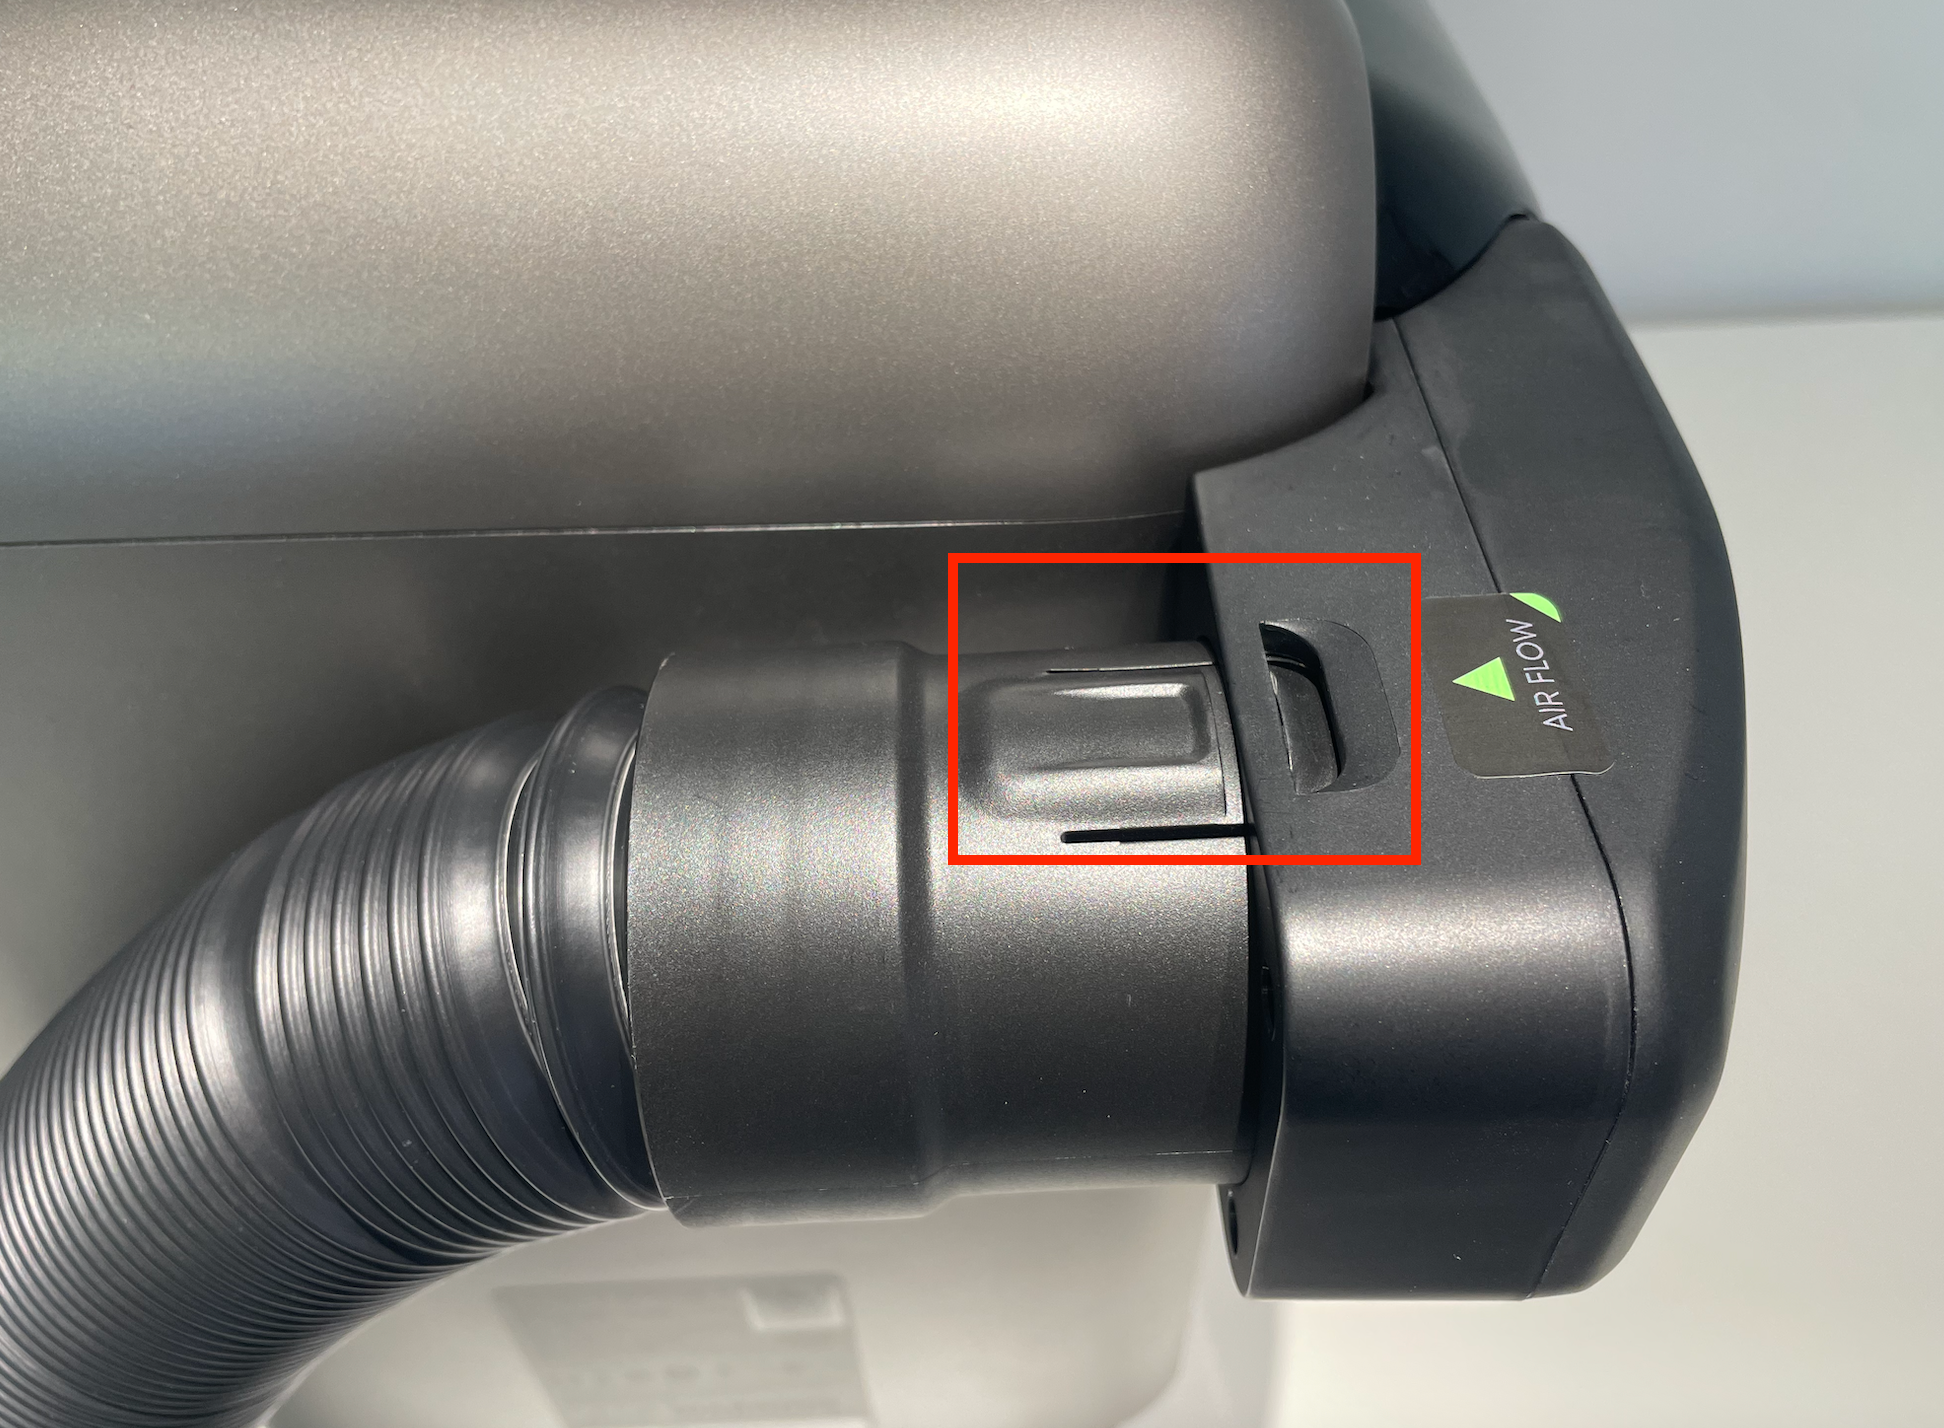
Connect the inlet end of the 1 m exhaust hose to the air guide's outlet.
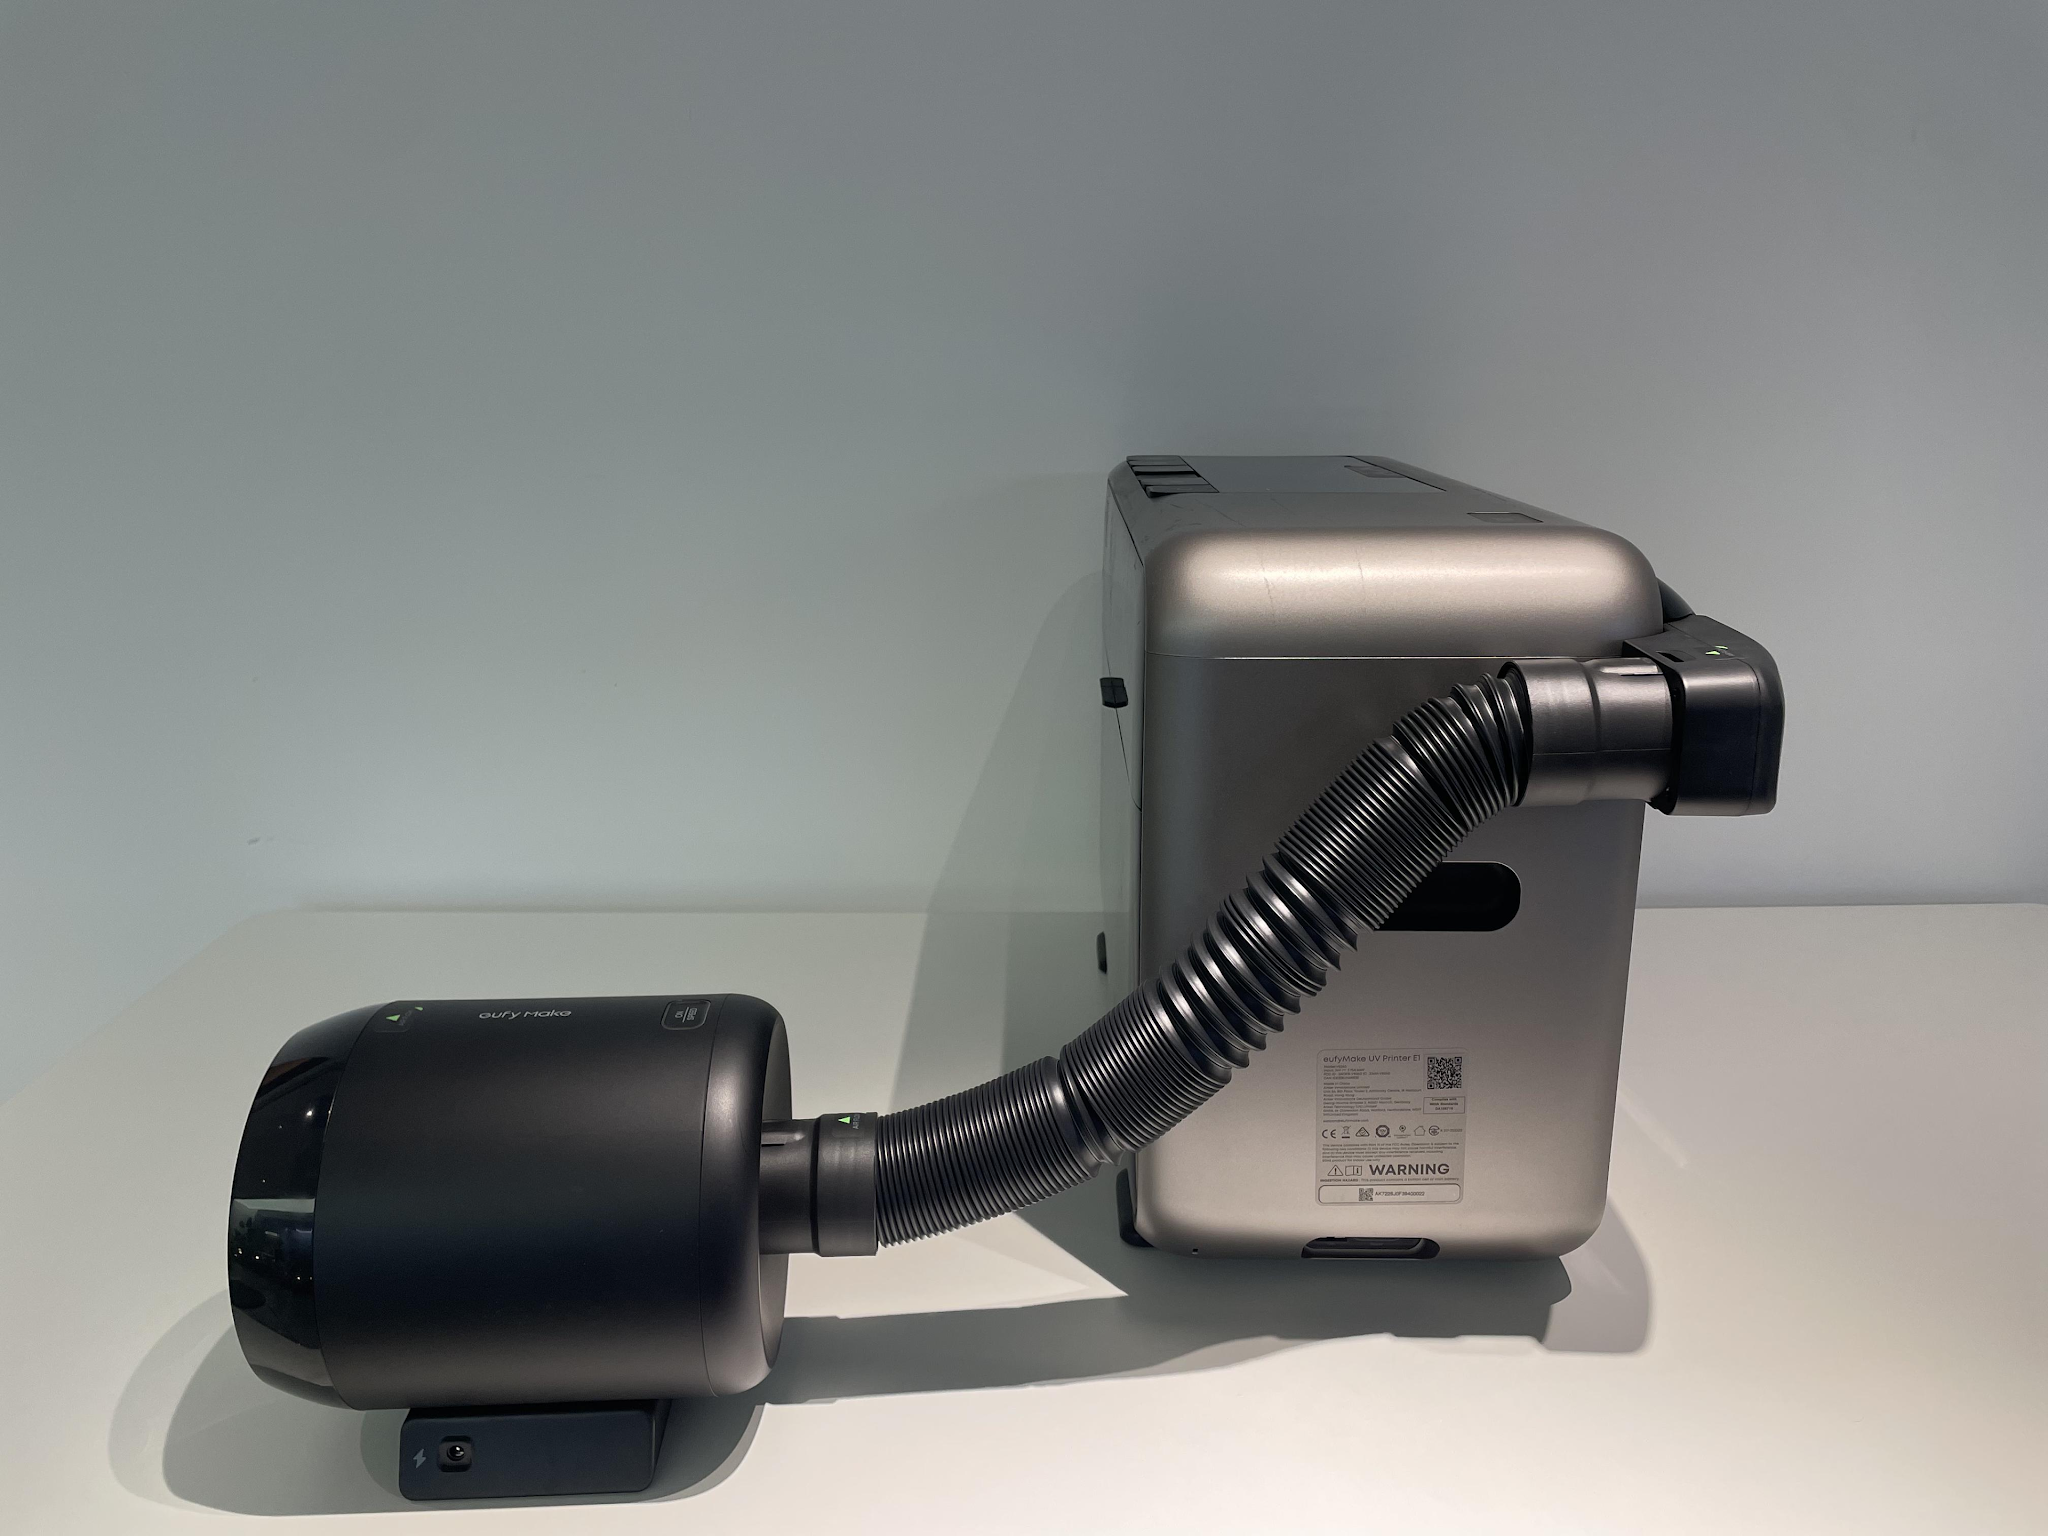
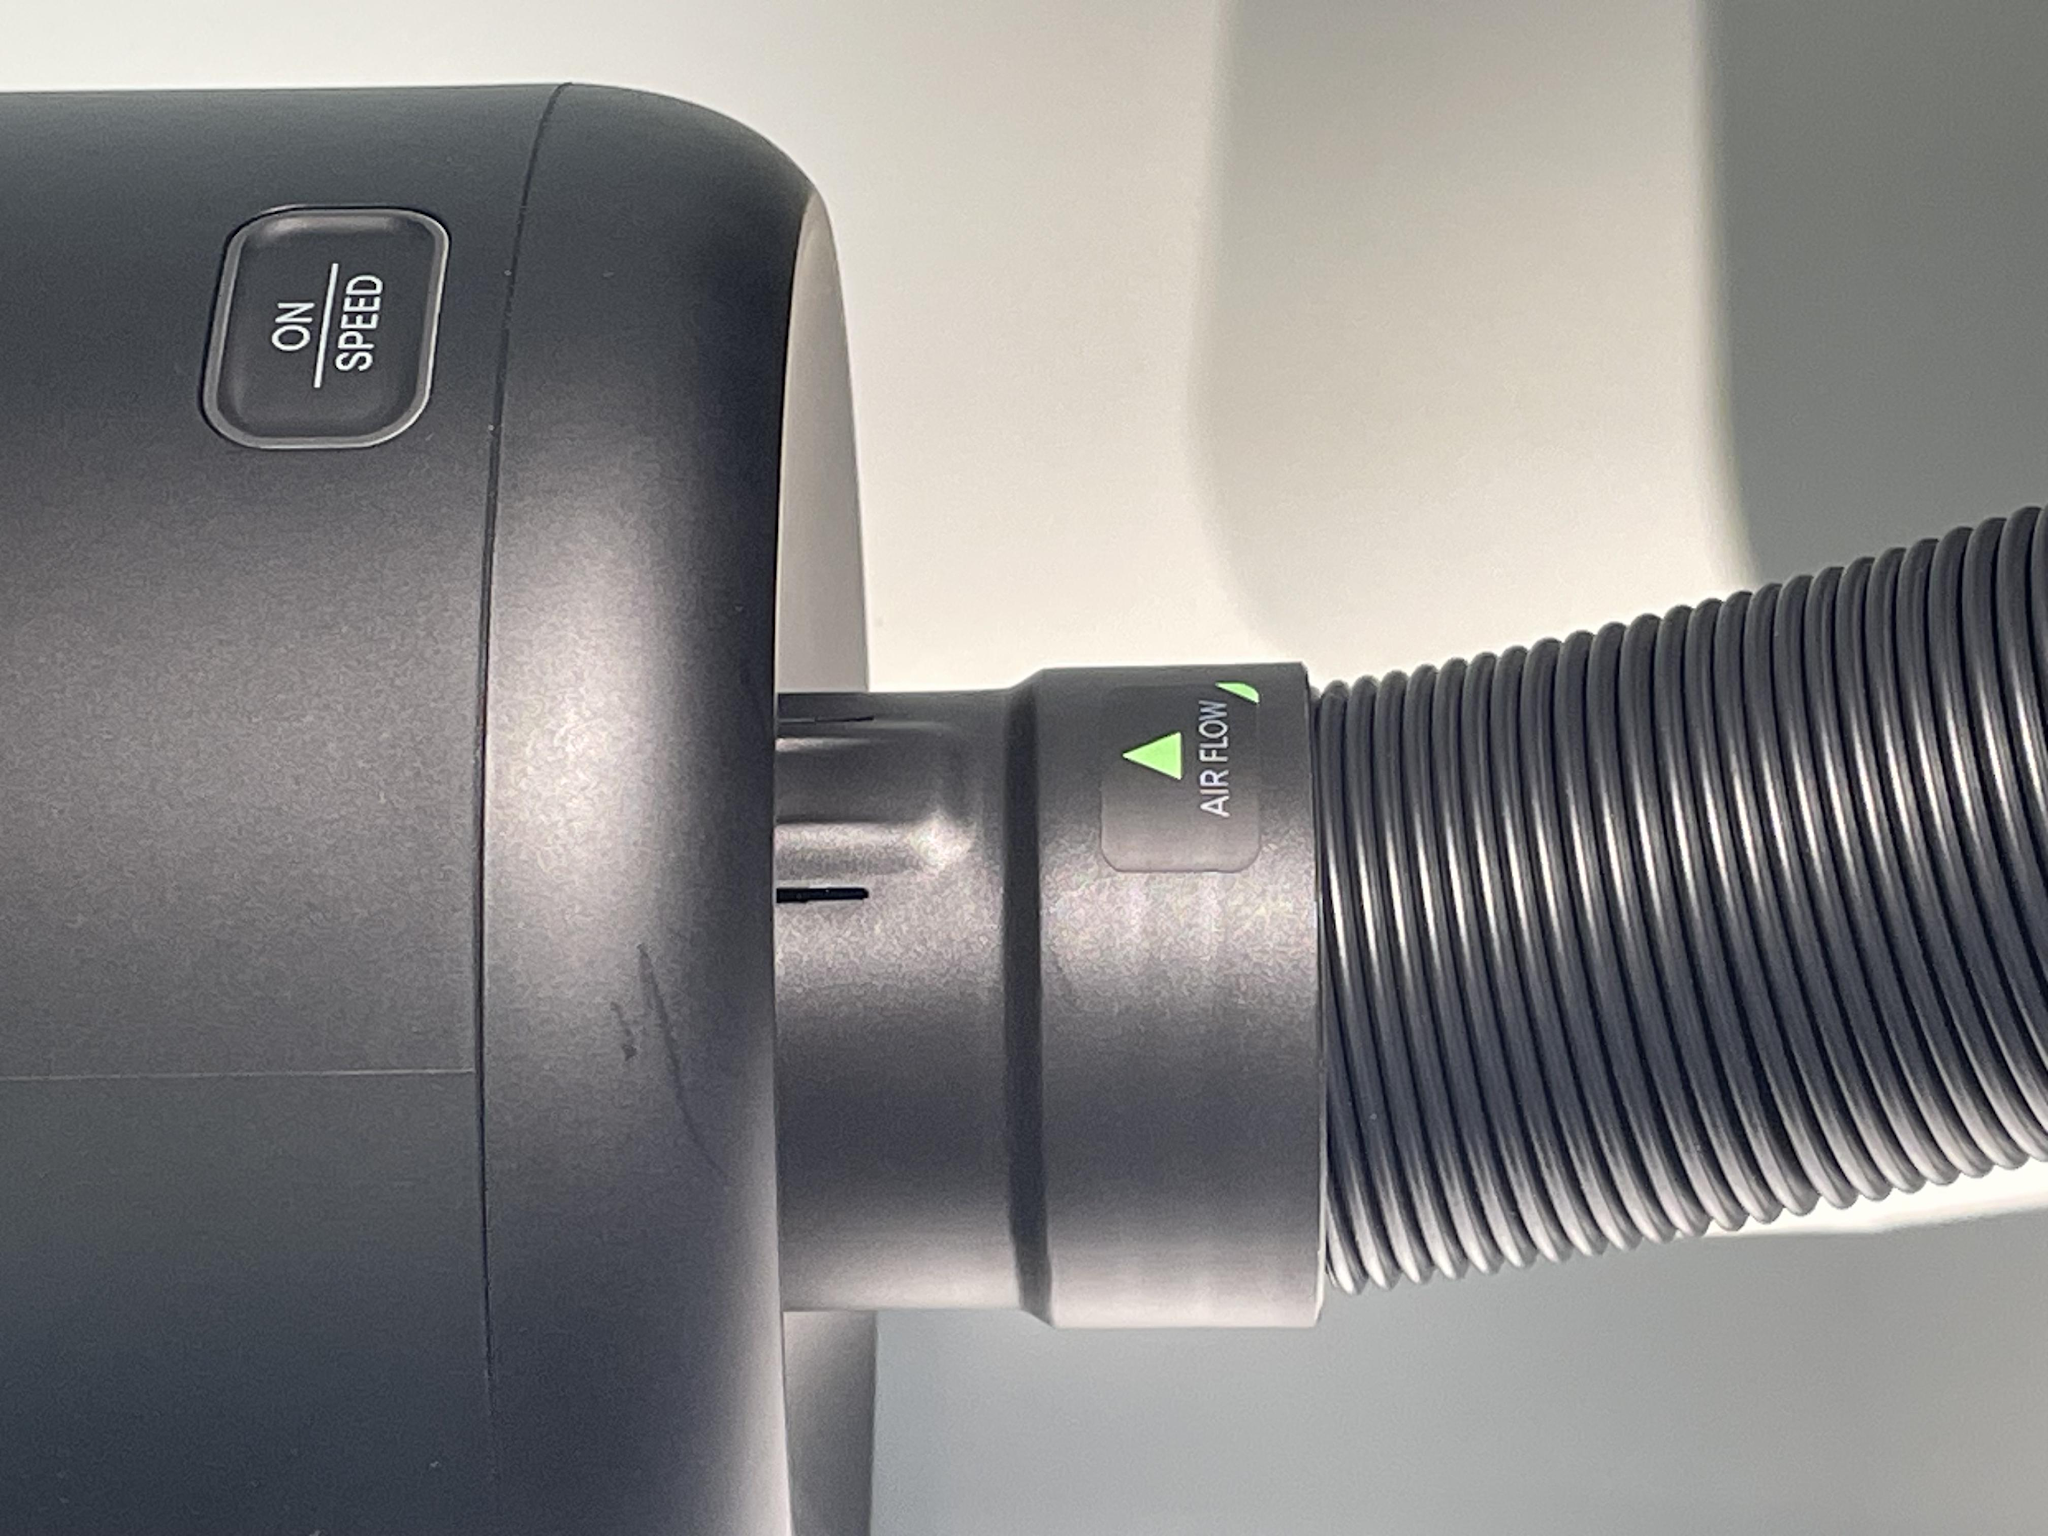
Connect the outlet end of the 1 m exhaust hose to the fan's inlet.
Step 4: Connect the 3 m Exhaust Hose
Connect the connector end of the 3 m exhaust hose to the fan's outlet.
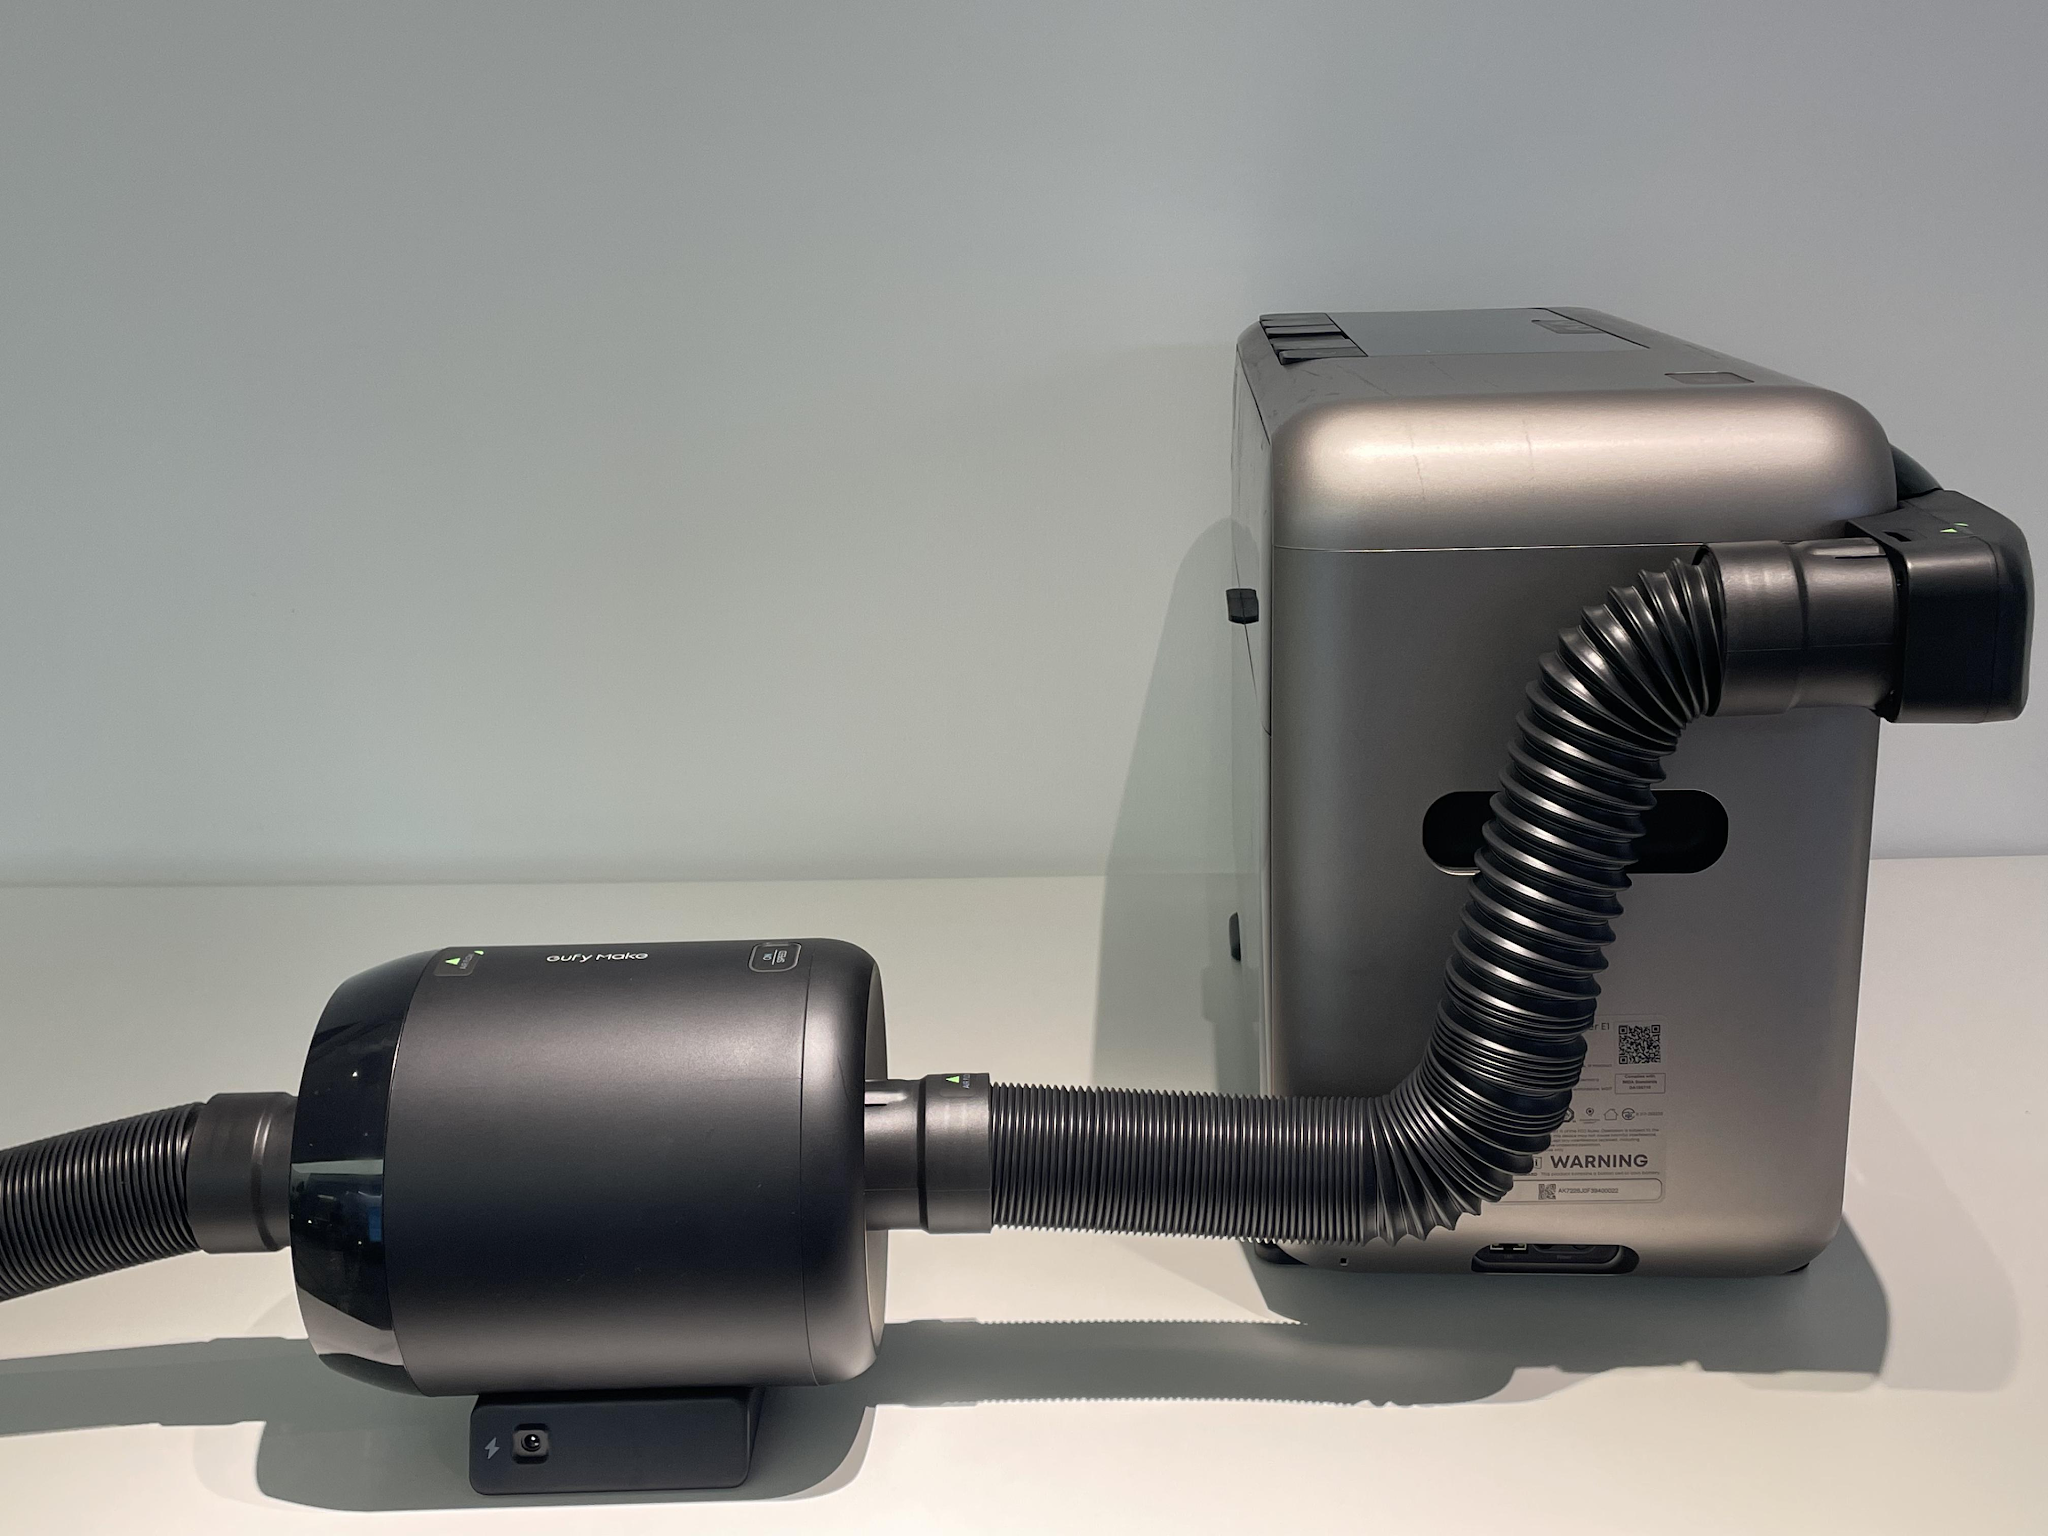
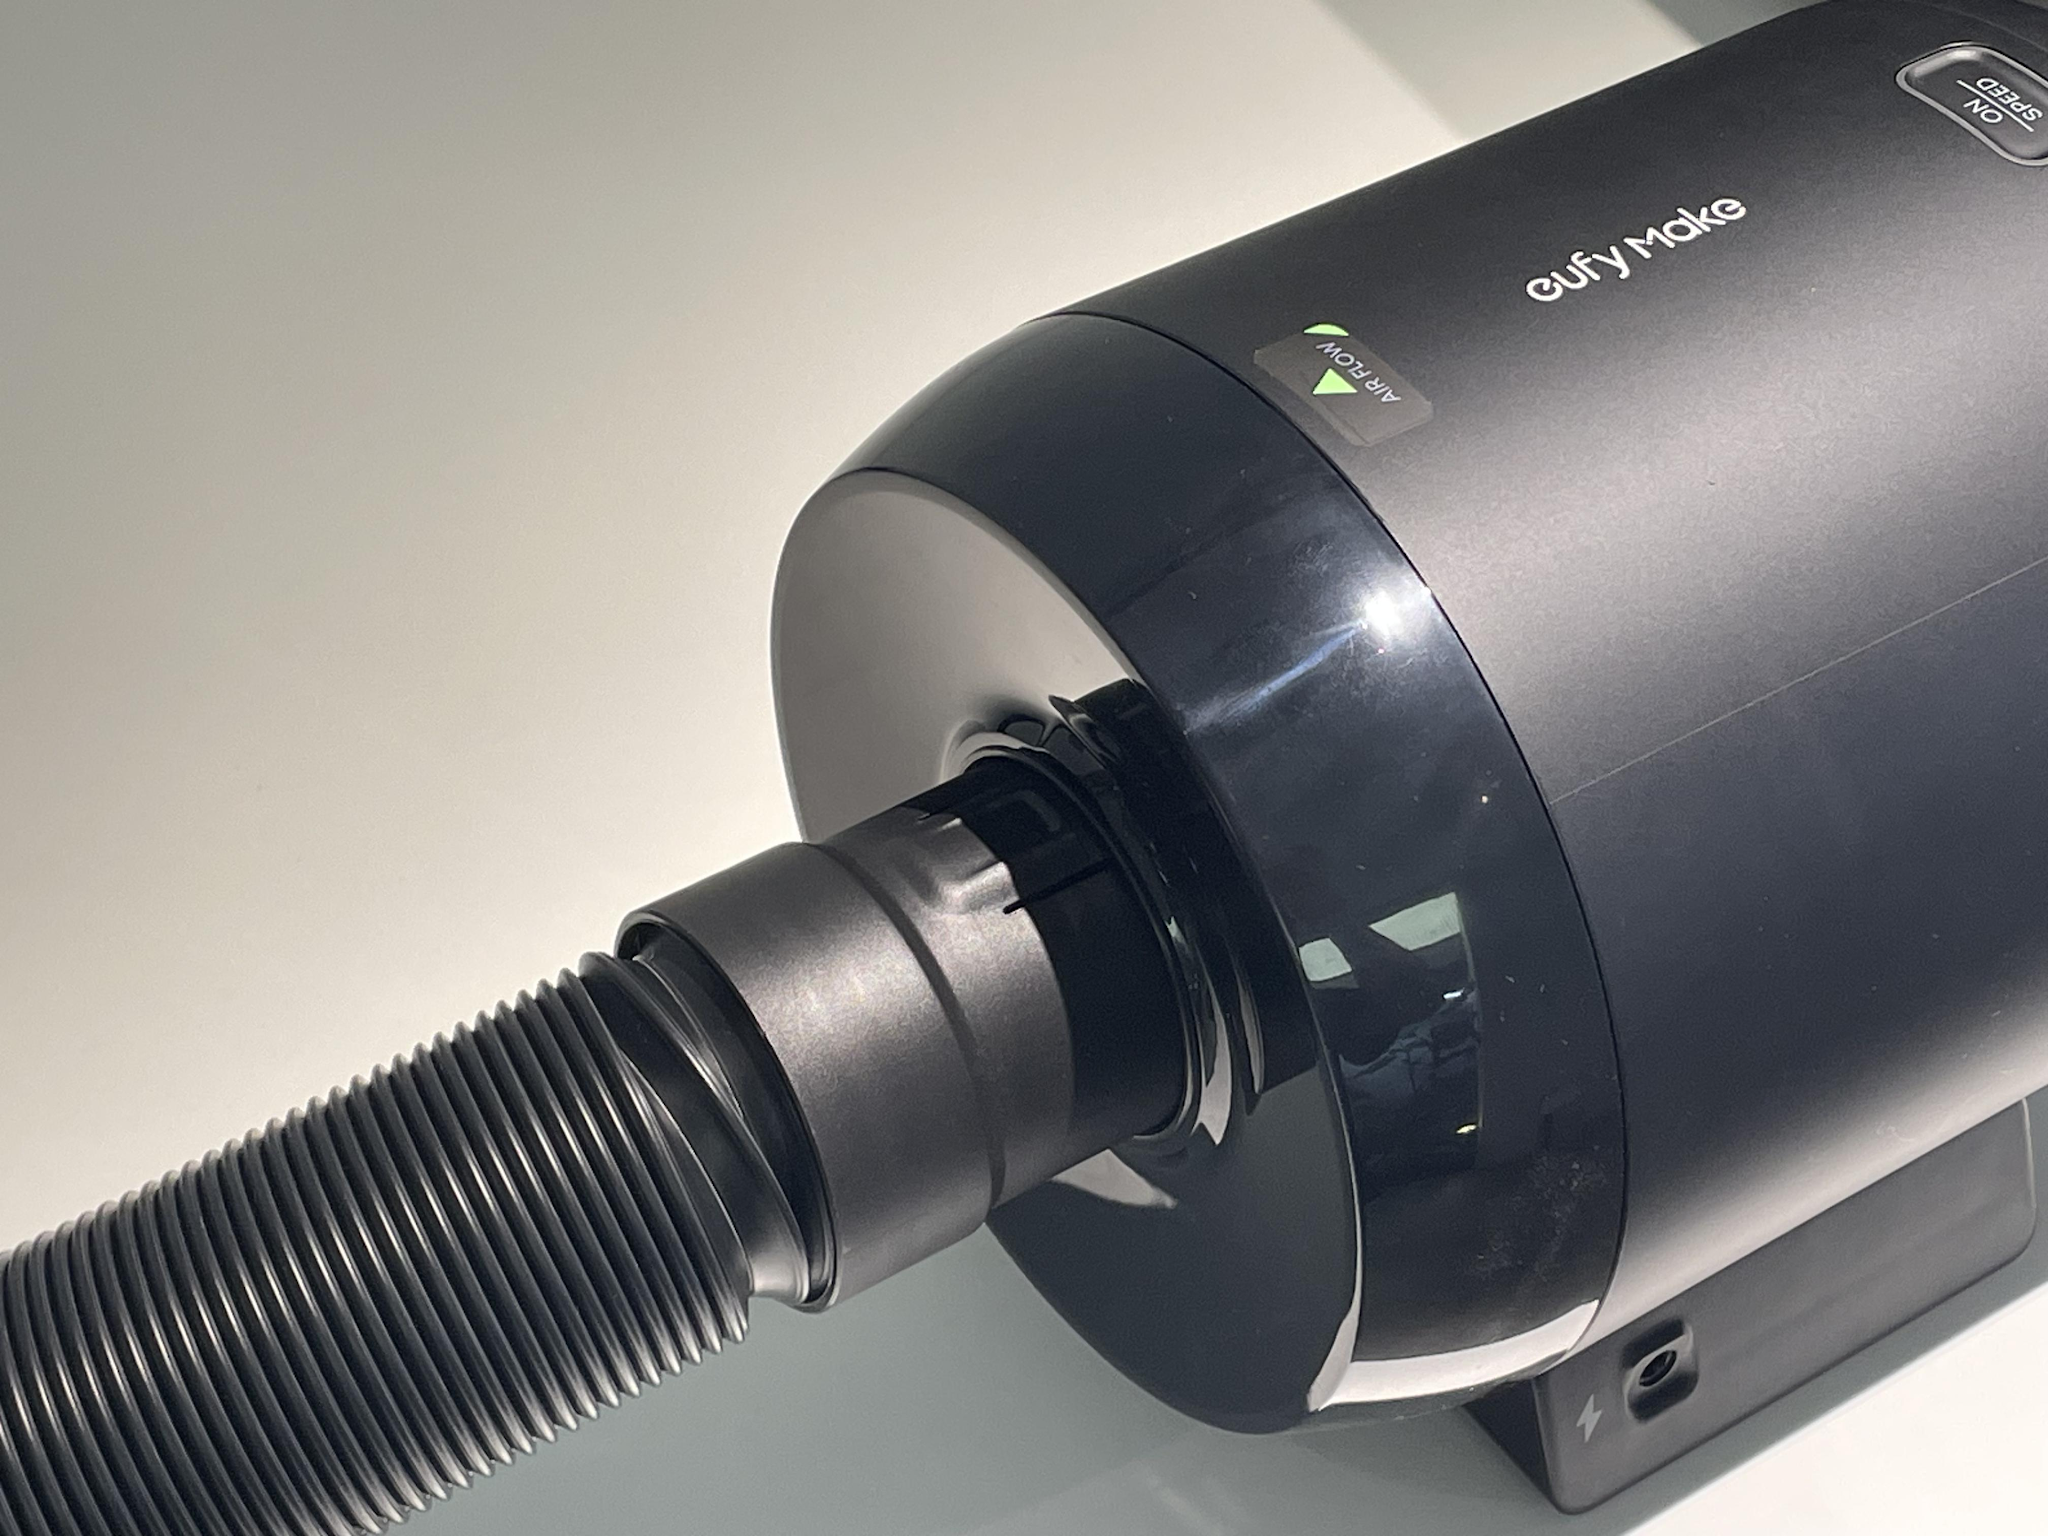
Step 5: Route the Hose Outdoors
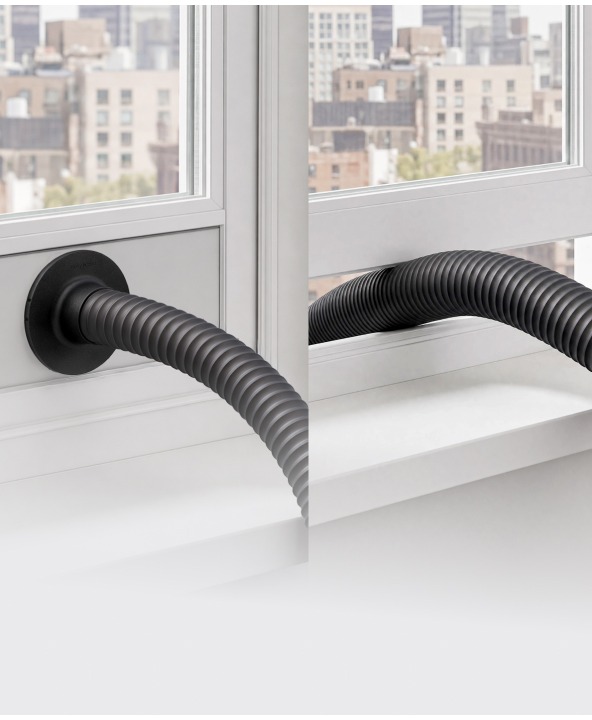
Place the 3 m hose assembly at the window for ventilation. You can use a Window Adapter to secure the end of the hose and accommodate different window types.
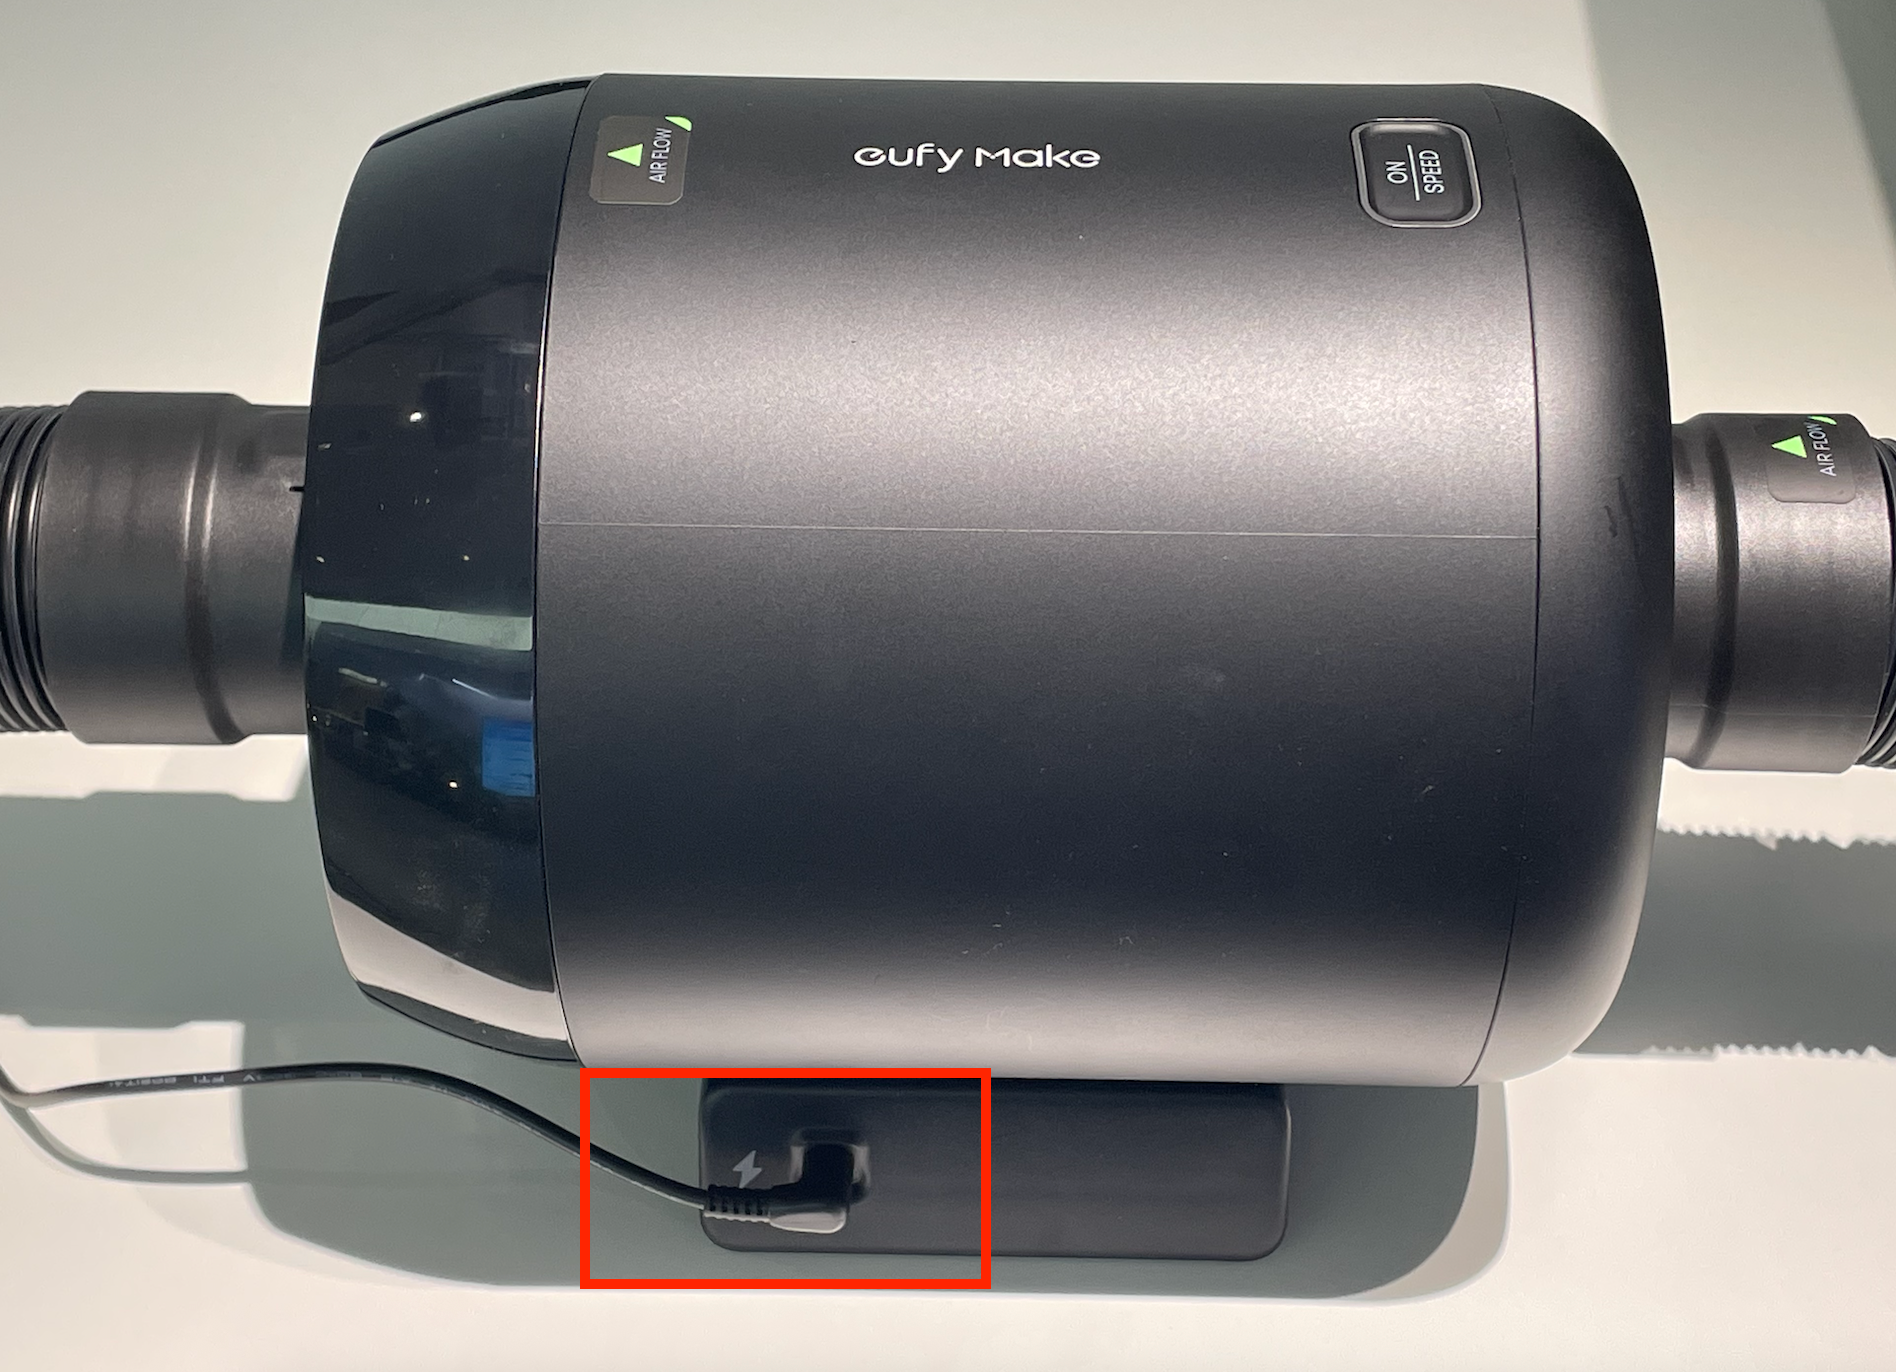
Step 6: Connect Power
Connect the power adapter and prepare to turn on the unit.
Placement Options
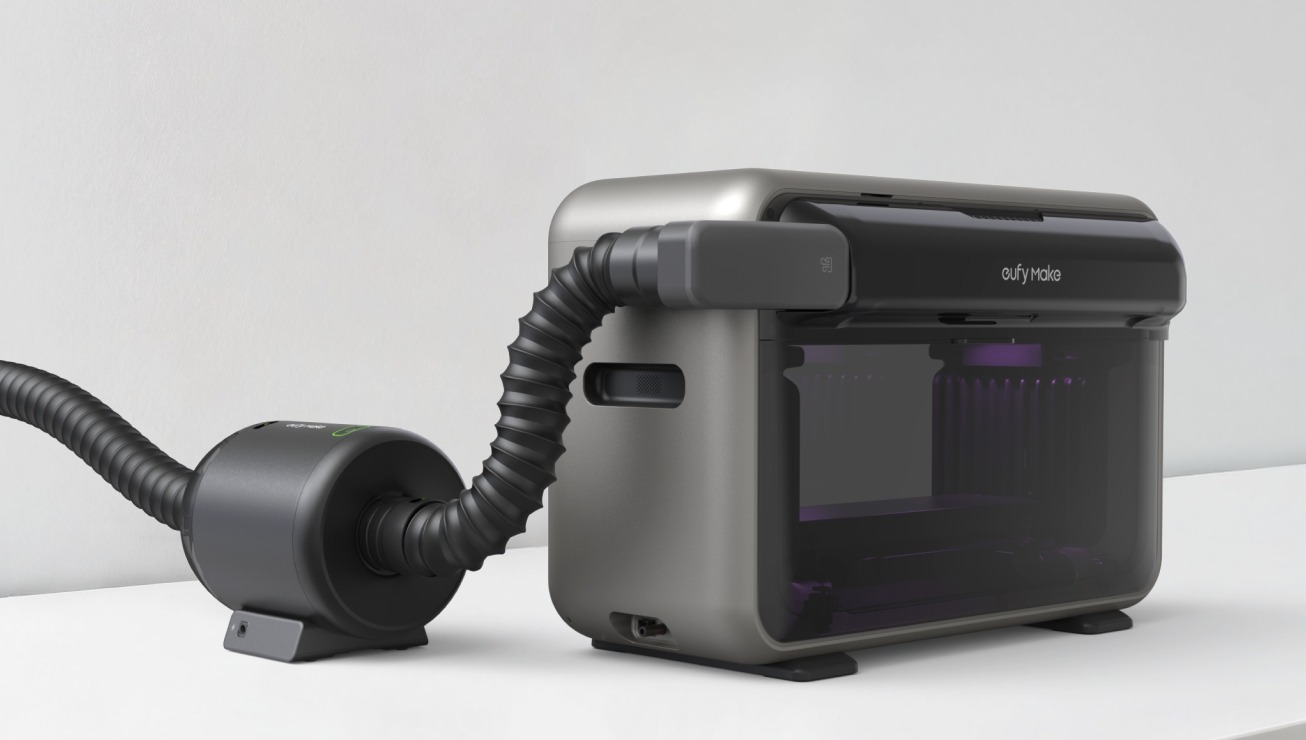
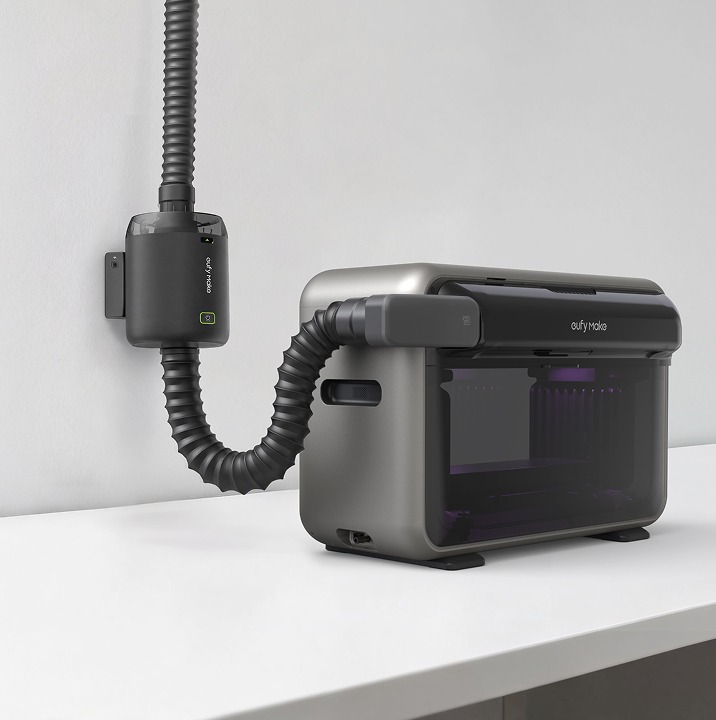
T520Q supports both desktop placement and wall mounting. Its foldable exhaust hose allows it to adapt to different desktop and wall layouts. Wall mounting is available in two orientations: vertical and horizontal.
Option 1: Desktop Placement
Place the fan flat on a desktop near the printer.
Main unit dimensions: 215 × 180 × 198 mm (L × W × H). Before purchasing, make sure your desktop or wall has enough space for the ventilation accessory, and leave sufficient room for routing the exhaust hose.
Option 2: Wall Mounting (Vertical)
-
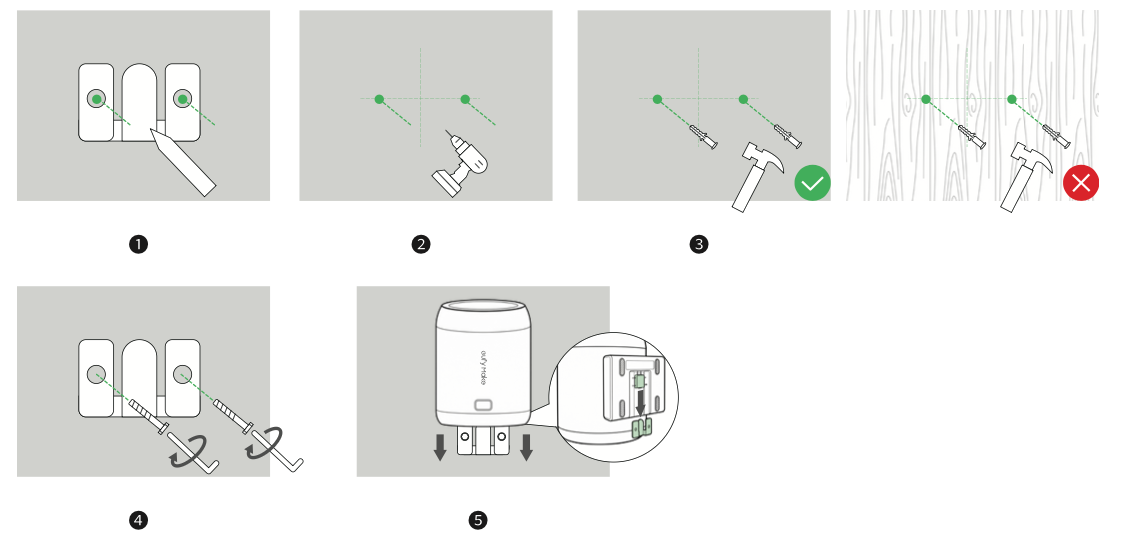
Positioning: Determine the wall-mount location.
-
Drilling: Drill holes at the marked positions on the wall.
-
Insert anchors: Insert the wall anchors. Skip this step for wooden walls.
-
Install the mounting bracket: Secure the mounting bracket to the wall.
-
Mount the fan: Slide the fan into the mounting bracket.
Option 3: Wall Mounting (Horizontal)
-
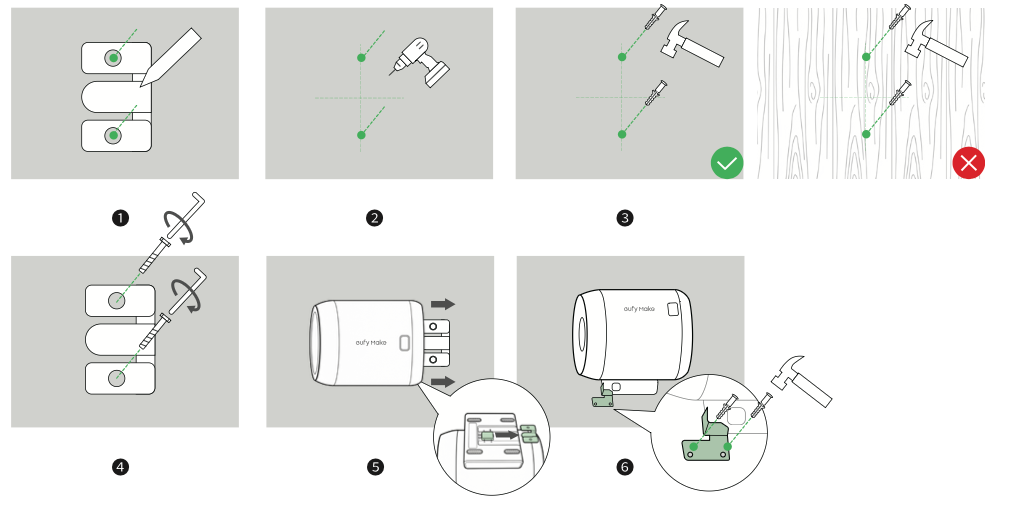
Positioning: Determine the wall-mount location.
-
Drilling: Drill holes at the marked positions on the wall.
-
Insert anchors: Insert the wall anchors. Skip this step for wooden walls.
-
Install the mounting bracket: Secure the mounting bracket to the wall.
-
Mount the fan: Slide the fan into the mounting bracket.
Wall-Mounting Precautions
-
The wall must be sturdy and able to support the fan's weight.
-
Do not install the fan near curtains, blinds, or other items that could be sucked into the motor.
-
Do not use the fan in explosive, highly flammable, or extremely dusty environments.
-
The mounting surface must be completely flat and rigid.
-
After installation and before connecting power, manually check the fan's stability. Grasp the edge of the fan and pull gently. It should not wobble, shift, or make abnormal noises.
FAQ's
Q: What tools are needed for wall mounting?
You need to provide your own electric drill. The wall must be sturdy and load-bearing. Wall anchors can be omitted for wooden walls.
Q: How long can the exhaust hose extend?
The inlet hose is 1 m long, and the outlet hose is 3 m long. Both can be folded for storage.
Q: Can I use it without a window?
No. T520Q must vent gases outdoors. For windowless environments, choose the T5216 Purifier P1 Kit instead.


