Precautions
When performing any mechanical inspection or adjustment, always power off the device first to ensure safety.
Fault Phenomenon
The roller film feeding system is a core mechanical transmission component of the laminating machine. When an issue occurs, it commonly presents in one or more of the following ways:
-
Roller does not rotate – The roller does not move after the film feeding function is started.
-
Abnormal roller speed – The roller rotates too quickly, too slowly, or inconsistently.
-
Film feeding is not smooth – The film cannot be fed or transported properly.
-
Roller slippage – The roller rotates but does not effectively drive the film material.
-
Film deviation – The film shifts away from the correct path during feeding.
Possible Causes
-
Motor malfunction – The drive motor is damaged or the power supply is abnormal.
-
Film material quality issues – Uneven thickness or a rough surface on the film material.
-
Roller surface contamination – Dirt, residue, or adhesive buildup on the roller surface.
-
Environmental humidity – Excessive humidity causing the film material to adhere or stick.
-
Sensor A malfunction – The front light sensor is blocked or damaged.
-
Uneven film winding – The film roll is wound unevenly, affecting feeding stability.
Troubleshooting Process
-
Check device status
-
Confirm the device is powered on and receiving normal power.
-
Check the Status indicator light.
-
Confirm there are no other active fault alarms.
-
Verify that B-Film is installed correctly.
-
-
Check safety components
-
Confirm the B-Film lid is fully closed.
-
Check that the safety switch is operating normally.
-
-
Inspect the rollers
-
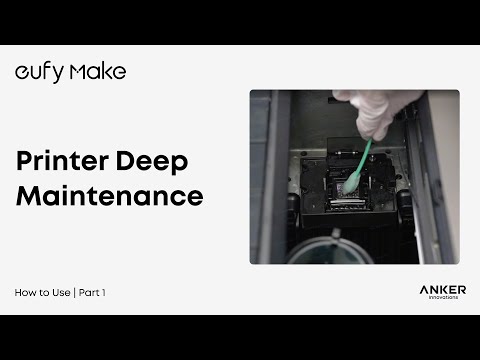
Ensure the roller surface is clean and free of residue.
-
Check for abnormal wear or visible damage.
-
-
Test sensor operation
-
Manually block Sensor A and observe whether the device responds correctly.
-
-
Verify film material specifications
-
Confirm the film thickness is within the supported range.
-
Check that the film width meets device requirements.
-
Support Contact
If the above steps do not resolve the issue, please contact eufyMake Customer Support and include the following information:
-
Your Order Information
-
Printer SN. Please refer to:https://support.eufymake.com/s/article/How-to-Check-the-Device-Serial-Number-SN
-
Printer and App Logs. Please refer to https://support.eufymake.com/s/article/Log-Upload-Process-App-PC-Overview
-
Relevant photos and videos.