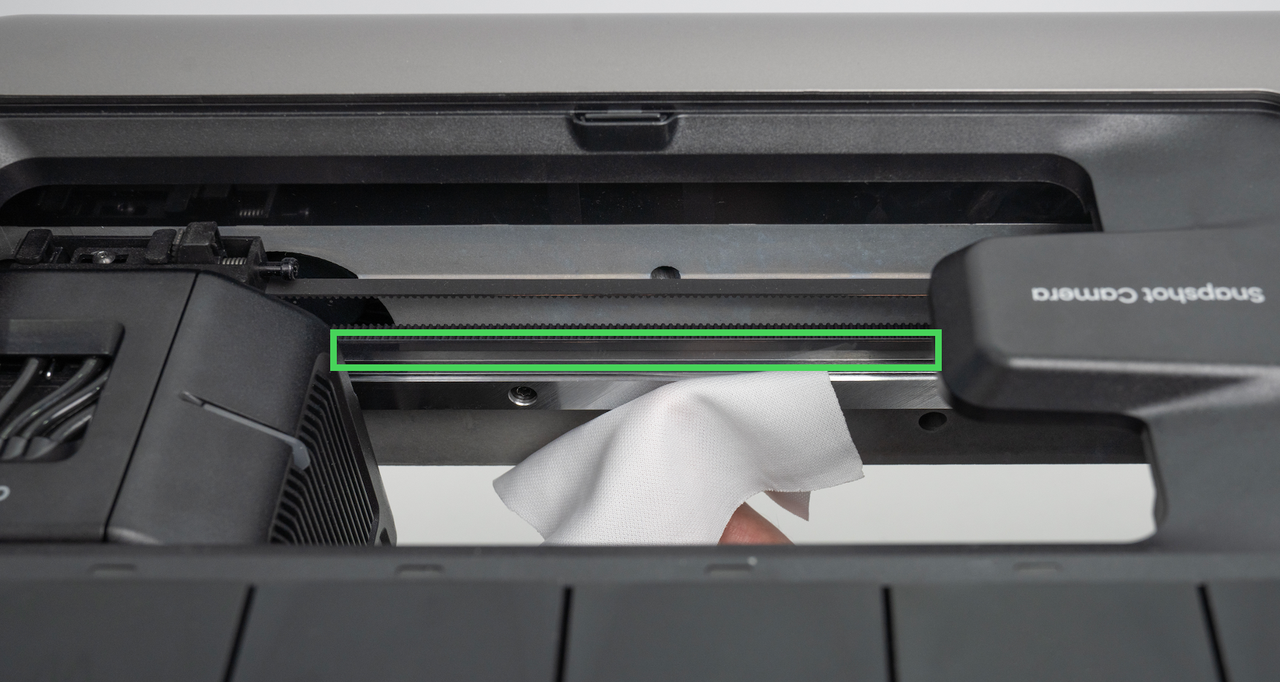
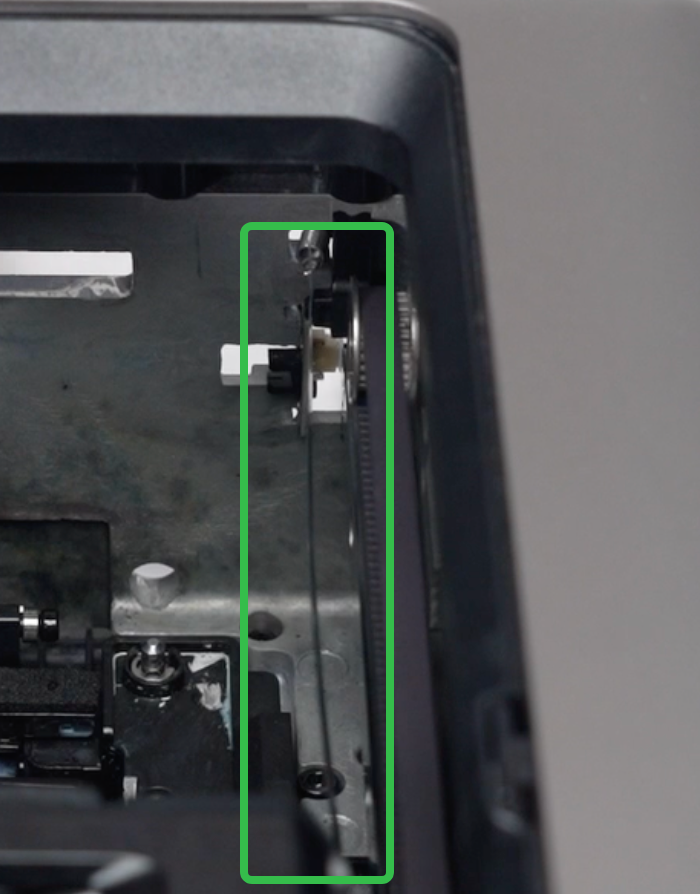
Accessory Introduction
The encoder strip is located above the front X-axis linear rail
Required tools (Self Provided)
-
2.5mm Hex Key
Safety Precautions
-
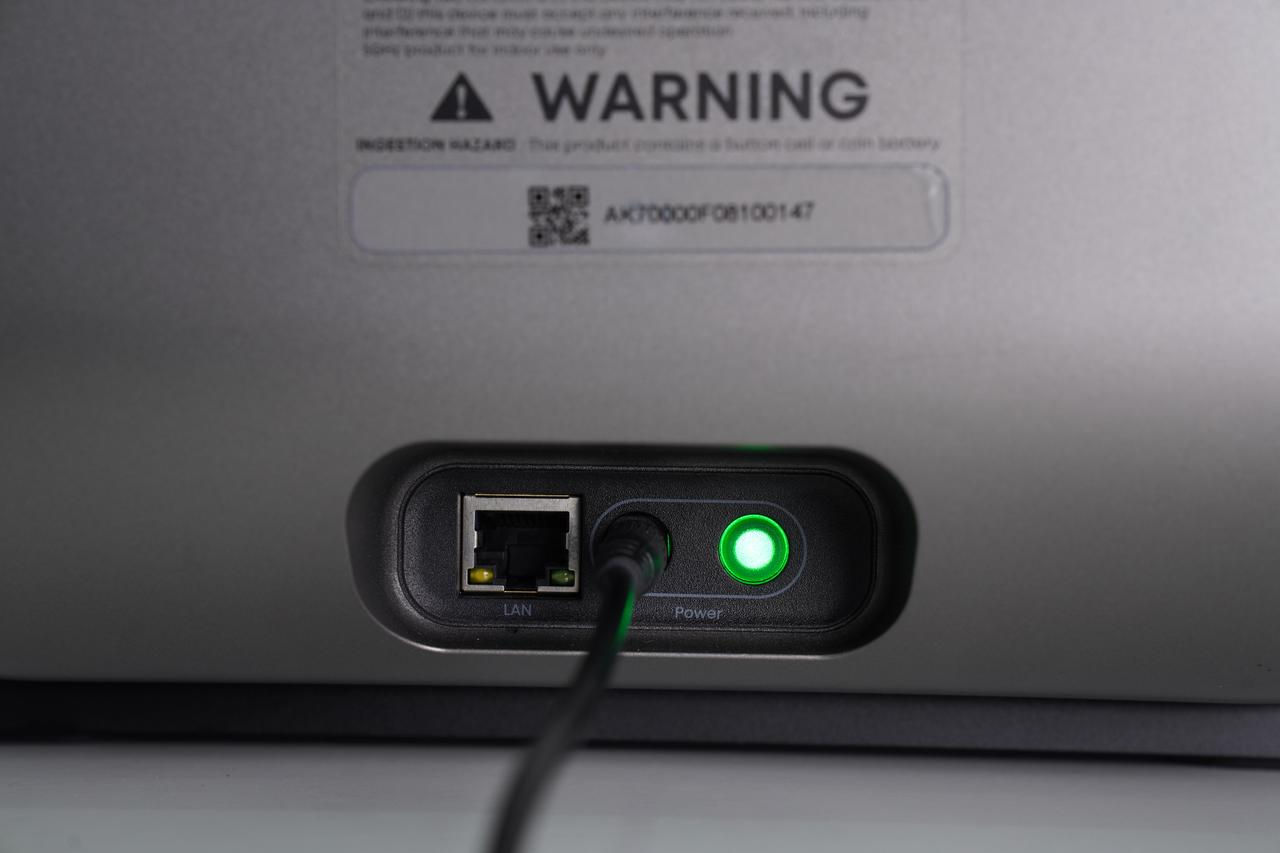
Power off the machine before starting the replacement procedure.
-
Take care to protect the encoder strip throughout the process to prevent contamination, bending, or damage.
Replacement Steps
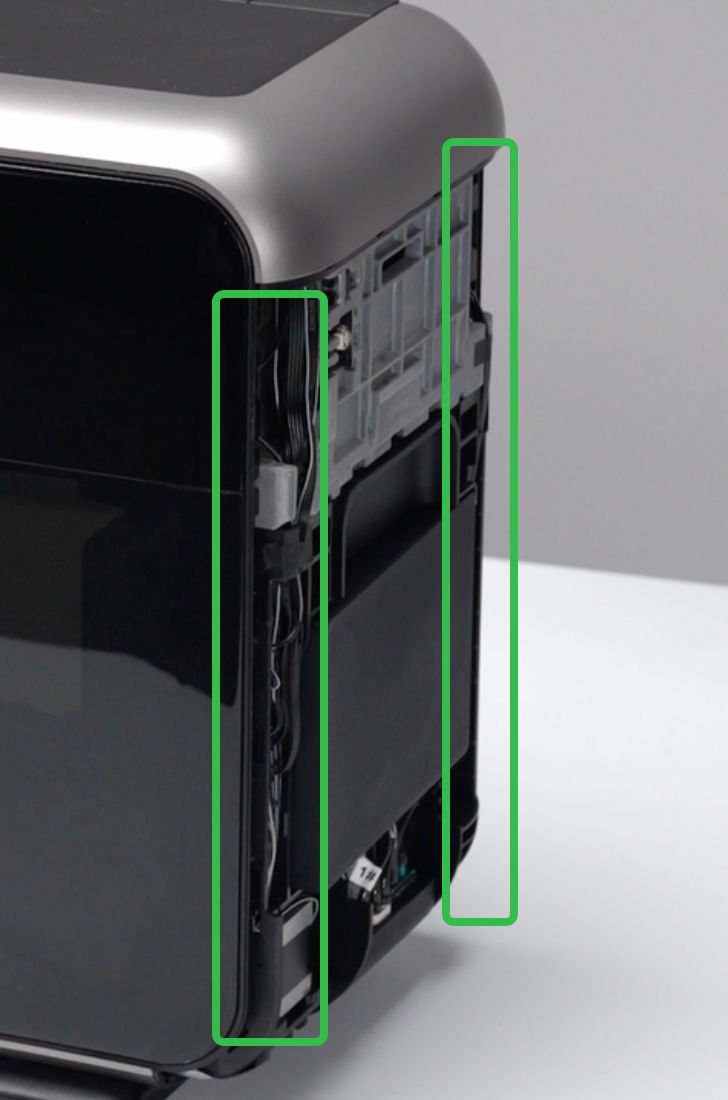
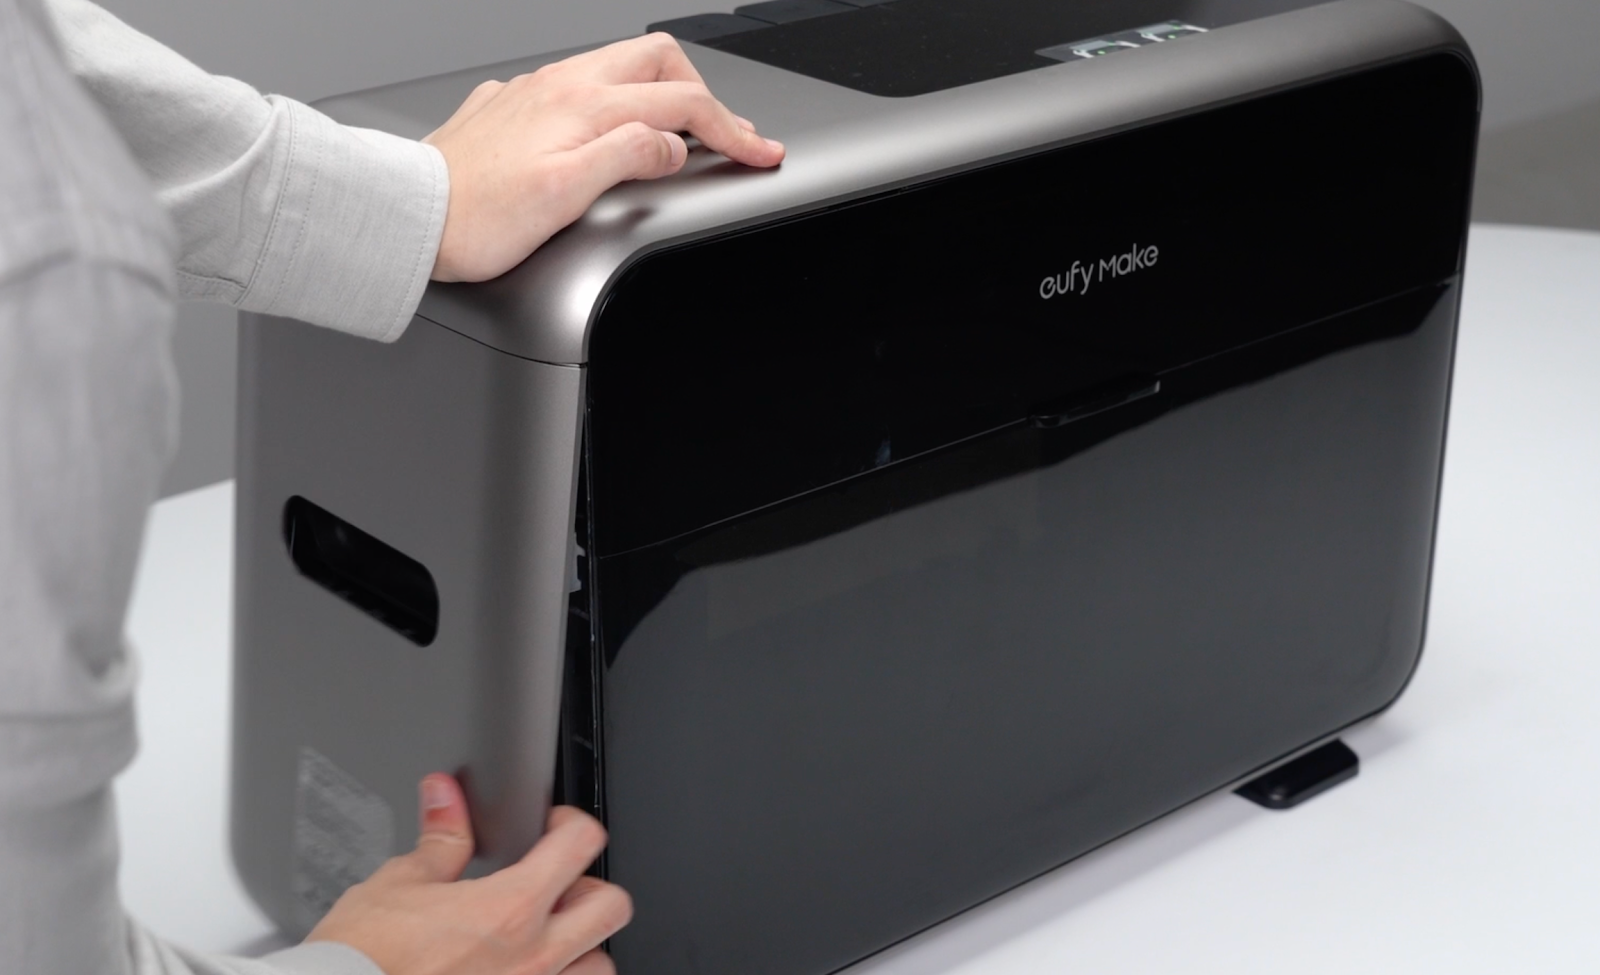
Step 1 - Remove the left and right side shells
-
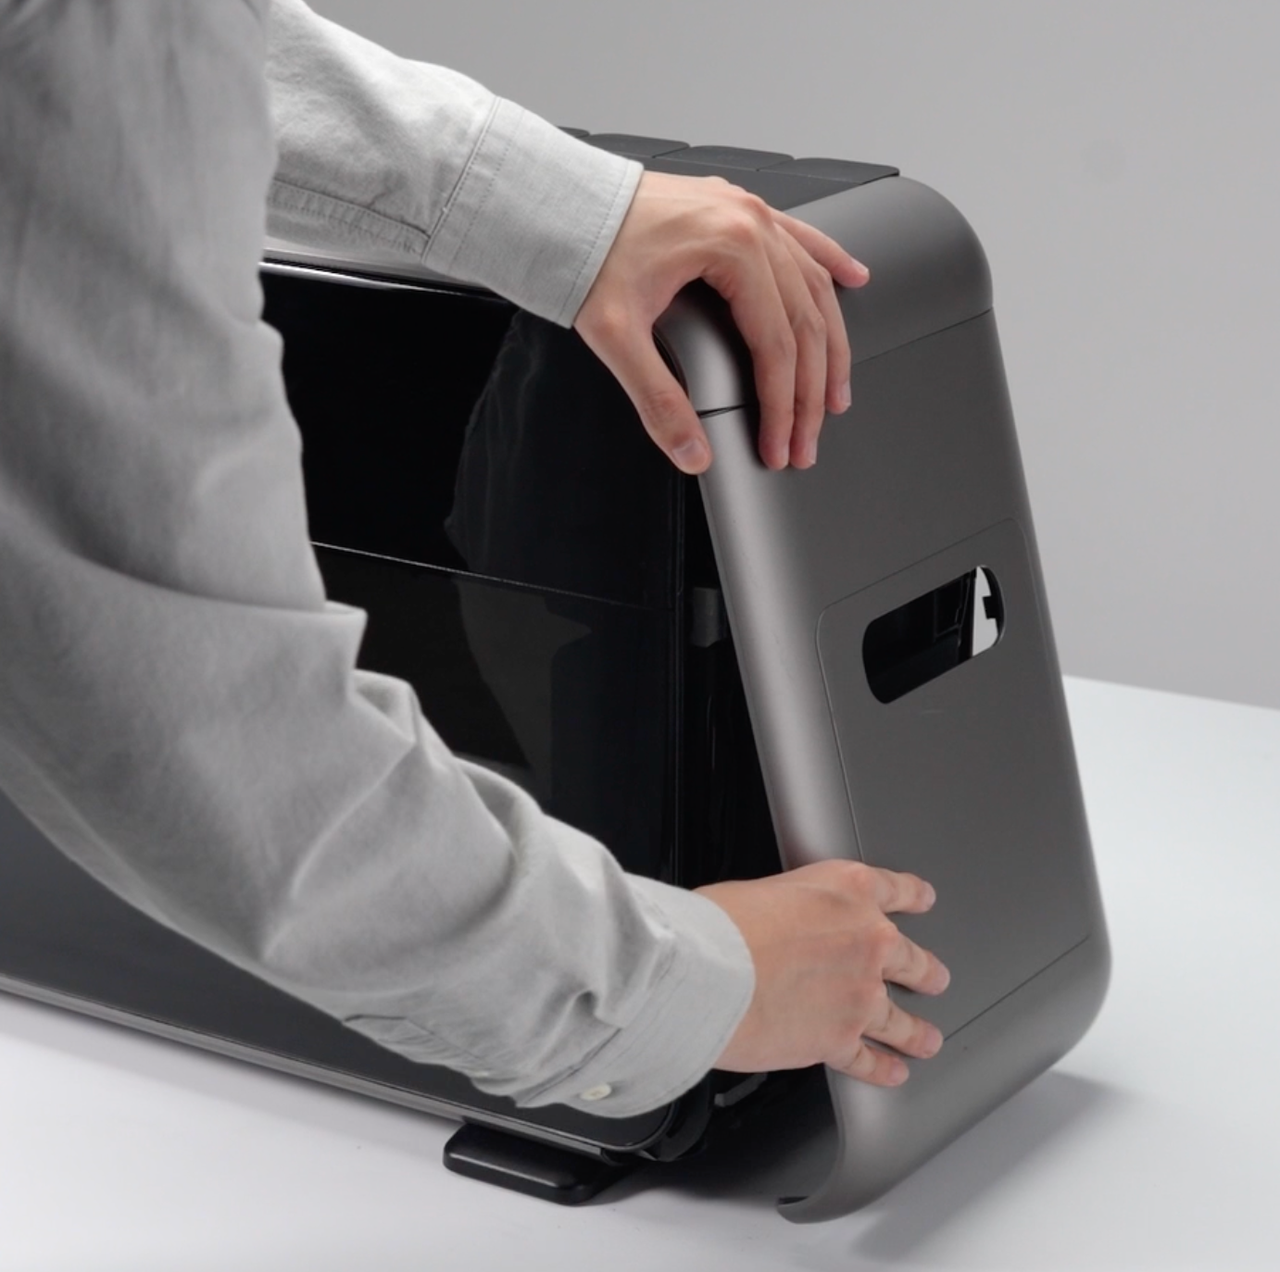
Use a pry tool to pry open a gap along the edges of the left and right side shells of the housing.

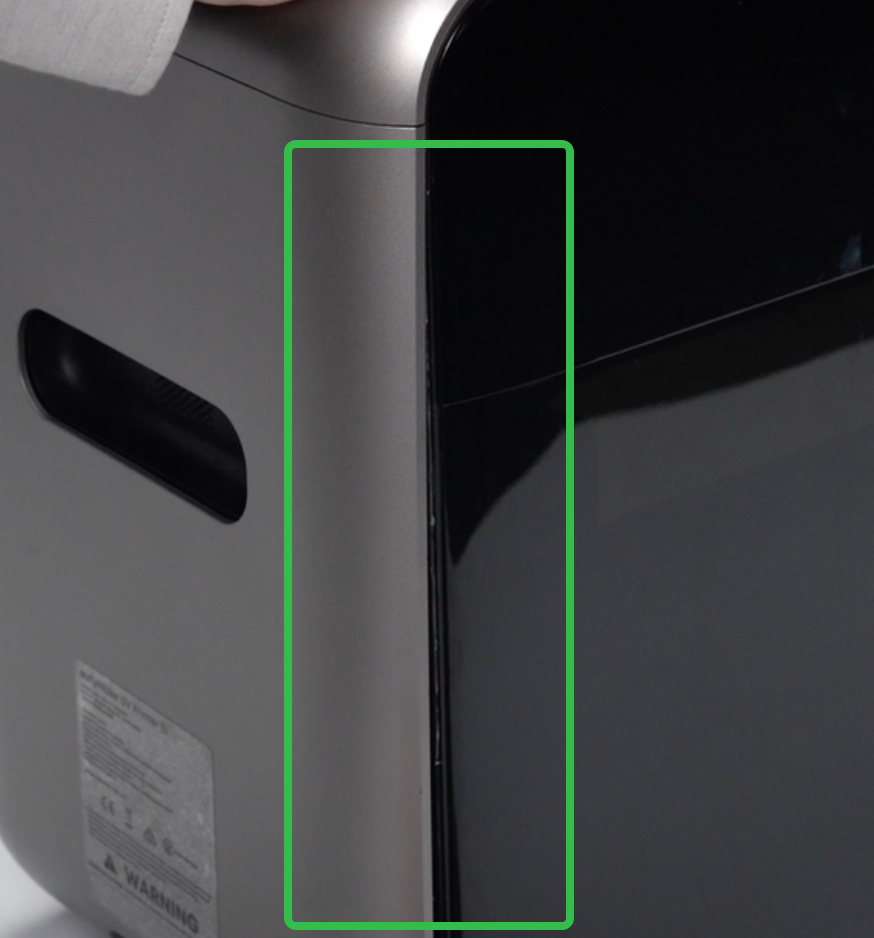
-
Remove the left and right side shells from the machine.
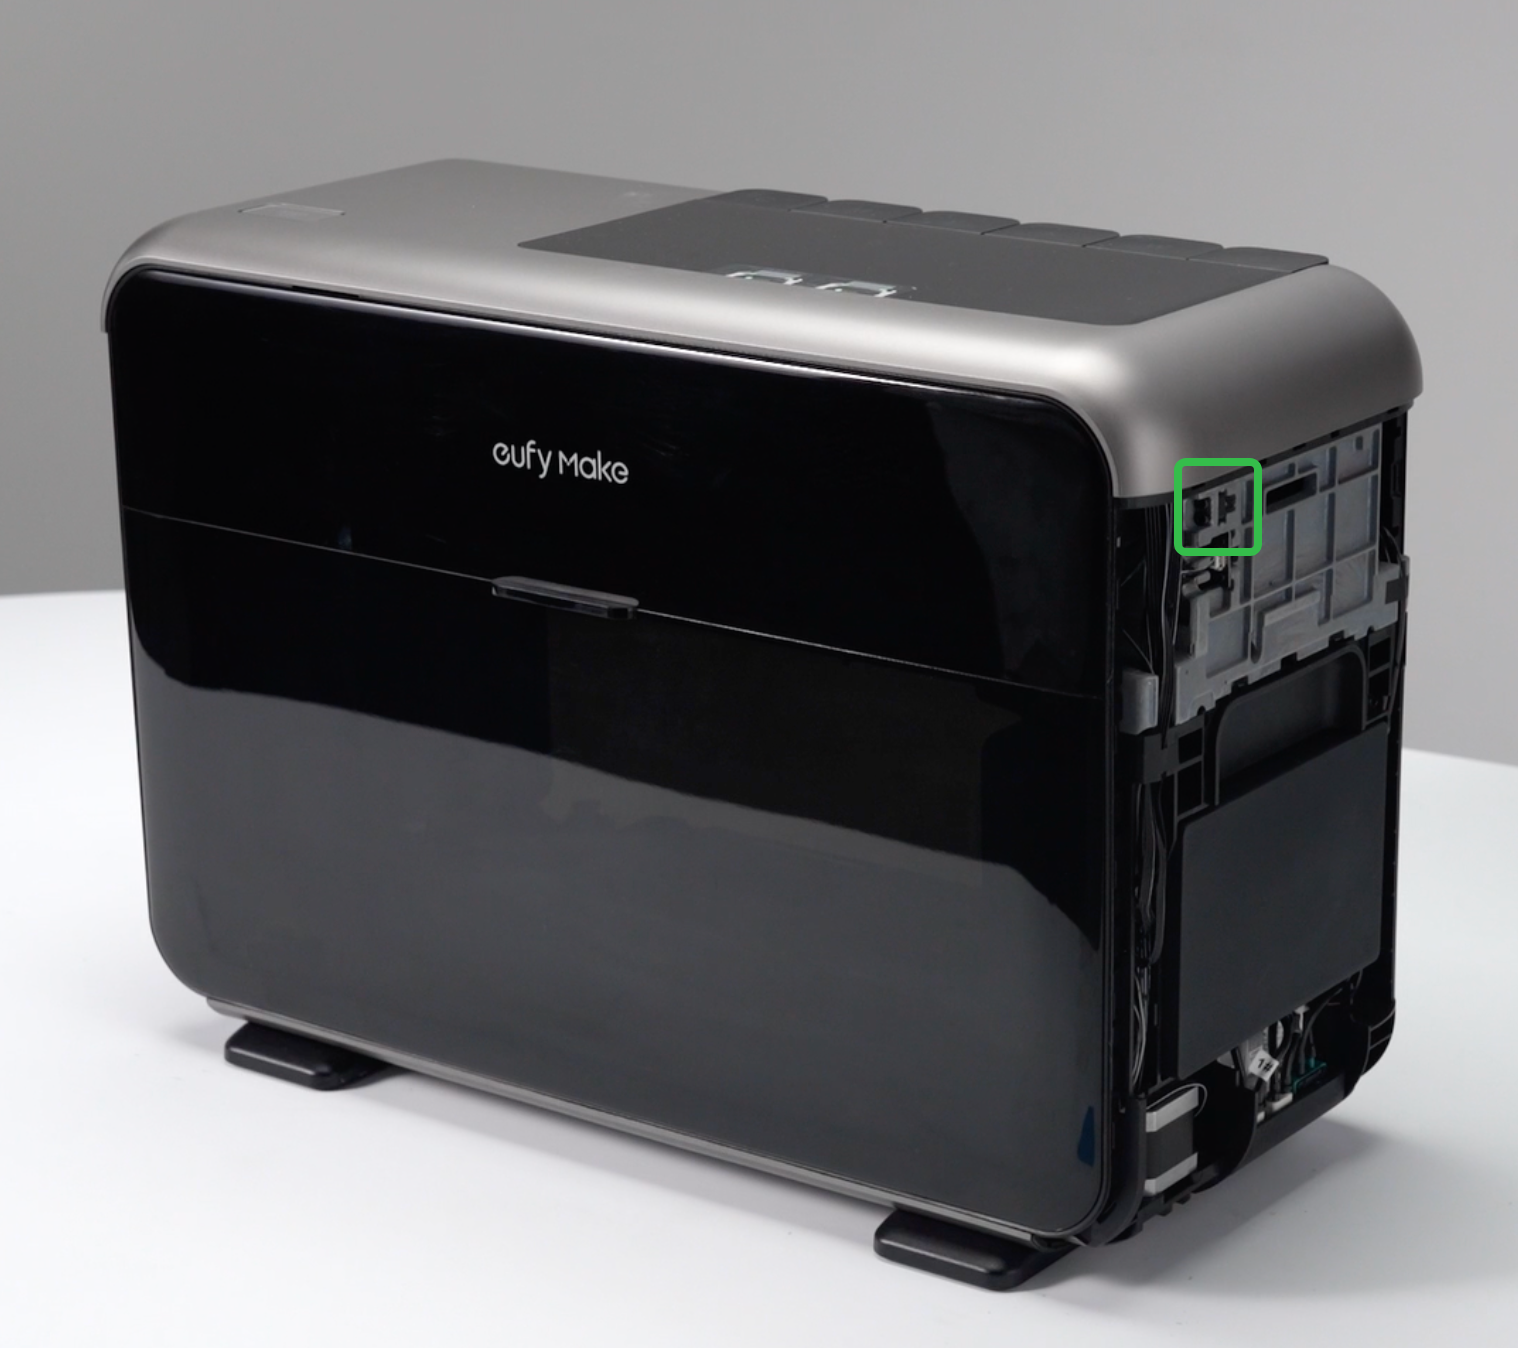
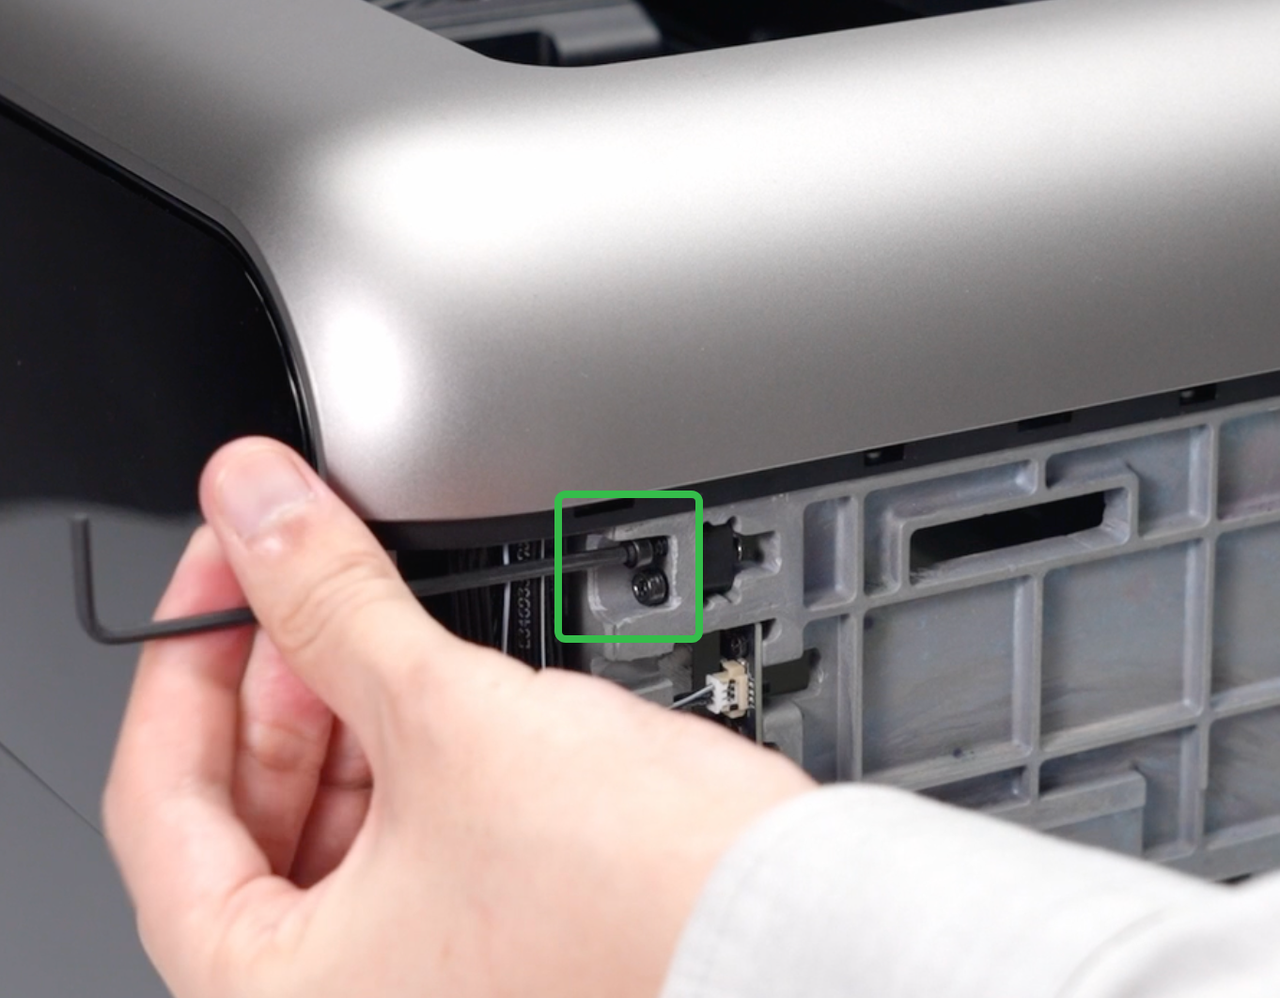
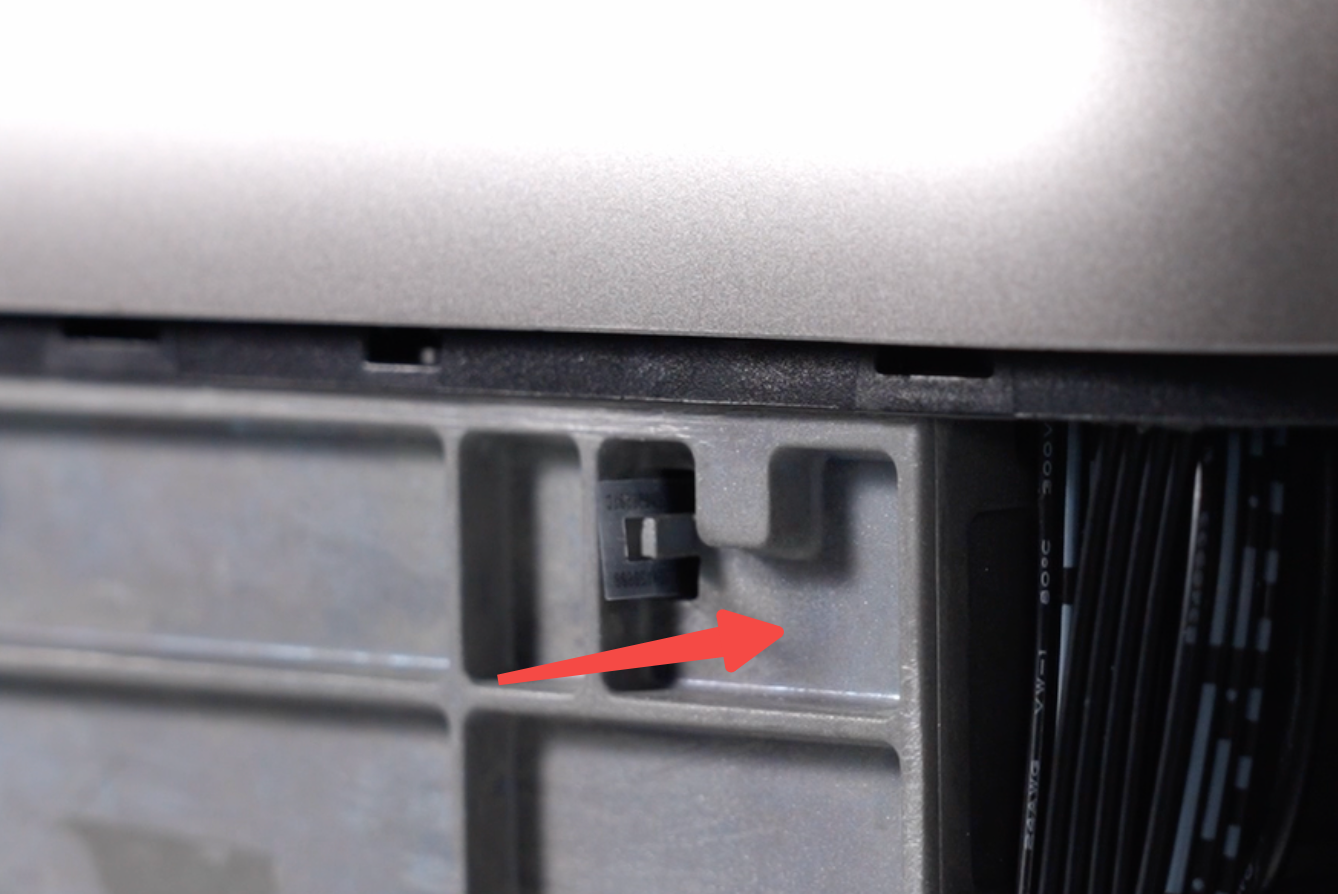
Step 2 - Remove the encoder strip fixing block screws
Using a 2.5mm hex key, remove the screws securing the encoder strip fixing block on the right side of the machine.
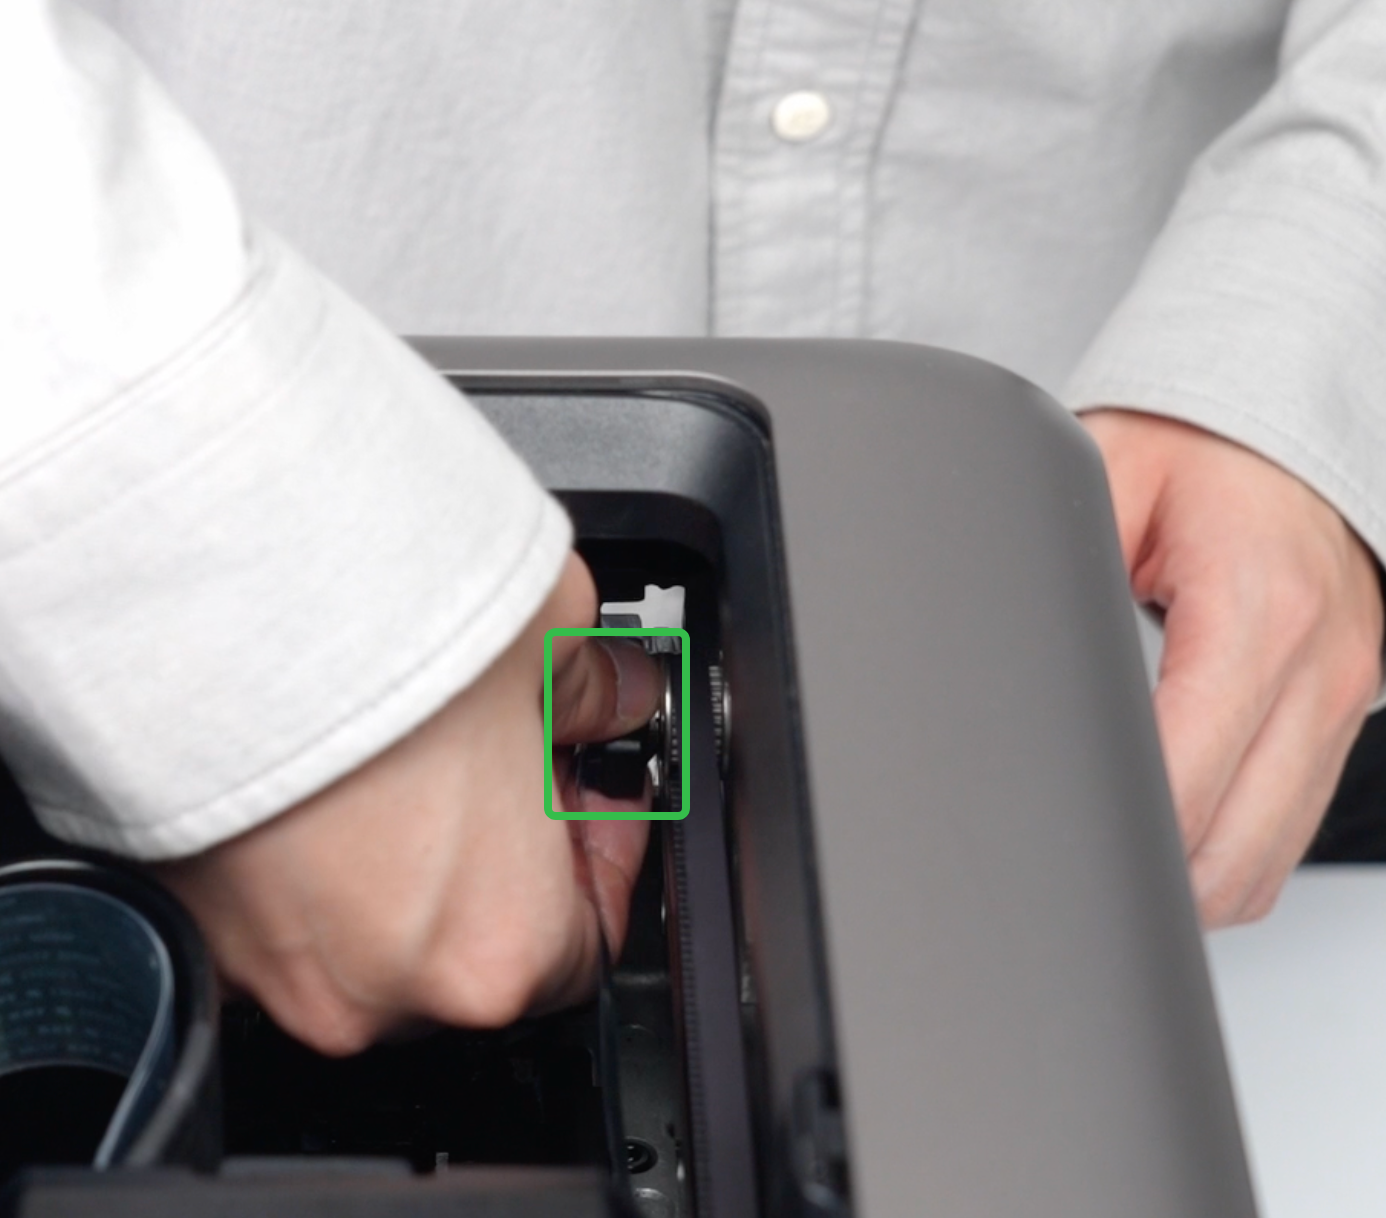
Step 3 - Remove the encoder strip fixing block
Carefully remove the encoder strip fixing block from the inside of the machine.
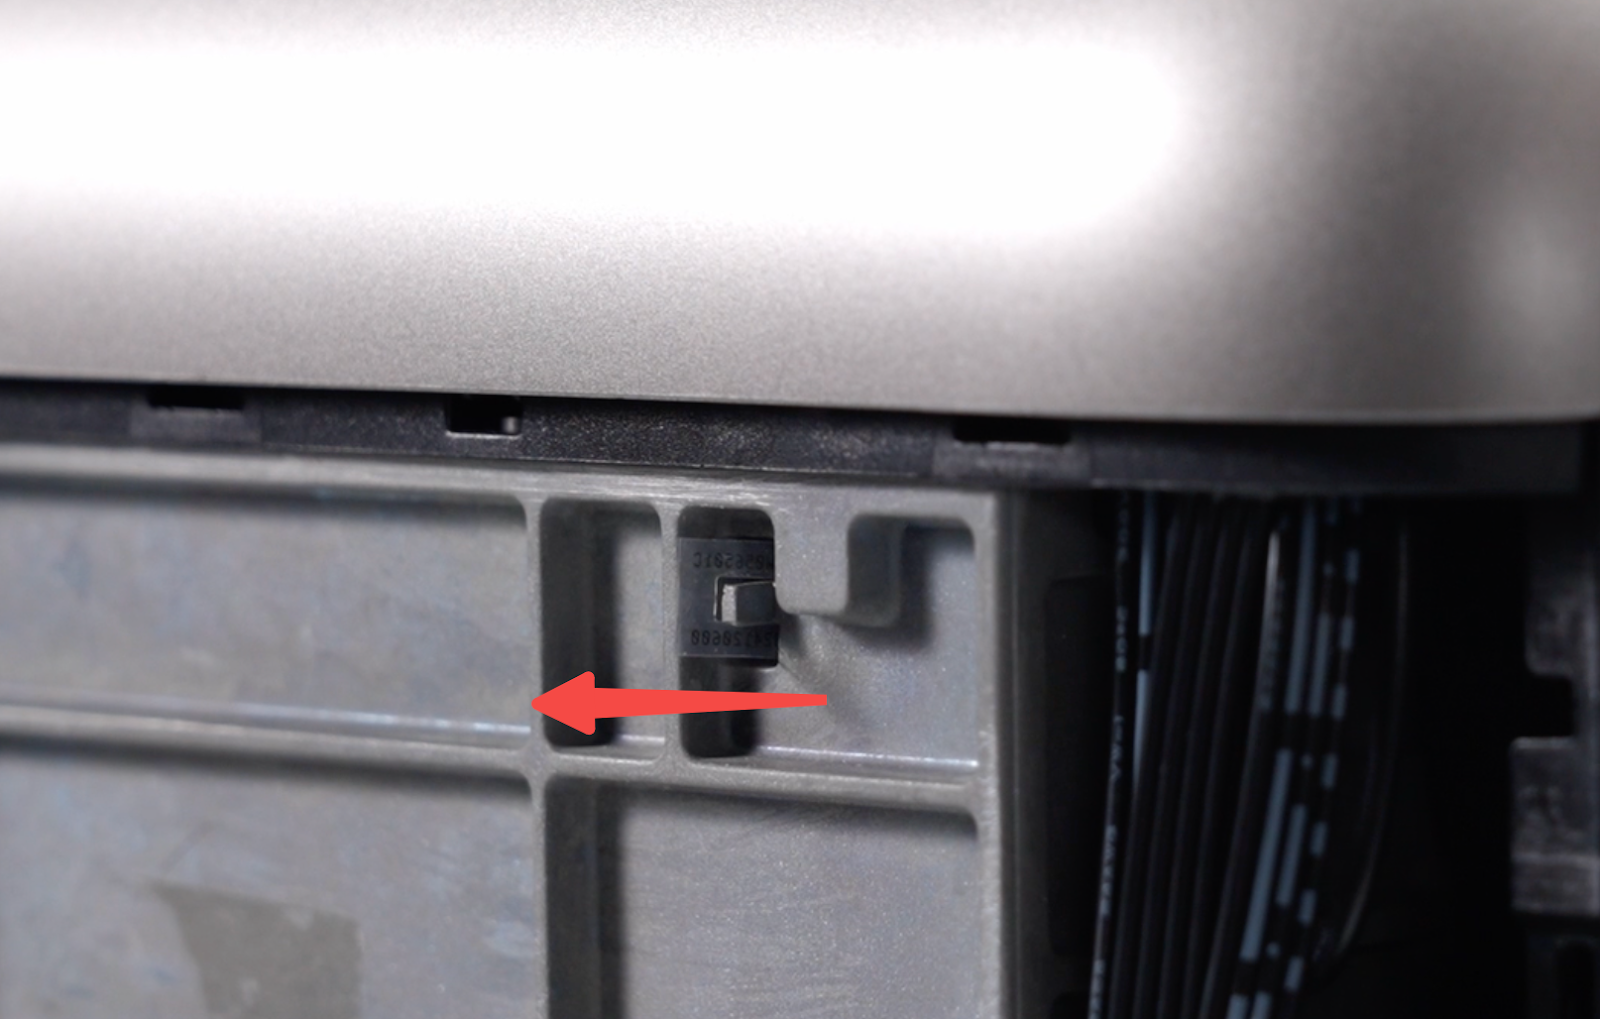
Step 4 - Release the encoder strip from the opposite side
Remove the code strip from the hook on the right side of the machine.
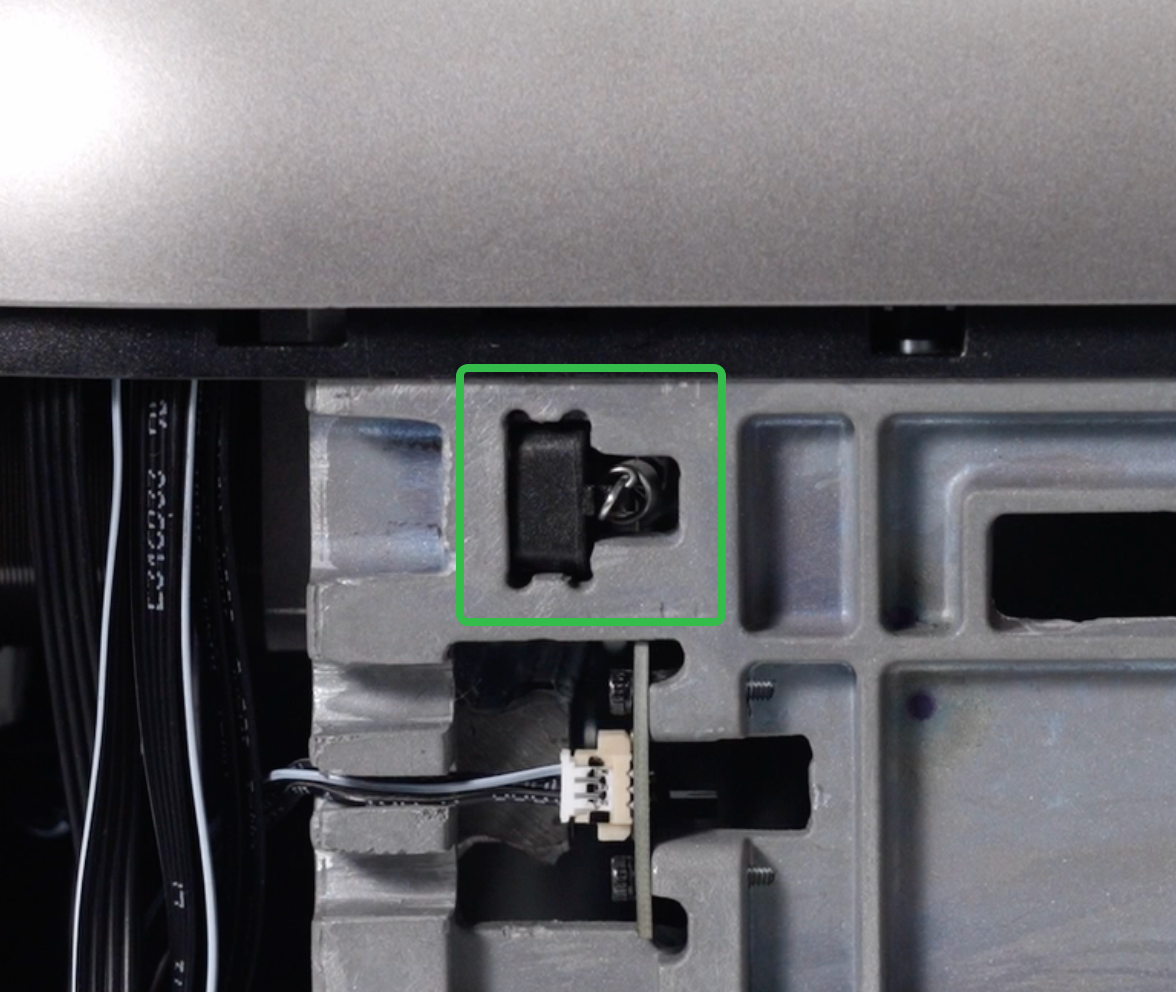
Step 5 - Remove the encoder from the fixing block
Detach the encoder strip from the encoder strip fixing block.
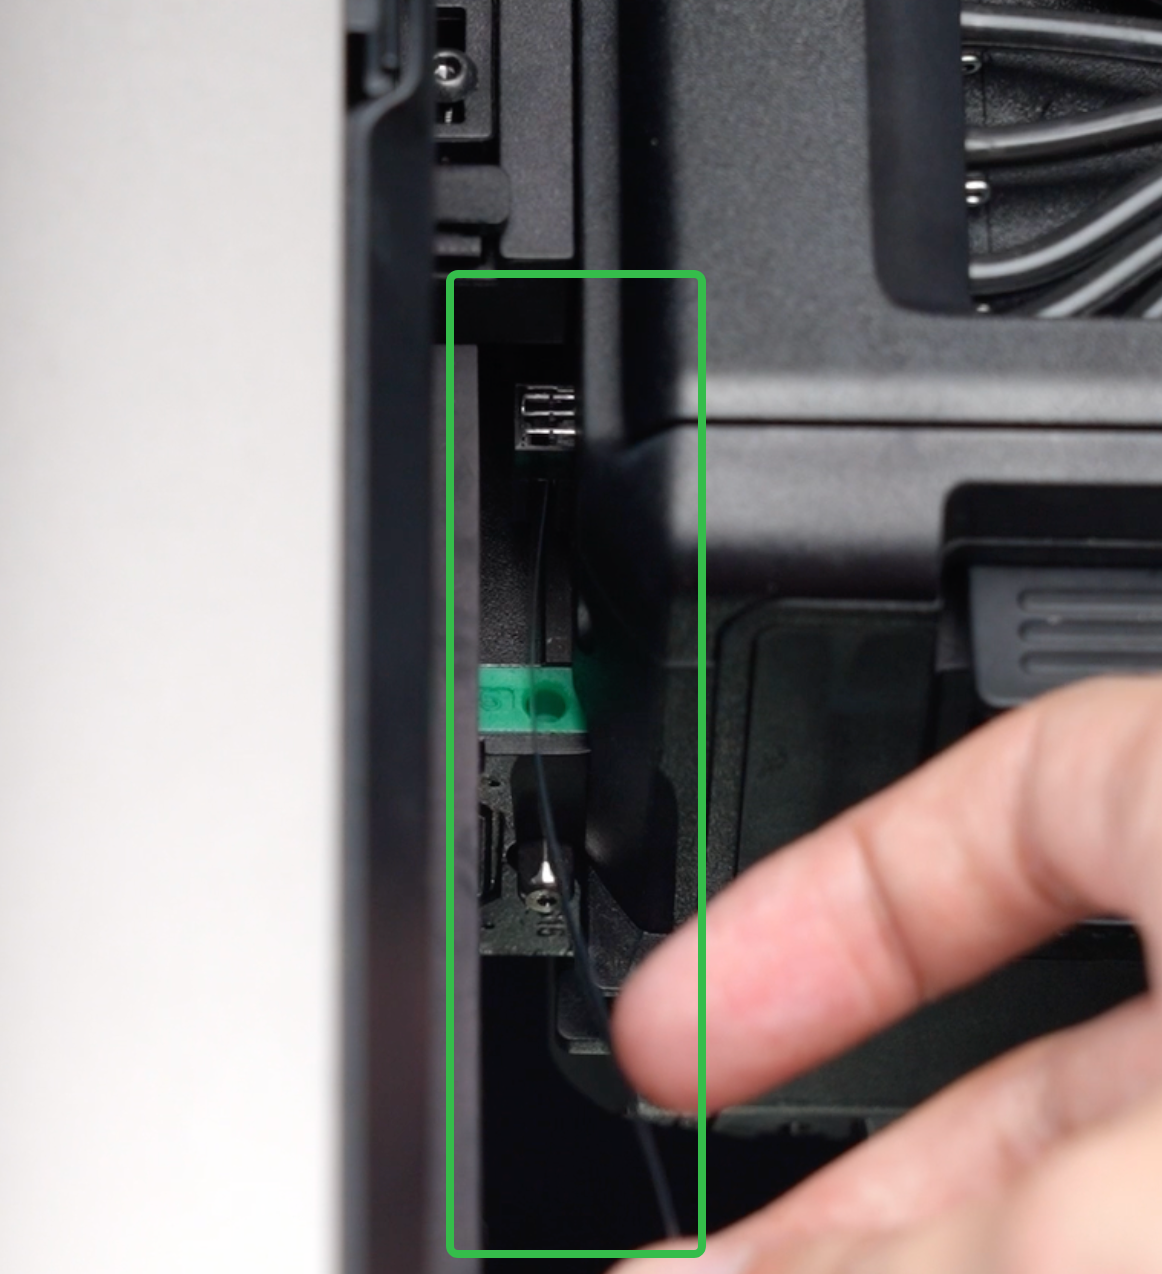
Step 6 - Install the new encoder strip on the fixing hook
-
Thread the new encoder strip through the opening and hang it onto the encoder strip fixing hook.
-
Route the encoder strip through the U-shaped encoder sensor located between the nozzle assembly and the X-axis fixed block.
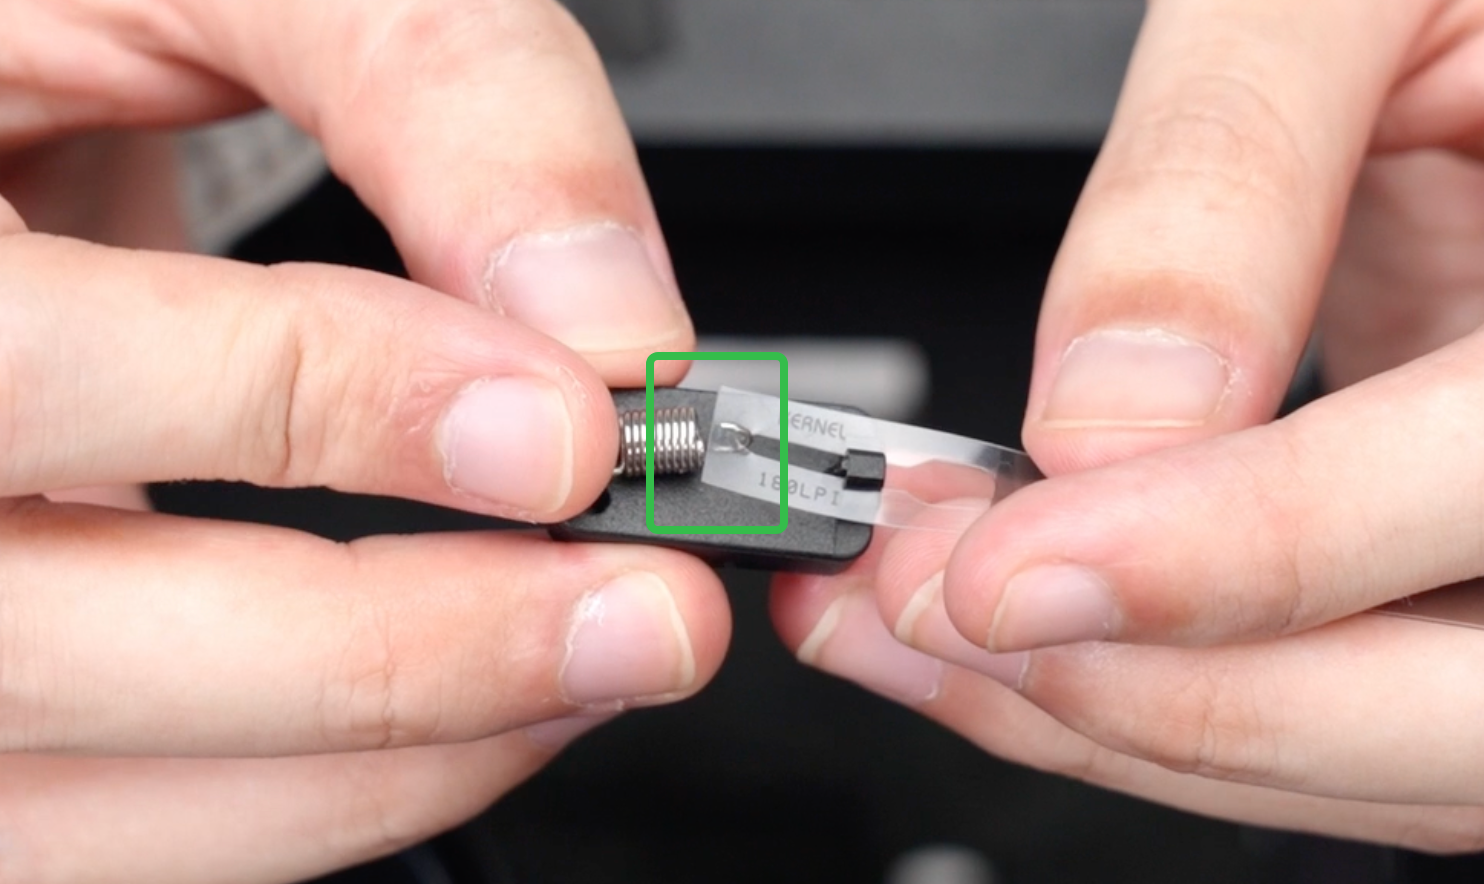
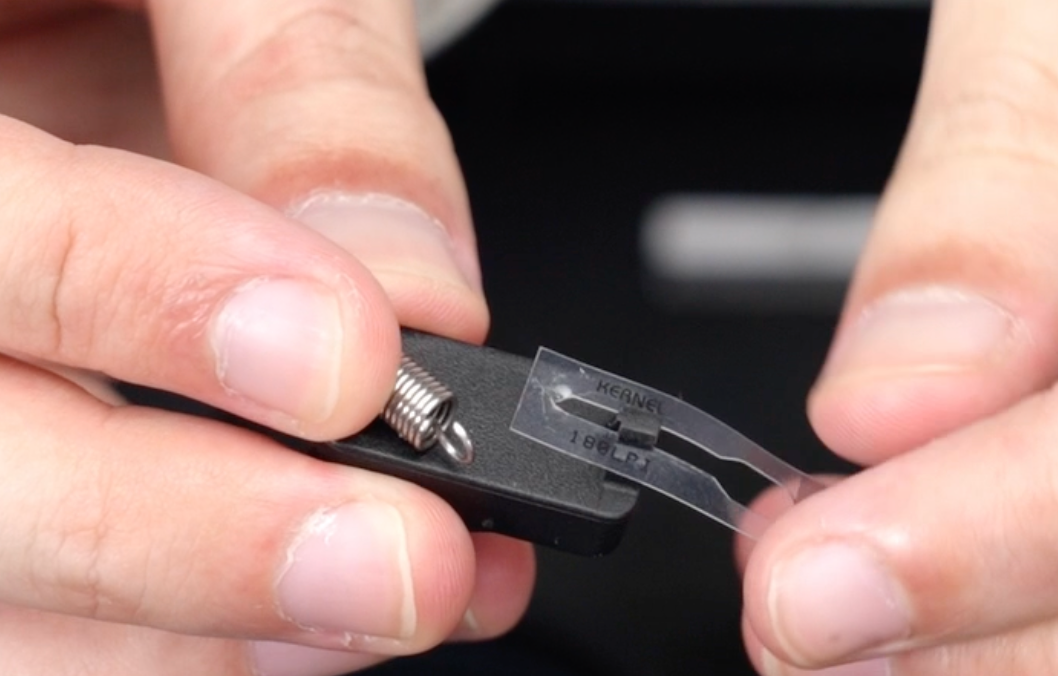
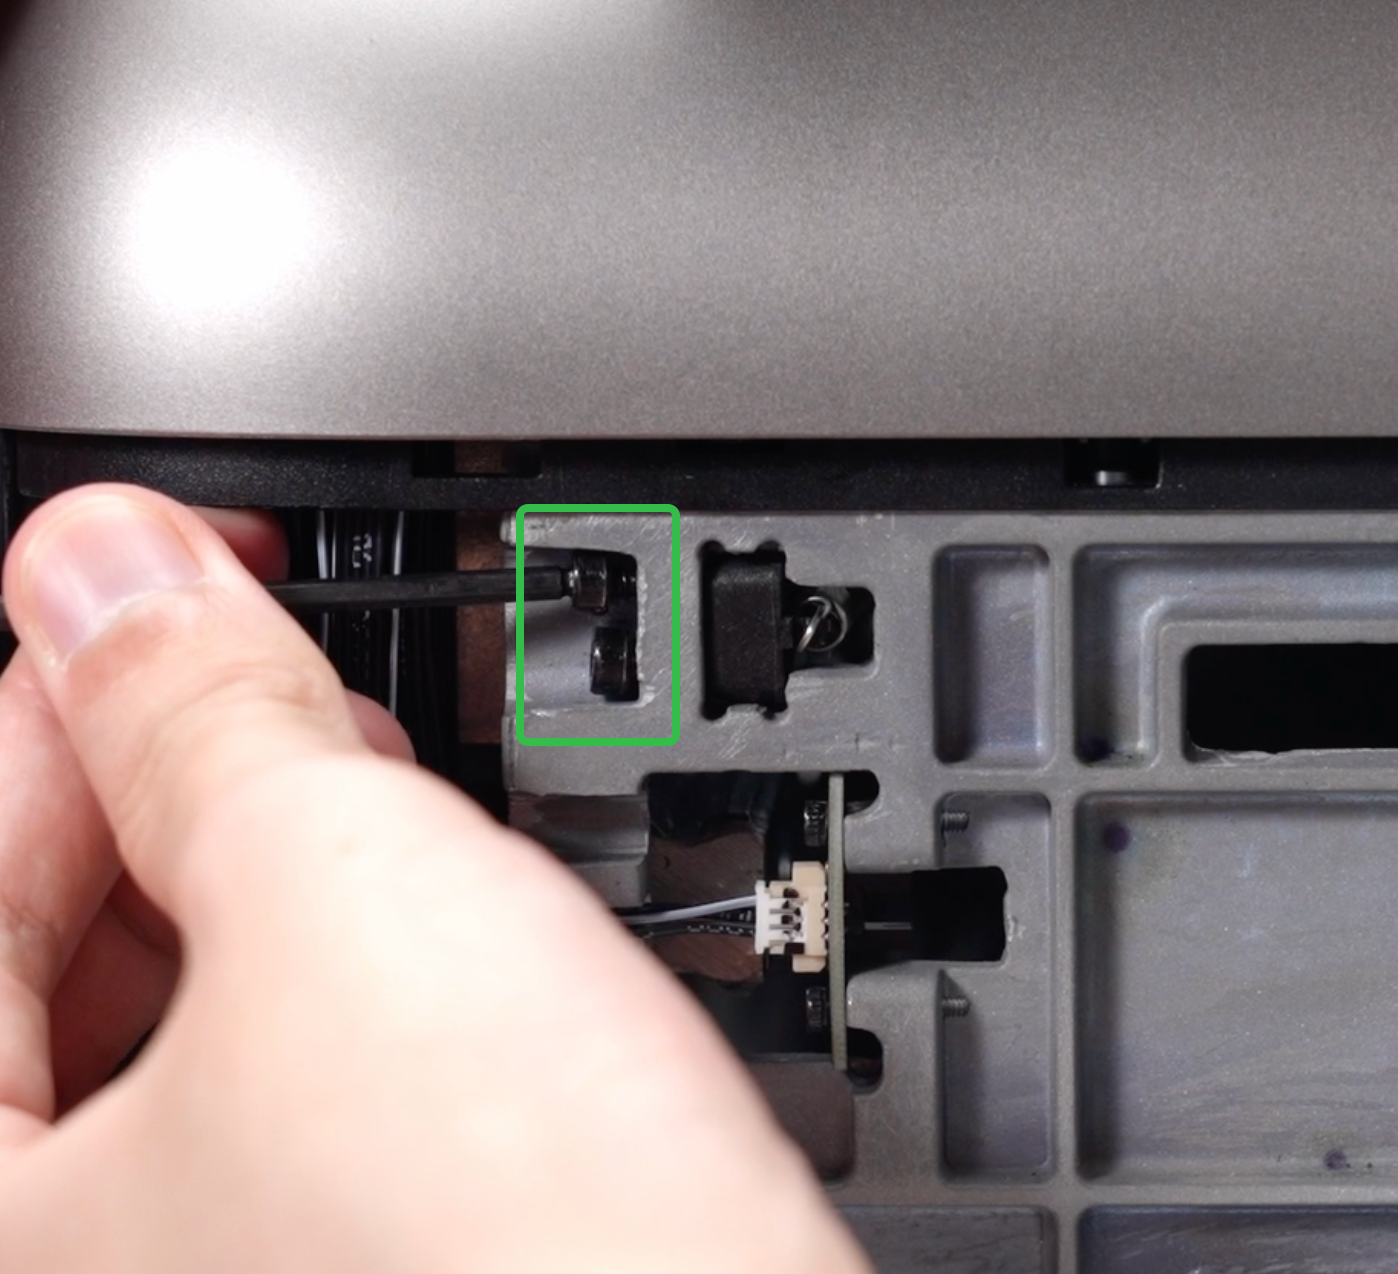
Step 7 - Secure new encoder strip to the fixing block
-
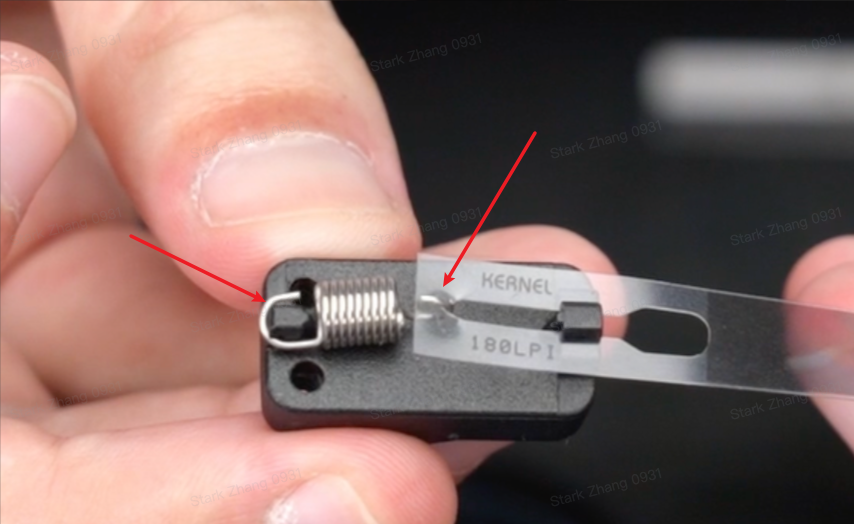
Align the free end of the new encoder strip with the slot on the fixing block, as shown in the image.
-
Insert one end of the spring into the leftmost buckle and secure it so that the encoder strip is firmly tensioned and not loose.
⚠️ Ensure that the spring loop is hooked onto the encoder strip and that the U-shaped hook is seated correctly in the slot.
Step 8 - Reinstall the encoder strip fixing block
-
Snap the encoder strip fixing block back into position on the opposite side of the machine.
⚠️ Pay attention to the orientation and do not twist the encoder strip during installation.
-
Use a 2.5mm hex key to tighten the two screws securing the encoder strip fixing block.
Step 9 - Restore power
After confirming that all internal components are correctly installed and that no cables or ink tubes are exposed, reinstall the left and right side shells. Press around the edges to ensure all snaps are fully engaged. Once confirmed, reconnect the power supply and power on the machine.