Applicable Model: eufyMake UV Printer E1
Applicable Model: eufyMake UV Printer E1
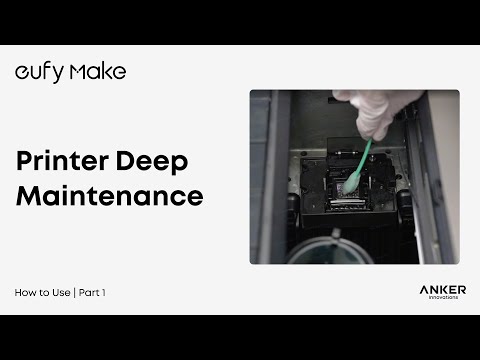
To keep your printer operating reliably and maintain consistent print quality, regularly inspect the maintenance accessories in your eufyMake UV Printer E1 and replace them when required.
This guide explains the purpose of each common maintenance accessory, when it should be inspected or replaced, how to assess its condition, and the precautions to follow during replacement.
Common maintenance accessories include:
-
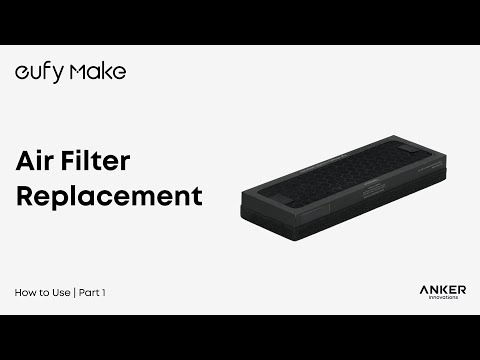
Air Filter
-
Adhesive Mat
-
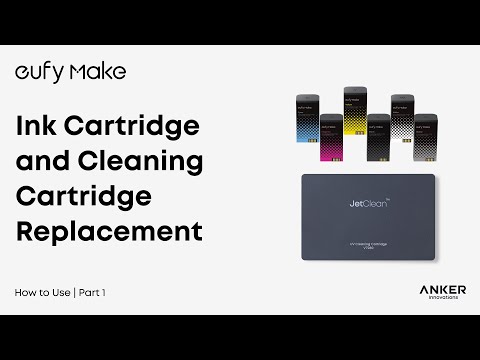
Ink Pad
-
Scraper
-
Foam Pad
Replacement Cycle Overview
Recommended replacement intervals are provided as general guidance. Actual replacement frequency may vary depending on printer usage, operating conditions, and the condition of each accessory.
Before Replacing Maintenance Accessories
Before replacing any maintenance accessory:
-
Make sure the printer has stopped operating.
-
Work in a well-ventilated area.
-
Wear disposable gloves when handling accessories that may contain waste ink.
-
If you are unsure about any part of the replacement process, contact eufyMake Customer Support before proceeding.
1. Air Filter
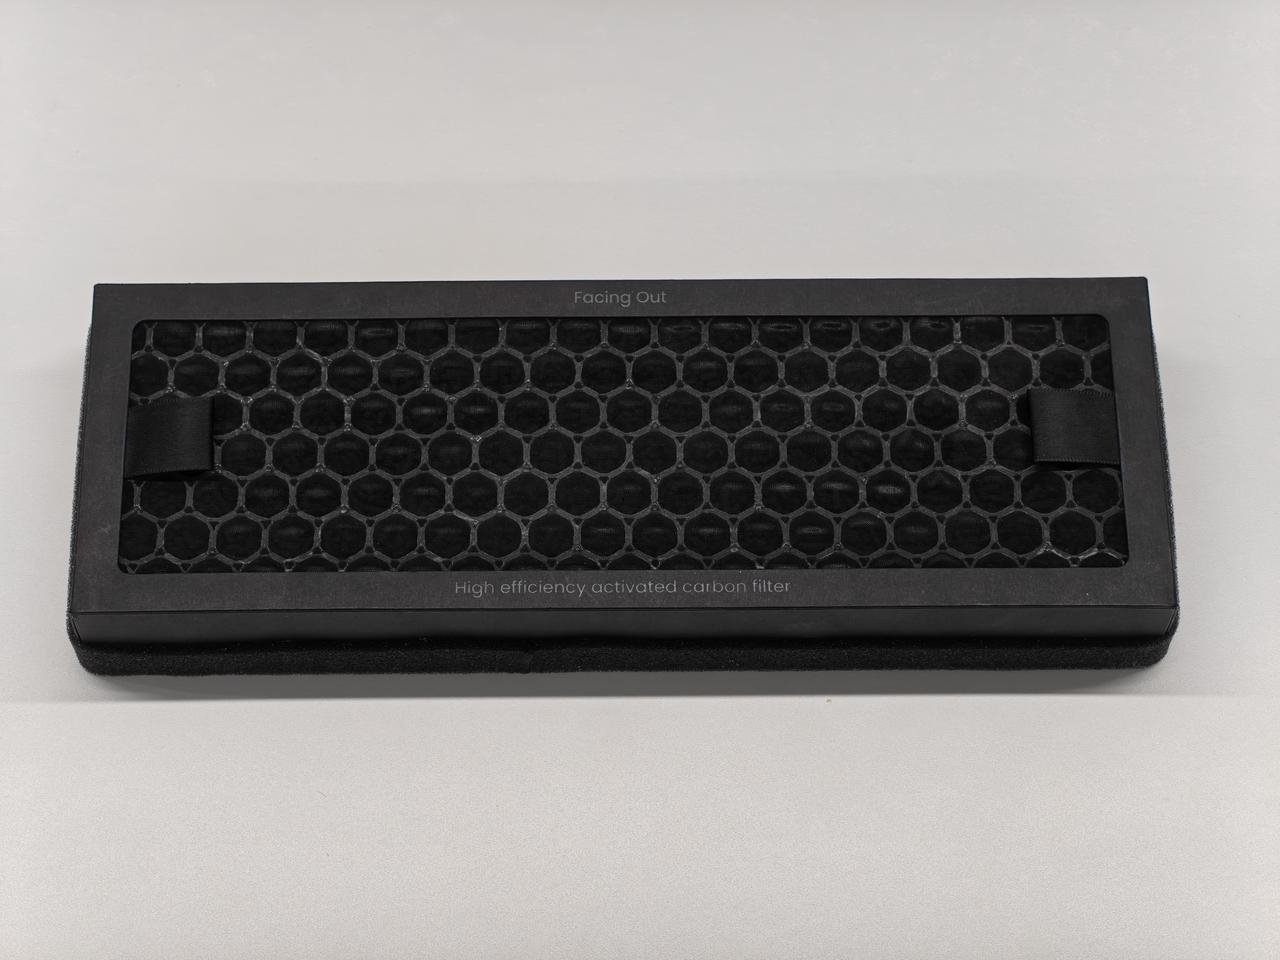
Purpose
The Air Filter helps filter odors produced during printing, improving the surrounding working environment.
When Should It Be Replaced?
Replace the Air Filter when any of the following applies:
-
The printer displays a replacement reminder.
-
The filter has been used continuously for approximately 6 months.
-
Filtration performance has noticeably decreased or printing odors have become significantly stronger.
Can I Replace It Myself?
Yes.
Replacement Steps
-
Open the Air Filter compartment cover.
-
Remove the old Air Filter.
-
Insert the new Air Filter in the correct orientation.
-
Close the compartment cover.
Precautions
-
Use officially compatible accessories to ensure proper fit and filtration performance.
-
Even when the Air Filter is installed, the room should remain adequately ventilated.
-
Dispose of the used Air Filter in accordance with local regulations.
2. Adhesive Mat
Purpose
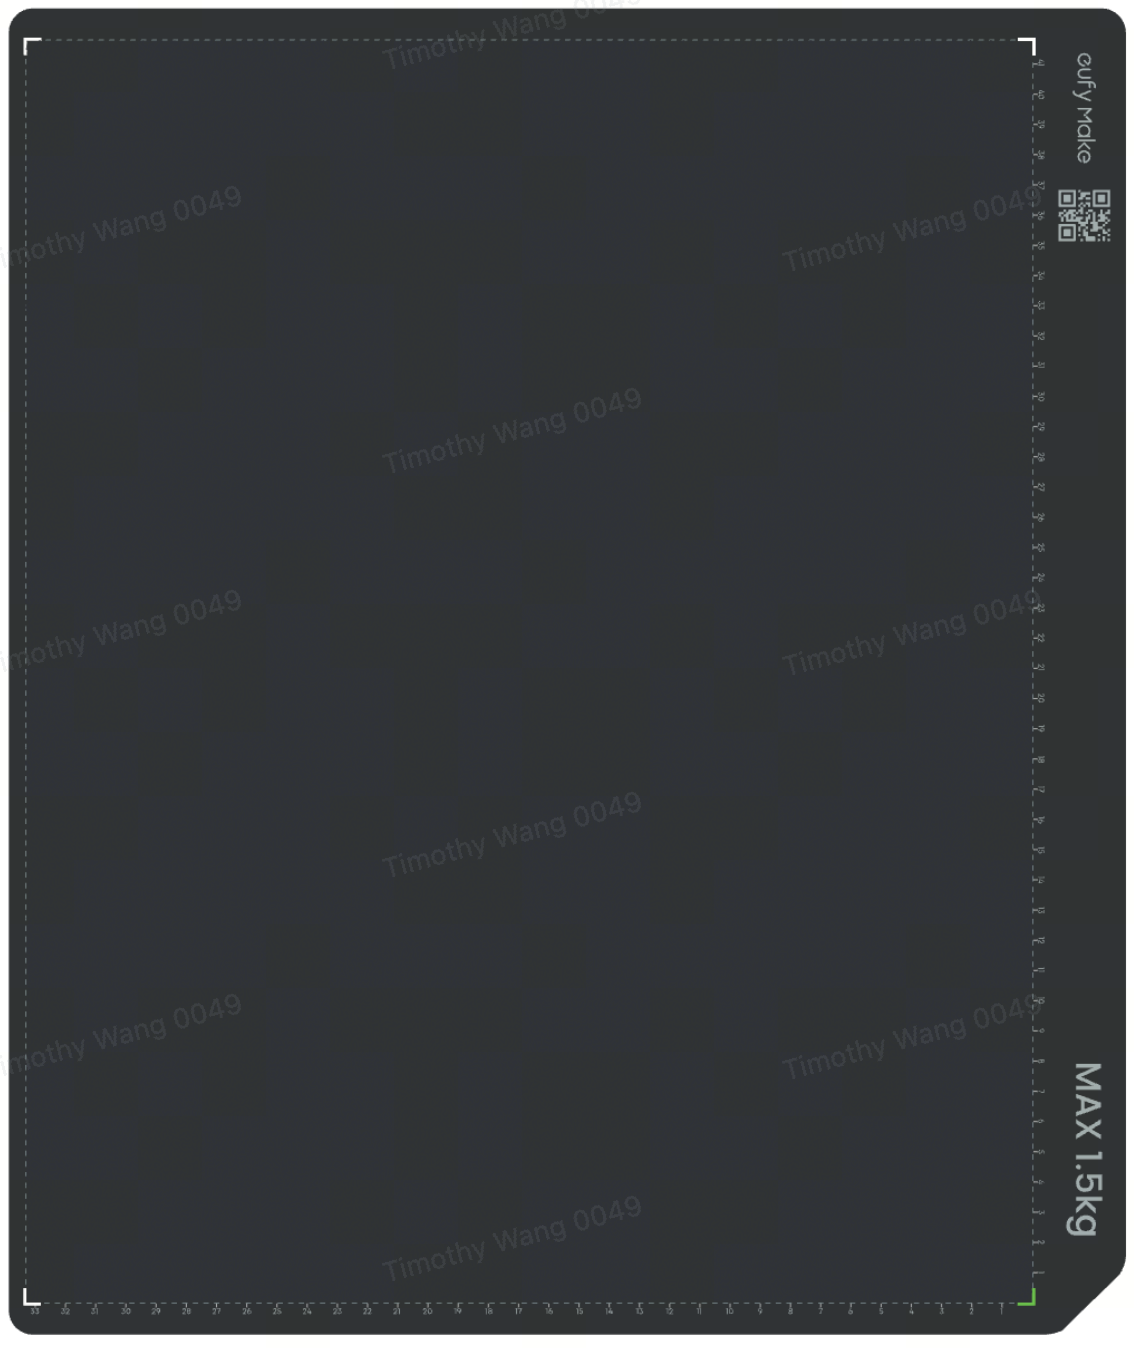
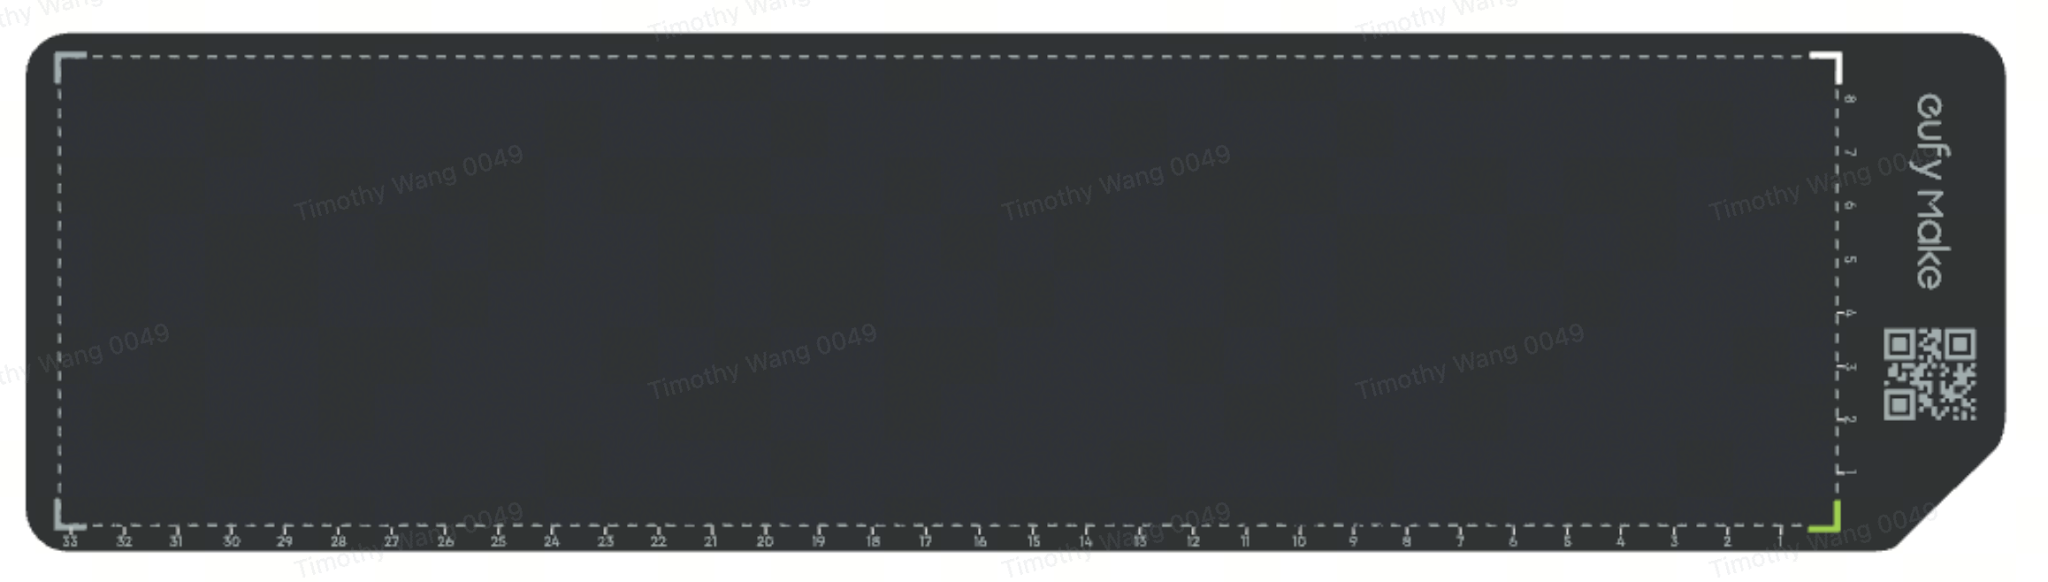
The Adhesive Mat secures the substrate to the printing platform. This helps prevent movement during printing and improves print stability and positioning accuracy.
When to Replace?
Replace the Adhesive Mat when any of the following applies:
-
Adhesion has noticeably decreased.
-
The surface is contaminated with ink and cannot be restored.
-
The mat is curled, torn, or significantly deformed.
Can I Replace It Myself?
Yes.
Usage Instructions
-
Clean the surface of the printing platform.
-
Place the Adhesive Mat flat on the platform.
-
Position the substrate on the Adhesive Mat and gently press it down to secure it.
-
Remove the substrate after printing is complete.
Precautions
-
If dust has accumulated on the surface, gently wash the Adhesive Mat with clean water. Allow it to dry completely before using it again.
-
Do not clean the adhesive surface with alcohol.
-
Replace the Adhesive Mat promptly if it no longer holds substrates securely.
3. Ink Pad
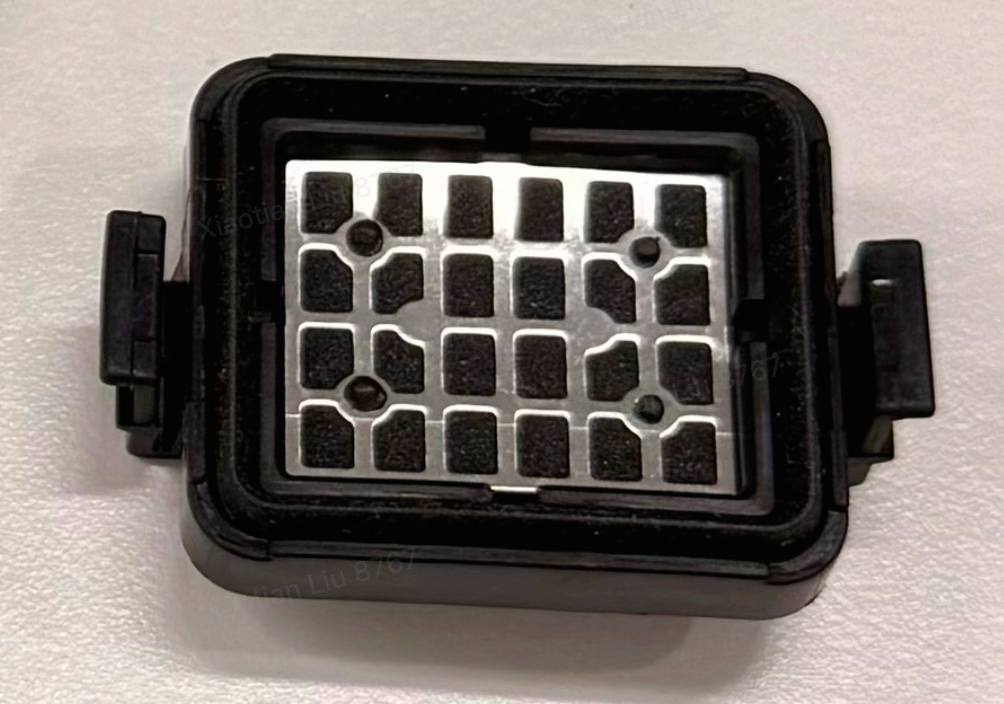
Purpose
The Ink Pad helps seal the Print Head and collect waste ink during automatic Print Head maintenance. It is an important component of the Print Head maintenance system.
When Should It Be Replaced?
Replace the Ink Pad when any of the following applies:
-
The printer displays a replacement reminder.
-
The Ink Pad has been used continuously for approximately 6 months.
-
Print Head maintenance performance has decreased.
-
The printer displays a related error or abnormal notification.
Replacement Steps
Step 1: Remove the Old Ink Pad
-
Put on protective gloves.
-
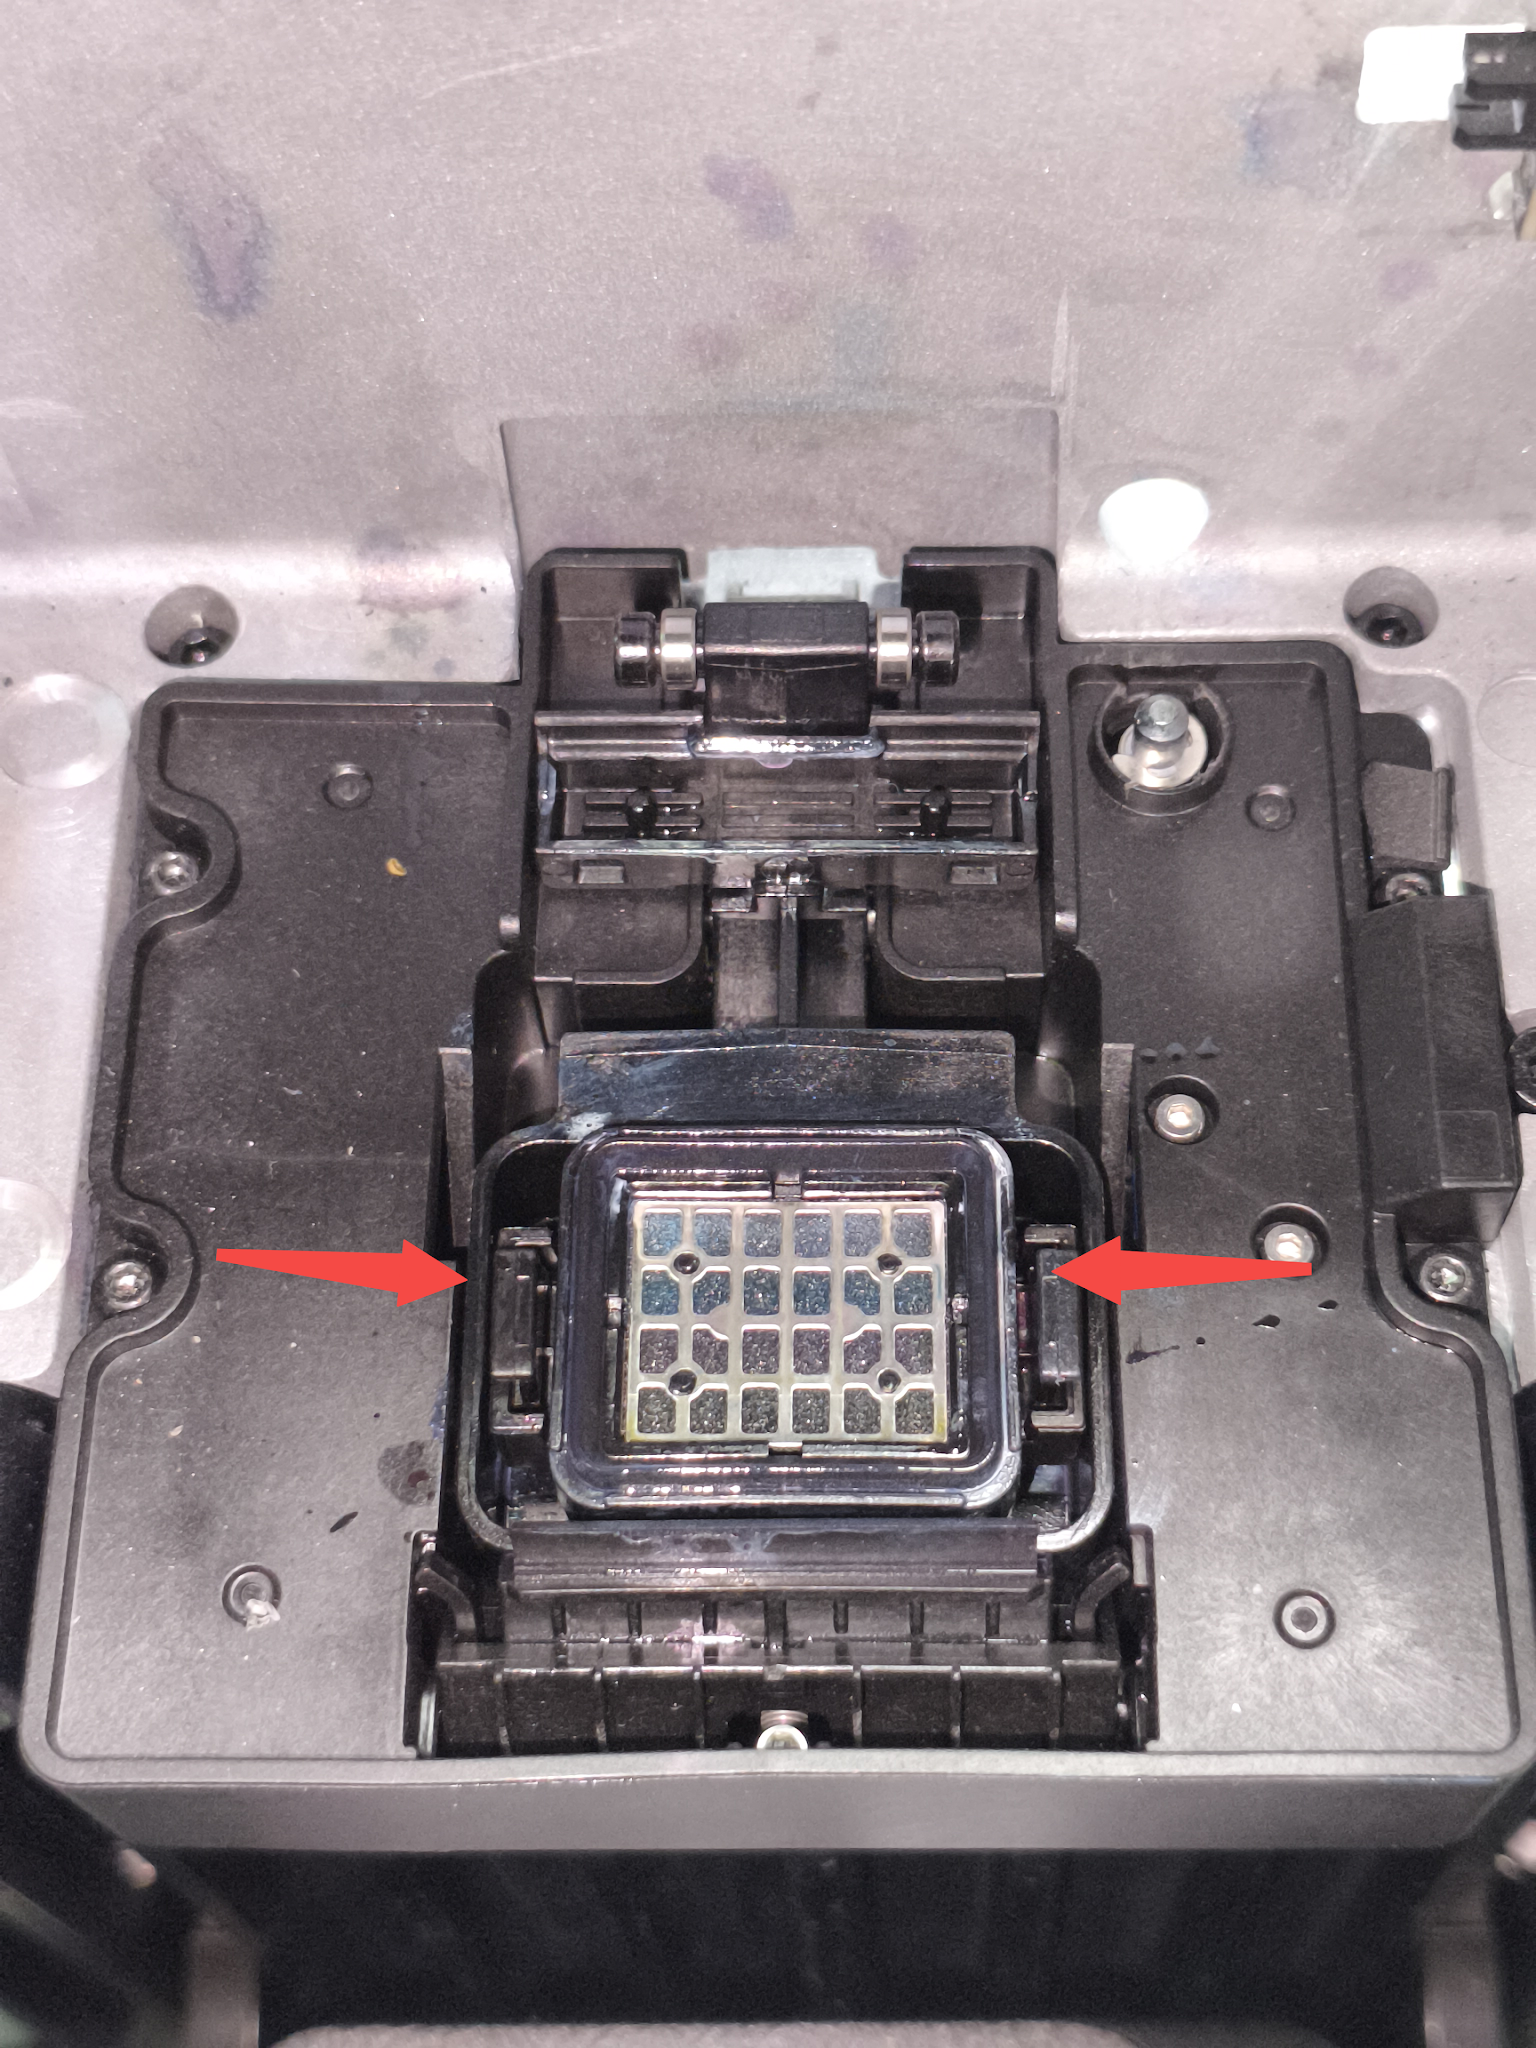
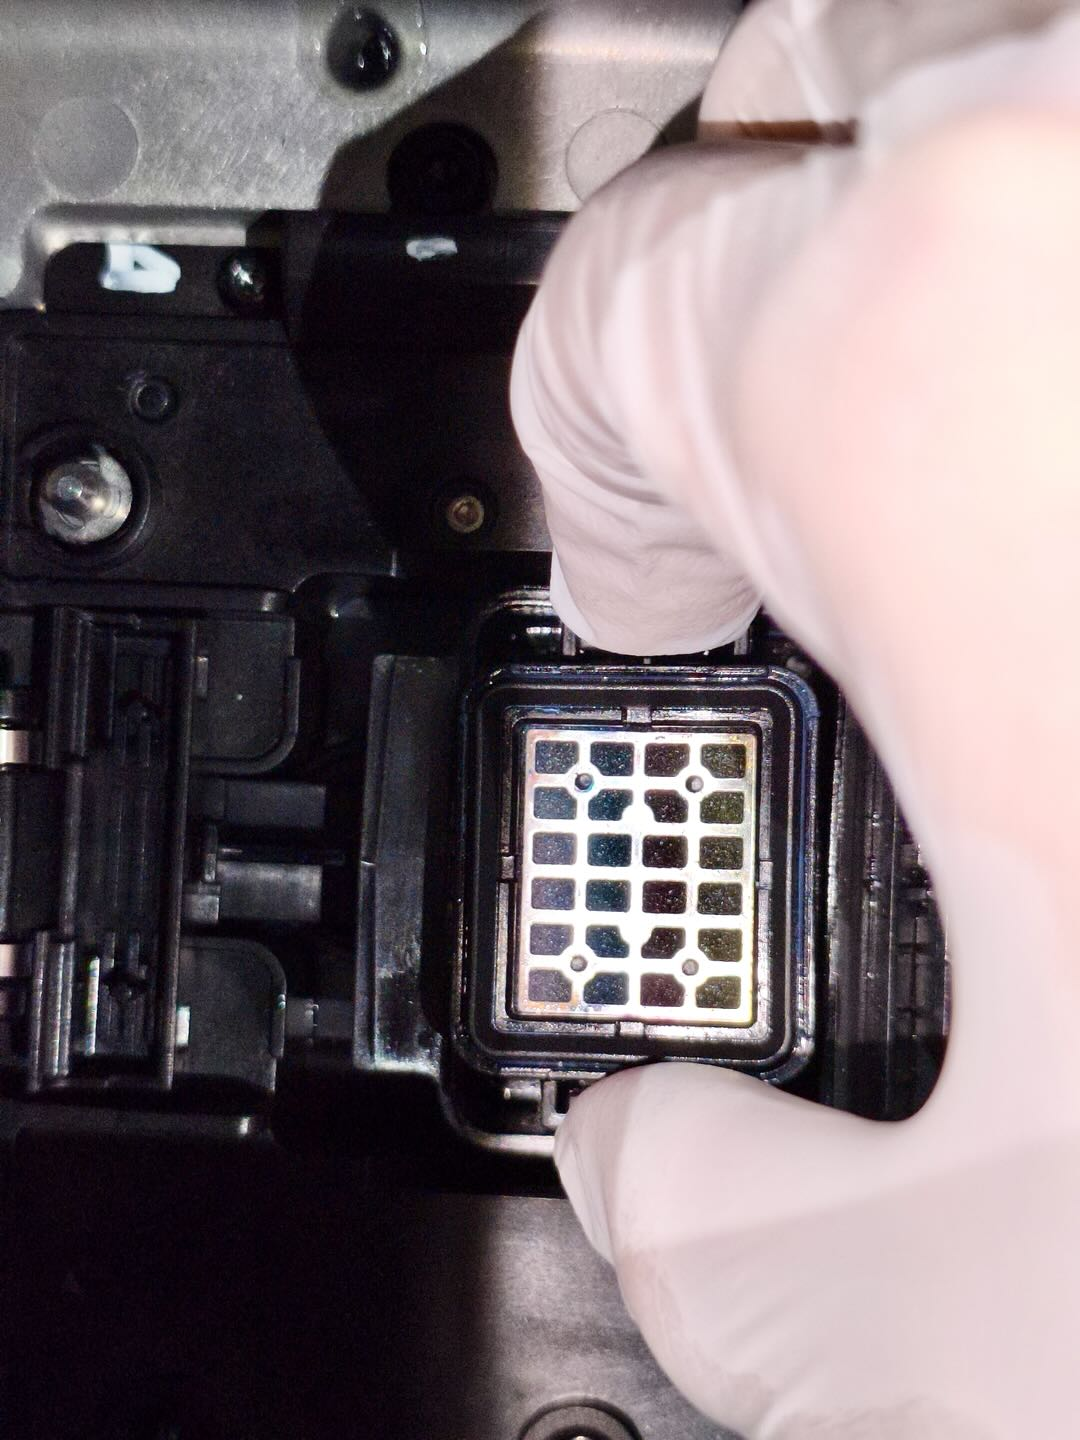
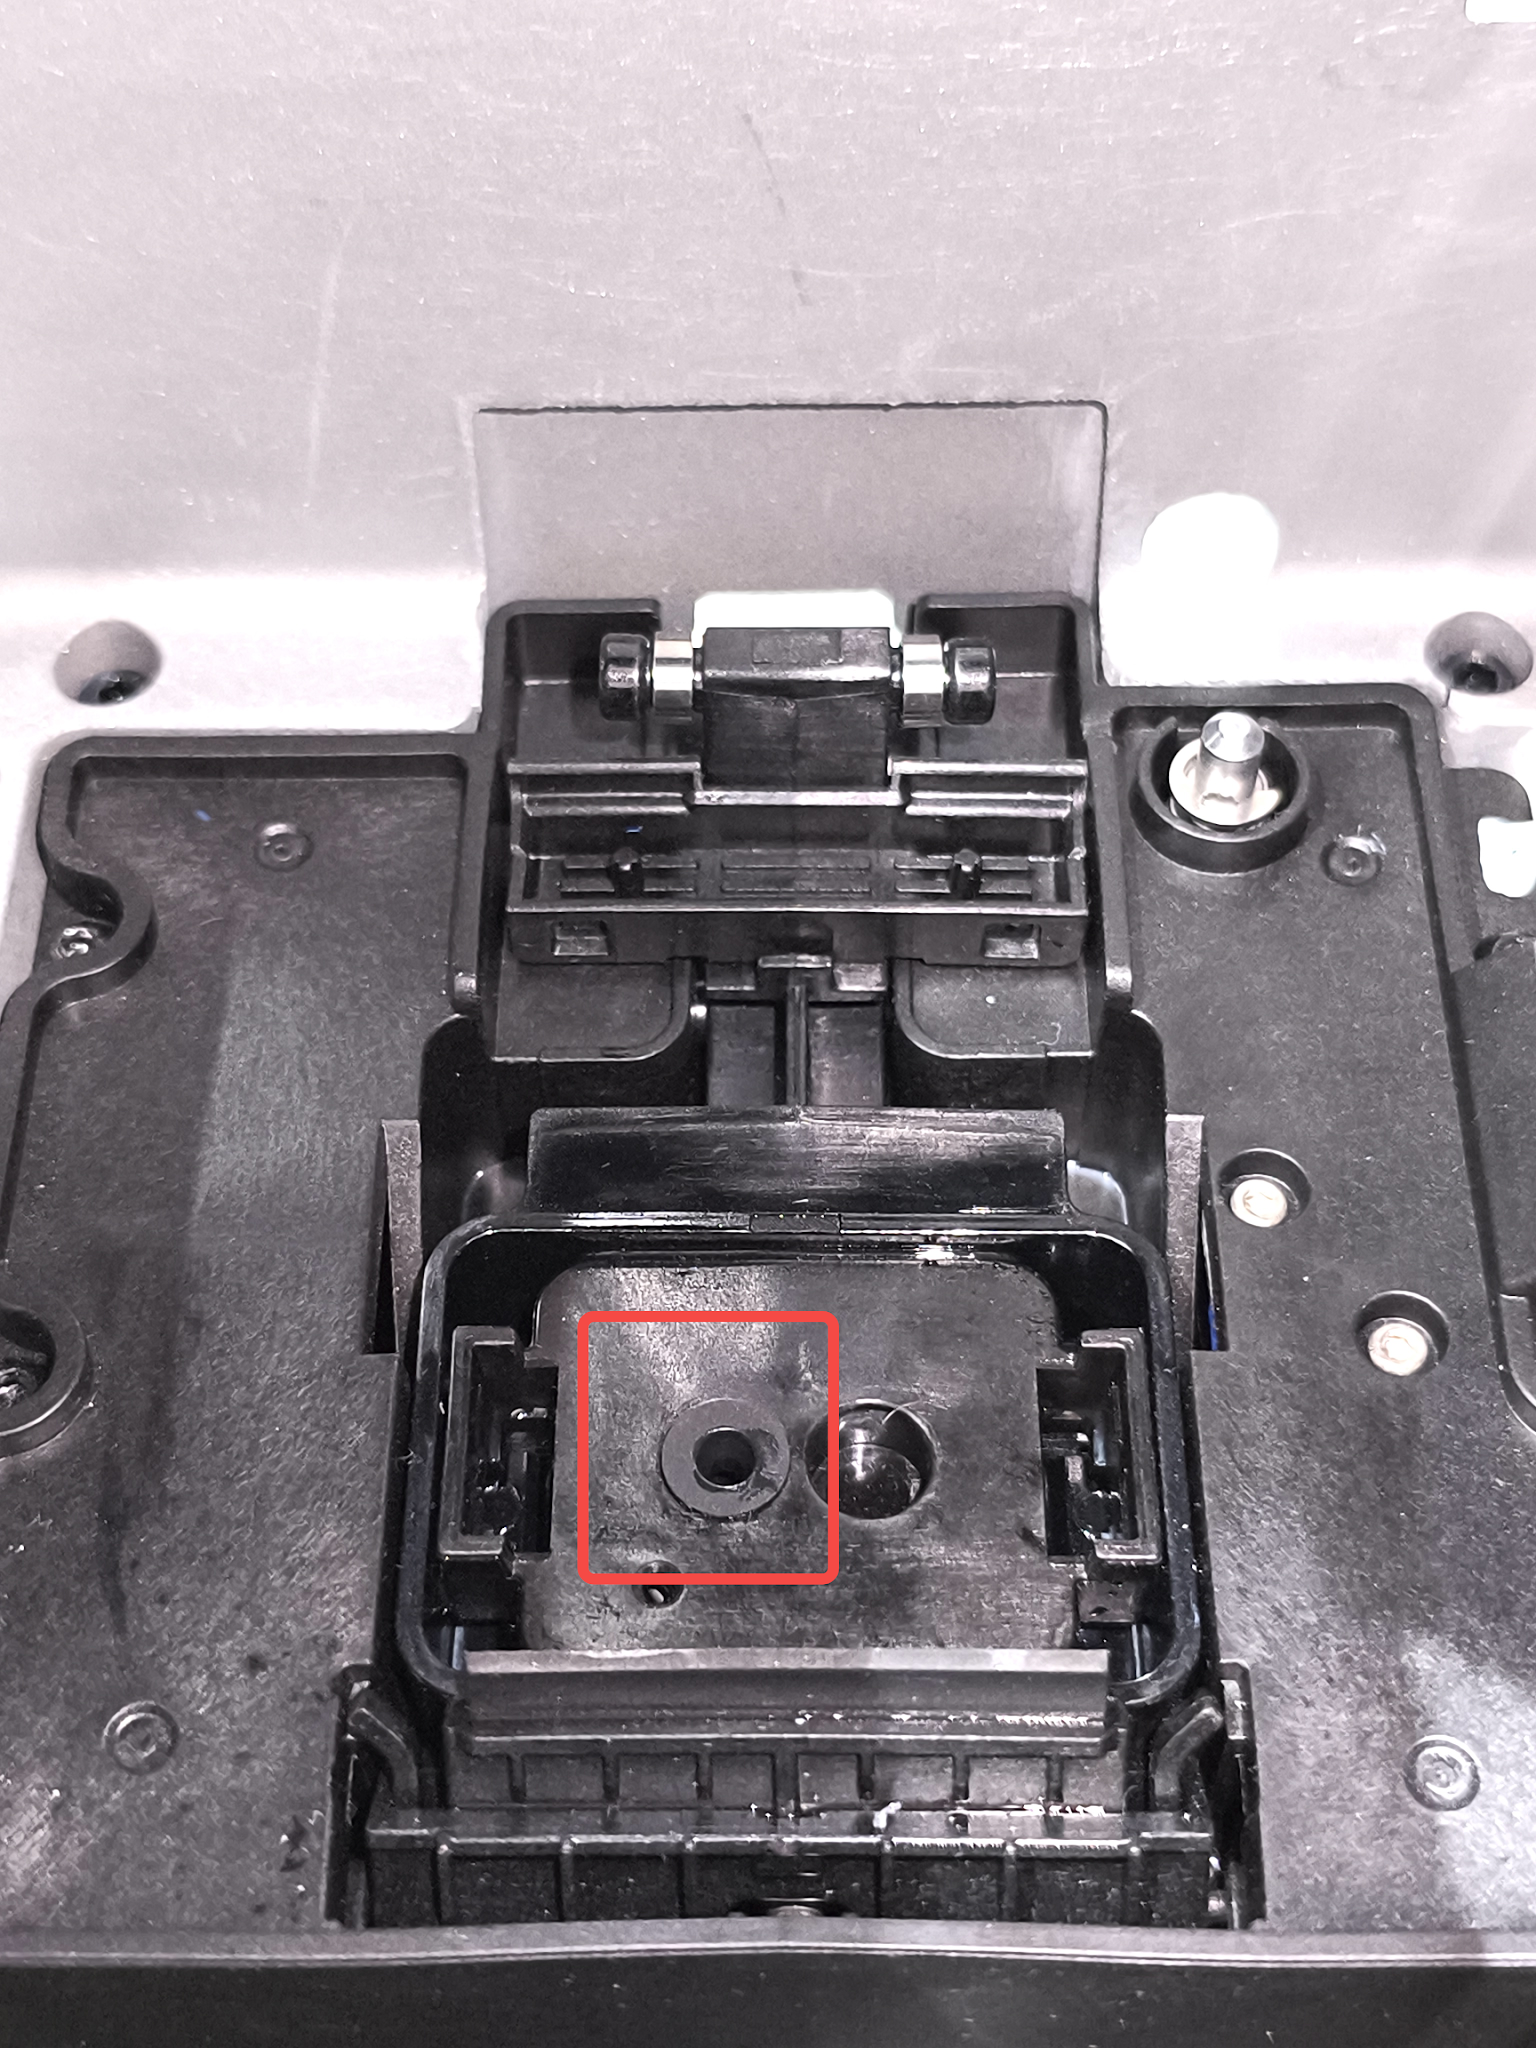
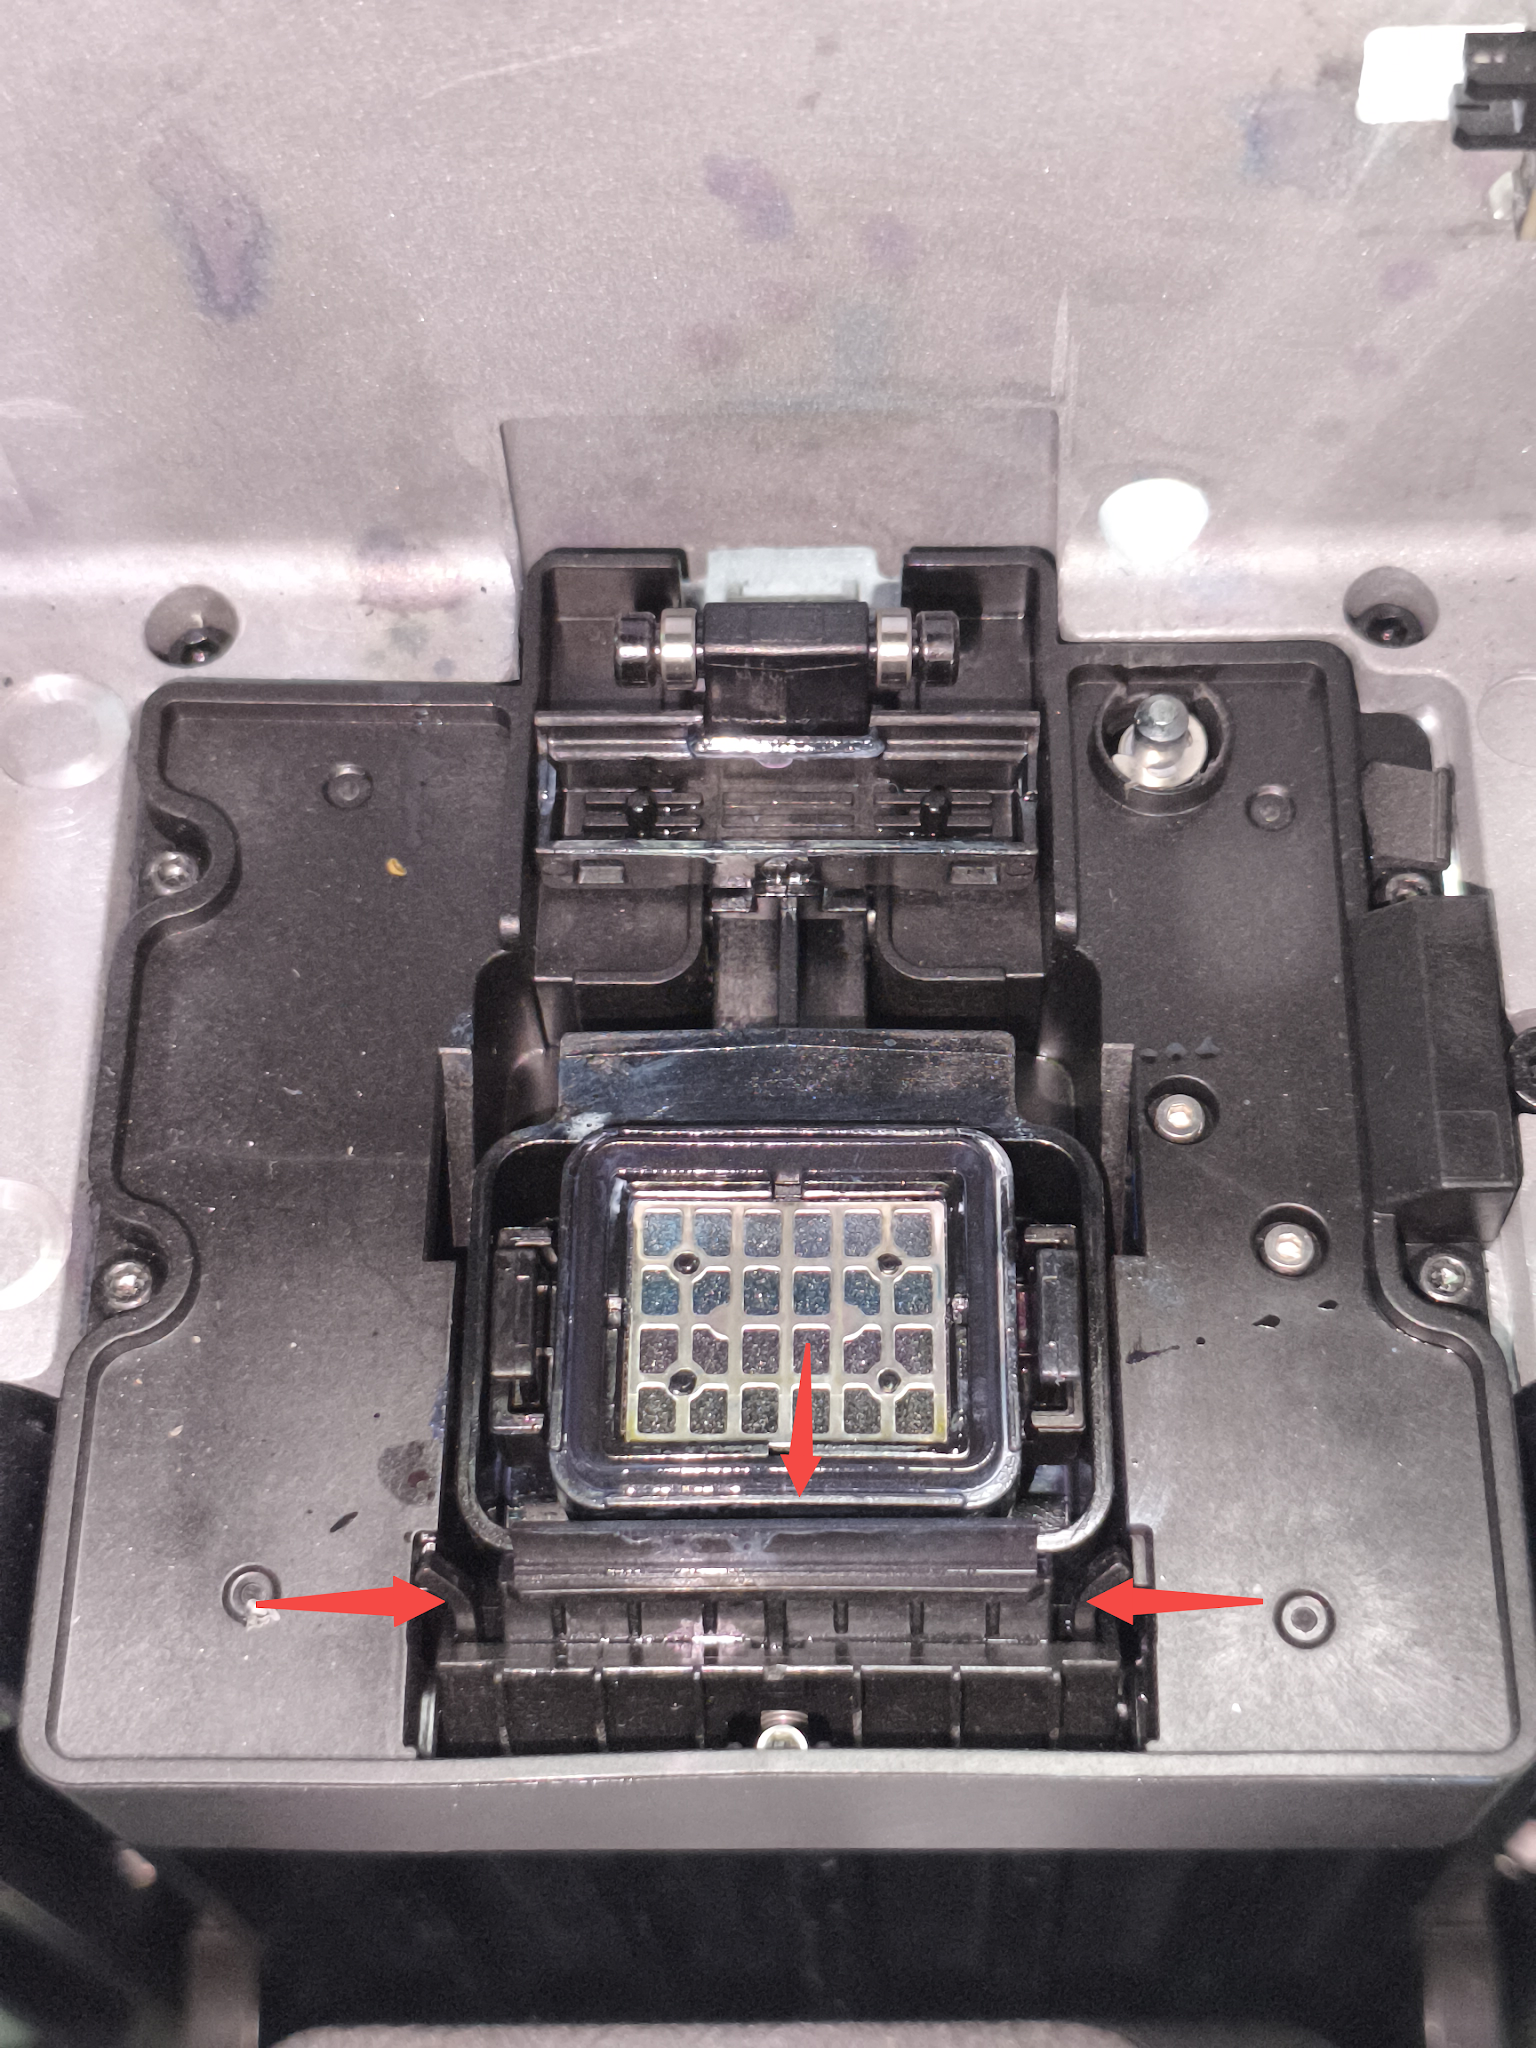
Squeeze the two clips shown below and remove the old Ink Pad.
-
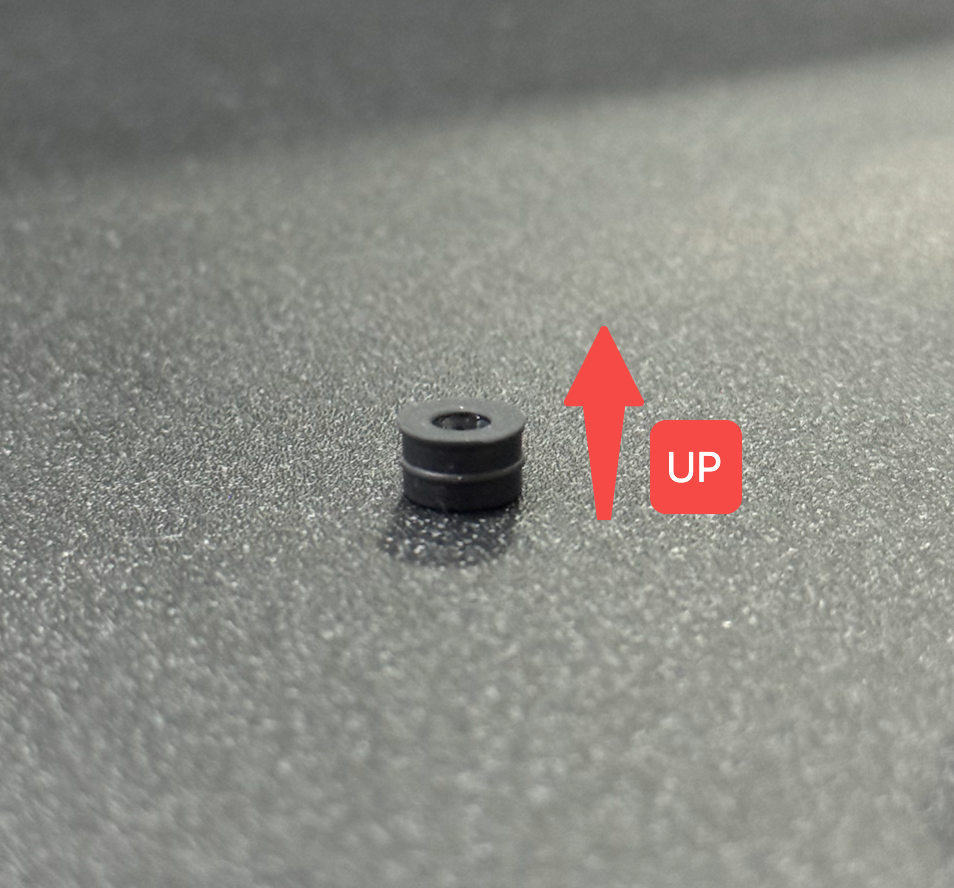
If the Ink Pad rubber plug comes out during removal, reinstall it into the Ink Stack immediately. Make sure the flanged side faces outward, as shown below.
Step 2: Install the New Ink Pad
-
Inspect the new Ink Pad and confirm that the rubber plug is present and undamaged.
If the rubber plug is missing, contact eufyMake Customer Support to obtain a replacement.
-
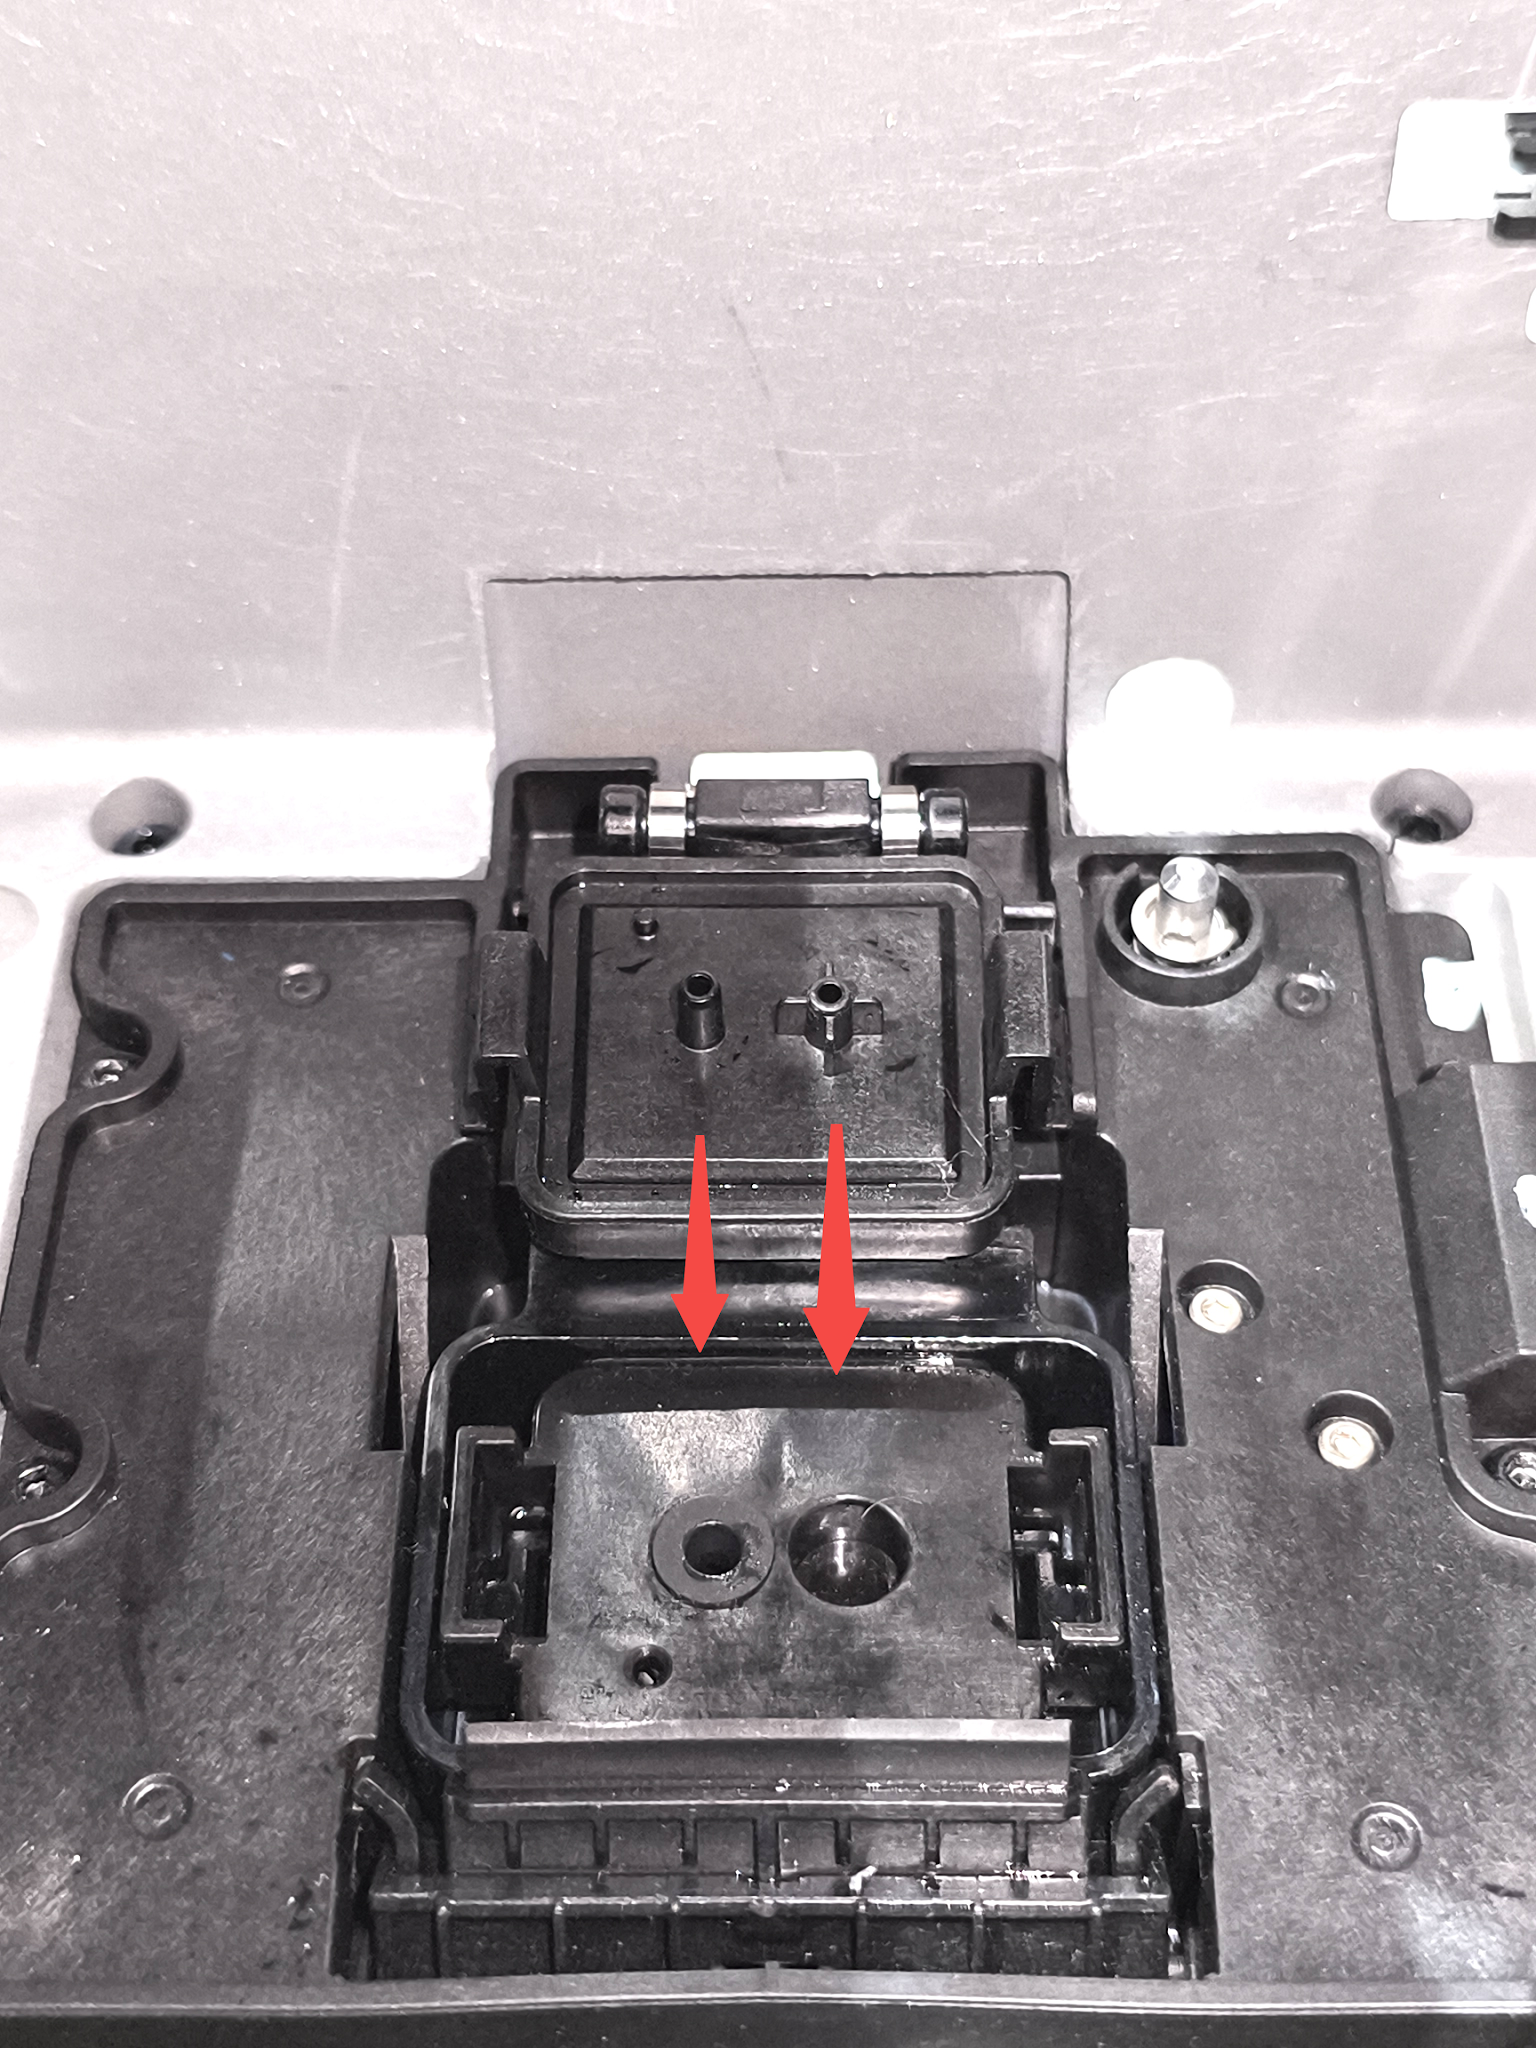
Align the Ink Pad with the corresponding openings. Make sure it is installed in the correct orientation.
-
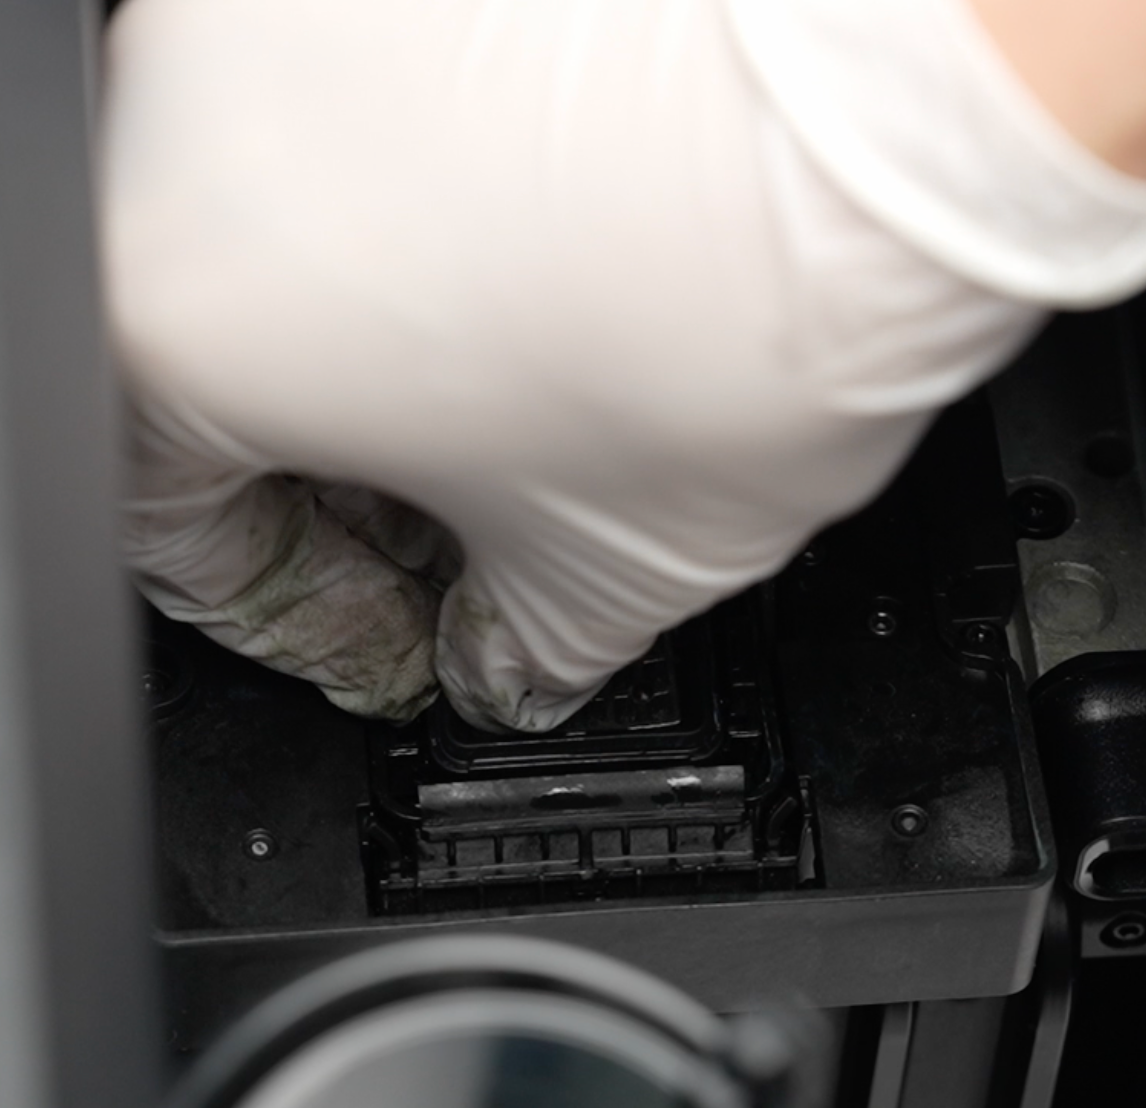
Press the Ink Pad firmly downward until you hear or feel a click. This confirms that the retaining clips are fully engaged.
Precautions
-
We recommend replacing the Ink Pad and Scraper at the same time.
-
Wear gloves during replacement to avoid contact with residual ink.
-
Dispose of used components in accordance with local waste-disposal regulations.
4. Scraper
Purpose
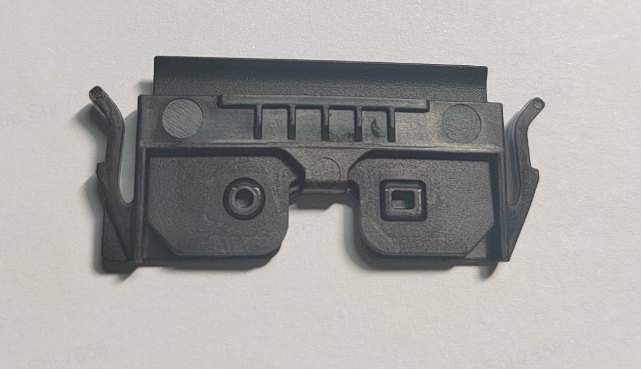
The Scraper removes residual ink from the surface of the Print Head. This helps keep the nozzle area clean and reduces the risk of unwanted ink droplets, unstable output, and other print-quality issues.
When Should It Be Replaced?
Replace the Scraper when any of the following applies:
-
The printer displays a replacement reminder.
-
The Scraper has been used continuously for approximately 6 months.
-
Unwanted ink droplets appear during printing.
-
Colors become unstable.
-
Print Head maintenance performance decreases.
Replacement Steps
Step 1: Remove the Old Scraper Blade
-
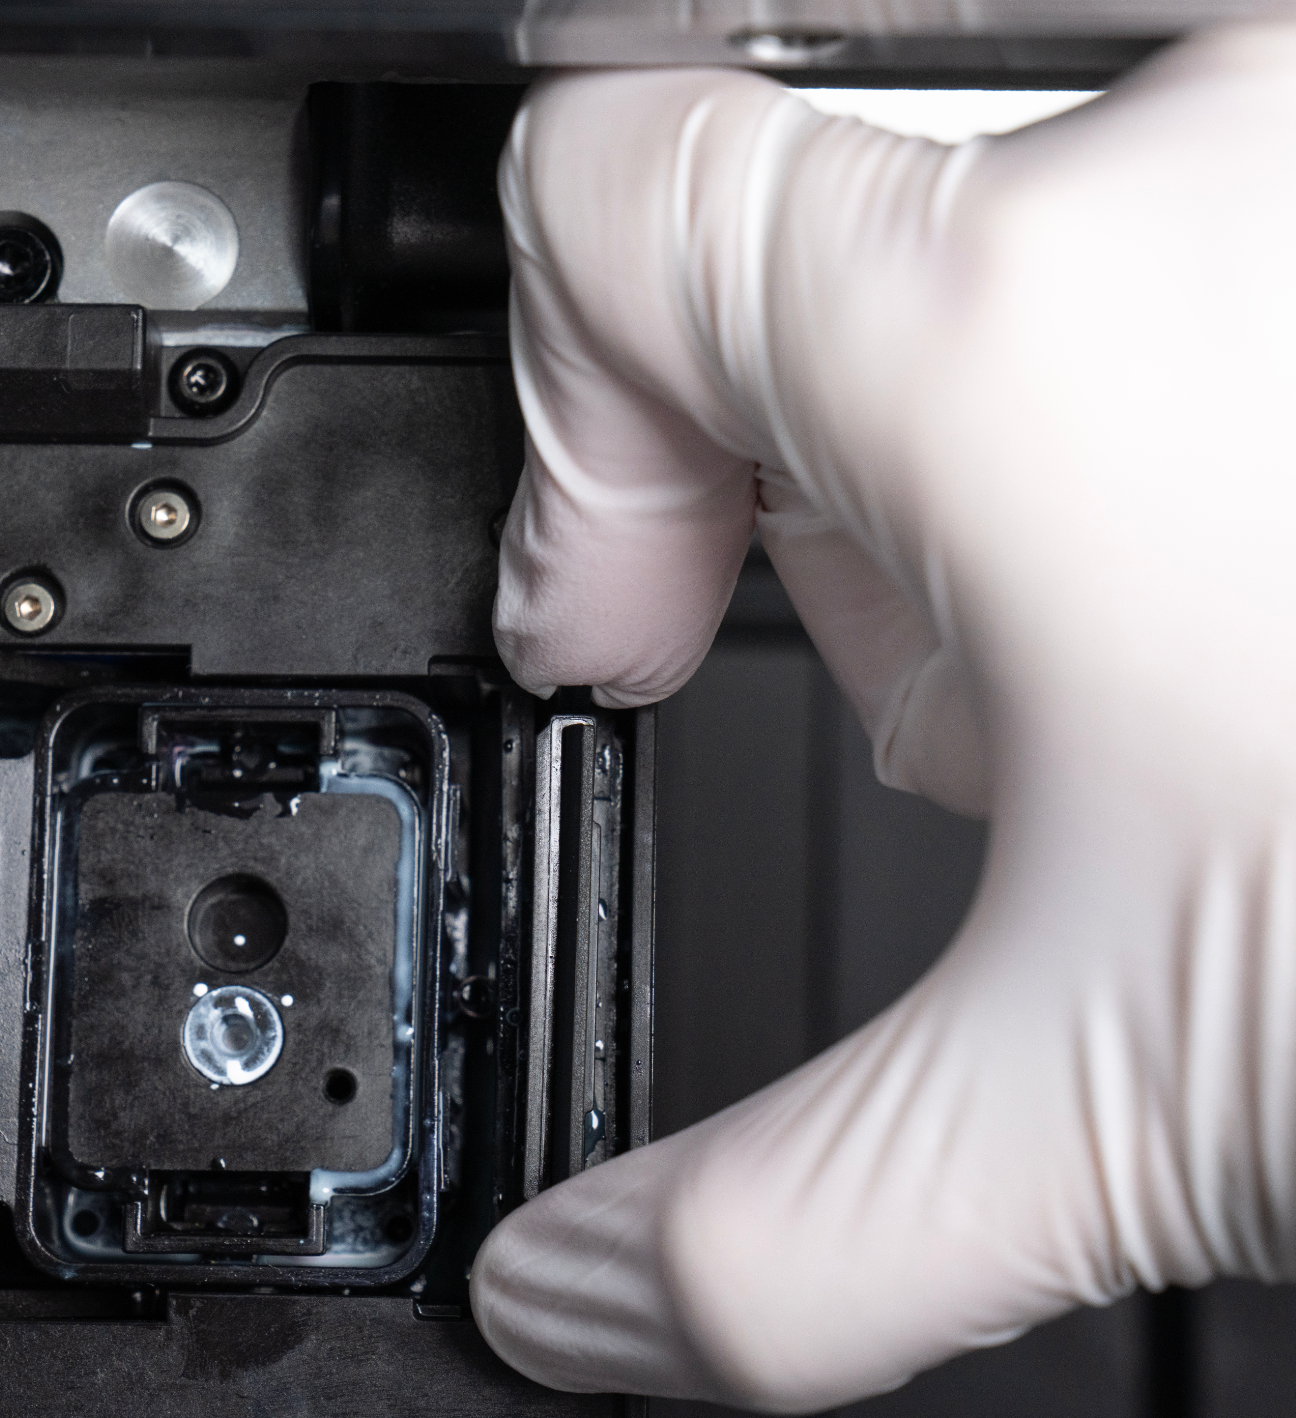
Swing the Scraper assembly outward until it is in a vertical position.
-
Squeeze the two clips shown below and remove the old Scraper blade.
Step 2: Install the New Scraper Blade
-
Check the orientation of the new Scraper blade.
-
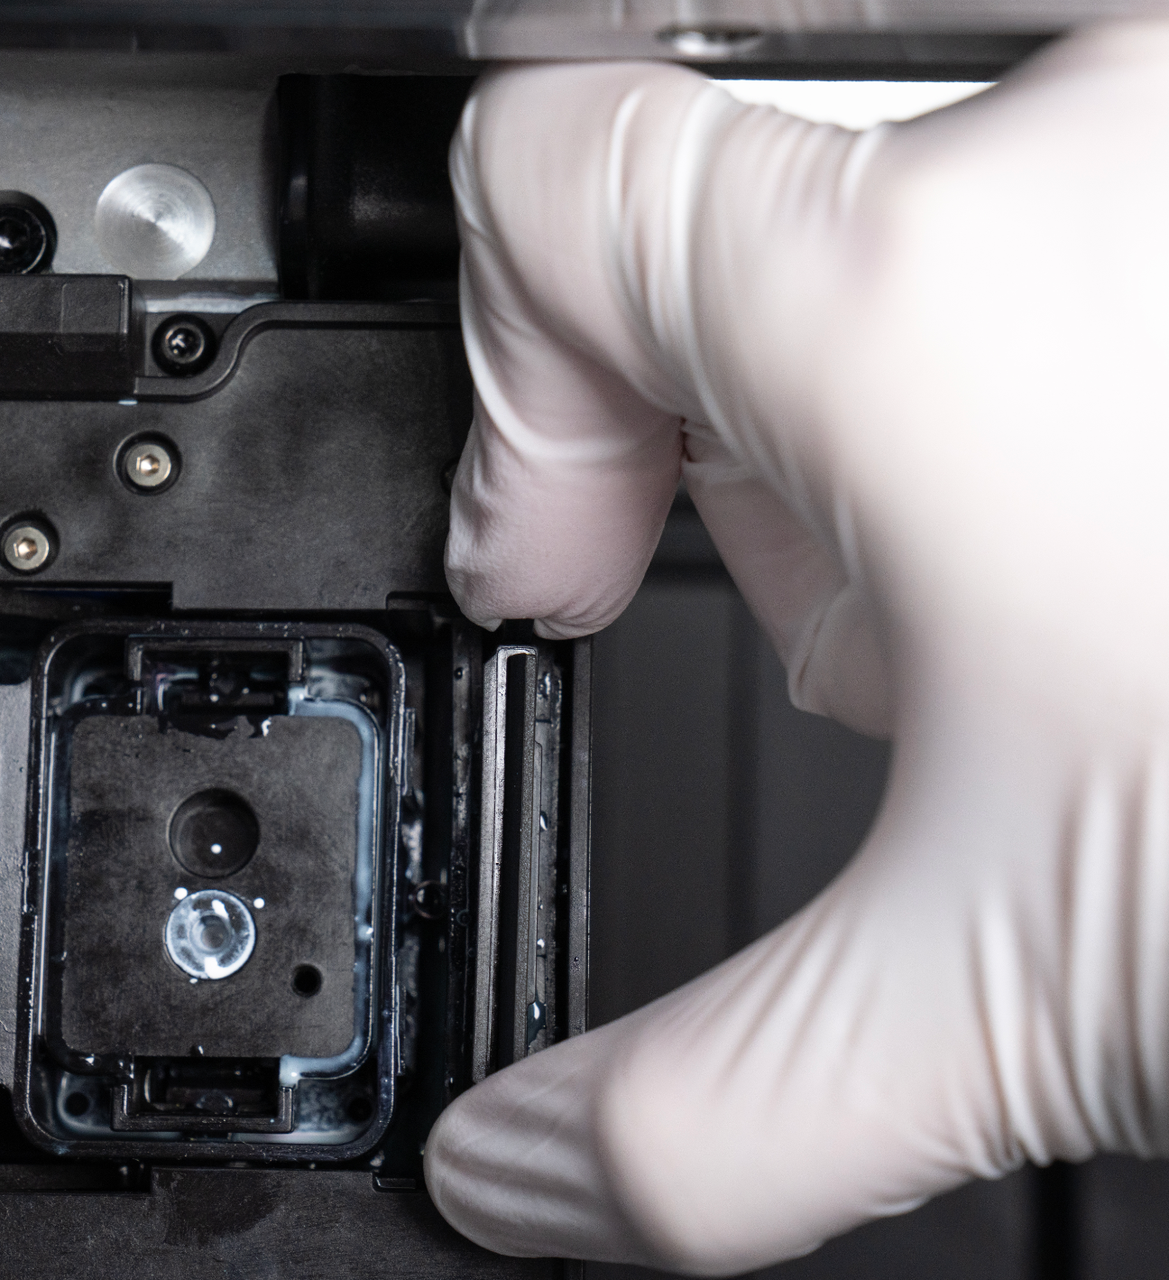
Align the protrusion on the Scraper blade assembly with the positioning groove on the Ink Stack body, as shown below.
-
Press the Scraper blade firmly downward until you hear or feel a click. This confirms that the retaining clips are fully engaged.
Precautions
-
We recommend replacing the Scraper and Ink Pad at the same time.
-
Wear gloves and keep the area well ventilated during replacement.
-
Use officially compatible replacement accessories.
5. Foam Pad
Purpose
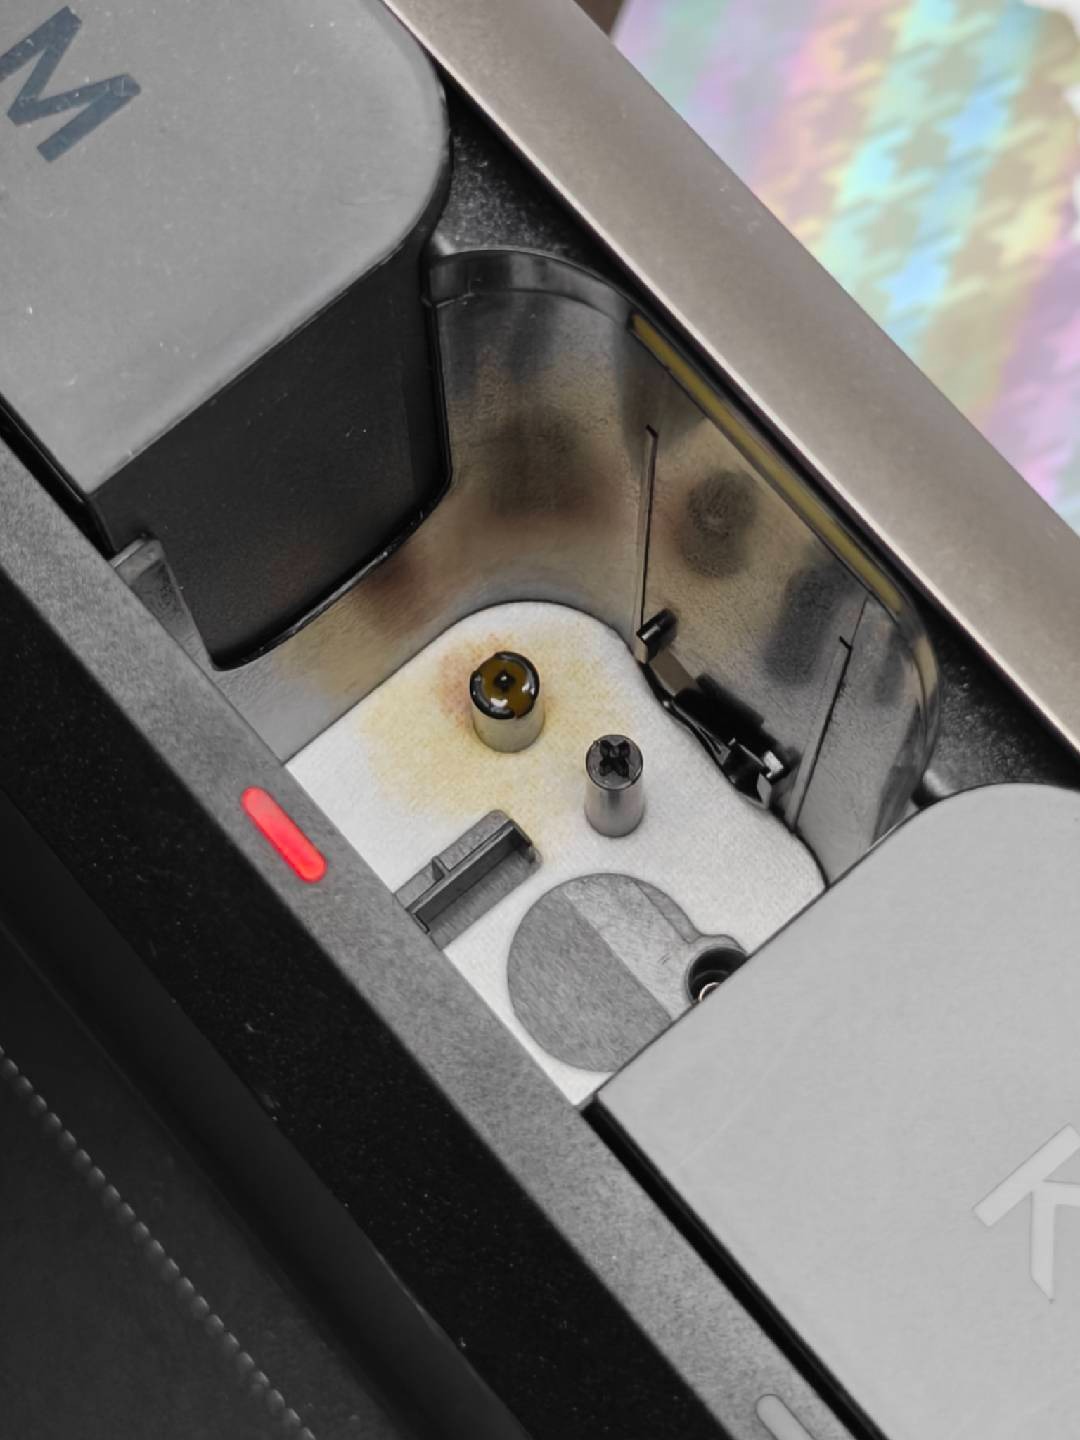
The Foam Pad is located around the ink cartridge connection area. It absorbs small amounts of ink that may leak from the cartridge interface, helping keep the surrounding internal area clean.
When Should It Be Inspected or Replaced?
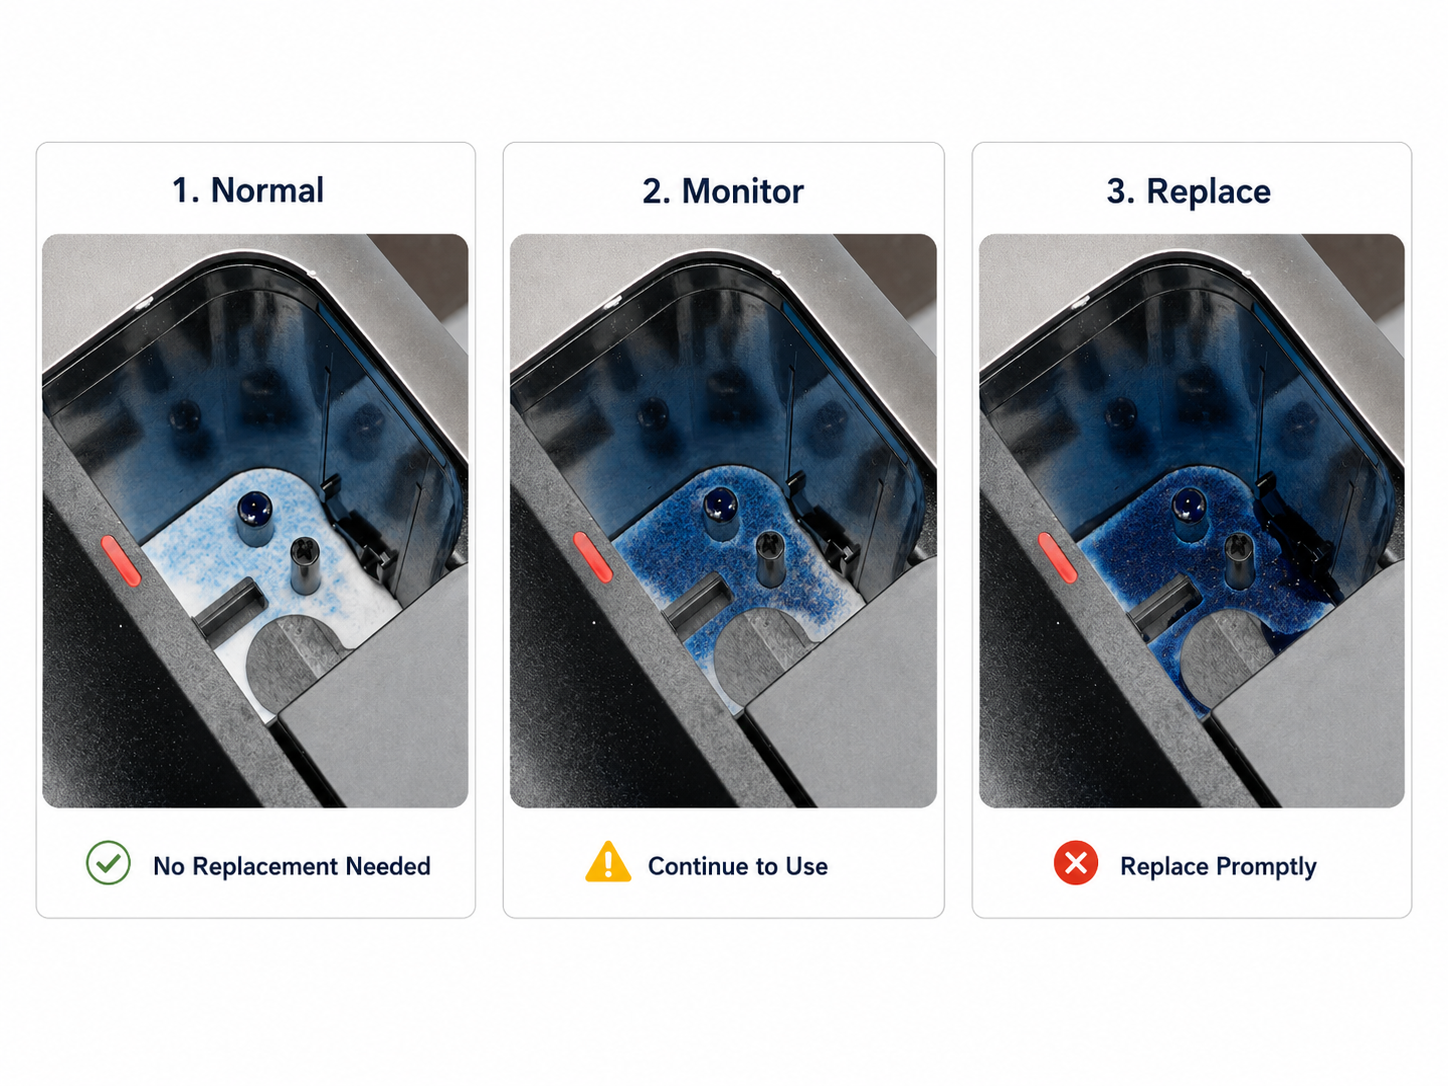
Inspect the Foam Pad approximately every 6 months and assess its condition as follows:
-
Light-colored areas are still clearly visible: The Foam Pad can generally continue to be used.
-
The overall color has become darker: Continue monitoring its condition.
-
The Foam Pad is nearly saturated or ink leakage is visible: Replace it as soon as possible.
Can I Replace It Myself?
Yes.
Replacement Steps
-
Gently remove the old Foam Pad.
-
Install the new Foam Pad in the same position.
-
Confirm that the Foam Pad lies flat and fits correctly without curling or folding.
Precautions
-
Install only one layer of Foam Pad at each cartridge interface position.
-
Wear gloves during replacement to avoid contact with residual ink.
-
If you notice significant ink leakage or any other abnormal condition, contact eufyMake Customer Support.
Recommended Maintenance Kit
If several related maintenance accessories need to be replaced at the same time, we recommend using the official maintenance kit.
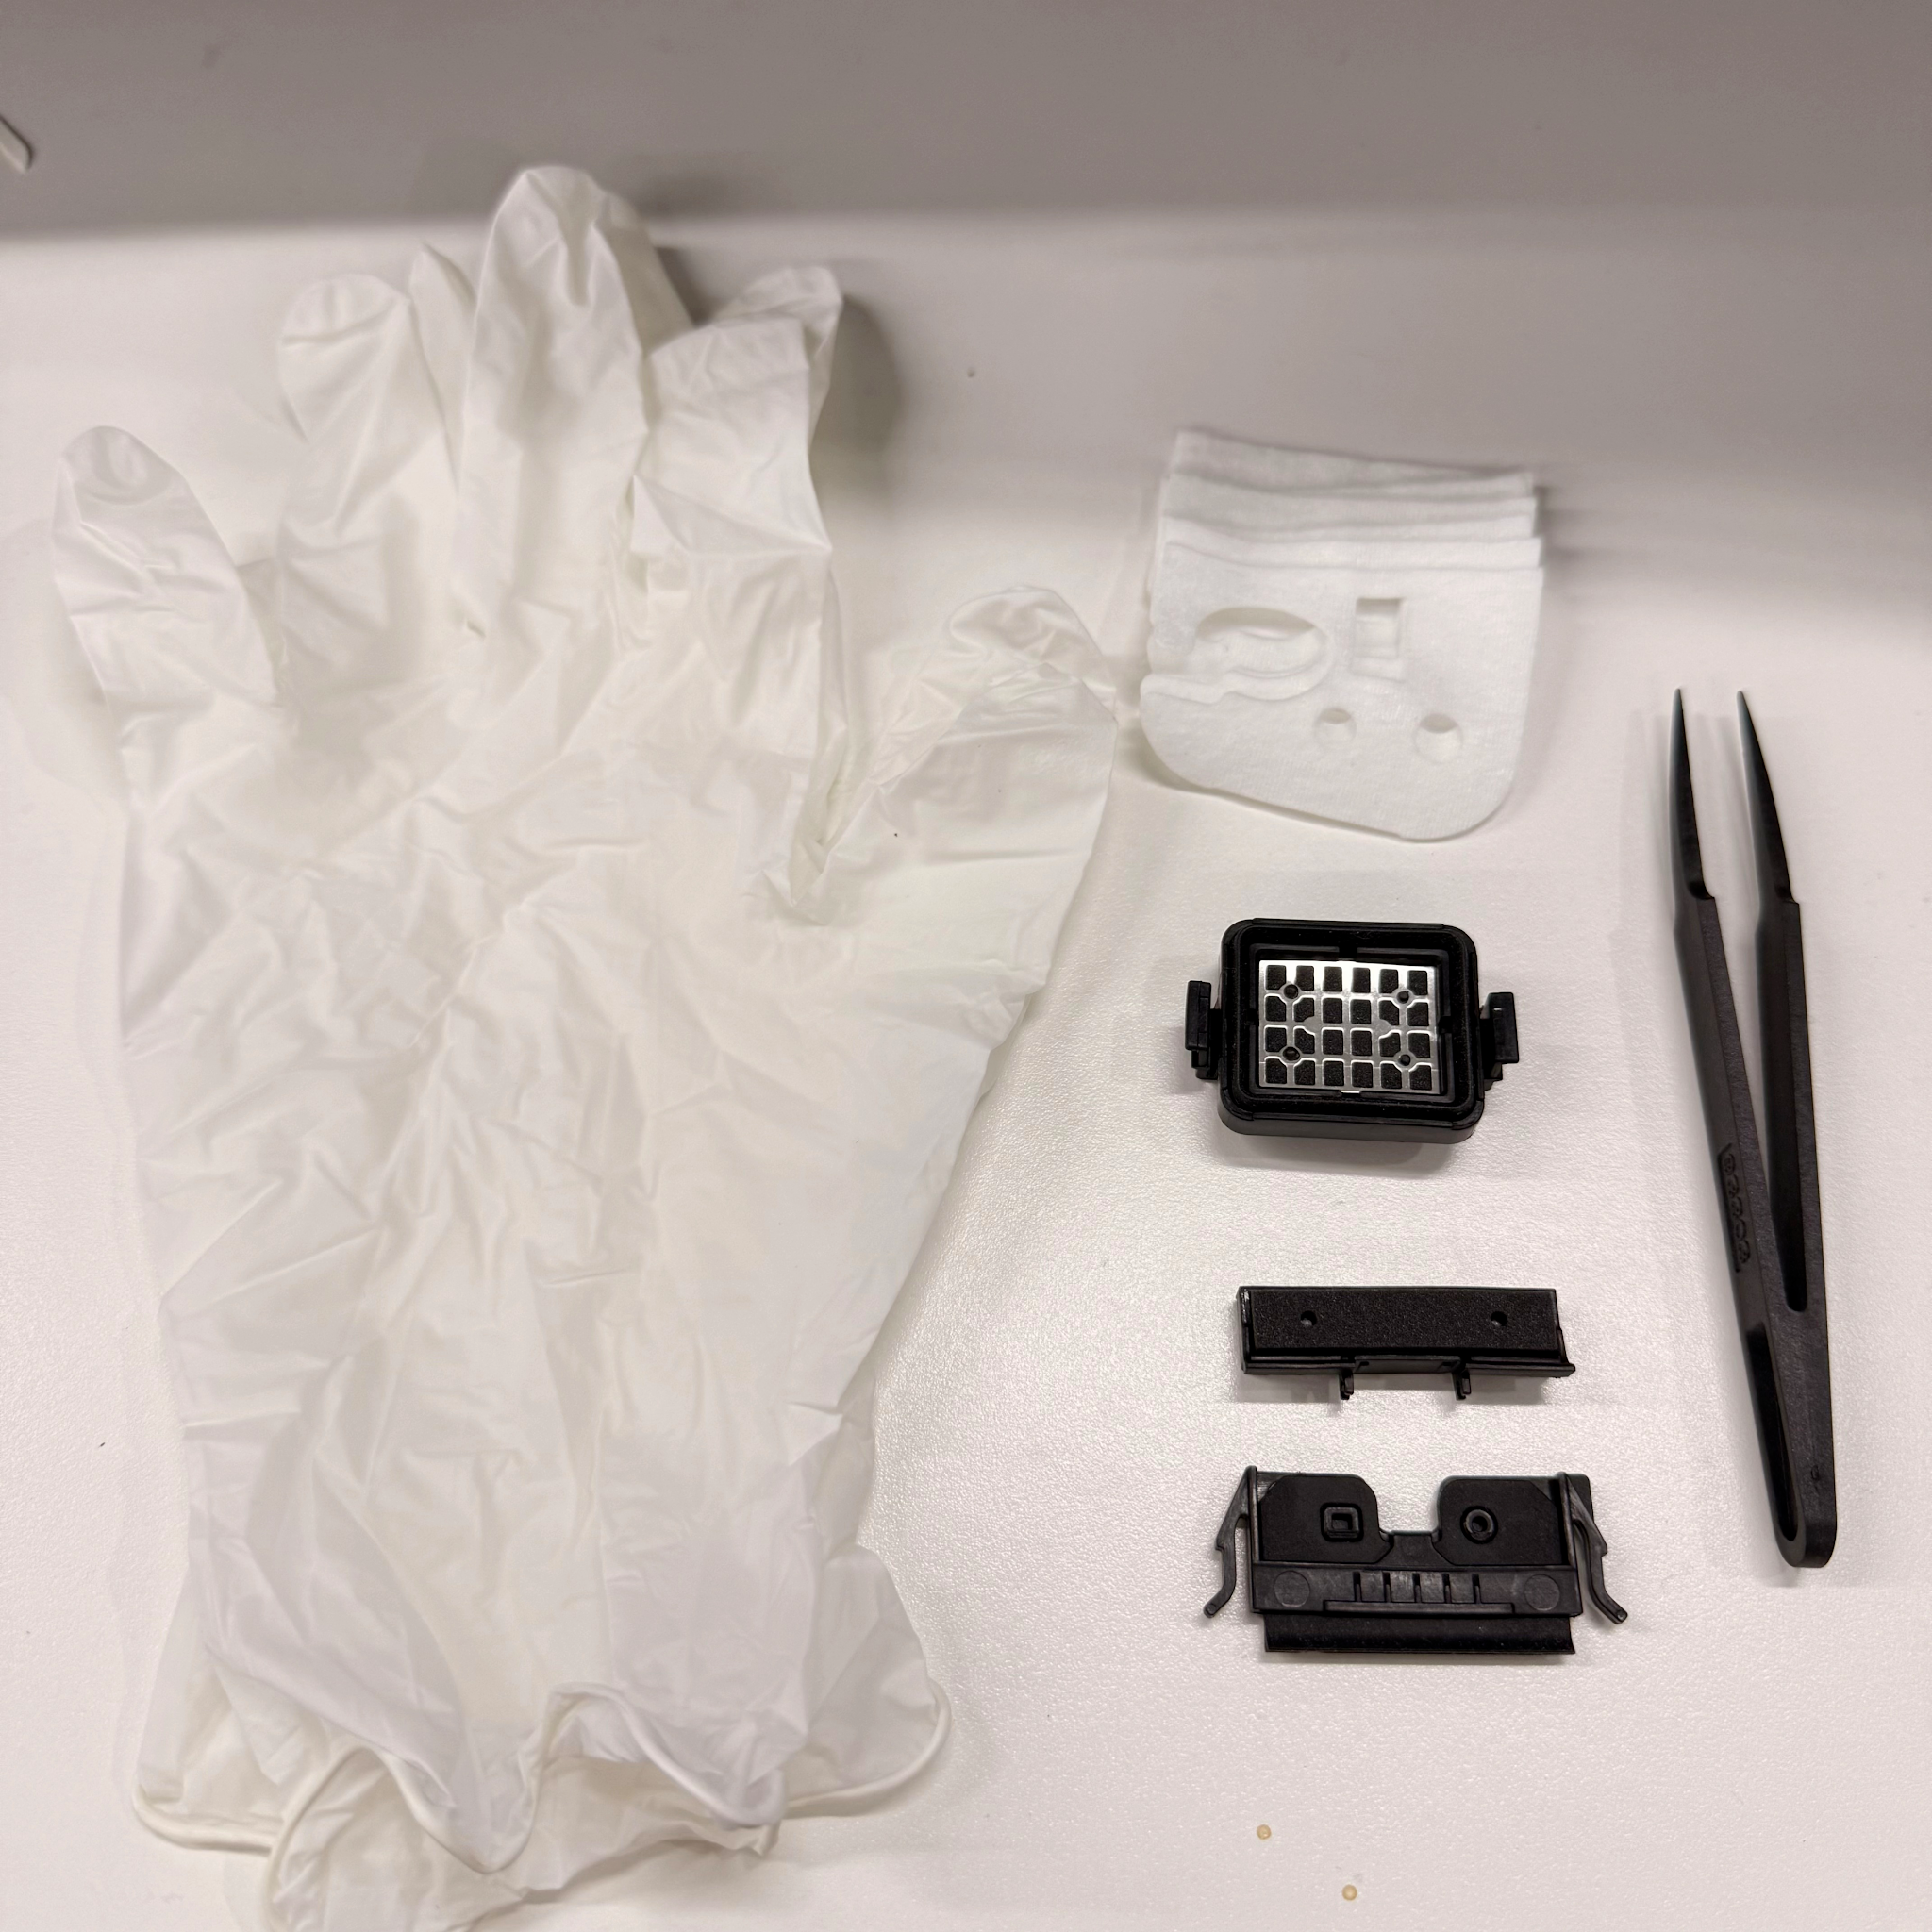
Print Head Station Replacement Kit
Model: V72D0
The kit includes:
-
Ink Pad
-
Scraper
-
Foam Pad
This kit is suitable for replacing the related Print Head maintenance accessories together and is recommended for users who want to complete the required maintenance in a single session.
Frequently Asked Questions
Why do some accessories have automatic replacement reminders while others do not?
The printer estimates the service life of certain accessories and displays a replacement reminder when required.
Other accessories, such as the Foam Pad, are better assessed through visual inspection and must therefore be checked manually at regular intervals.
Can I use third-party accessories?
To ensure compatibility, reliable performance, and printer safety, we recommend using officially compatible eufyMake accessories.
Can I continue using the printer after receiving a replacement reminder?
We recommend replacing the affected accessory as soon as possible.
Continuing to use an accessory after a replacement reminder may affect print quality, maintenance performance, or the cleanliness of the printer.
What should I do if I am unsure whether an accessory needs to be replaced?
If you cannot determine the condition of an accessory, or you are unsure whether it is appropriate to replace it yourself, contact eufyMake Customer Support for assistance.
Get More Help
To purchase replacement accessories, maintenance kits, or obtain more detailed replacement guidance, please check the following official channels:
-
Official Store
-
eufyMake App
-
eufyMake Studio
-
Official After-Sales Support Channel