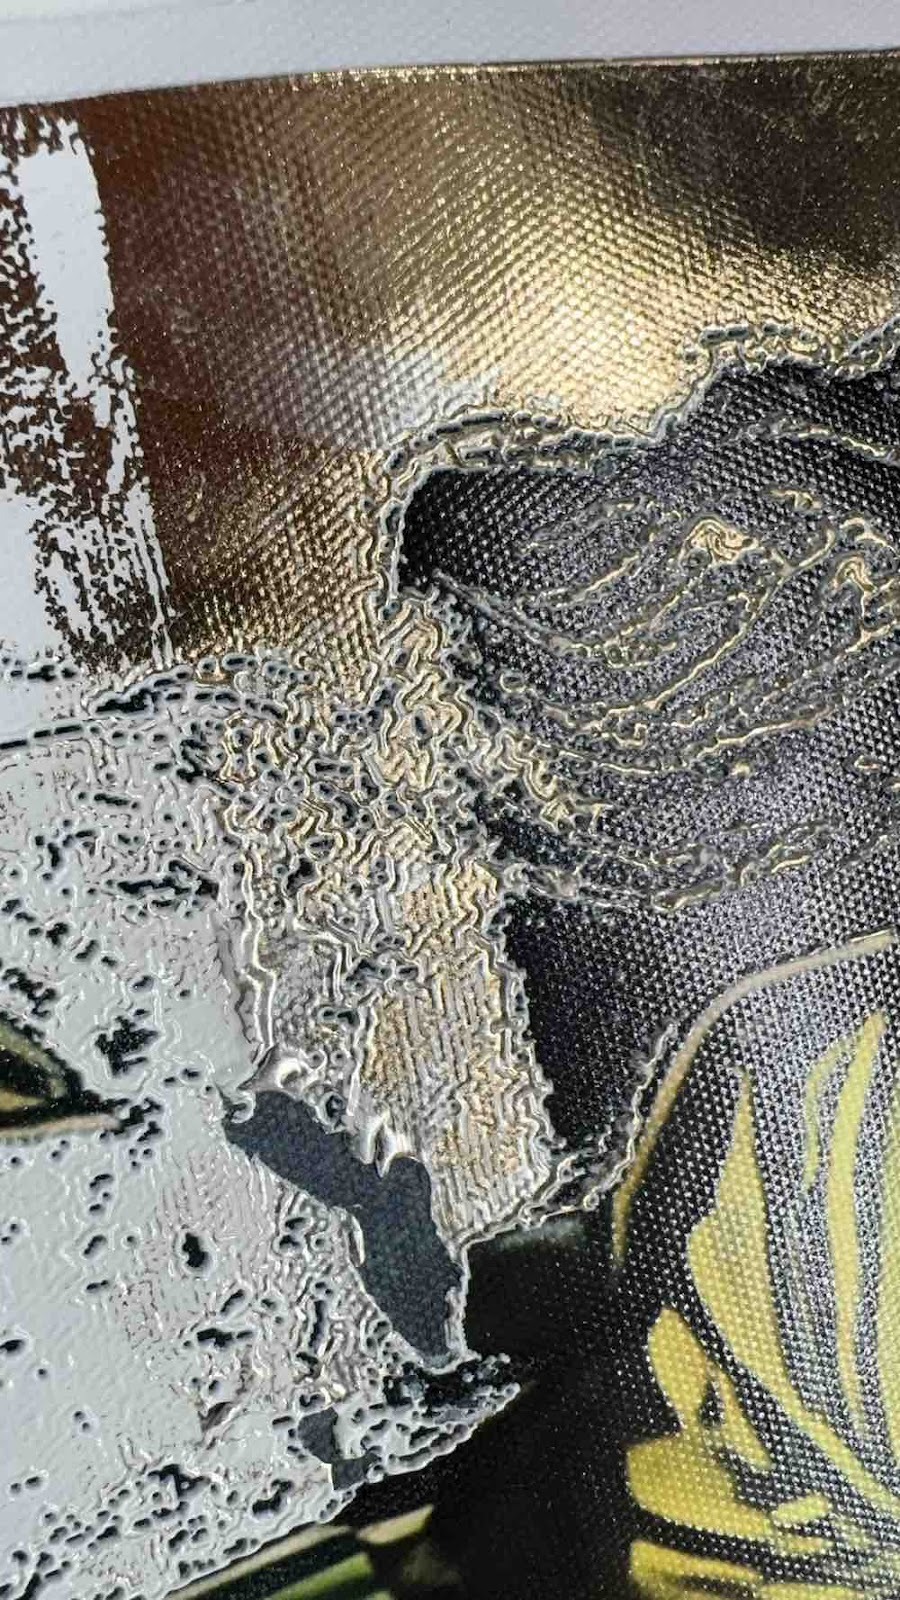
Fault Phenomenon
The surface of the gold (foil-stamp) print shows a wrinkled texture, and the lamination results are poor.
When pressed, the laminated area feels soft and movable, and some areas may remain sticky.
Cause Analysis
-
Insufficient UV lamp curing
-
If the UV lamp output is insufficient (for example, due to UV lamp failure, obstruction, or a software issue), the UV light may only cure the surface layer of the ink.
-
In this case, the surface of the white ink cures, while the internal ink remains semi-cured.
-
Post-curing shrinkage under ambient light
-
When exposed to natural light, the semi-cured internal ink continues to cure and shrink. This shrinkage pulls the already cured surface layer, causing wrinkling.
-
The wrinkle pattern may vary depending on the texture of the printing substrate.
-
Reduced adhesion between white ink and gold (foil-stamp) film
-
When white ink is not fully cured, its adhesion to the gold (foil-stamp) film decreases, leading to poor lamination performance.
Troubleshooting
-
Print a Test Pattern
Test File:
https://support.eufymake.com/s/article/Test-Diagram-Project-File
Important:
When printing the test pattern, use a smooth, non-absorbent substrate (such as acrylic or glass). Follow the steps below for evaluation.
-
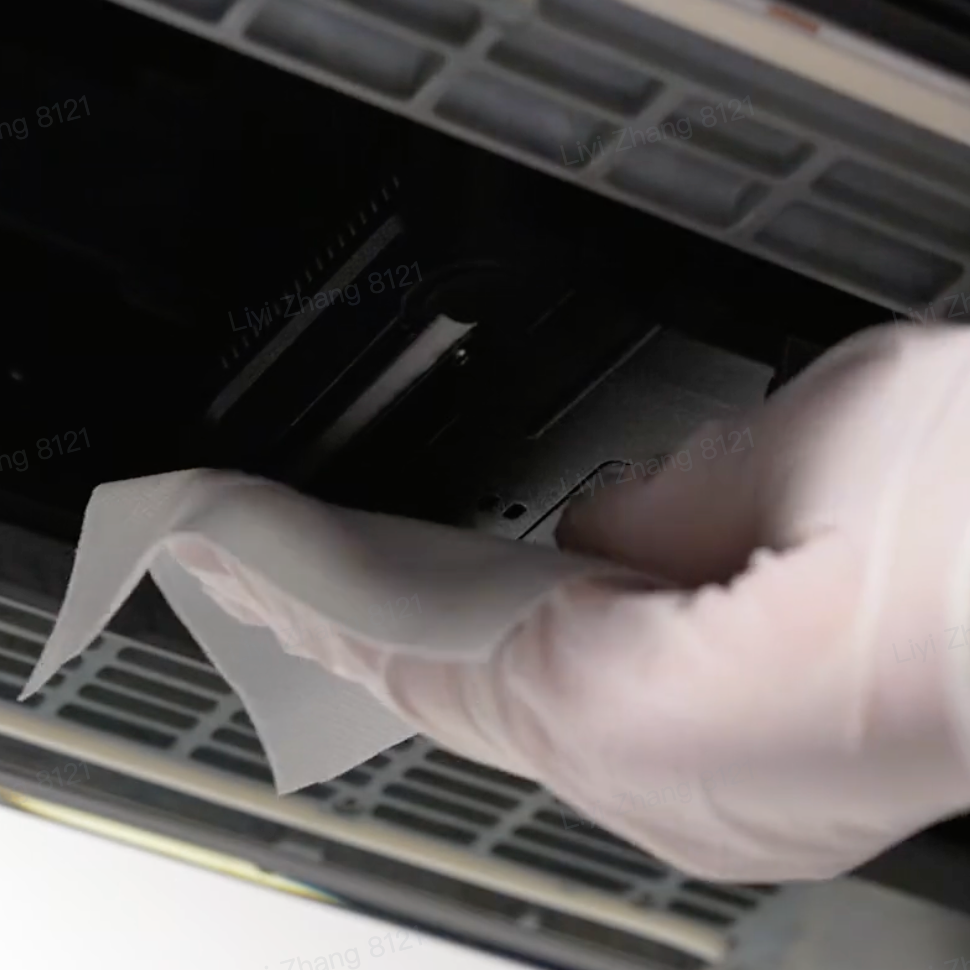
Surface Wipe Test
Use a dry paper towel to wipe the printed surface:
-
Check whether any color residue remains
-
Identify which color block leaves residue, if applicable
-
Color Consistency Check
Compare the printed result with the original design:
-
If color fading is observed, restore the printer to factory settings
-
Re-perform ink filling and initialization, then reprint
If the issue persists after reinitialization, take clear photos of the defective print and contact eufyMake Customer Support.
-
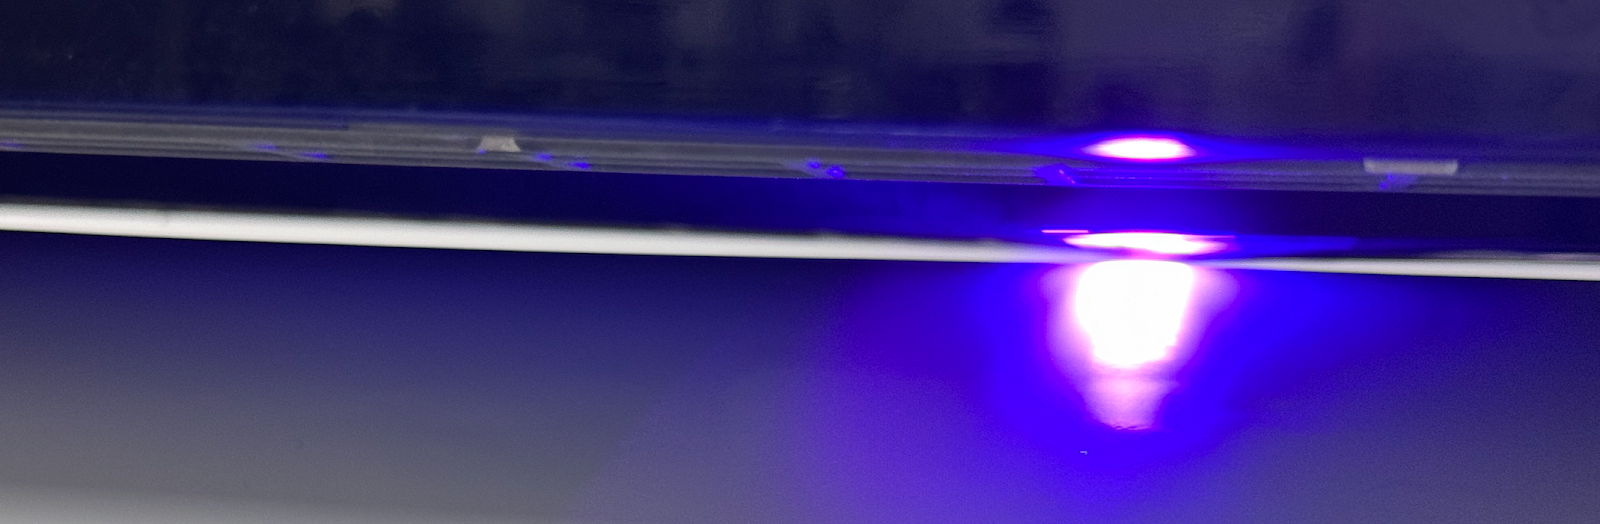
UV Lamp Function Check
Reprint the test file and use a mobile phone to record the UV lamp during printing.
Notes:
-
Wear anti-blue-light protective glasses
-
Confirm that the UV lamp turns on normally and maintains stable output
-
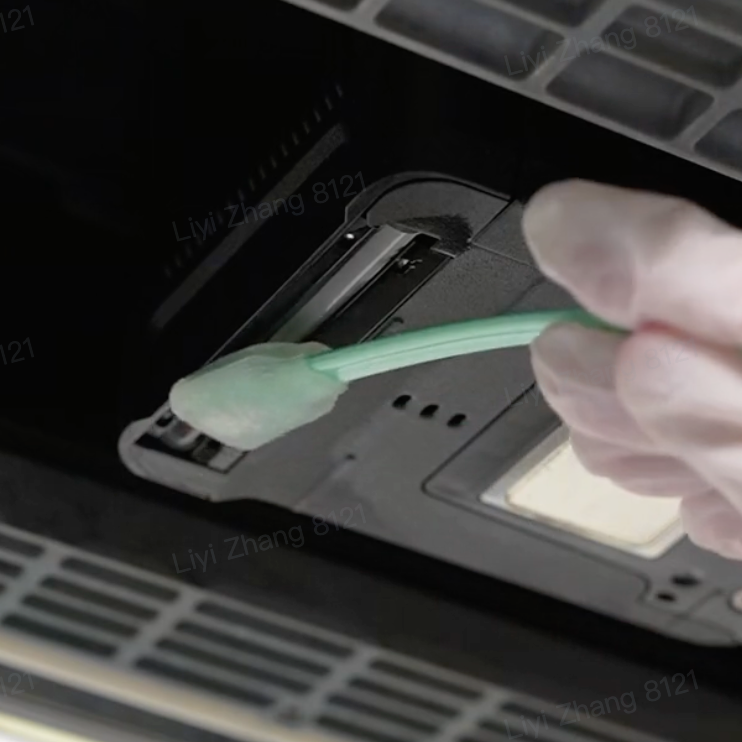
UV Lamp Maintenance
Refer to the UV lamp deep cleaning guide and perform maintenance as instructed:
https://support.eufymake.com/s/article/Deep-Manually-Cleaning-for-UV-Printer-E1
-
Verification
After maintenance, reprint the test pattern and check the result. If the issue persists after completing the above steps, please contact eufyMake Customer Support at support@eufymake.com with the following information:
-
Your Order Information.
-
Printer SN. Please refer to: https://support.eufymake.com/s/article/How-to-Check-the-Device-Serial-Number-SN
-
Printer and App Logs. Please refer to:https://support.eufymake.com/s/article/Log-Upload-Process-App-PC-Overview
-
All defective photos and troubleshooting steps