This guide explains how to properly shut down the UV Printer E1, how to confirm that shutdown has completed successfully, and how to store the printer when it will not be used for an extended period.
I. What Is Shutdown Mode
Shutdown mode is the safe shutdown procedure for the UV Printer E1.
During the shutdown process, the printer automatically performs a moisturizing cycle and locks the Print Head in the Ink Stack to help prevent nozzle clogging caused by dried ink.
Why Must You Use Shutdown Mode?
Can I Simply Unplug the Power Cord?
WARNING: Do not disconnect power without first completing the shutdown process.
Temporarily unplugging the printer for troubleshooting, accessory replacement, or moving the printer for a short period (approximately 0.5–1 hour) will not damage the Print Head. However, the printer should be reconnected as soon as possible afterward.
For extended periods of storage or inactivity, disconnecting power without using the shutdown process may result in:
-
Print Head clogging - Without moisturizing, ink can dry inside the nozzles and cause permanent clogging.
-
Warranty limitations - Print Head damage caused by extended power loss without proper maintenance may not be covered under warranty.
For this reason, we strongly recommend using the full shutdown procedure whenever the printer will be disconnected from power for an extended period.
II. How to Shut Down the Printer
Pre-Shutdown Checklist
Note:
-
If the Cleaning Cartridge has expired, the shutdown process cannot be completed. Replace it before shutting down the printer.
-
If the Cleaning Cartridge is full, only one additional shutdown cycle is allowed. Replace it promptly afterward. Otherwise, the next shutdown may not complete the moisturizing process, which could lead to Print Head clogging.
-
Expired or depleted UV Ink Cartridges do not affect the shutdown process.
Shutdown Steps
Two shutdown methods are available. Both achieve the same result:
Method 1: Power Button Shutdown
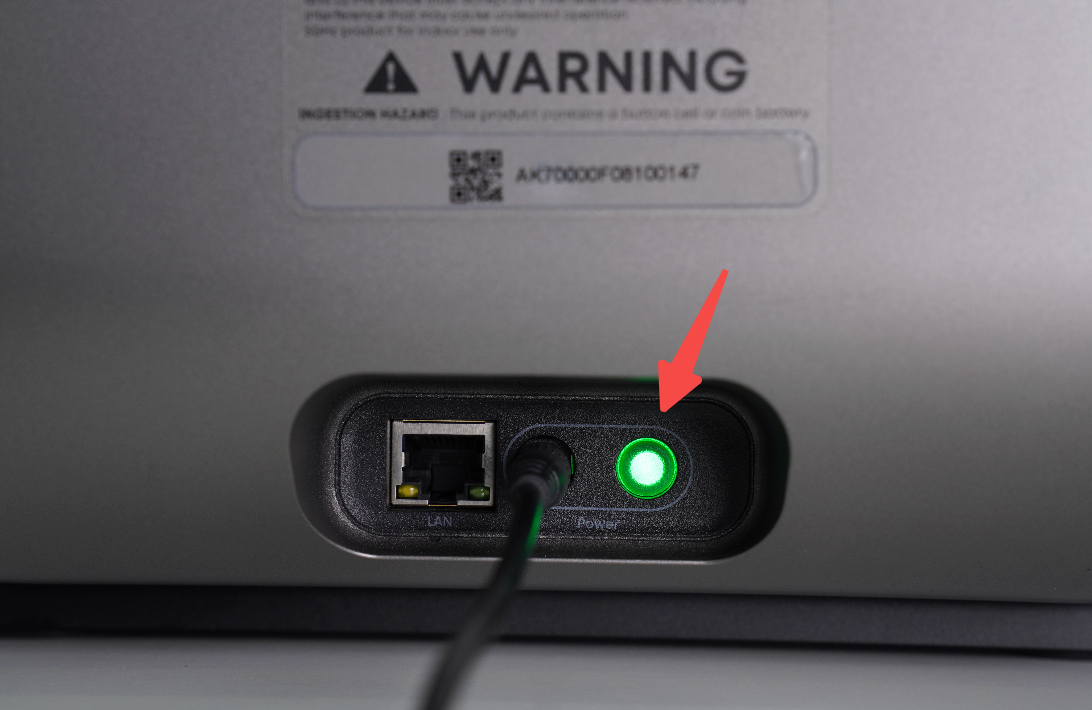
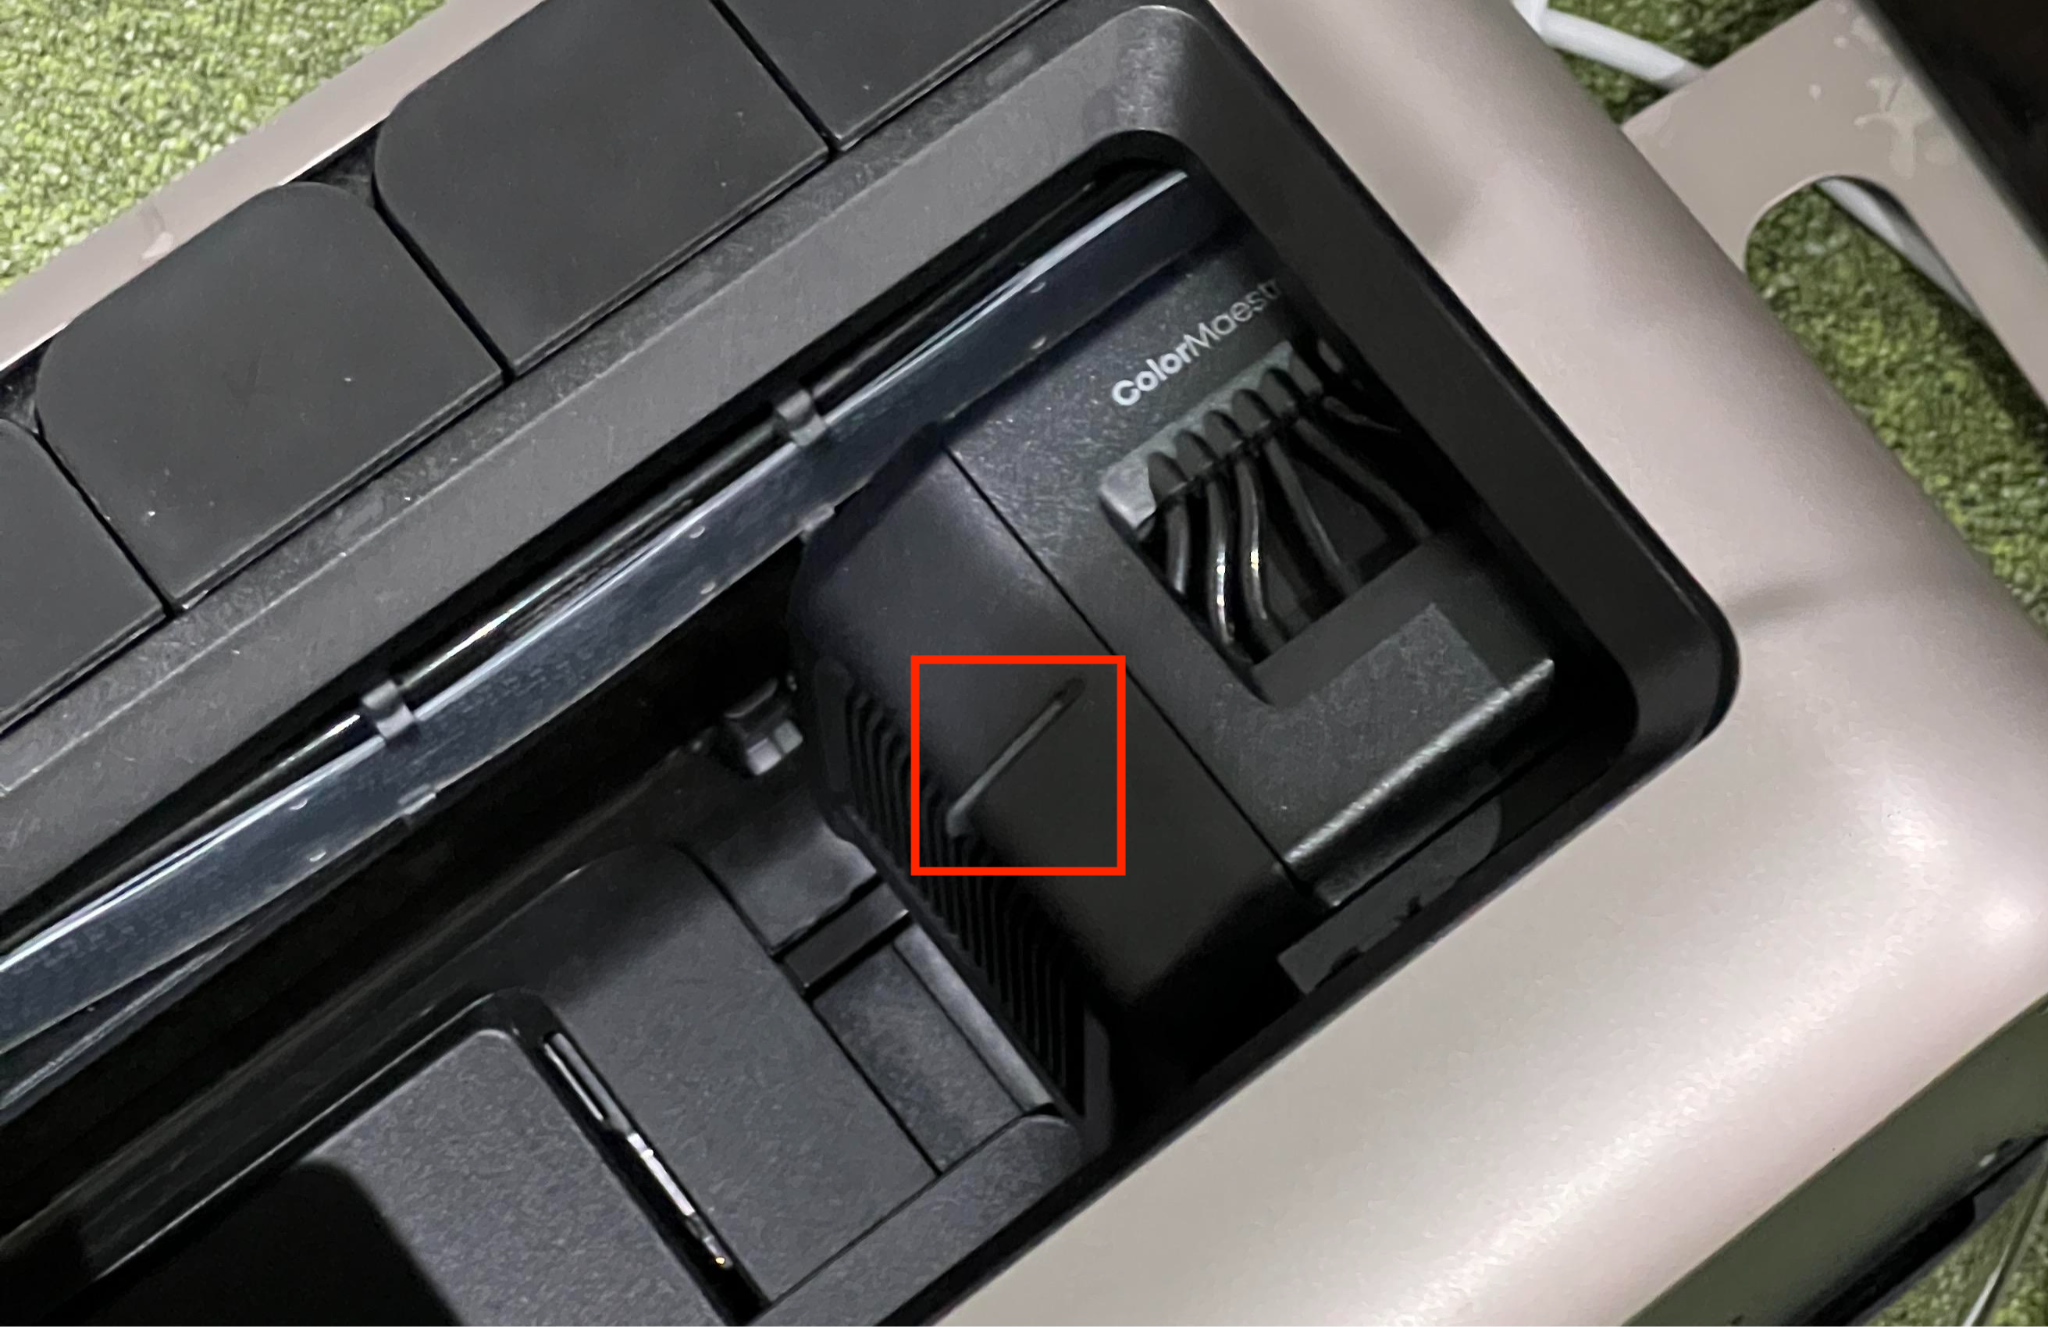
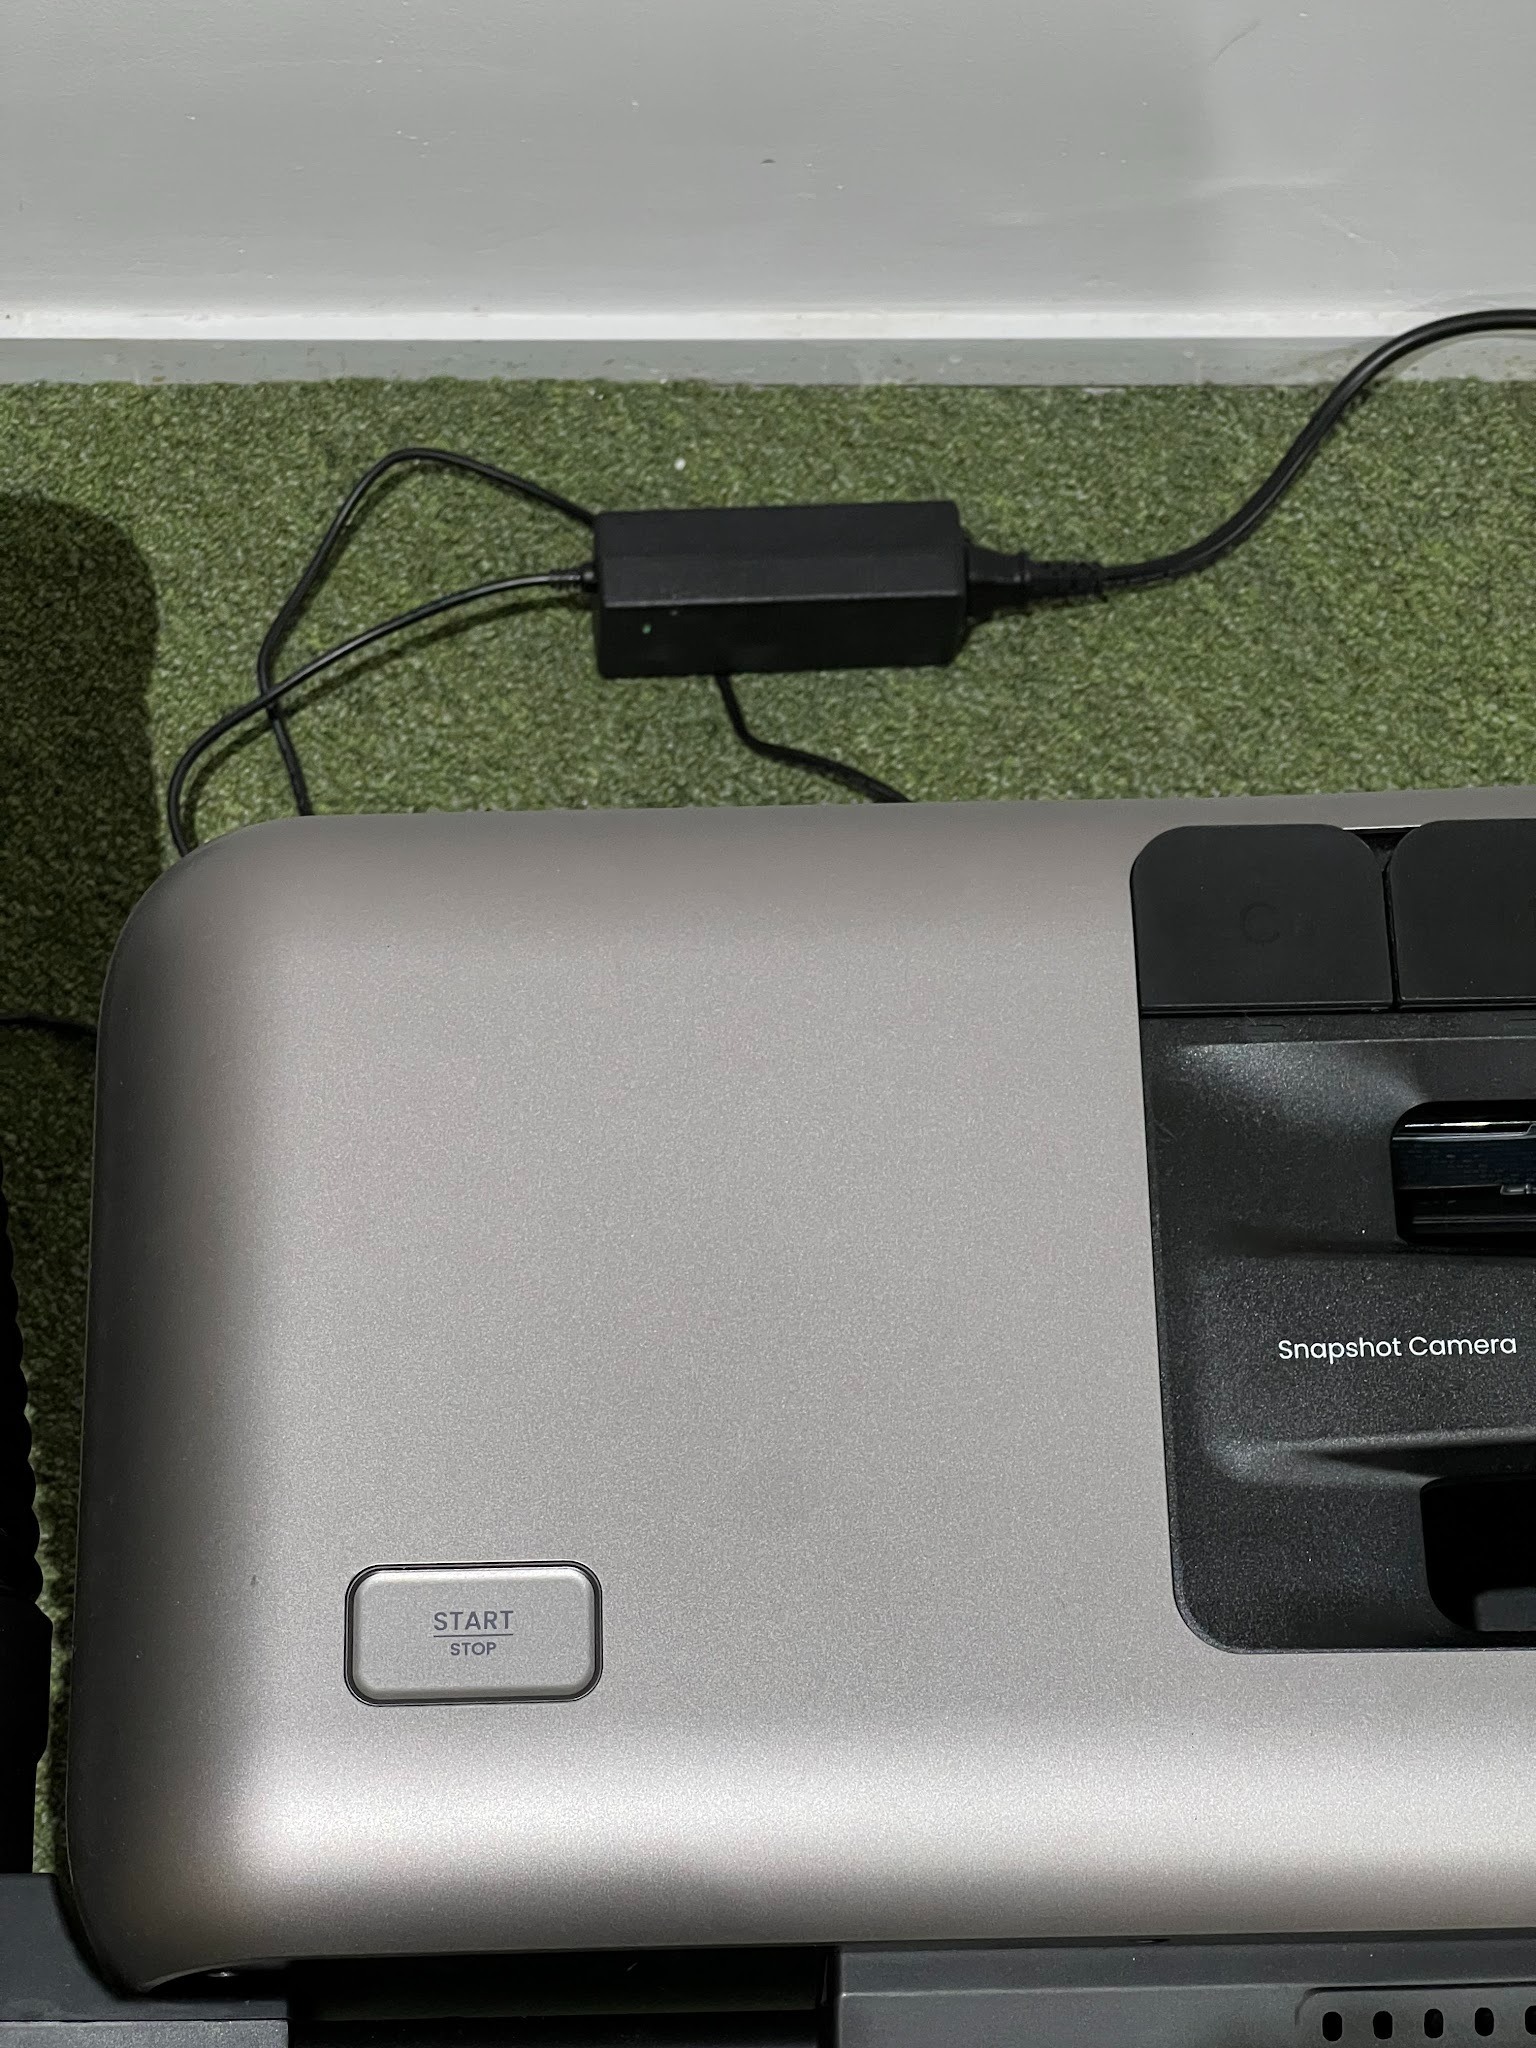
1.Press and hold the power button for approximately 5 seconds.
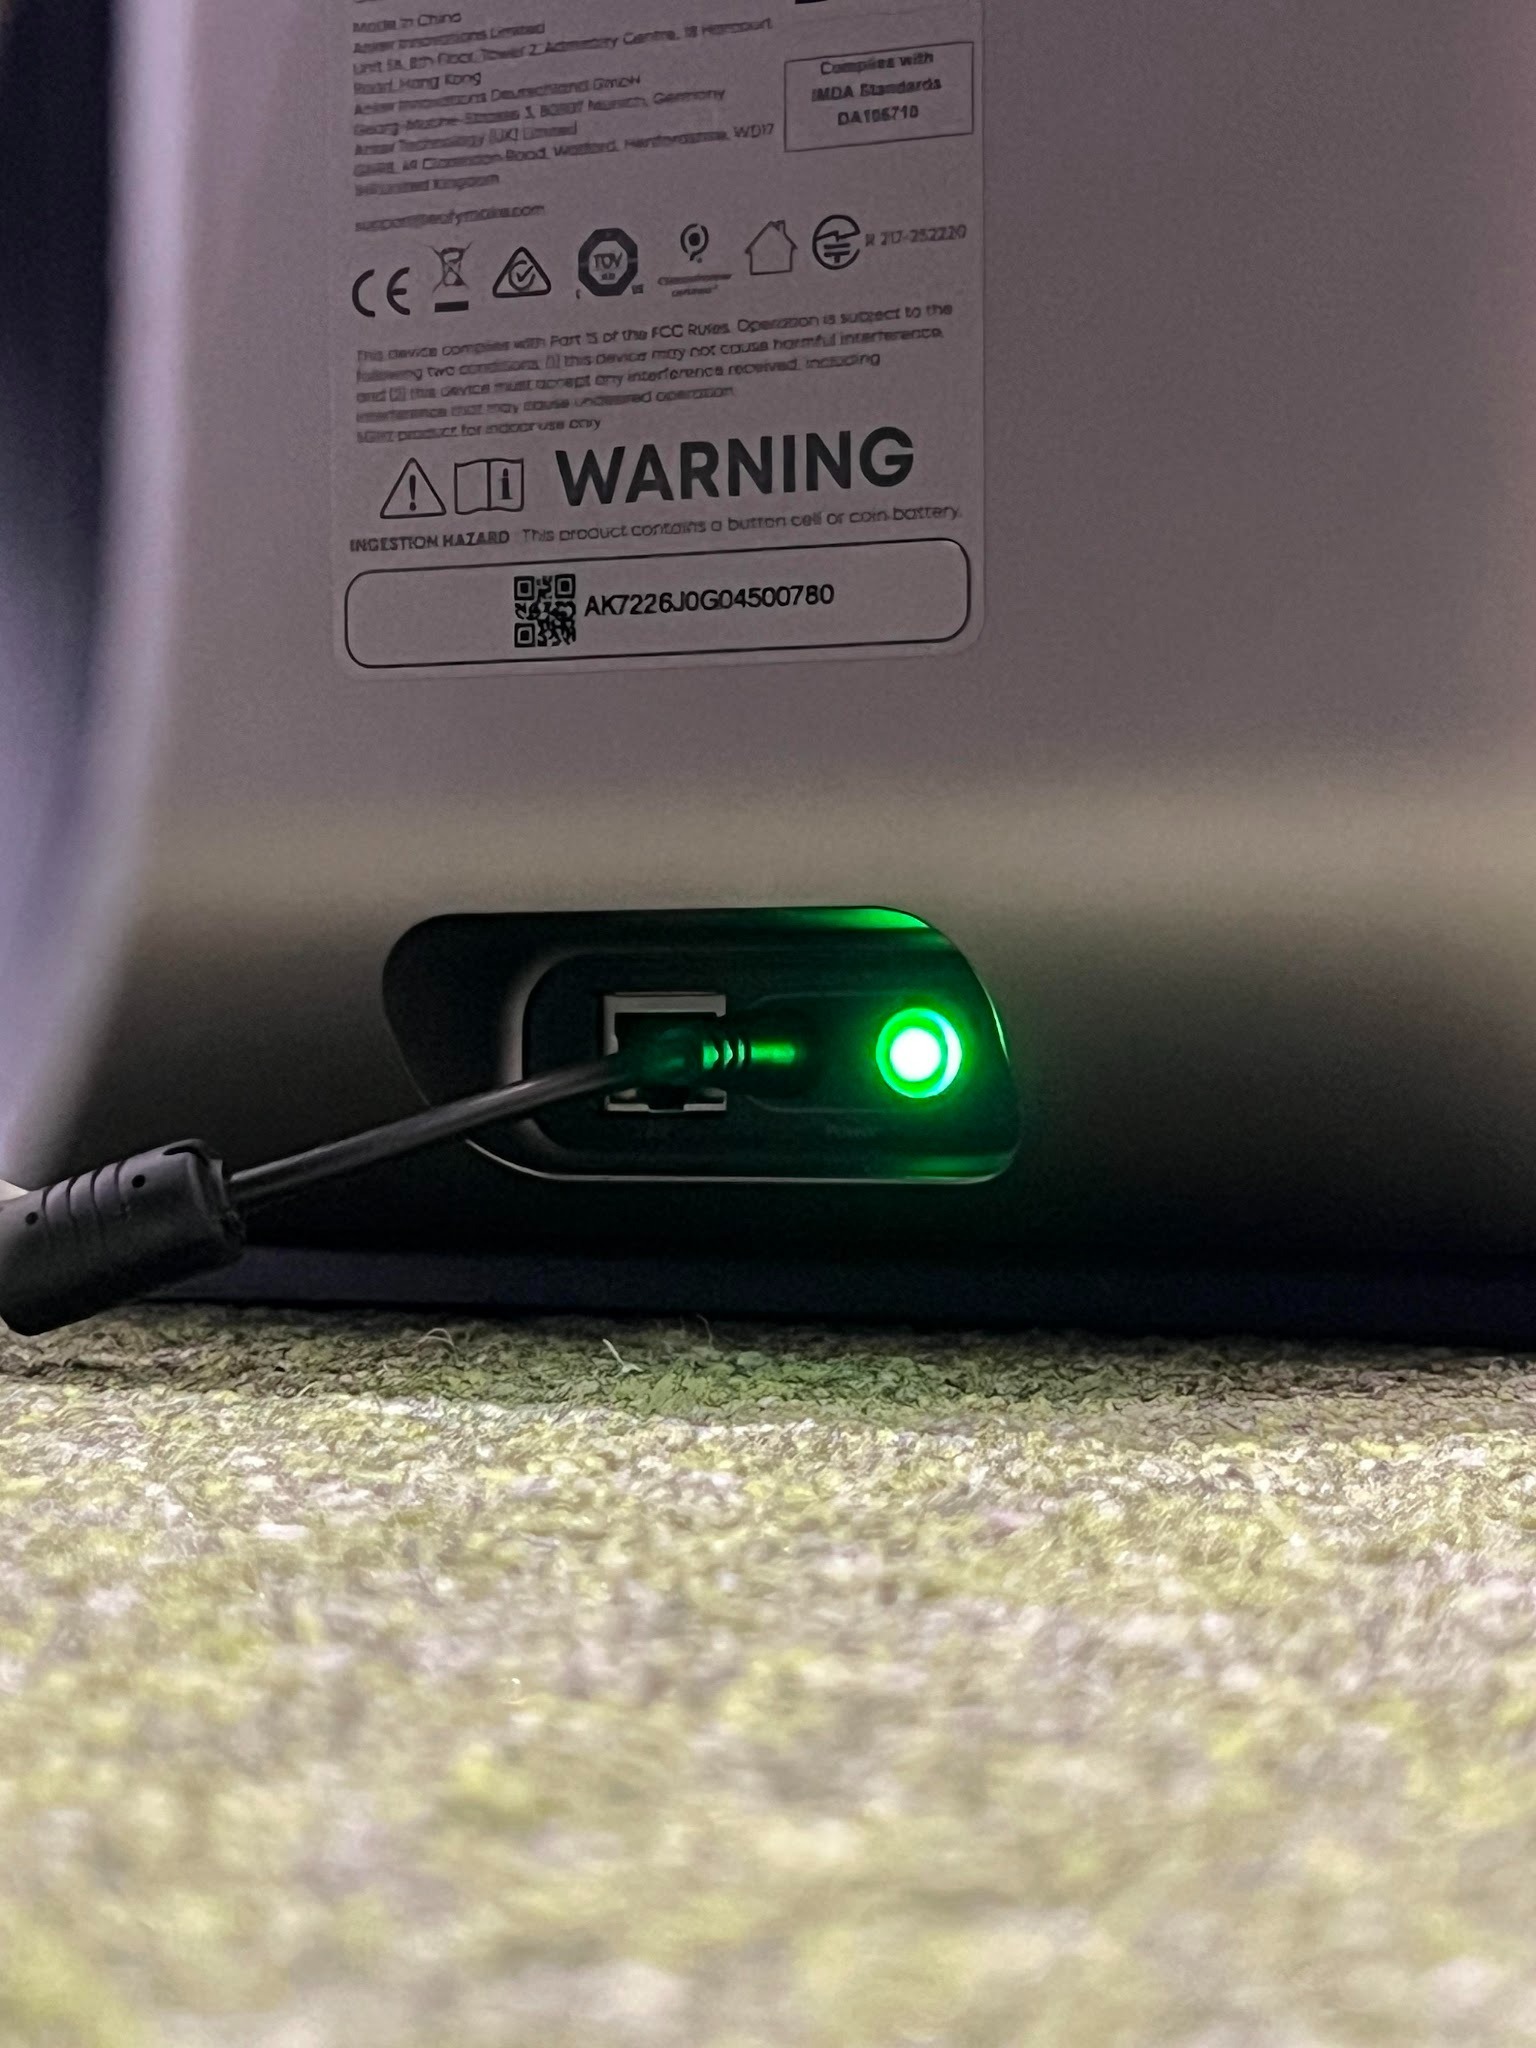
The power button is located beside the printer's power connector.
A shutdown confirmation sound indicates that the shutdown process has started.
2.Wait for Moisturizing to Complete
The moisturizing process takes approximately 7 minutes and 30 seconds.
Do not disconnect power during this process.
3.Wait for the Print Head to Lock
The printer will automatically move the Print Head to the Ink Stack position and lock it in place.
4.Wait for the Shutdown Complete Sound
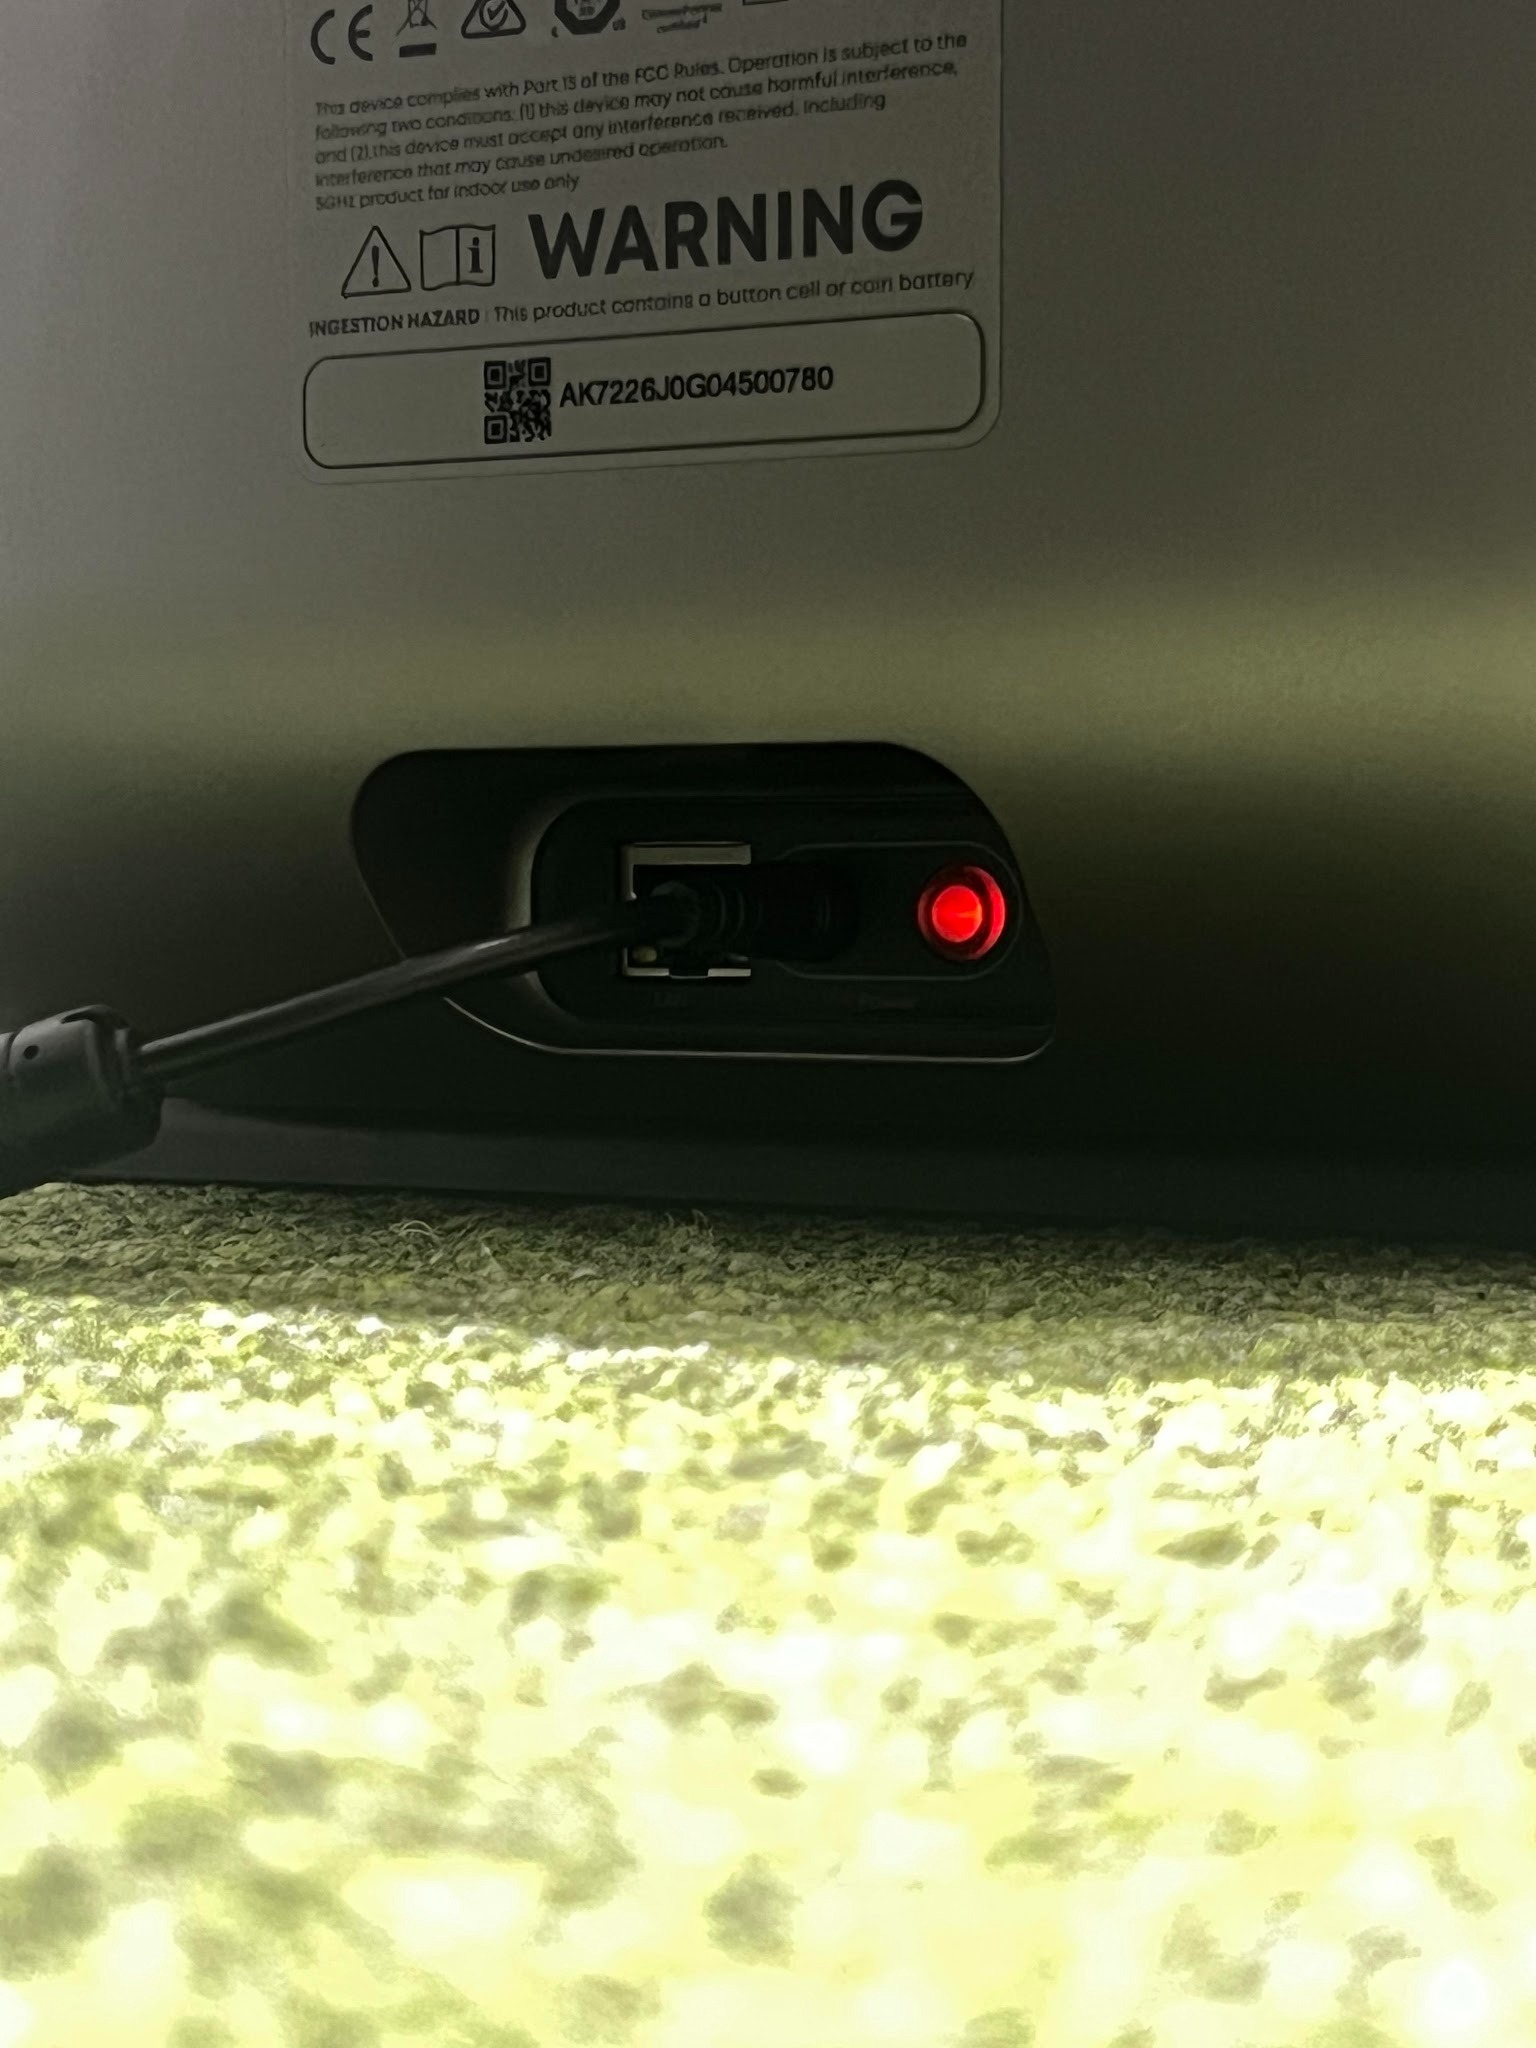
After you hear the shutdown complete sound, it is safe to disconnect the power cable.
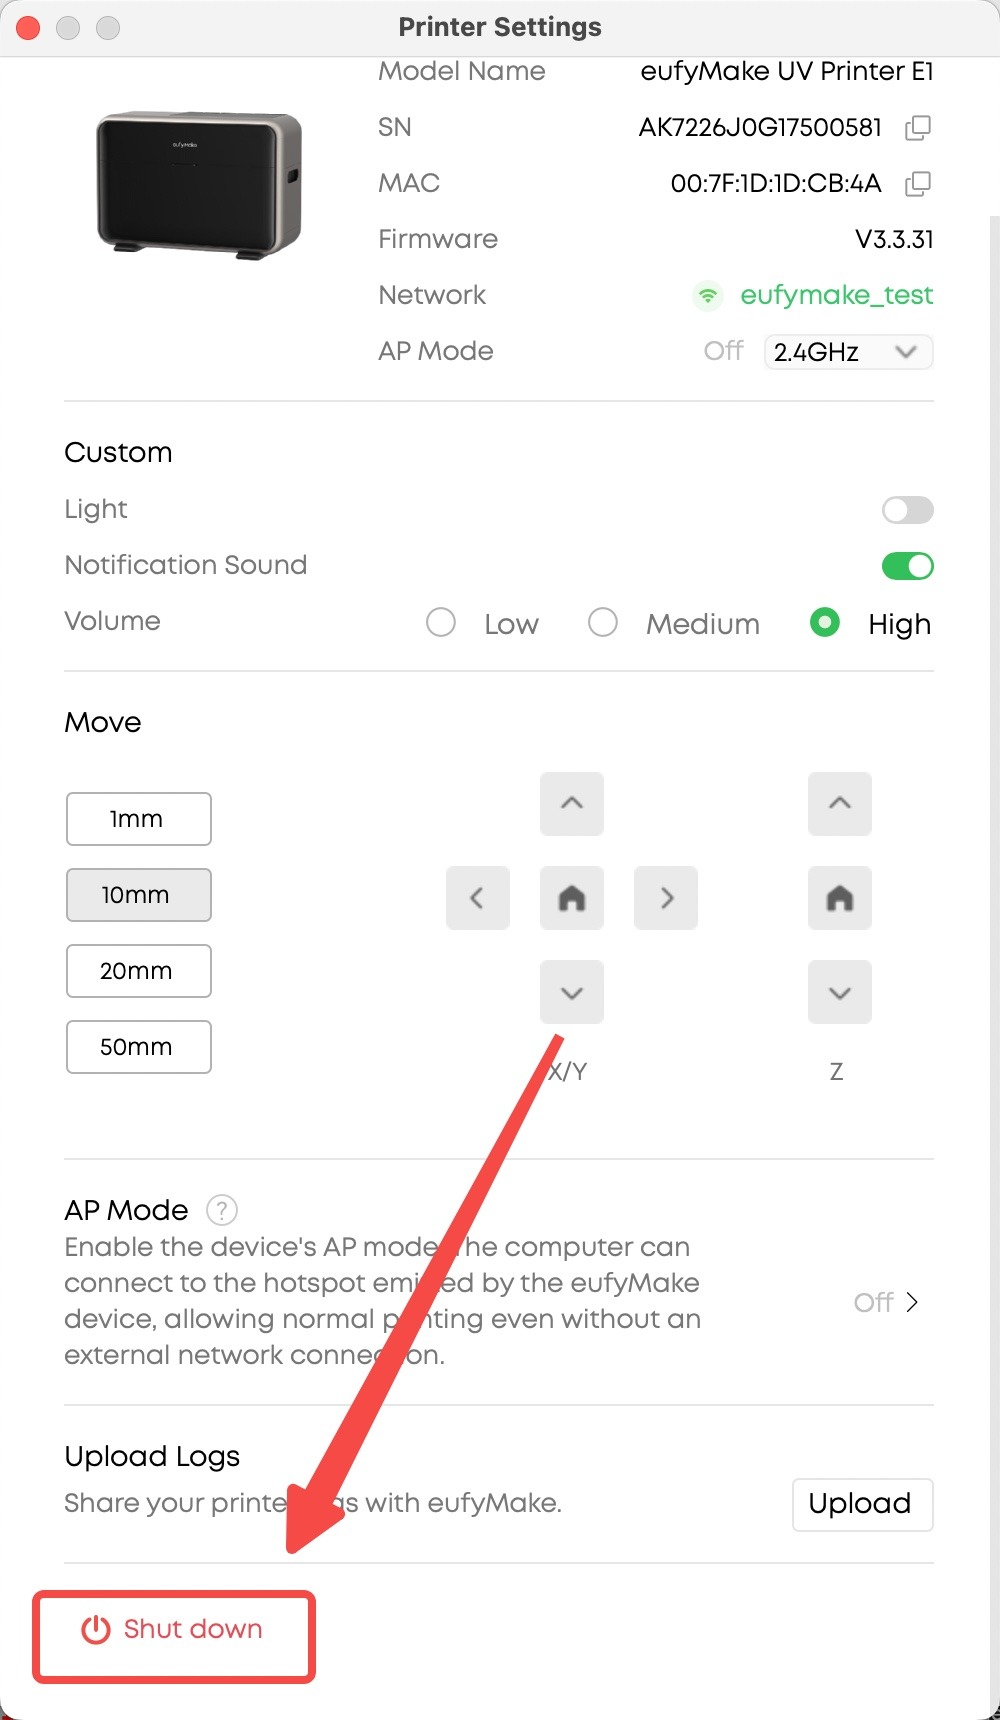
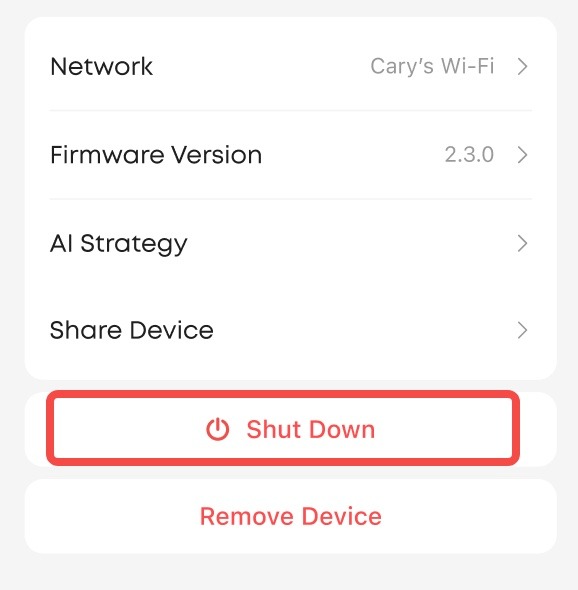
Method 2: Software Shutdown
Remotely shut down using the eufyMake App. Available on both mobile and PC:
1.Go to Device Settings → tap Shutdown → confirm — the device will begin the shutdown process.
2.Wait for Moisturizing to Complete
The moisturizing process takes approximately 7 minutes and 30 seconds.
Do not disconnect power during this process.
3.Wait for the Print Head to Lock
The printer will automatically move the Print Head to the Ink Stack position and lock it in place.
4.Wait for the Shutdown Complete Sound
After you hear the shutdown complete sound, it is safe to disconnect the power cable.
III. How to Confirm Shutdown Is Complete
Shutdown Successful
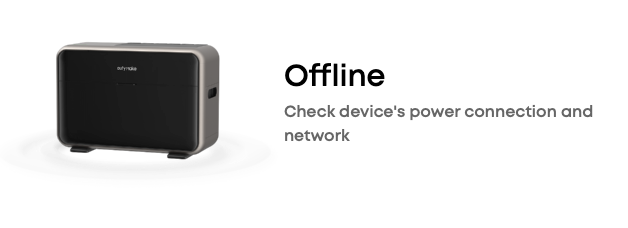
Shutdown Failed
How to Handle Shutdown Failure:
The printer may fail to shut down if an active fault prevents the shutdown process from completing.
1.Open the eufyMake App or eufyMake Studio and check the reported error.
2.Resolve the issue according to the troubleshooting instructions.
3.Press and hold the power button for 5 seconds again to retry the shutdown process.
4.If shutdown continues to fail, contact eufyMake Customer Support.
IV. Storing the Printer After Shutdown
If you do not plan to use the printer for an extended period, we recommend the following storage conditions:
1.Use the Original Packaging
Store the printer in its original packaging whenever possible.
If the original packaging is unavailable, use a box of similar size that provides adequate protection.
2.Protect Against Dust and Direct Sunlight
Store the printer in a cool, dry location away from direct sunlight and excessive dust.
3.Follow Storage Temperature Requirements
Maintain a storage temperature between 5°C and 35°C (41°F and 95°F).
4.Perform Regular Maintenance
Print at least once every month while the printer is in storage to help maintain ink flow and keep the Print Head in good condition. Even if the shutdown process completed successfully, prolonged inactivity can still increase the risk of Print Head clogging. Regular printing remains the most effective way to maintain Print Head health.
FAQ
Q1: How long does shutdown take?
A: From pressing and holding the power button to complete shutdown, the process typically takes approximately 8–10 minutes.
Q2: How do I turn the printer back on after shutdown?
A: Connect the power cable and briefly press the power button for approximately 1 second. The printer will perform a self-check and should be ready to use in about 30 seconds.
Q3: What should I do if the power button does not respond?
A: Make sure the button is pressed firmly. In some cases, additional pressure may be required to ensure the button is activated.
Q4: Can I leave the printer powered on if I will not be using it for a long time?
A: Yes. When left powered on, the printer automatically enters a low-power state and continues to perform periodic maintenance. This is the best way to maintain Print Head health during extended periods of inactivity.
Q5: If the printer is already in moisturizing mode, will running the shutdown process again consume additional ink, cleaning solution, or moisturizing solution?
A: No. If the printer is already in a moisturizing state, the shutdown process will not perform another moisturizing cycle. The printer will proceed directly to shutdown without consuming additional ink, cleaning solution, or moisturizing solution.


