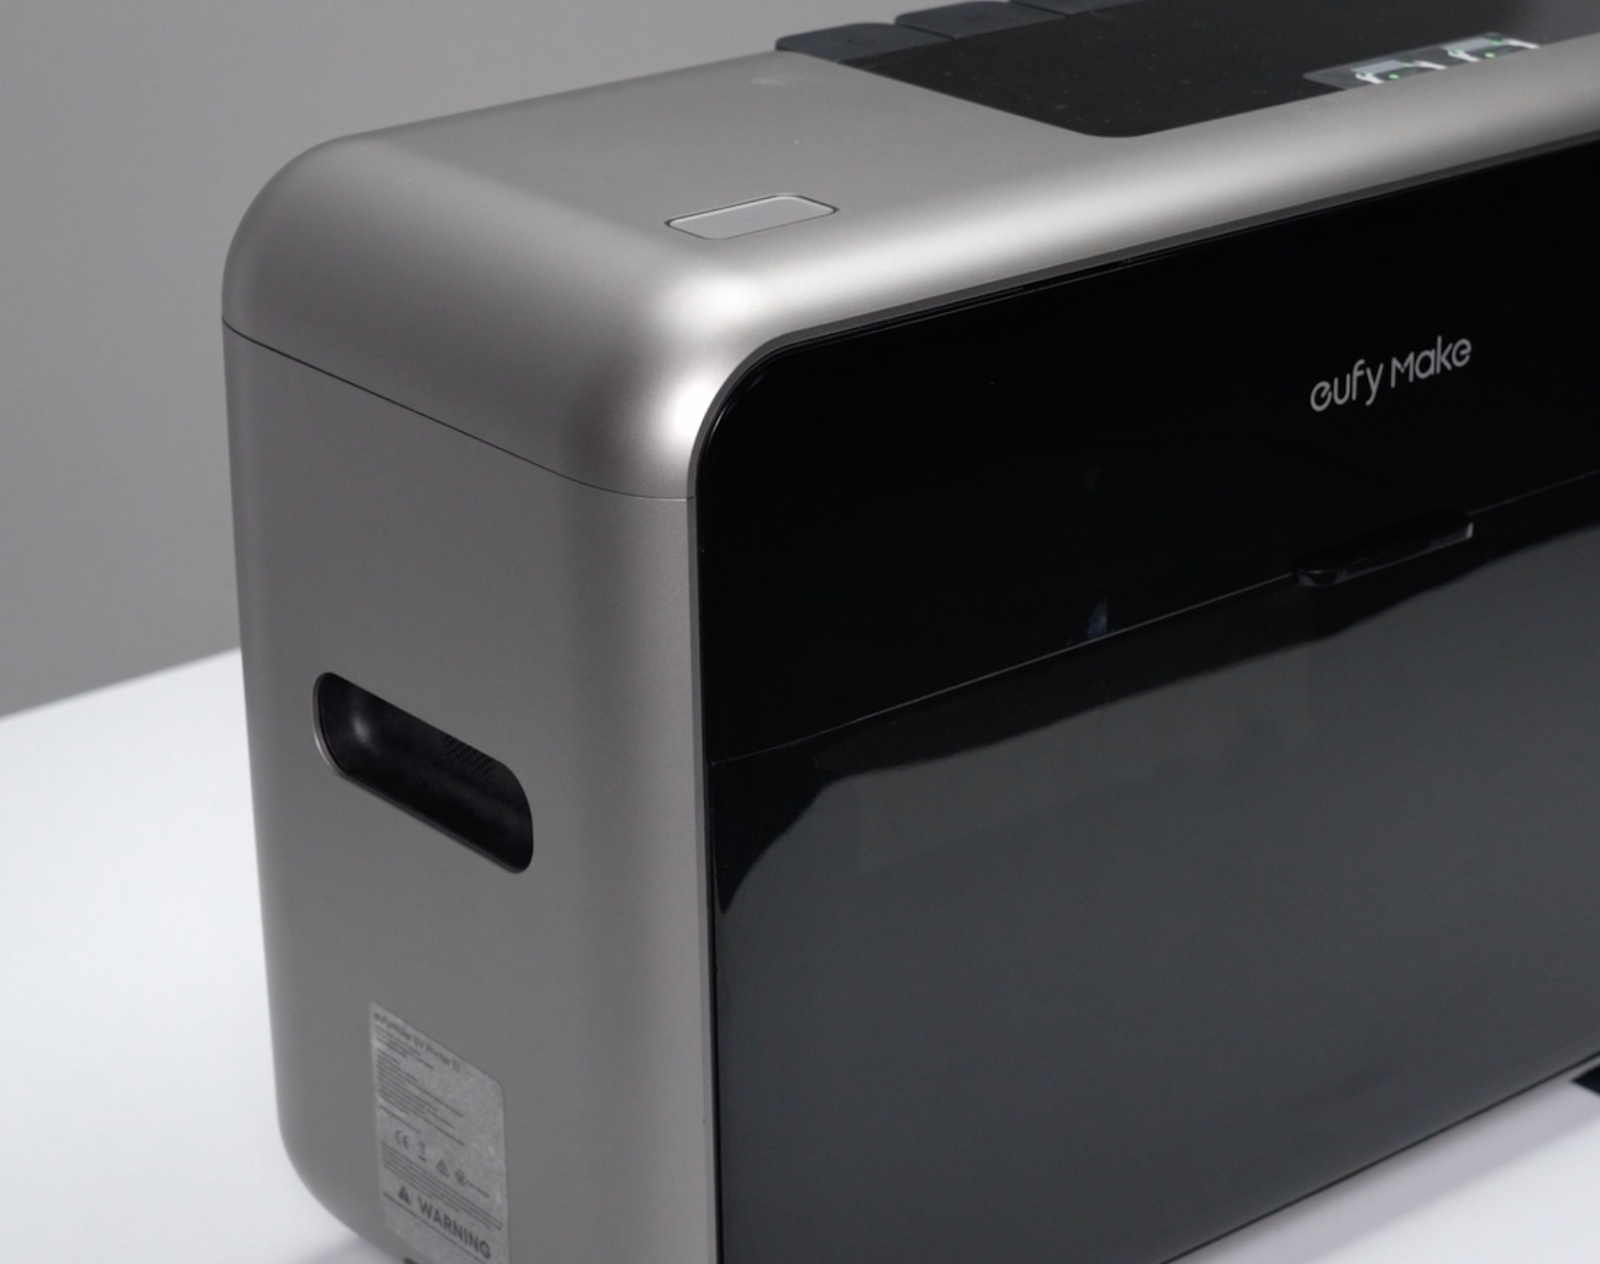
Accessory Introduction
Device Location
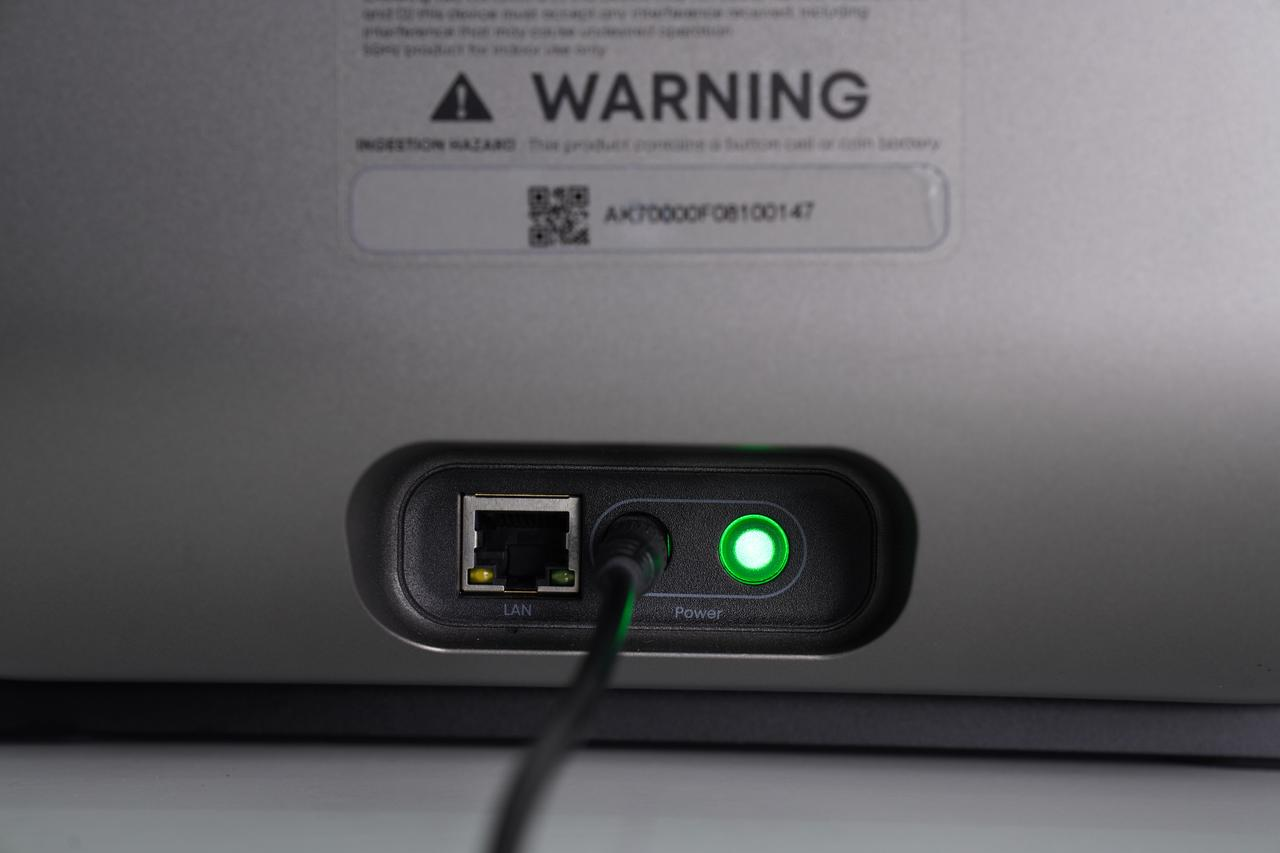
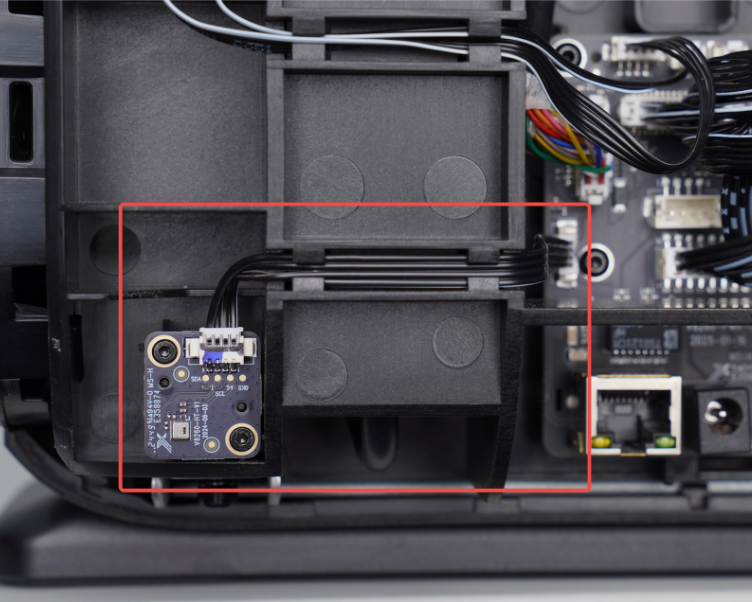
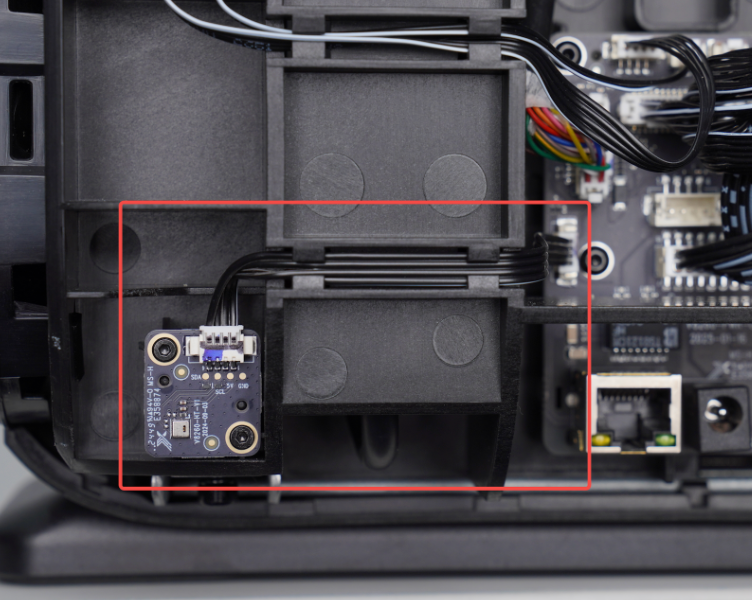
The sensor board is located inside the outer shell at the left rear of the machine, positioned to the left of the power socket.
Required Tools (Self-Provided)
1. Pry tool or ridgid card
2. 1.5mm Hex Screwdriver
Safety Precautions
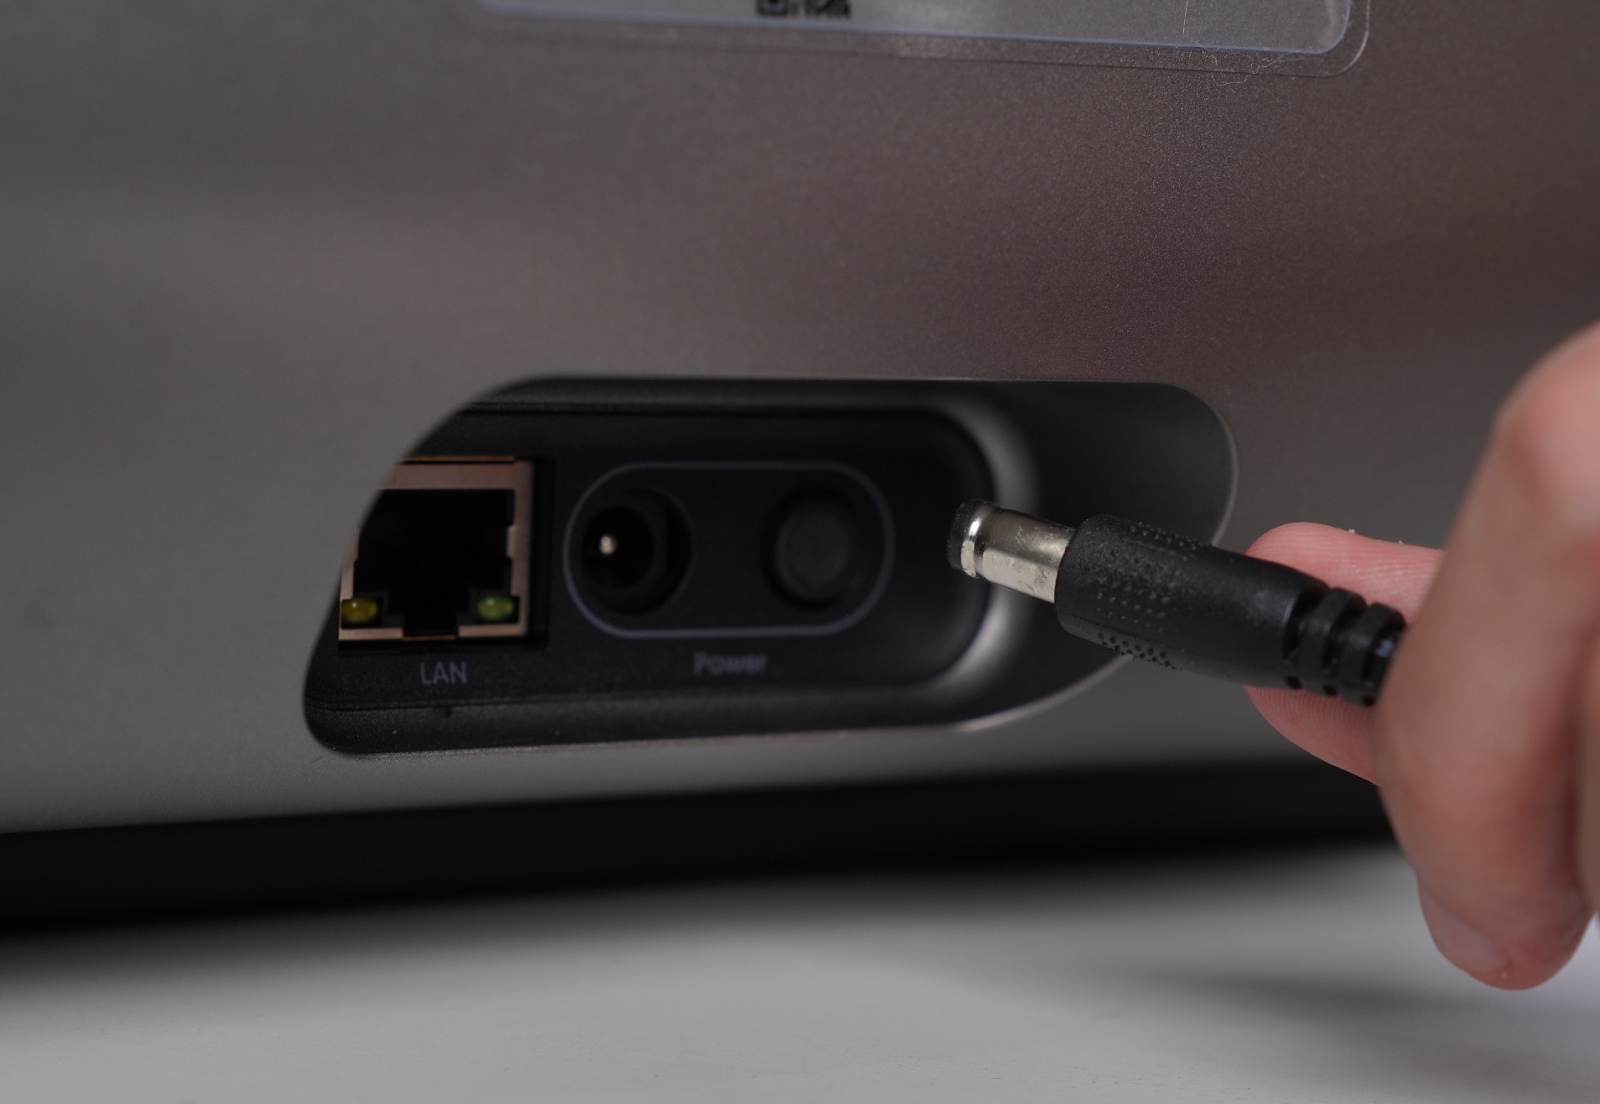
1. Before performing any maintenance, power off the printer and disconnect the power supply to prevent short circuits, equipment damage, or personal injury.
Replacement Steps
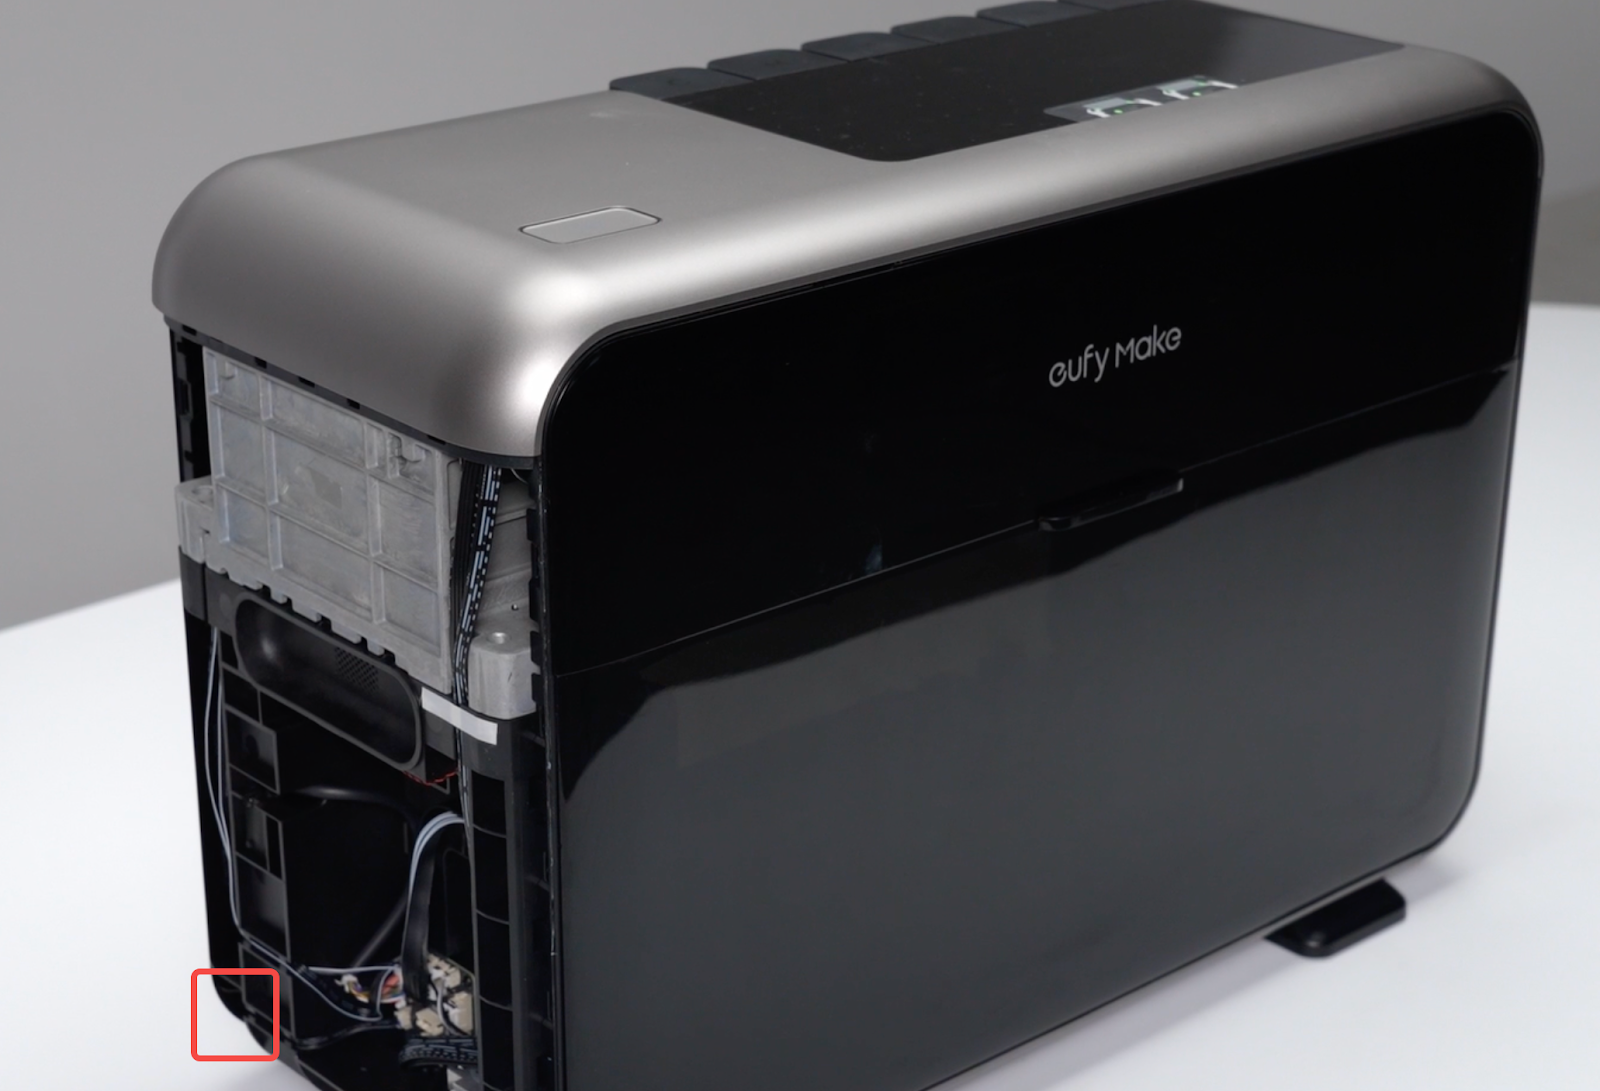
Step 1 - Power off and remove the left side housing
1. Turn off the power and unplug the power cord.
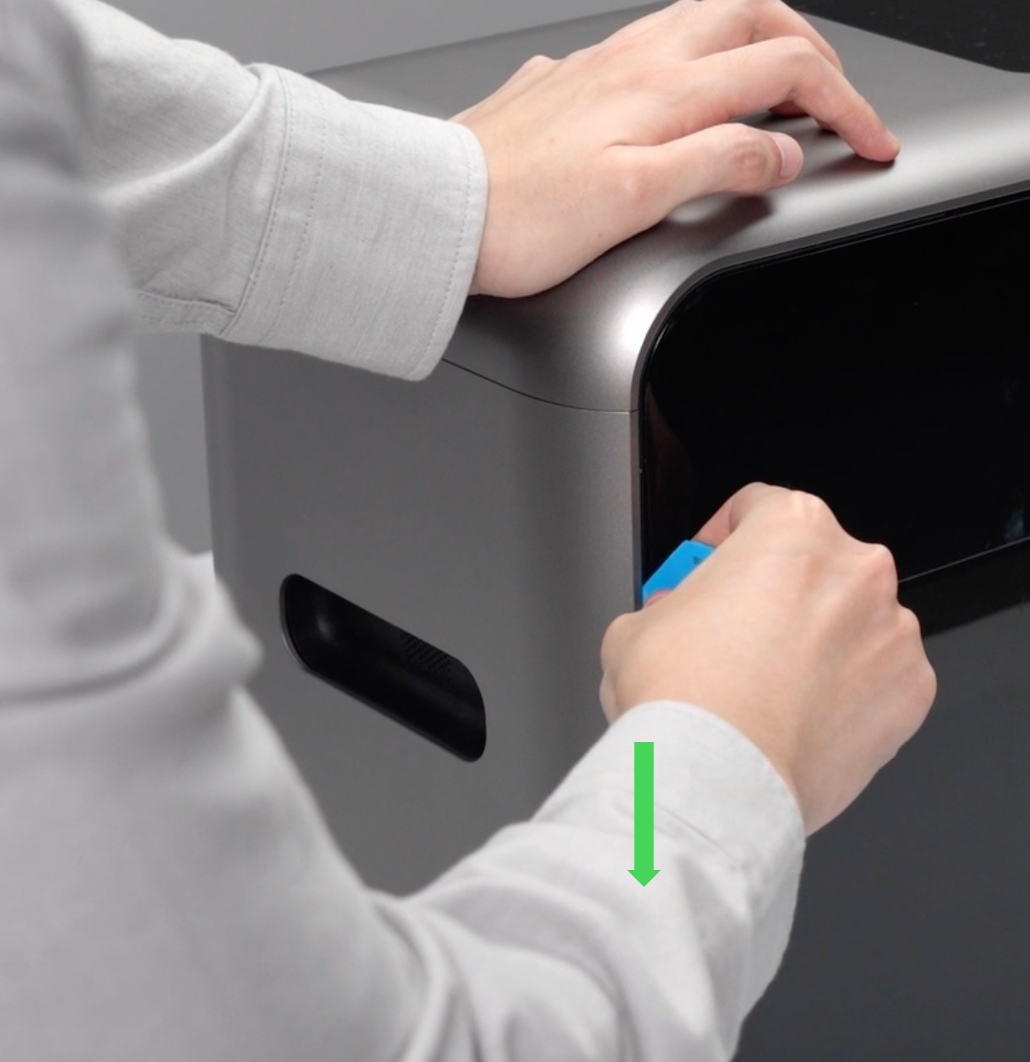
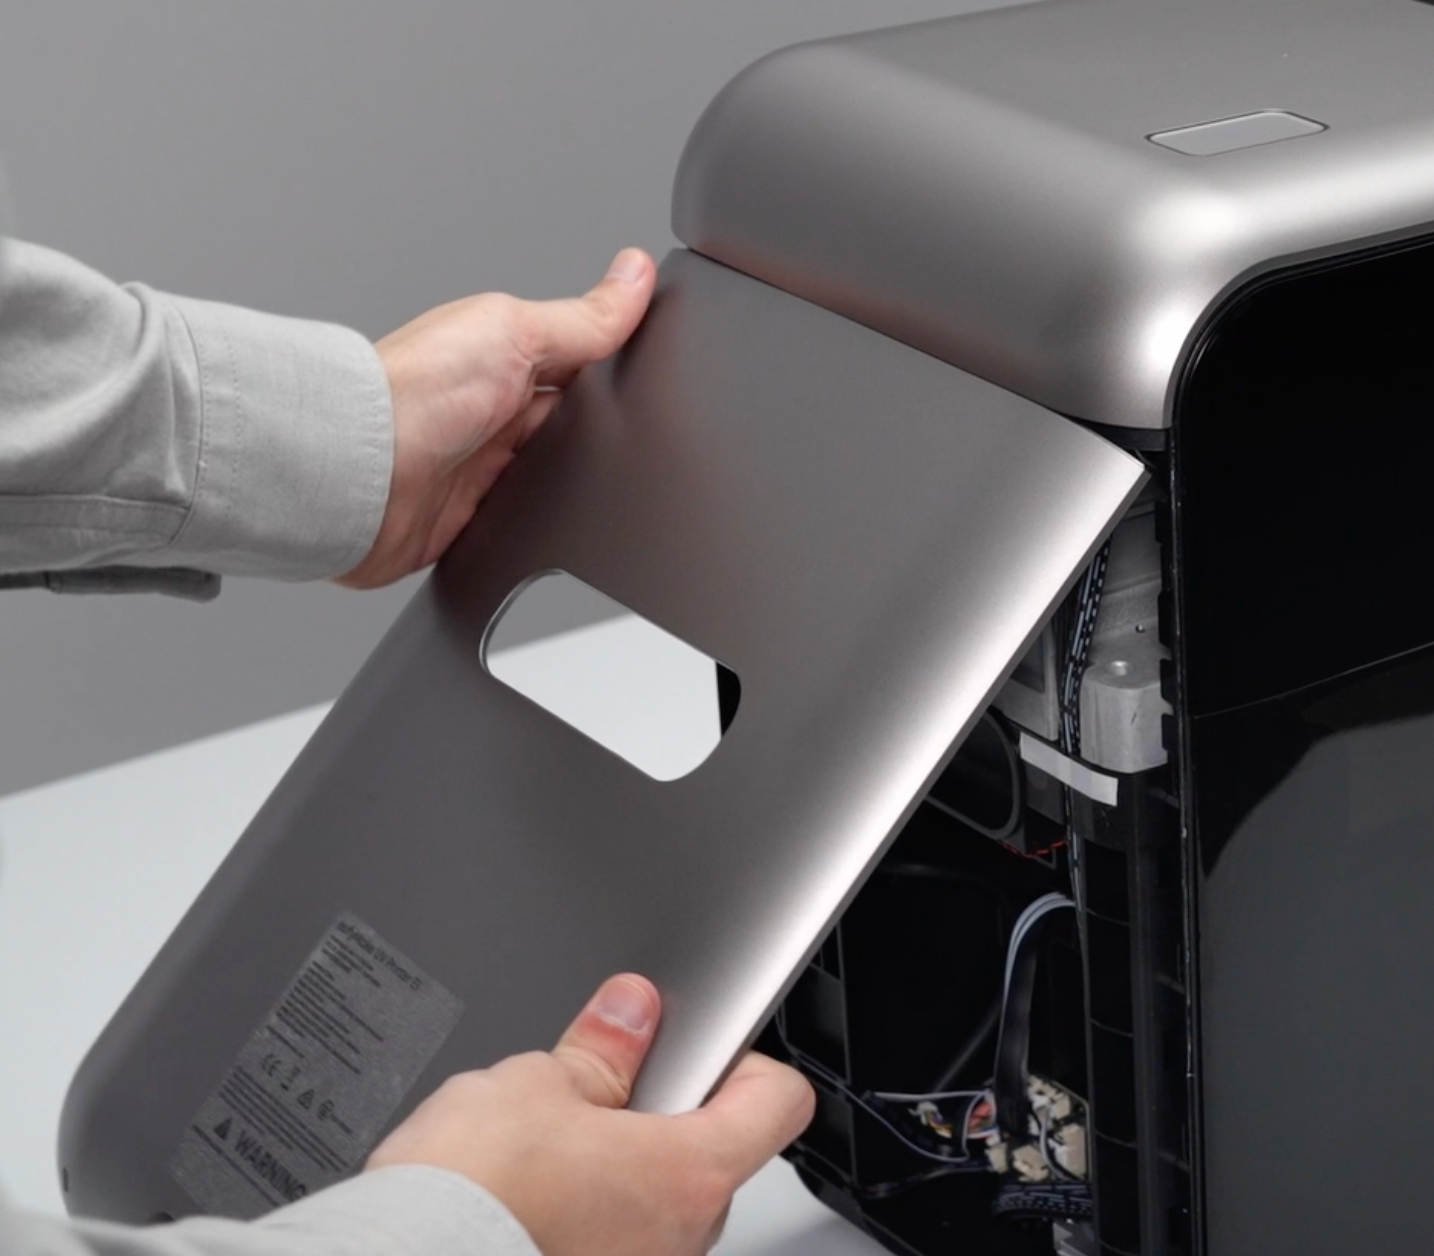
2. Use a pry tool or rigid card to pry open a gap along the left and right edges of the housing. Pull the housing outward from the bottom until the clips disengage, then remove the left side housing.
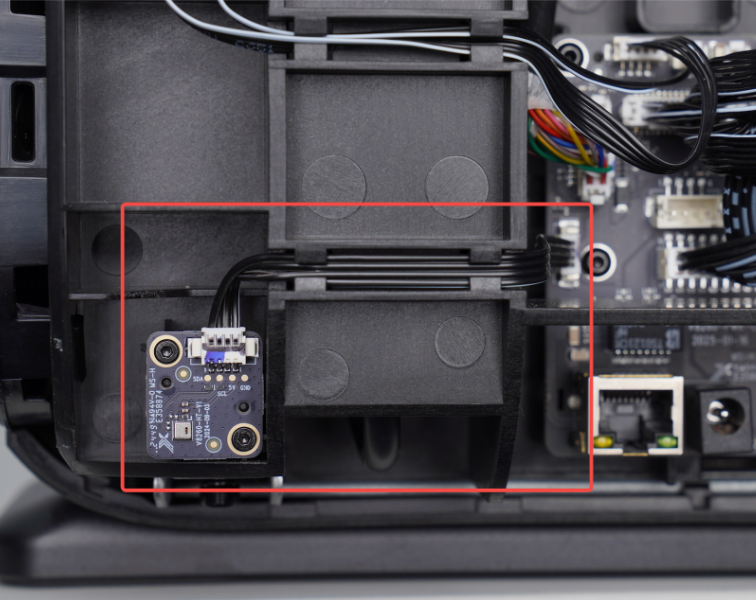
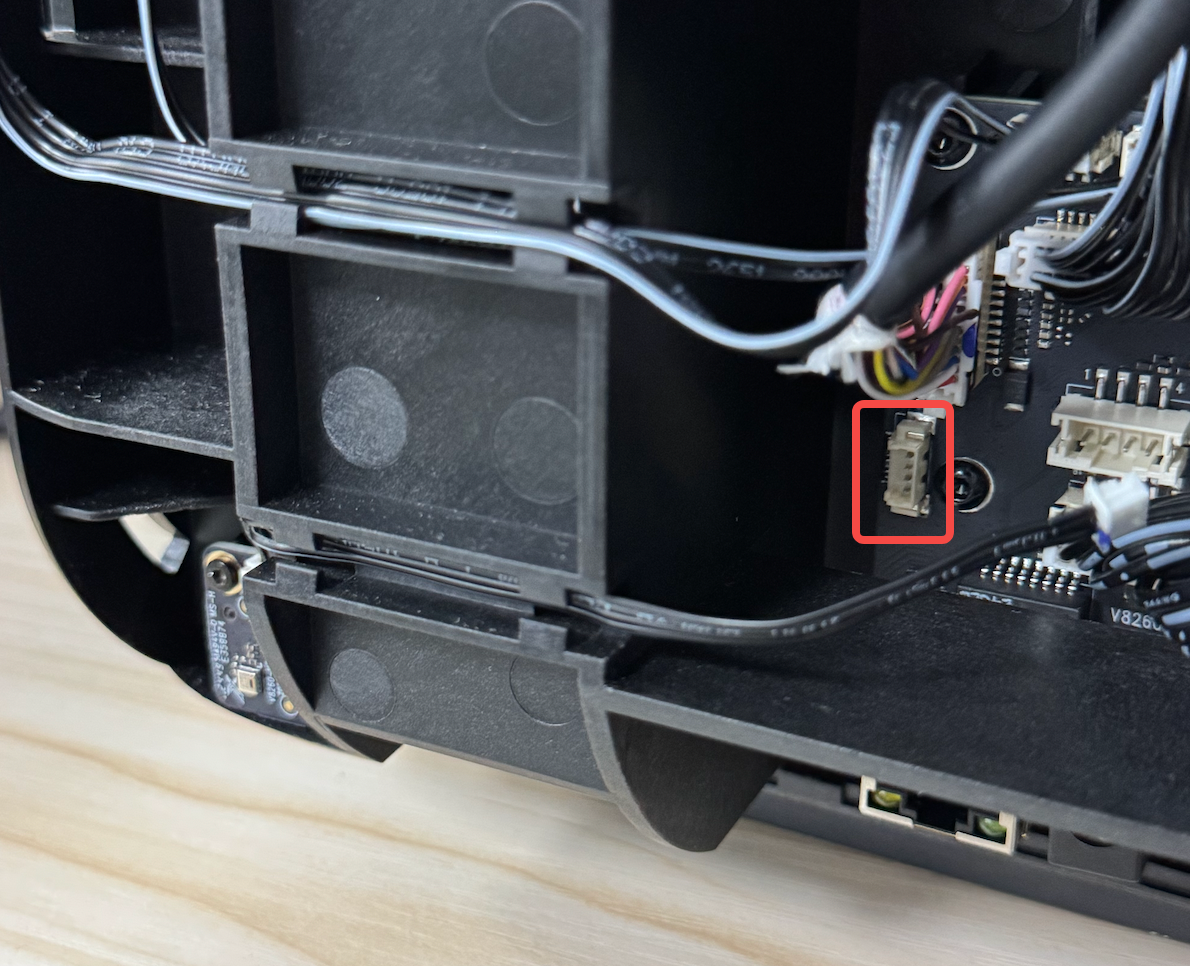
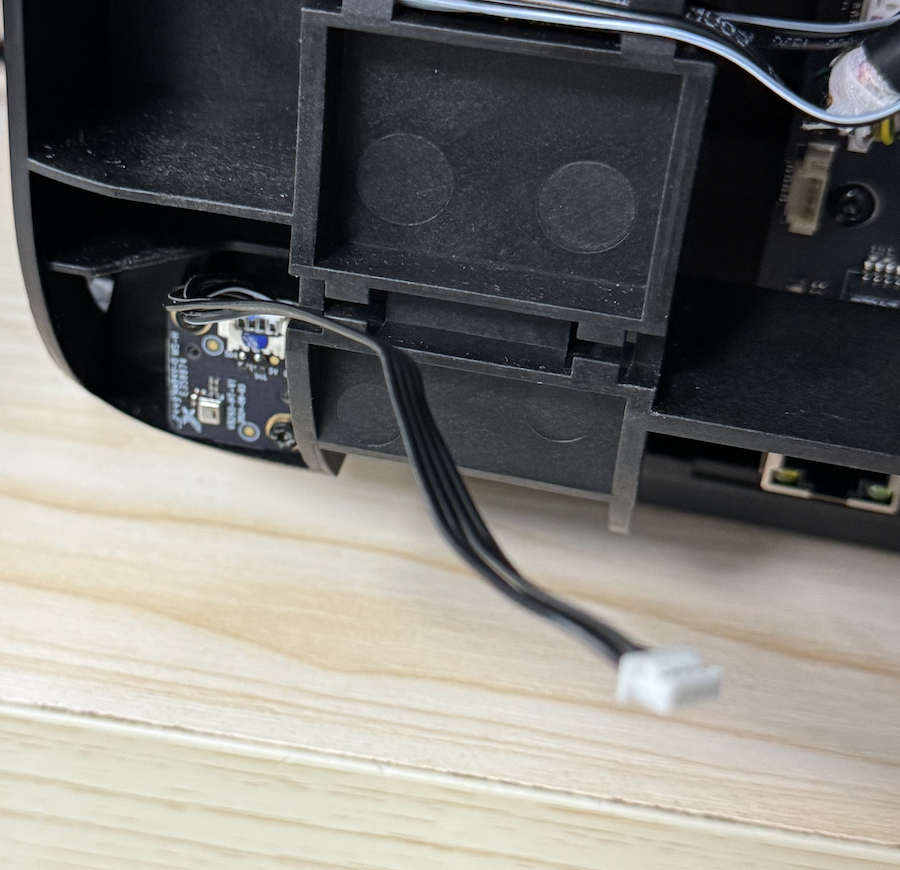
Step 2 - Disconnect the temperature and humidity sensor
Disconnect the temperature and humidity sensor cable from the power supply sub-board.
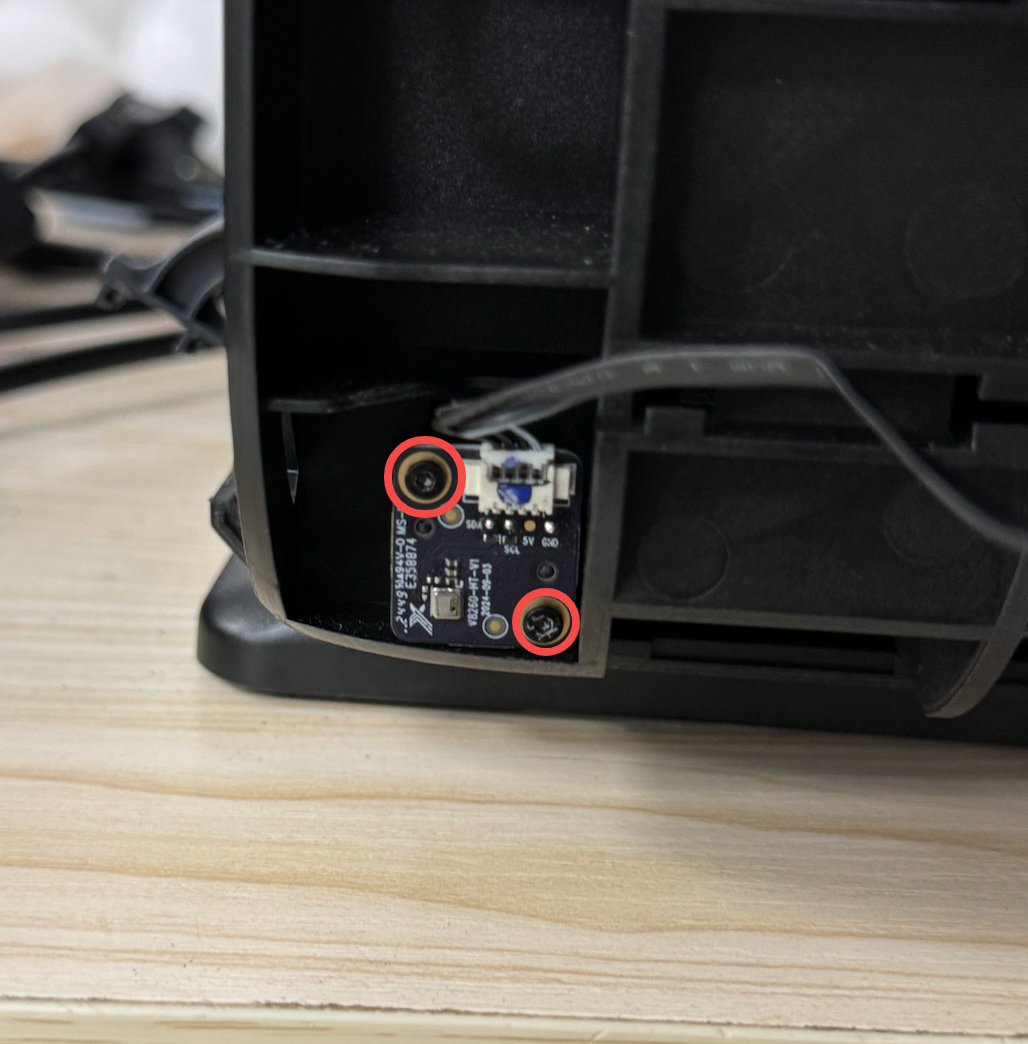
Step 3 - Remove the temperature and humidity sensor
Use a 1.5 mm hex key to remove the two mounting screws, then remove the sensor.
Step 4 - Install the temperature and humidity sensor
Install the new sensor, route the cable through the cable slot, connect the plug to the power supply sub-board, and secure the sensor using the two screws with a 1.5 mm hex key screwdriver.
Step 5 - Reinstall the left housing and restore power
Reinstall the left housing and press around the edges to ensure all clips are securely fastened. After confirming proper installation, reconnect the power supply.