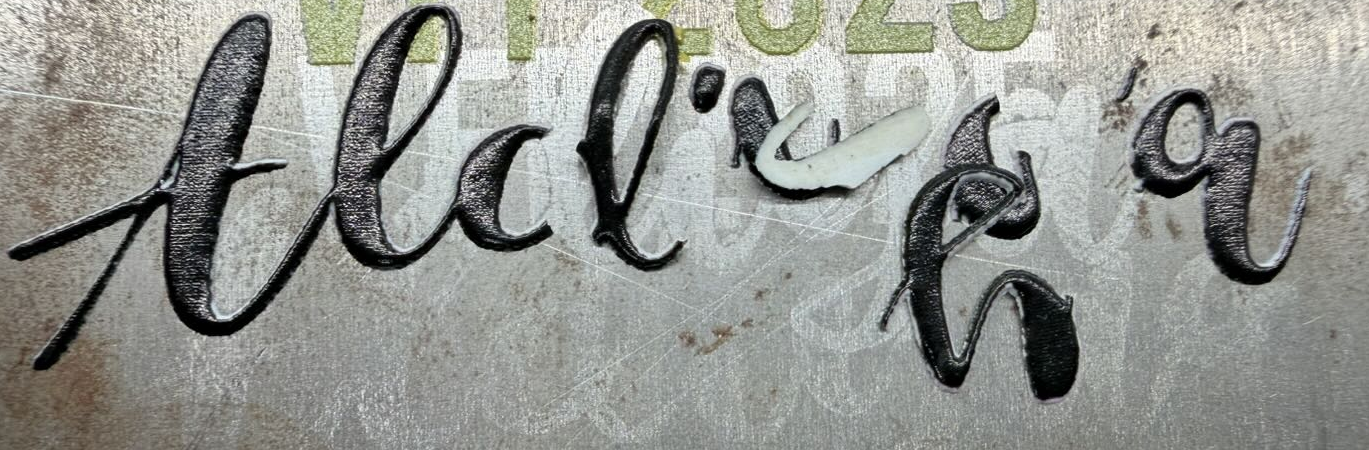
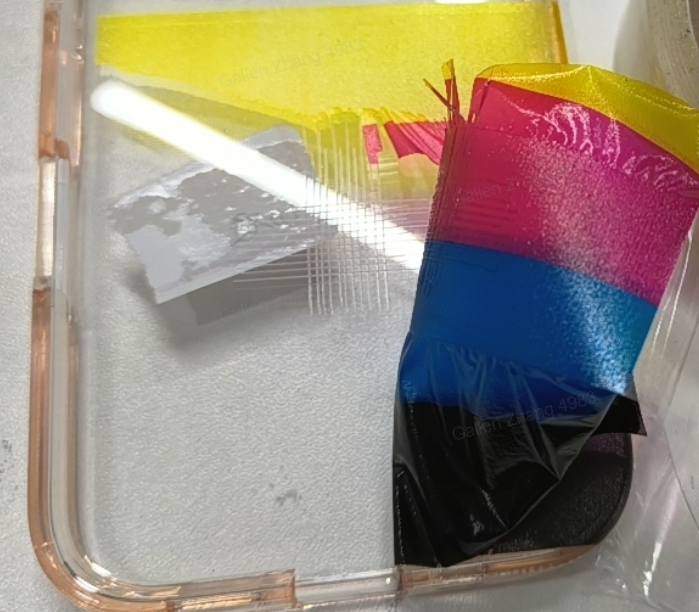
UV Adhesion Promoter Prep Pads: Solutions to the problem of poor ink adhesion and easy peeling on the surface of printed materials

Fault Phenomenon


The printed pattern shows poor adhesion to the substrate. This is typically observed as the pattern peeling off after light scratching or tape application, or partially or completely detaching from the substrate shortly after printing is completed.


Cause Analysis


Substrates with poor adhesion under normal conditions

Specific reasons

Metal

Metal surfaces are usually very smooth and chemically inert. They are often covered by a dense, non-polar oxide layer, which impedes ink penetration into the surface. Due to the lack of active chemical bonding sites and low surface energy, ink adhesion is weak without surface treatment.

Acrylic

Acrylic is an organic polymer, but it has relatively low surface energy. In addition, mold release agents may remain on the surface after manufacturing. Some UV inks are not compatible with acrylic’s functional groups, preventing effective chemical bonding.

Glass / Ceramics

Glass and ceramic surfaces are composed primarily of silicon–oxygen bonds and are chemically stable and non-porous. They typically have low surface energy and readily accumulate moisture films or dust layers, both of which adversely affect ink adhesion.


Required Tools


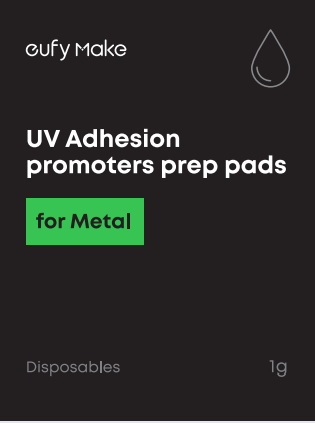
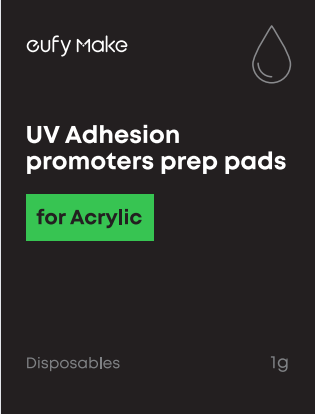
  1. UV Adhesion Promoter Prep Pads for the corresponding substrate


  1. Disposable Nitrile Gloves

  2. Mask


Safety Precautions


  1. Wear gloves during operation and avoid direct contact with the UV Adhesion Promoter Prep Pads. 

  2. Wear a mask to avoid inhaling vapors emitted by the wipes.

  3. Dispose of used wipes in a designated waste container or appropriate disposal area.


Operation Steps


  1. Put on personal protective equipment, including gloves and a mask.

  2. Open a pre-treatment wipe and apply it evenly to the substrate in a single direction; one wipe typically covers an area approximately the size of an A4 sheet.

  3. Place the treated substrate in a clean environment and allow it to stand for approximately 10 minutes.

  4. Proceed with printing on the machine.


Unresolved icon
197 undefined
Download icon
UL Exposure Assessment Report for the eufyMake UV Printer E1
Download icon
Test Diagram Project File
Download icon
eufyMake Rotary Printing Attachment for UV Printer E1 Quick Start Guide
Download icon
eufyMake UV Printer E1 Quick Start Guide
Download icon
eufyMake Laminating Machine for UV Printer E1 Quick Start Guide
Download icon
eufyMake UV Printer E1 Brugervejledning (V8260)
View More
Play videoeufyMake E1 Tutorial | Part 13: Door Panel Replacement
eufyMake E1 Tutorial | Part 13: Door Panel Replacement
Play videoeufyMake E1 Tutorial | Part 3: Main Printing Workflow
eufyMake E1 Tutorial | Part 3: Main Printing Workflow
Play videoeufyMake E1 Tutorial Part 15: Printer Deep Maintenance
eufyMake E1 Tutorial Part 15: Printer Deep Maintenance
Play videoeufyMake E1 Tutorial Part 10: Ink Cartridge and Cleaning Cartridge Replacement
eufyMake E1 Tutorial Part 10: Ink Cartridge and Cleaning Cartridge Replacement
Play videoeufyMake E1 Tutorial Part 19: Encoder Strip Replacement
eufyMake E1 Tutorial Part 19: Encoder Strip Replacement
Play videoeufyMake E1 Tutorial Part 18: Printer Outer Shell Disassembly and Assembly
eufyMake E1 Tutorial Part 18: Printer Outer Shell Disassembly and Assembly
View More