Fault Phenomenon
When printing, colors appear in non-printing areas, as if ink droplets were blown outward, resulting in blurred edges around the pattern. This phenomenon is referred to as ink bleeding.
Cause Analysis
-
Substrate flatness exceeds 2 mm
Height differences in the substrate cause the print head to be farther from lower areas, resulting in blurred printing and ink mixing.
-
Multiple substrates placed on the platform board
When substrates of different heights are printed simultaneously, ink may drift and blur on the lower substrates.
Yes
No
-
Foreign particles on the sticky plate
Dirt or debris on the sticky plate surface can raise or tilt the substrate, causing abnormal height measurements.
-
Reduced adhesion or warping of the sticky board
Loss of adhesion on the underside of the sticky board can cause localized warping, leading to unstable printing height.
-
Printer doors left open during printing
With the front and rear doors open, indoor airflow can interfere with ink deposition, causing ink to drift into non-printing areas.
-
Abnormal height measurement data
Incorrect height measurement results may cause the print head to operate outside the optimal printing distance.
Troubleshooting
-
Check height measurement data in the software interface
-
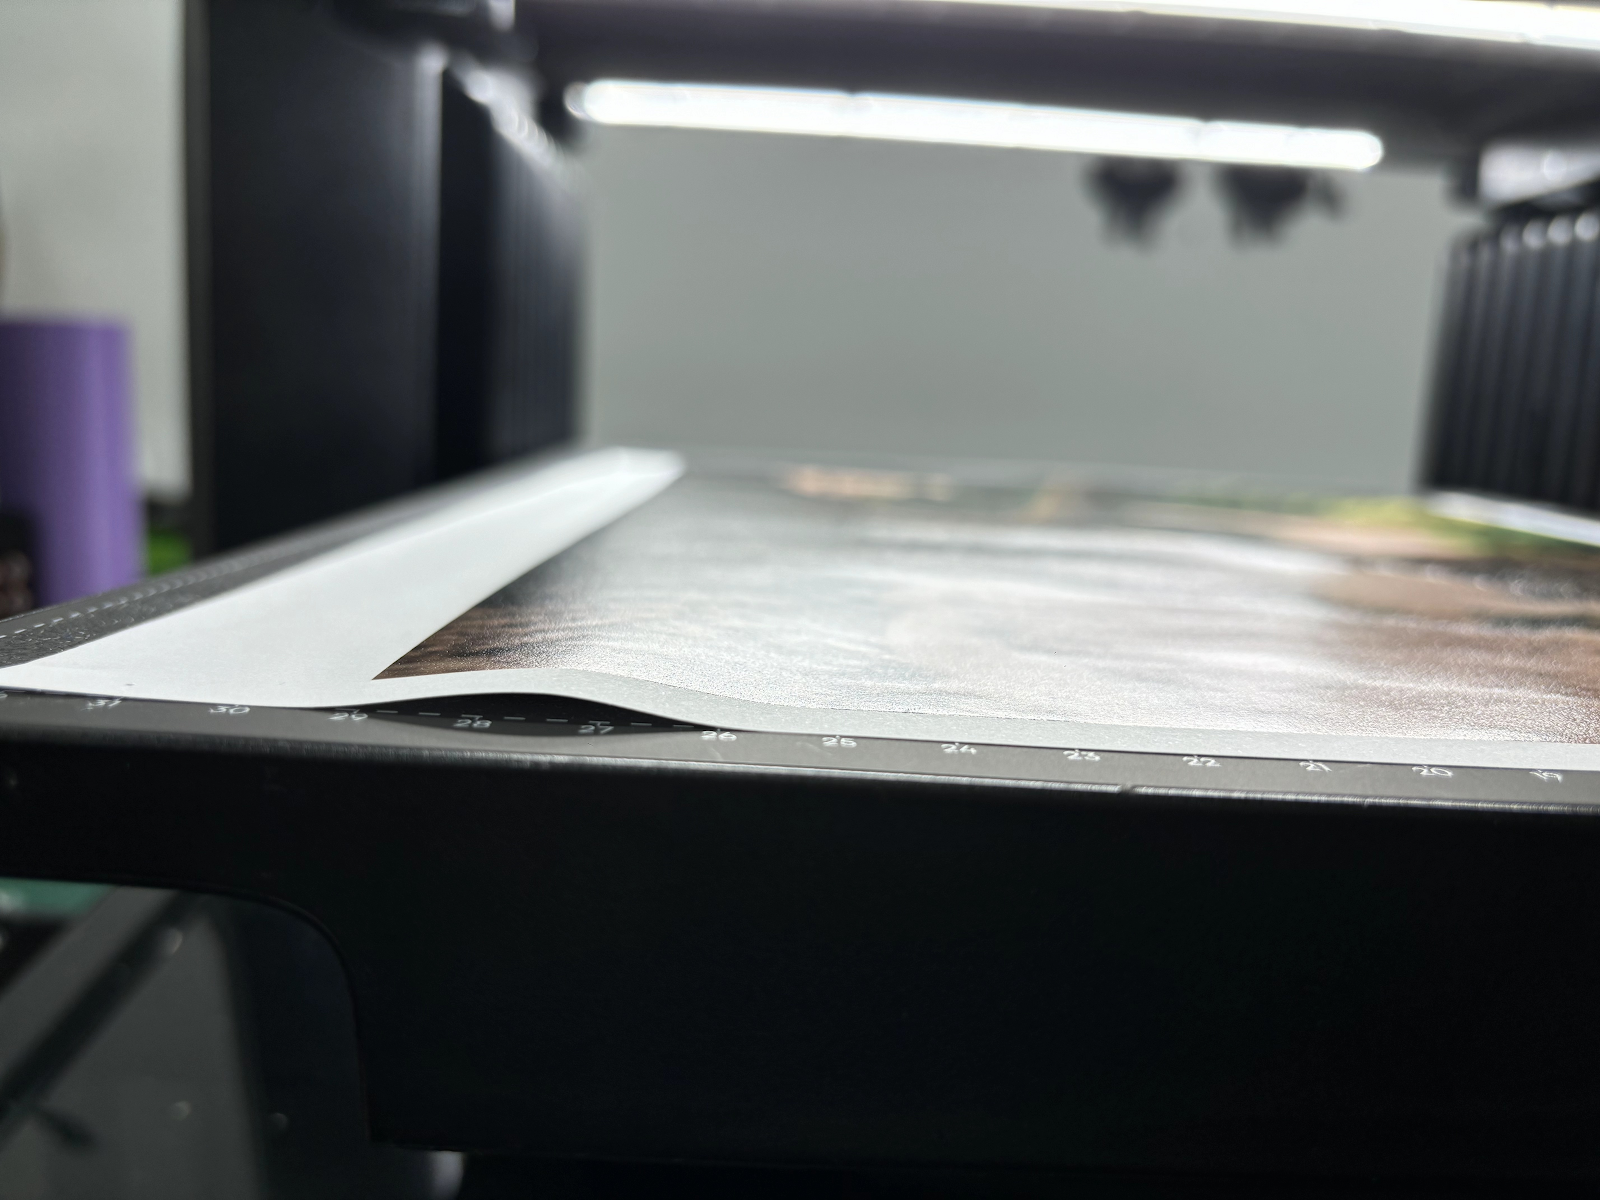
In Figure 1, slight warping on the right side of the paper results in a measured height difference of 1.0 mm. Since the allowable printing height tolerance is 2 mm, this deviation is acceptable.
-
If, when printing a flat object, the deviation between the measured height and the actual substrate height exceeds 2 mm, this indicates abnormal height measurement. In this case, check the substrate placement and whether the sticky plate is warped.
-
-
Compare the measured substrate height with the actual substrate height shown in the software. If any abnormality is detected, upload the printer logs for further analysis.
-
Example:
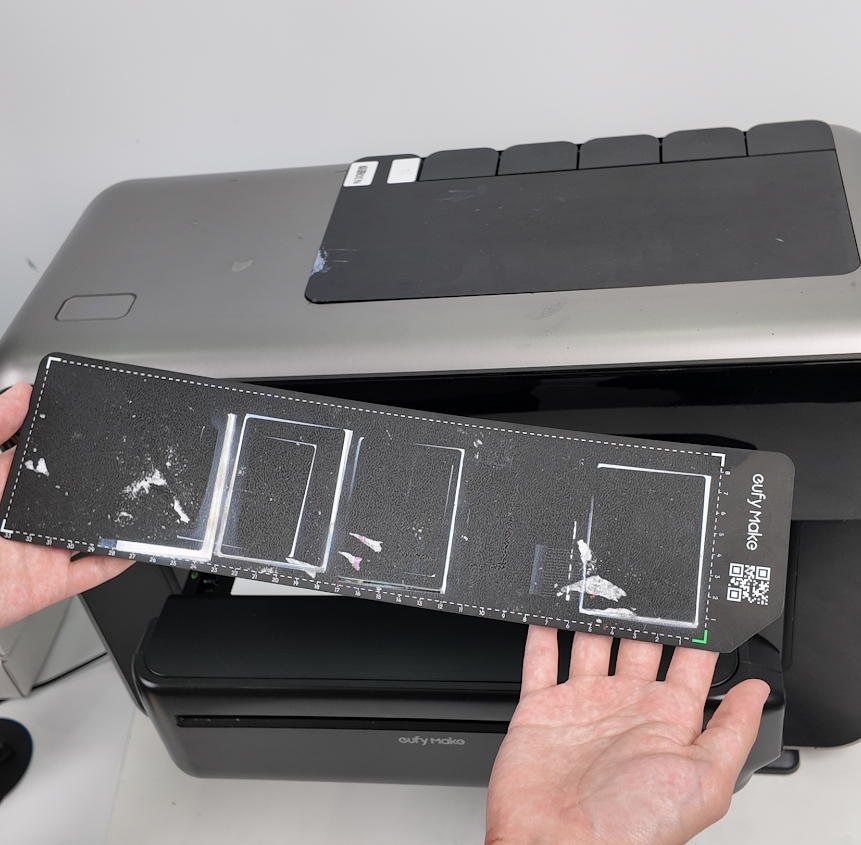
Paper Arrangement
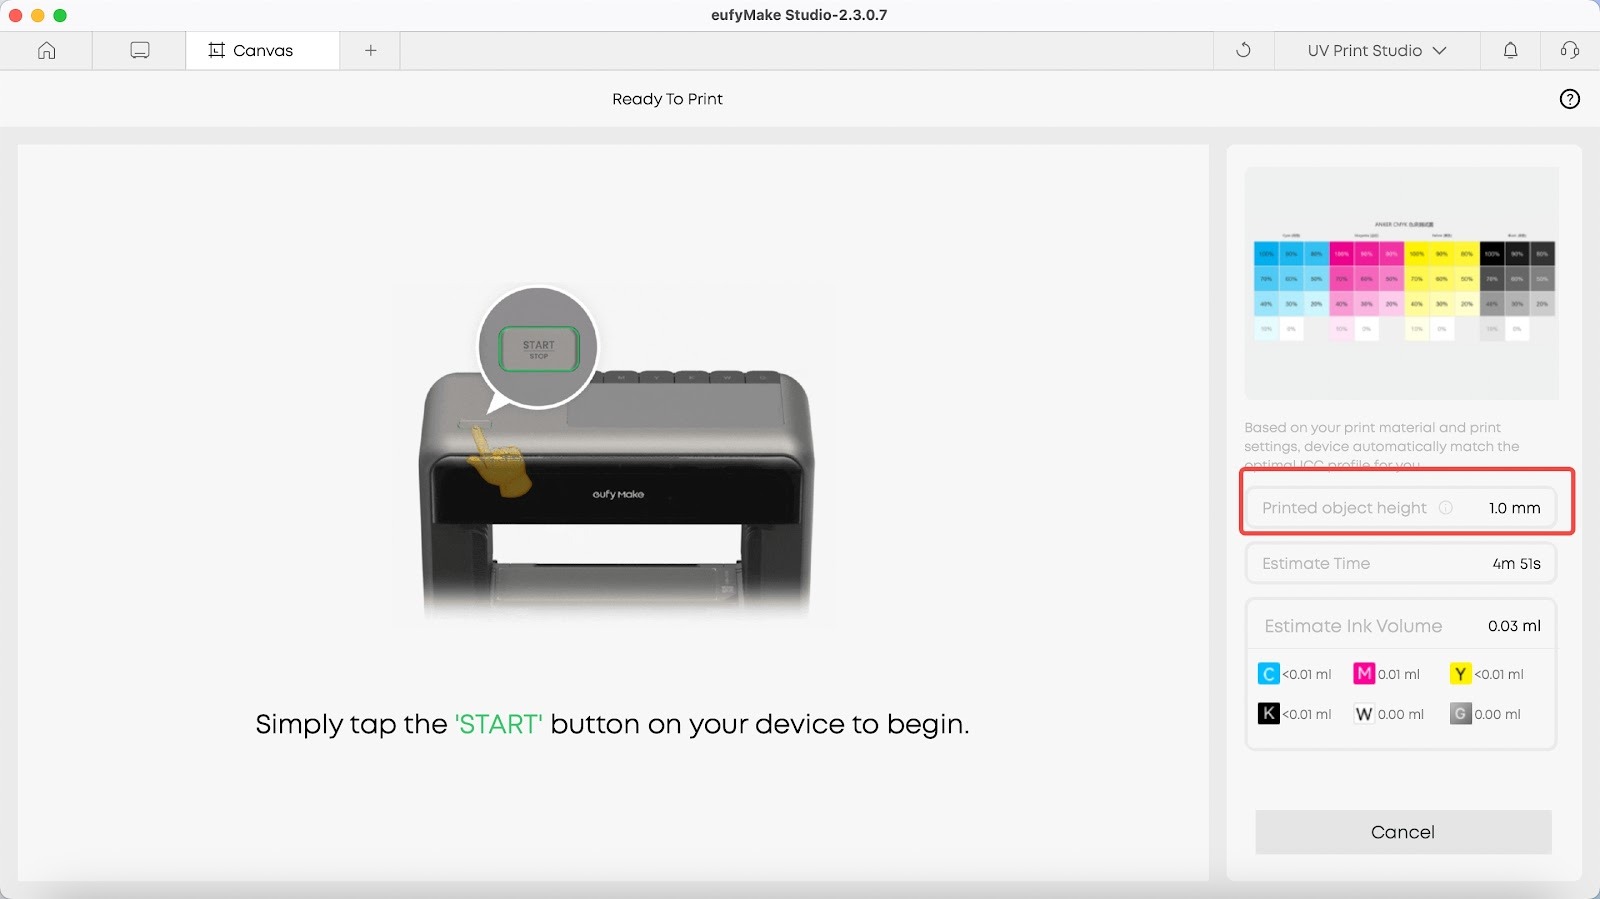
Height Measurement Data
-
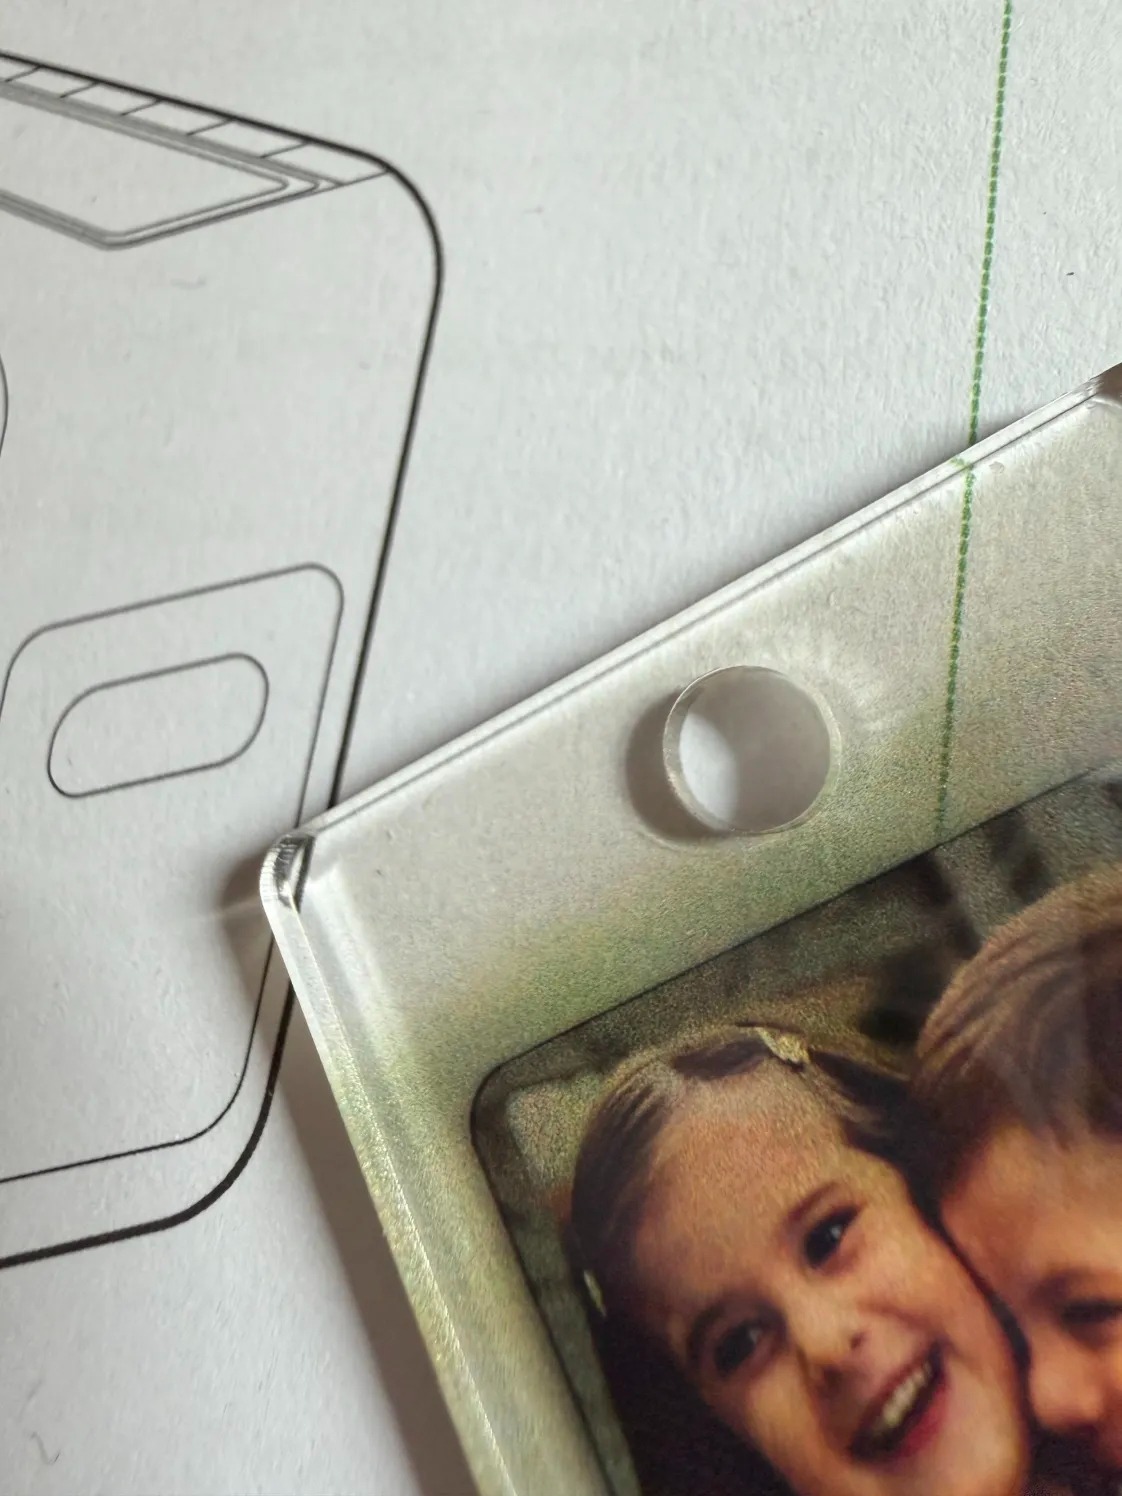
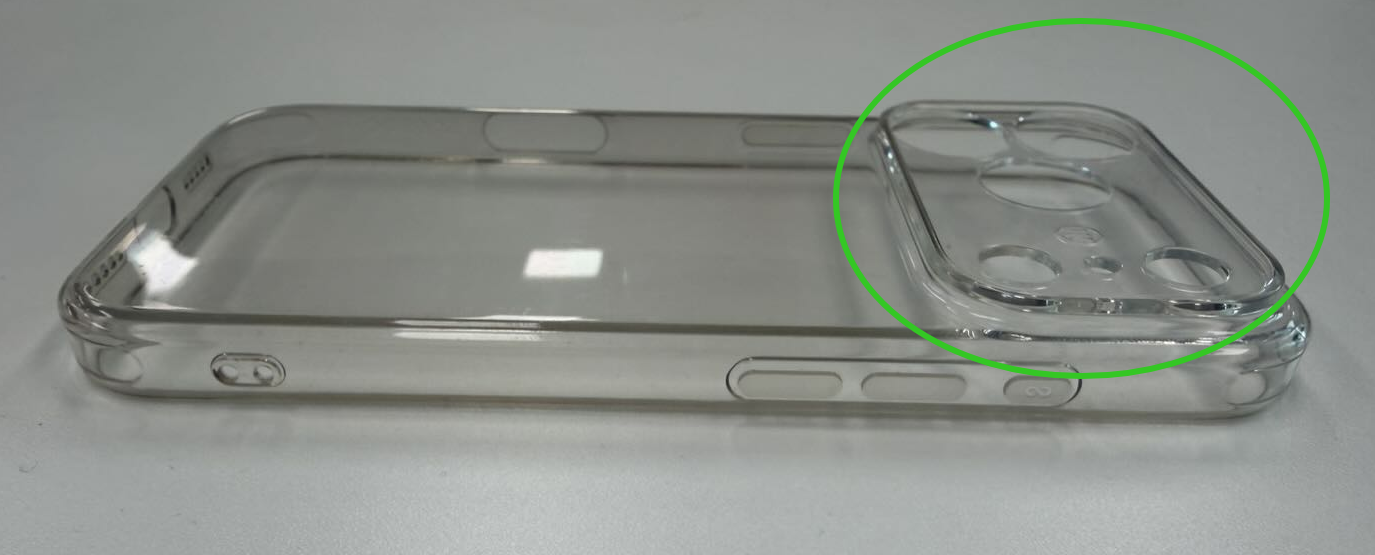
Check substrate flatness
If the flatness of the substrate exceeds 2 mm, flatbed printing is not recommended.
The flexible substrate wrinkled more than 2mm.
The flexible substrate wrinkled more than 2mm.
-
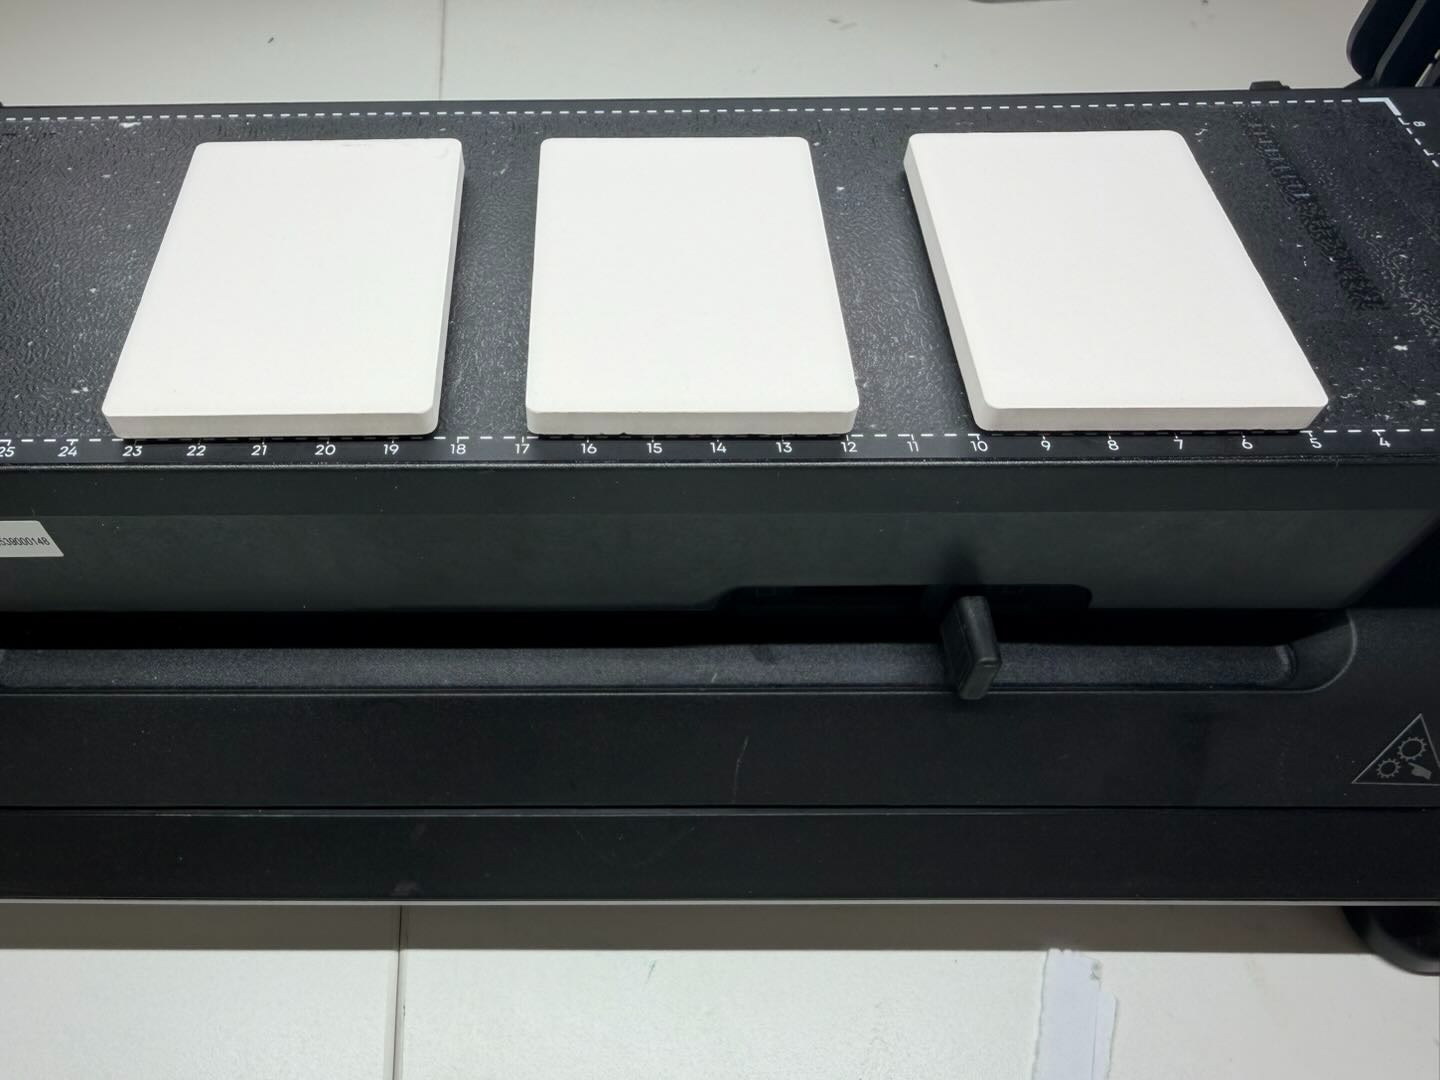
Check flatness when printing multiple substrates
When printing multiple substrates simultaneously, ensure the height difference between them does not exceed 2 mm.
Yes, for the same substrate, the height difference is within 2mm.
No, different substrates with a height difference exceeding 2mm.
-
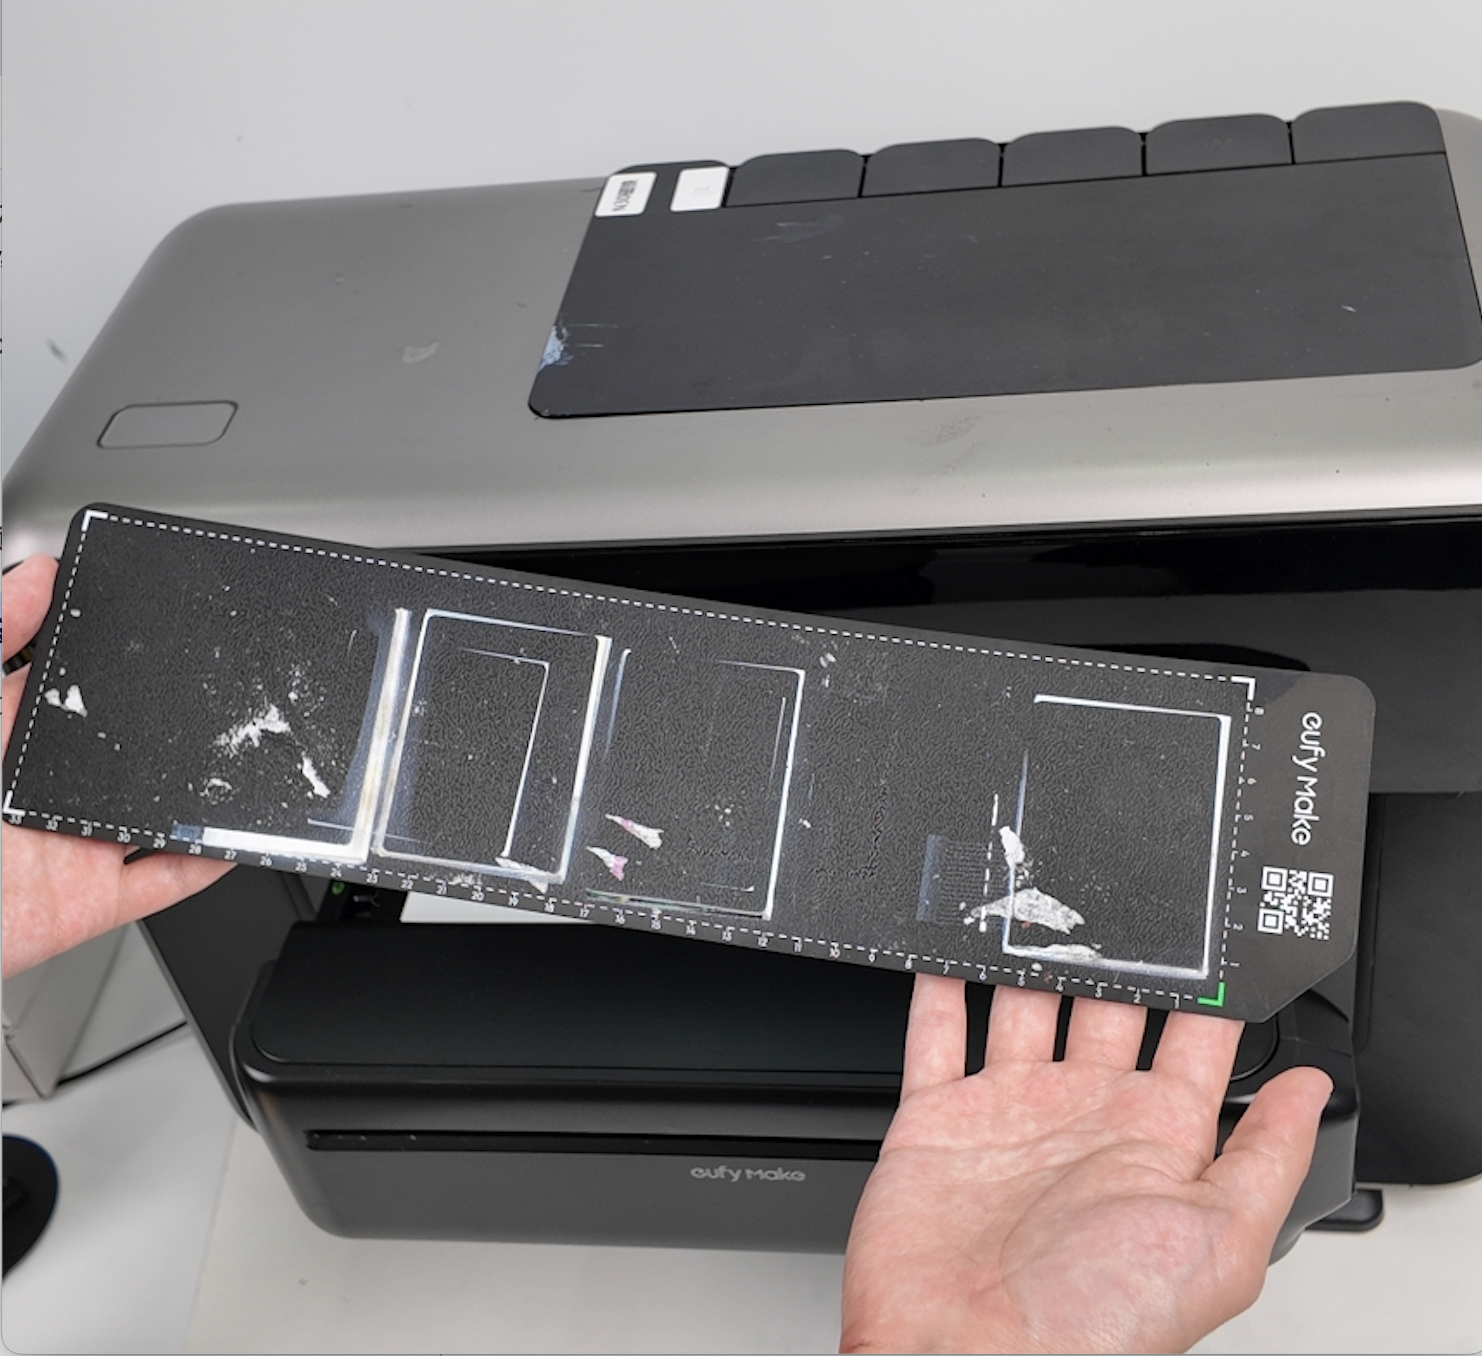
Inspect the sticky plate surface
Check for dirt, ink residue, or debris on the sticky plate surface. Contamination may affect substrate height after placement. If contamination is found, replace the sticky plate promptly.
-
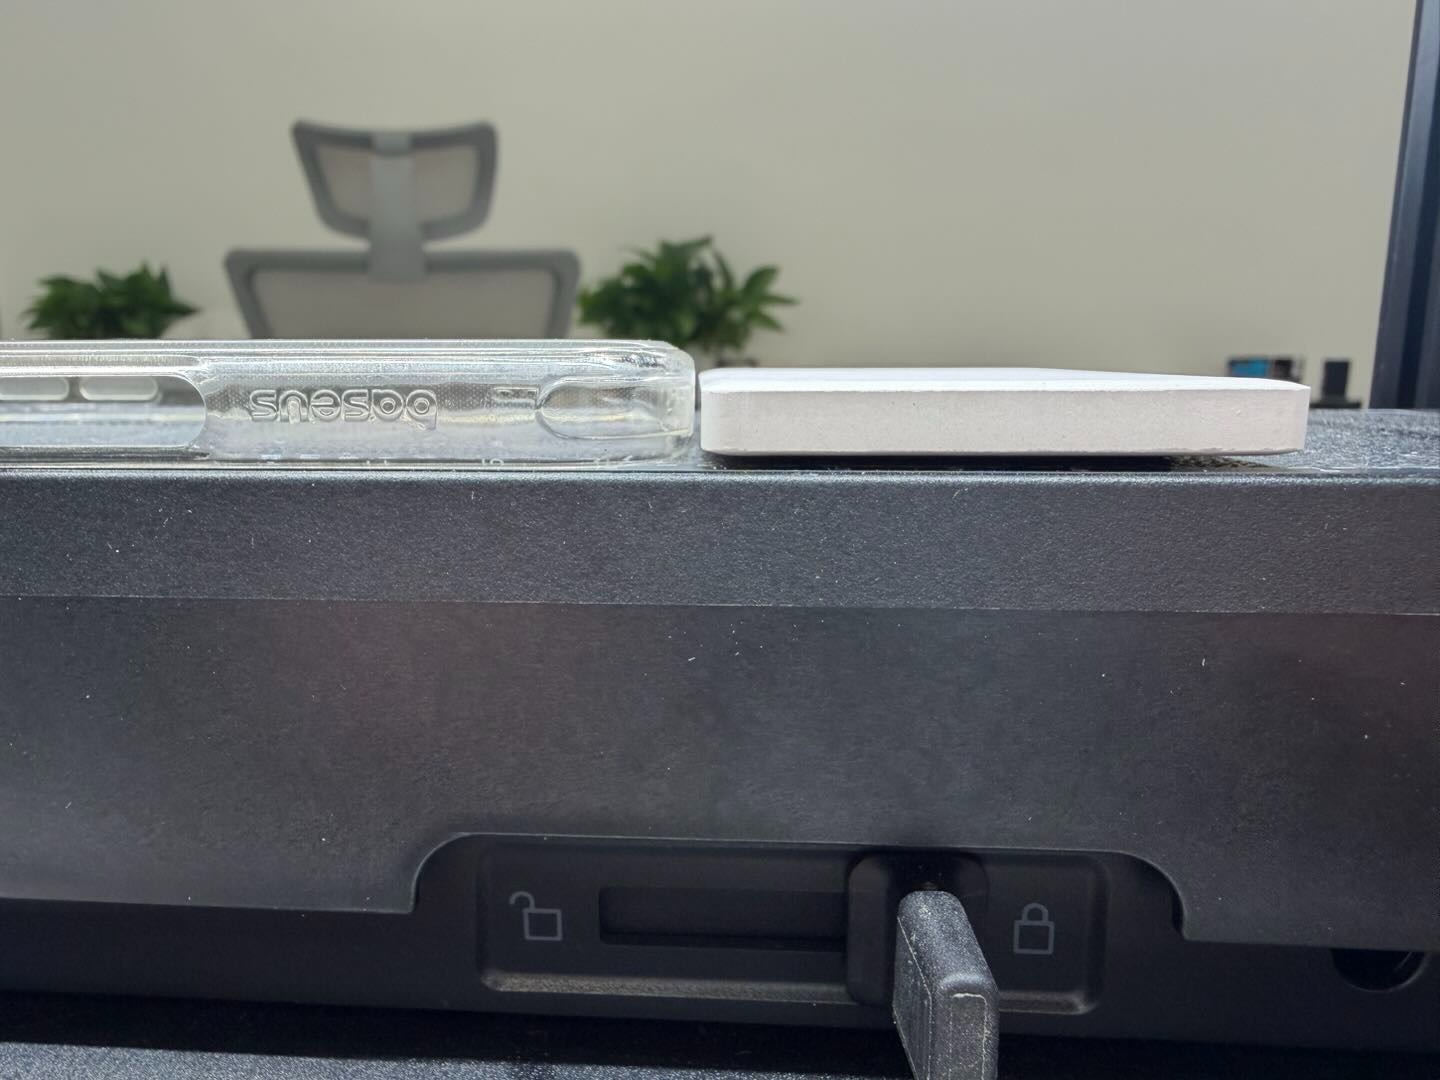
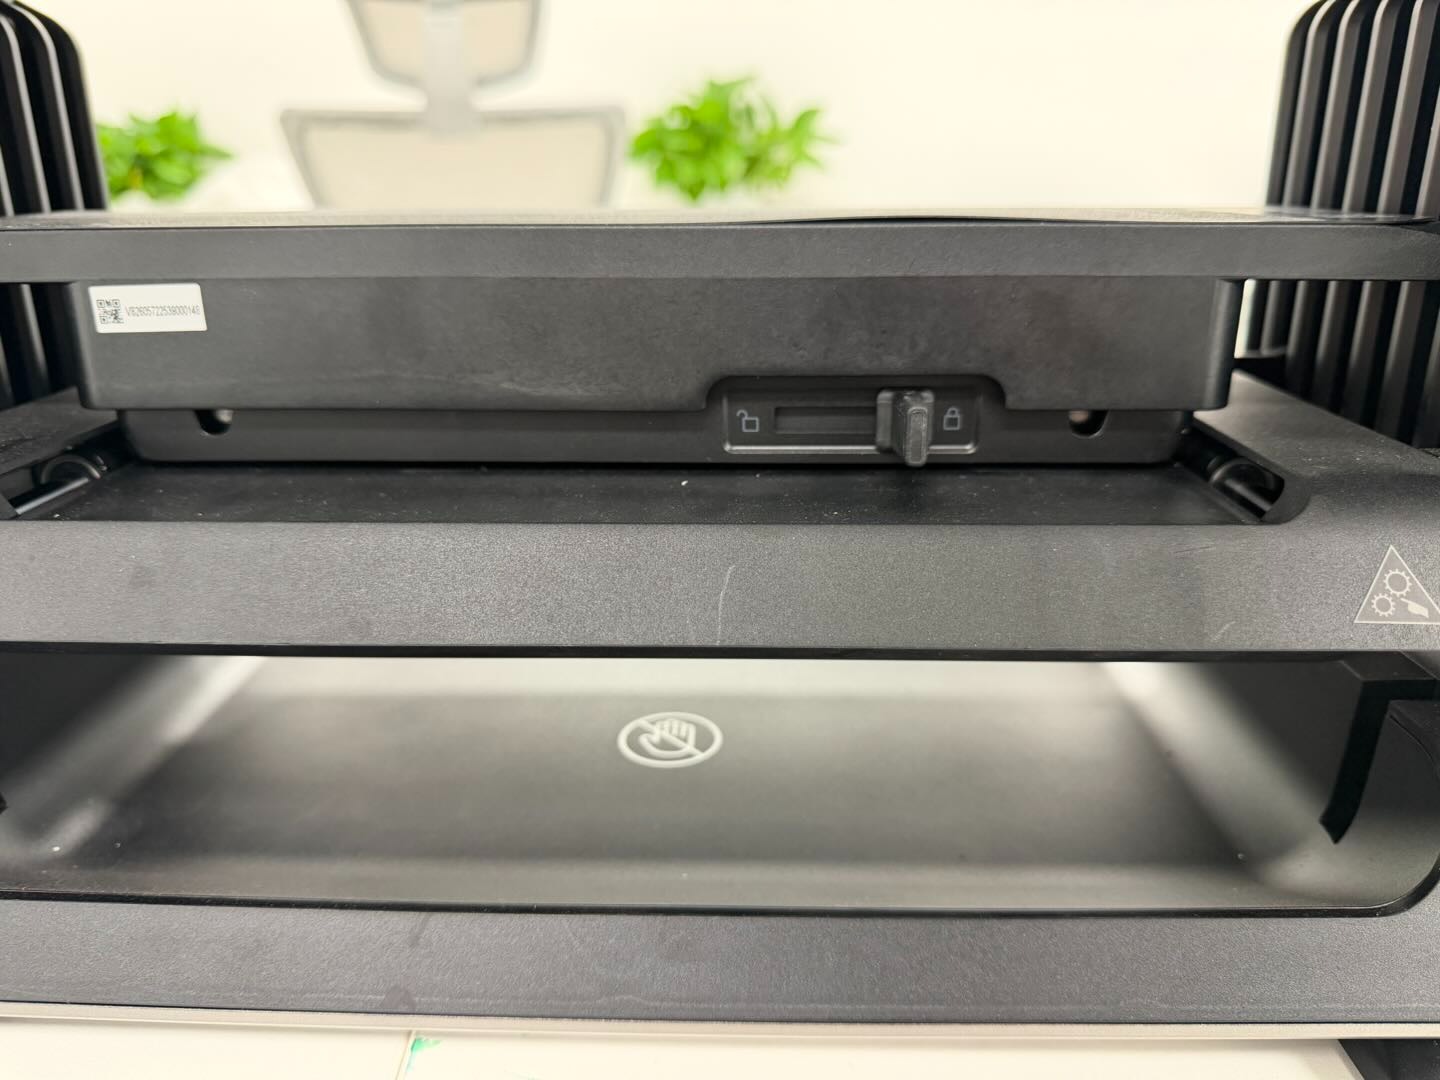
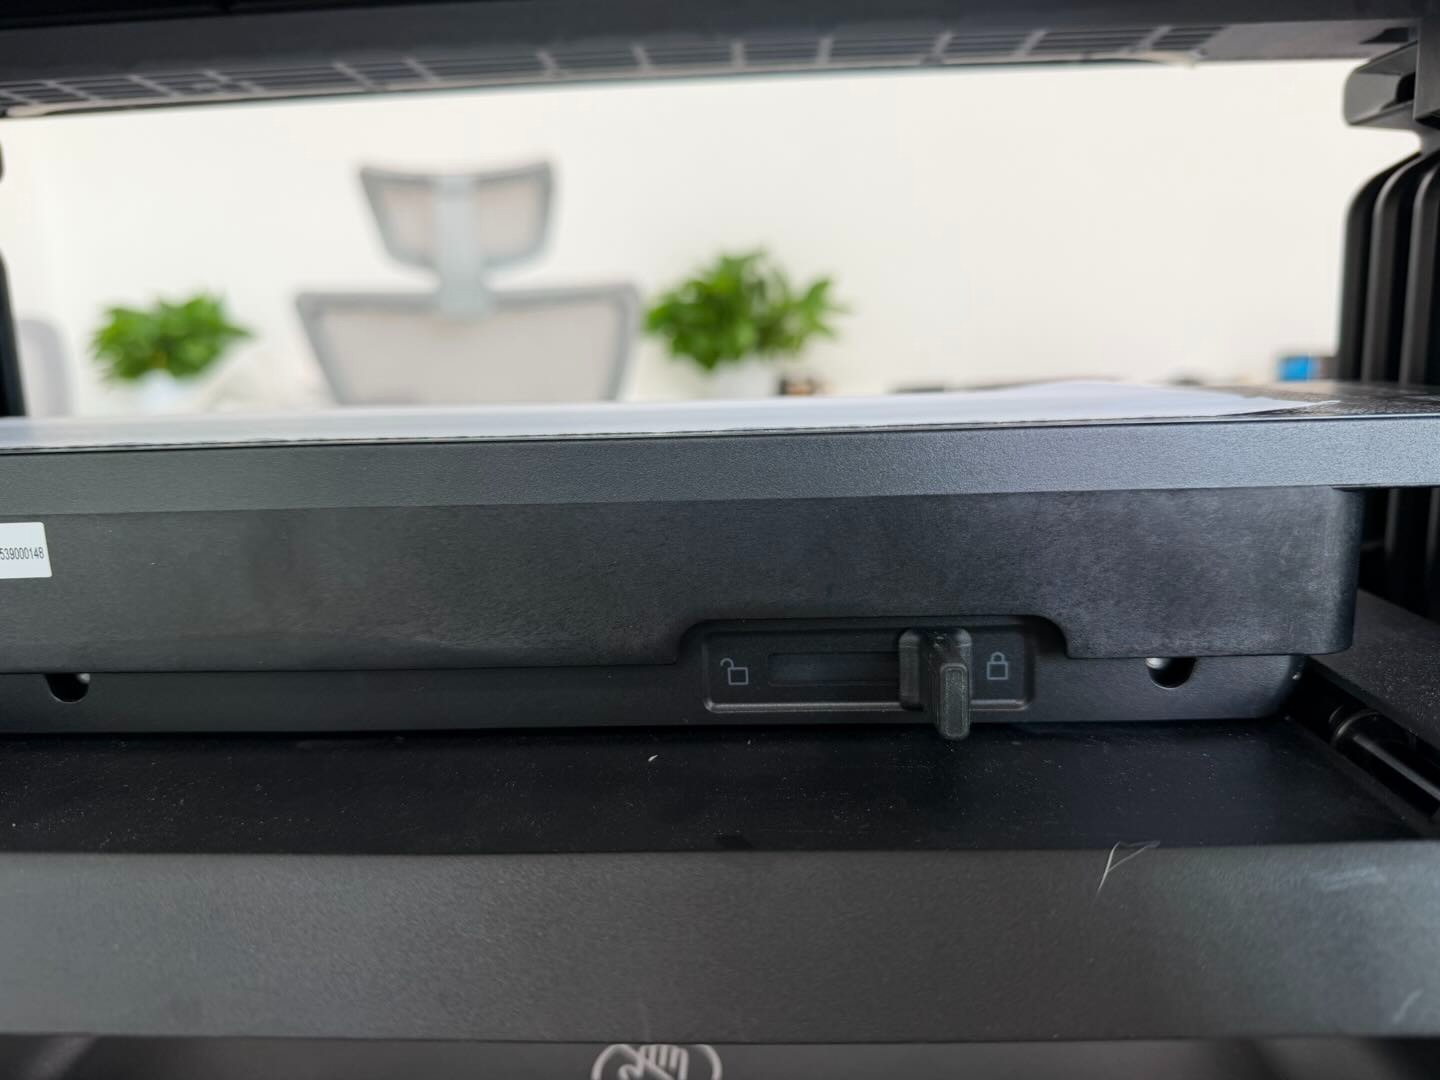
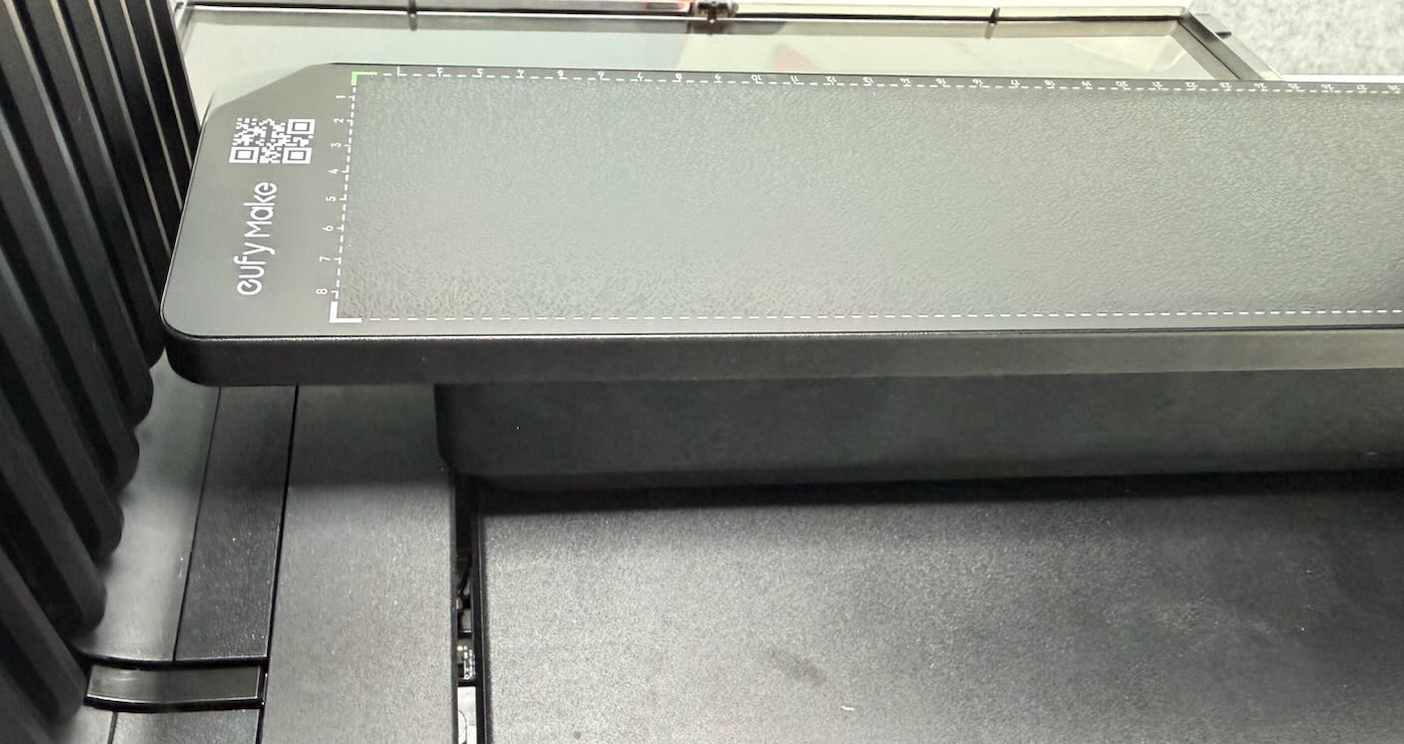
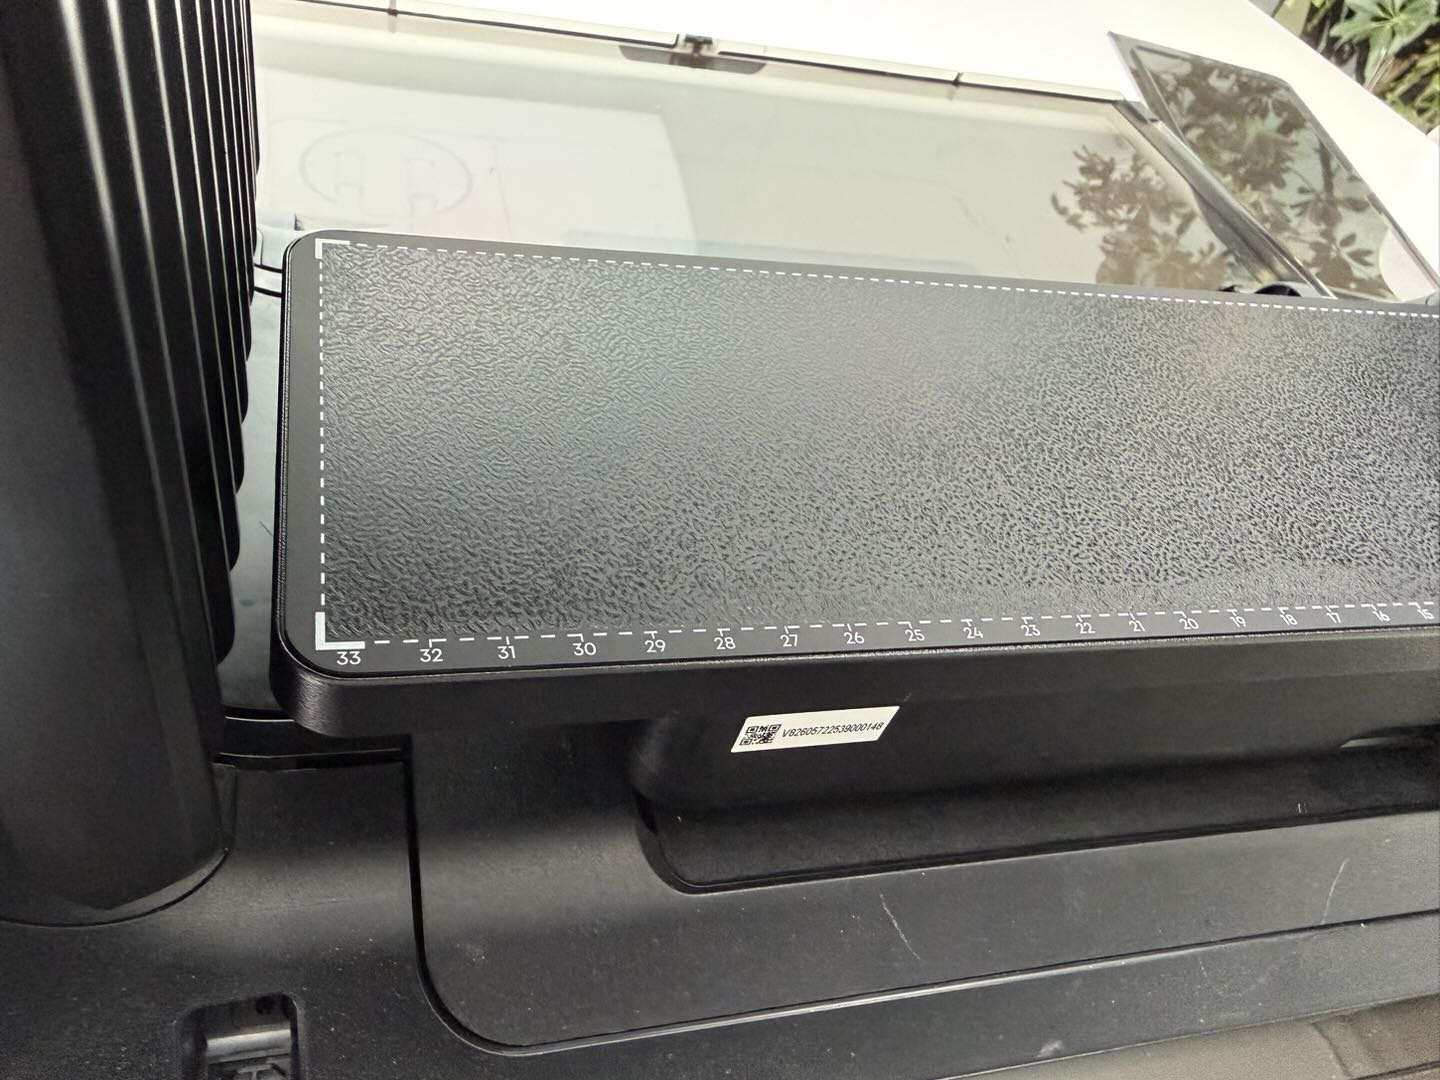
Inspect sticky board warping.
Check the sticky board for warping in all directions (front, rear, left, and right).
-
If minor warping is found, press the board flat manually.
-
If the board cannot be flattened, the adhesive layer has degraded and the sticky board must be.
-
Close printer doors and retest
Close the front and rear door panels and use the mini platform board to perform a test print. Verify whether the ink bleeding issue persists.
Support Contact
If the issue persists after completing the above steps, please contact eufyMake Customer Support at support@eufymake.com with the following information:
-
Your Order Information.
-
Printer SN. Please refer to: https://support.eufymake.com/s/article/How-to-Check-the-Device-Serial-Number-SN
-
Printer and App Logs. Please refer to:https://support.eufymake.com/s/article/Log-Upload-Process-App-PC-Overview
-
Relevant photos and videos.


