Required Tools (User-Provided)
Step 1 - Power off and remove the rear cover
Step 2 - Remove the warranty sticker
Step 3 - Disconnect the Metering Tank Wiring Harness
Step 4 - Remove the Metering Tank Screws
Step 5 - Remove and Replace the Hose
Step 6 - Reinstall the Metering Tank Screws
Step 7 - Reinstall the Cover and Power On
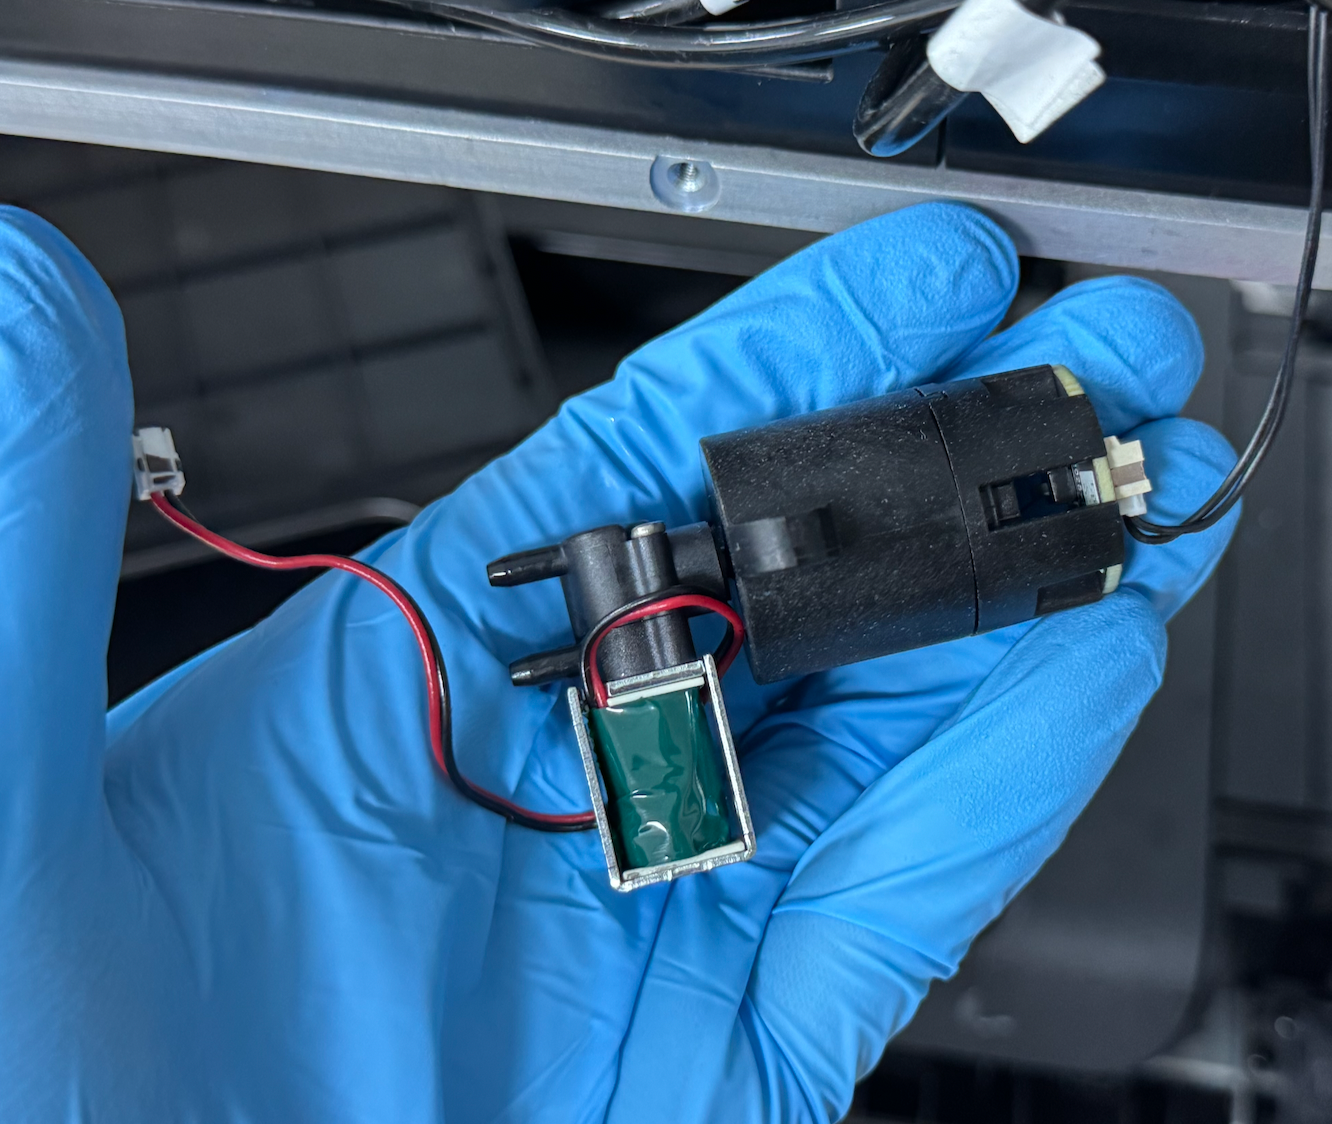
Accessory Introduction
The accessory is located on the right side at the rear of the machine.
Required Tools (User-Provided)
-
2.0mm Hex Key
-
Disposable Nitrile Gloves
-
Side Cutting Pliers
Safety Precautions
-
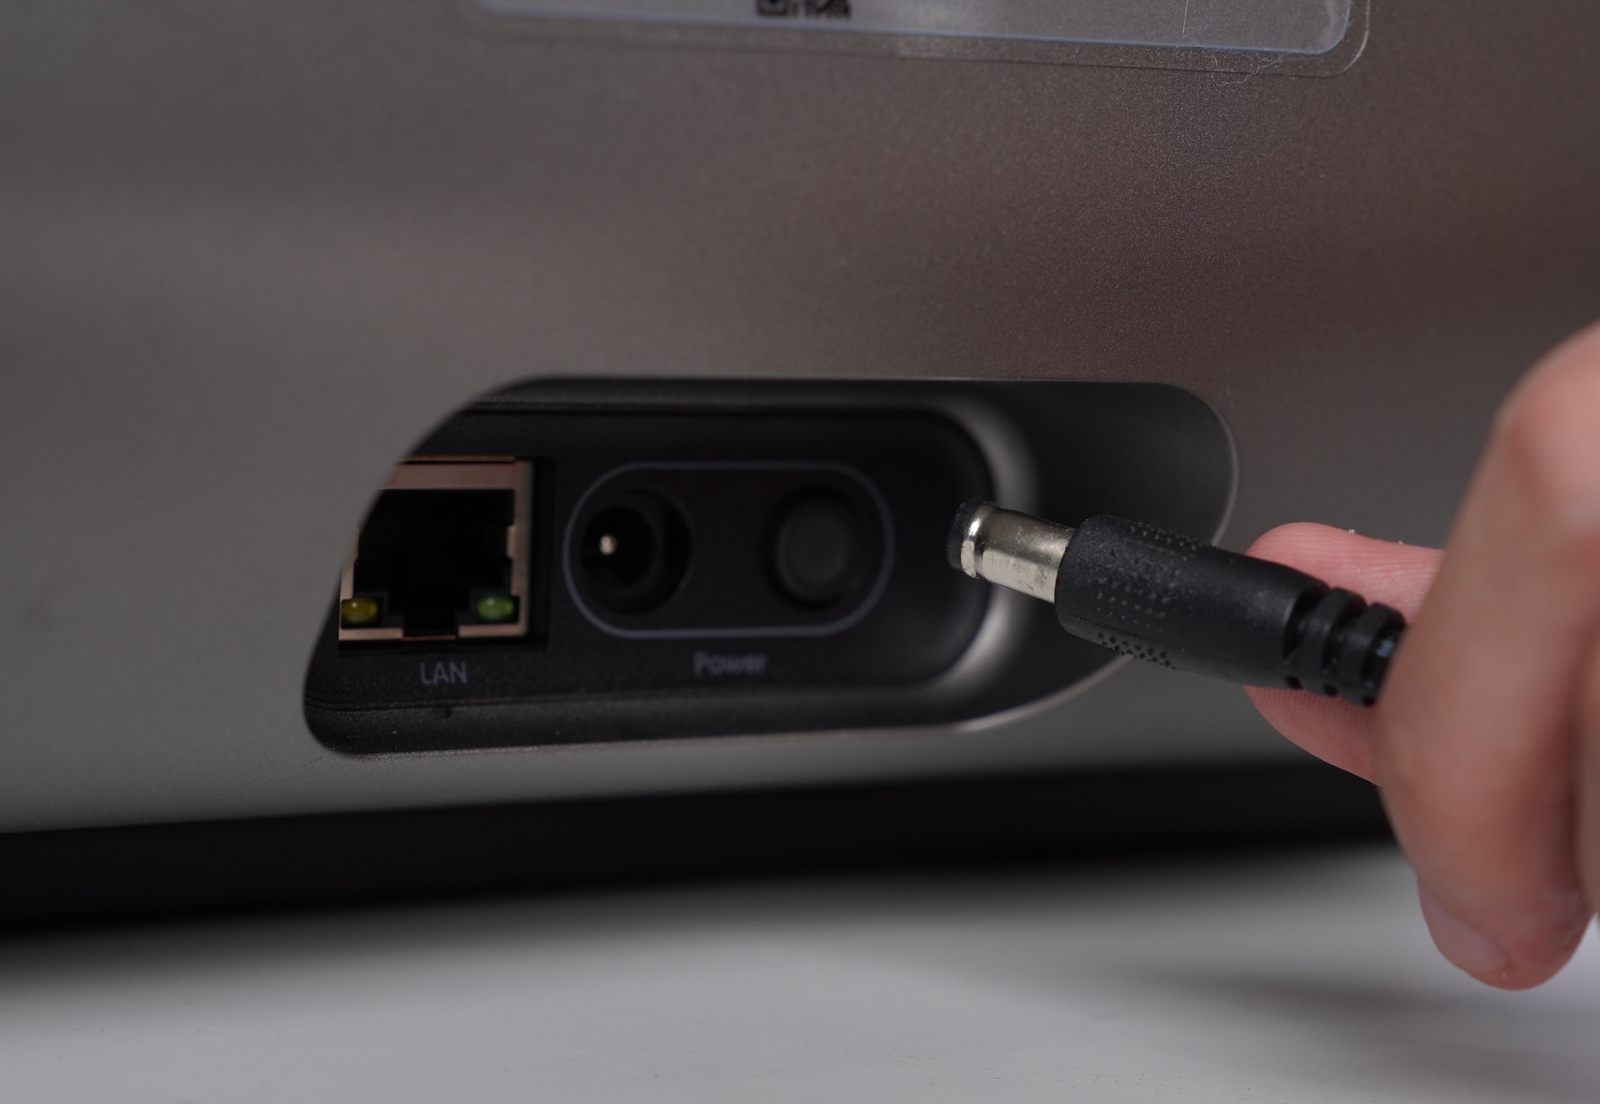
Before performing any maintenance, power off the printer and disconnect the power supply to prevent short circuits, potential damage to electronic components, and personal injury.
-
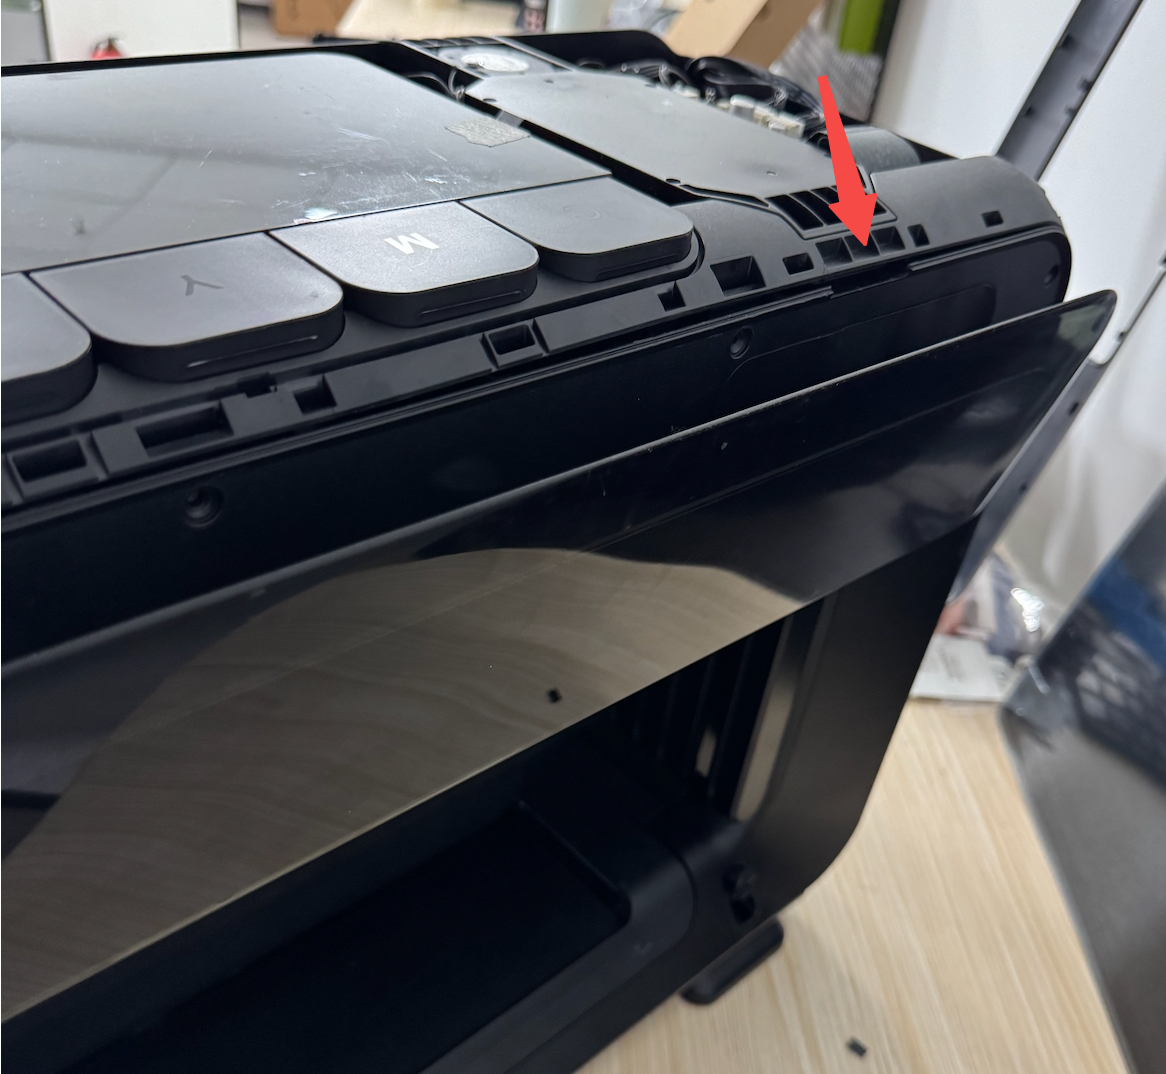
When opening the upper shell assembly, disconnect the key connection cable before removing the upper shell.
-
Wear protective gloves during operation.
Replacement Steps
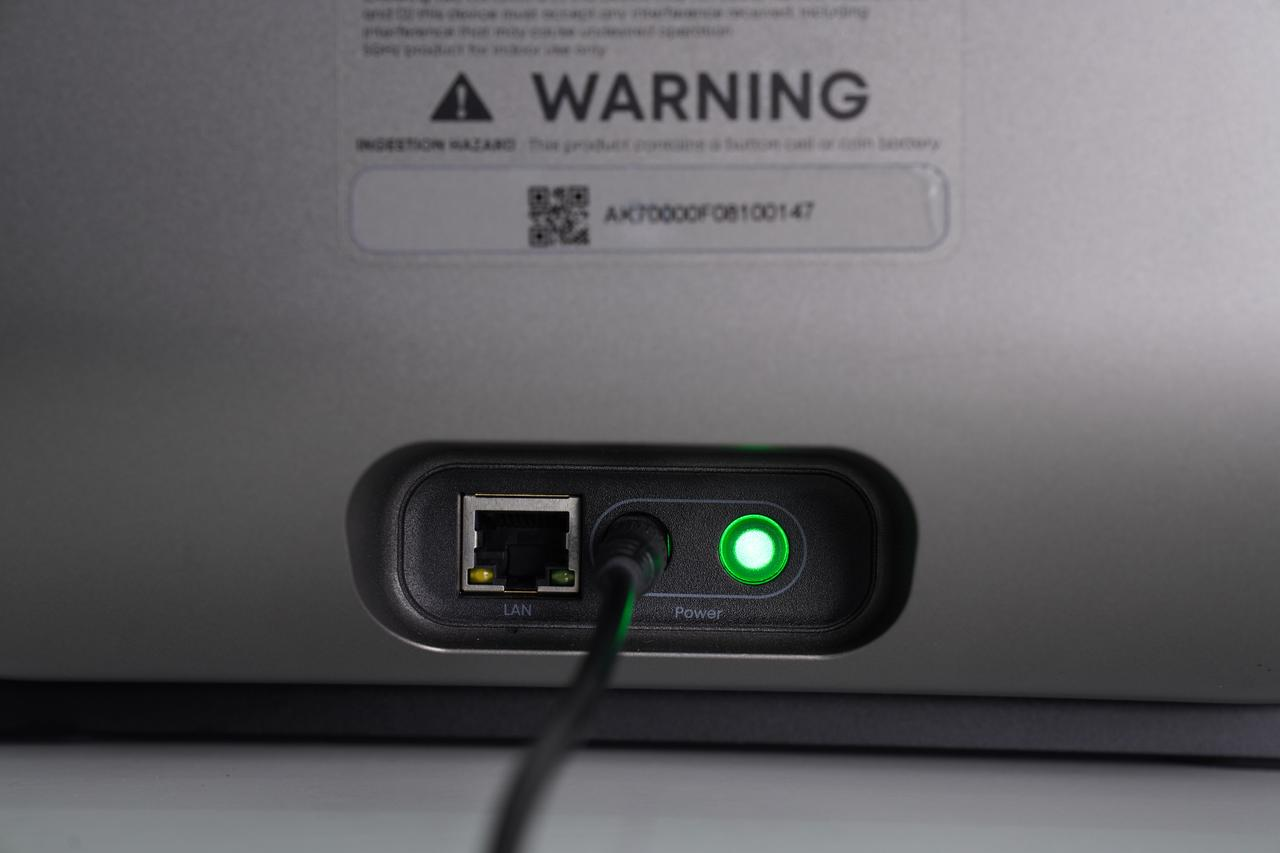
Step 1 - Power off and remove the rear cover
Power off the printer and remove the rear cover.
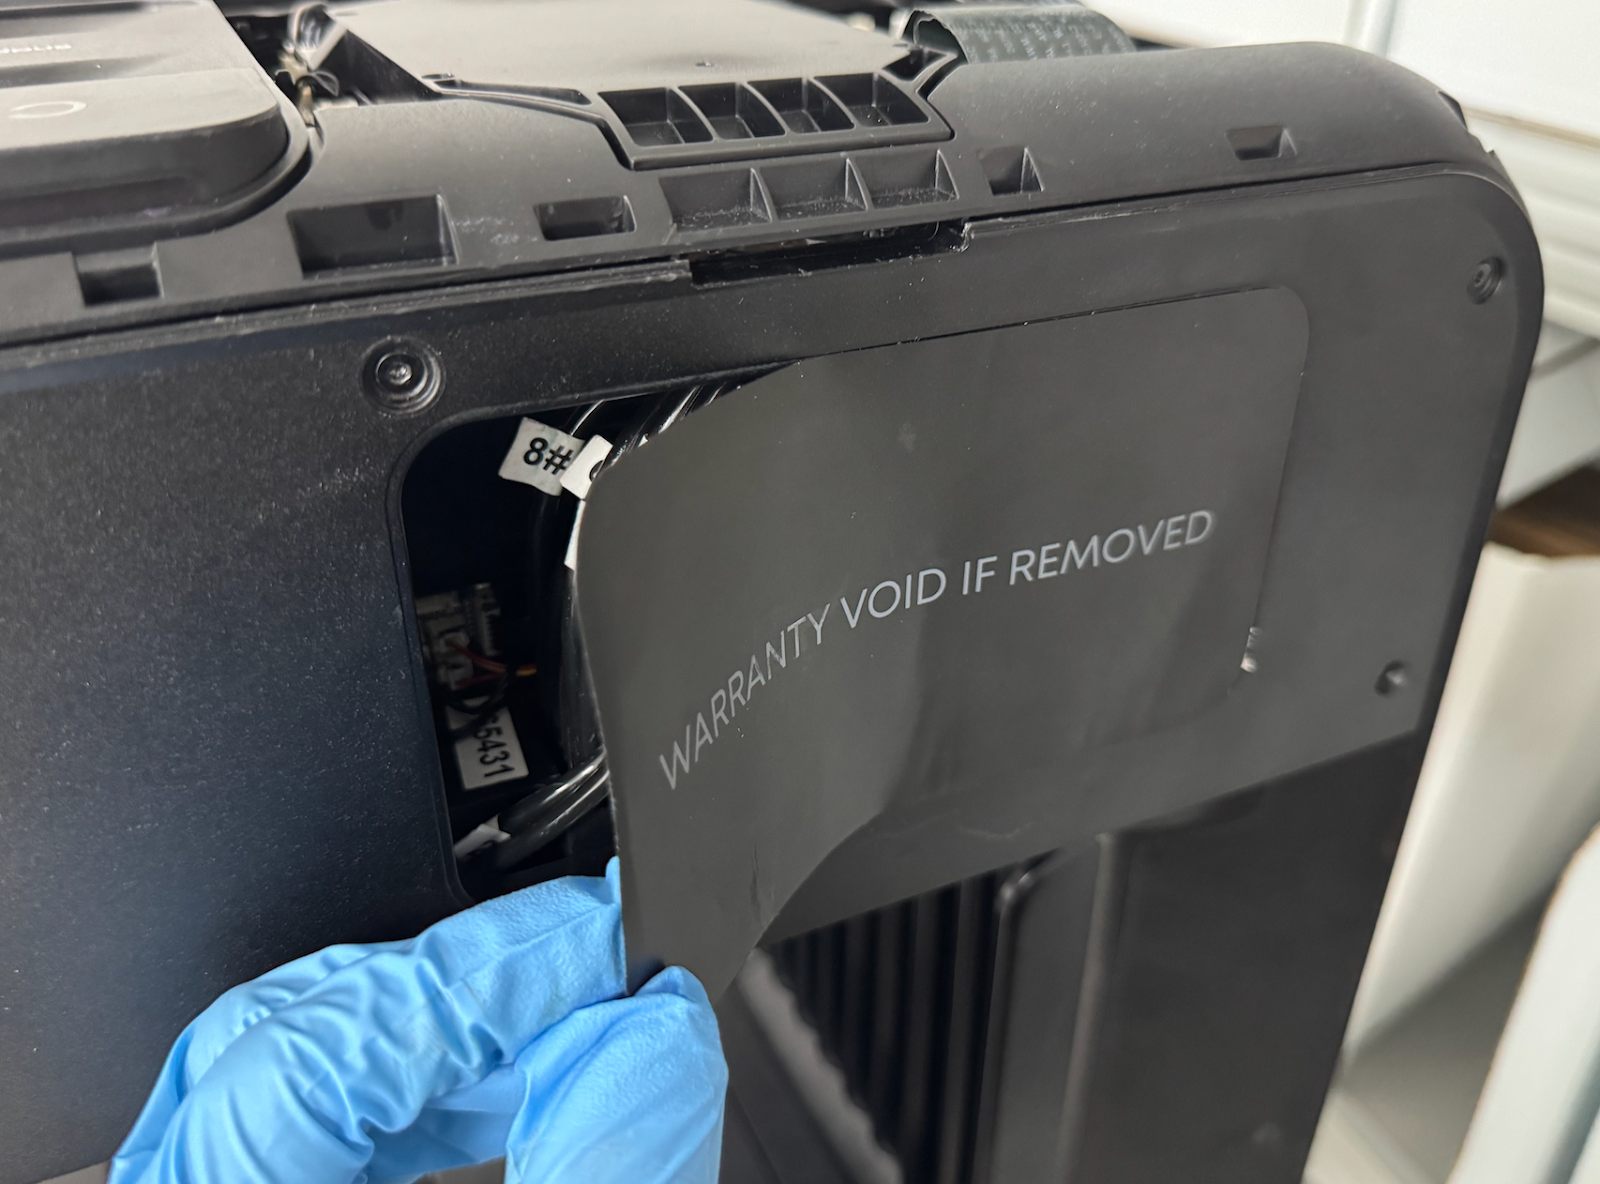
Step 2 - Remove the warranty sticker
Remove the warranty sticker.
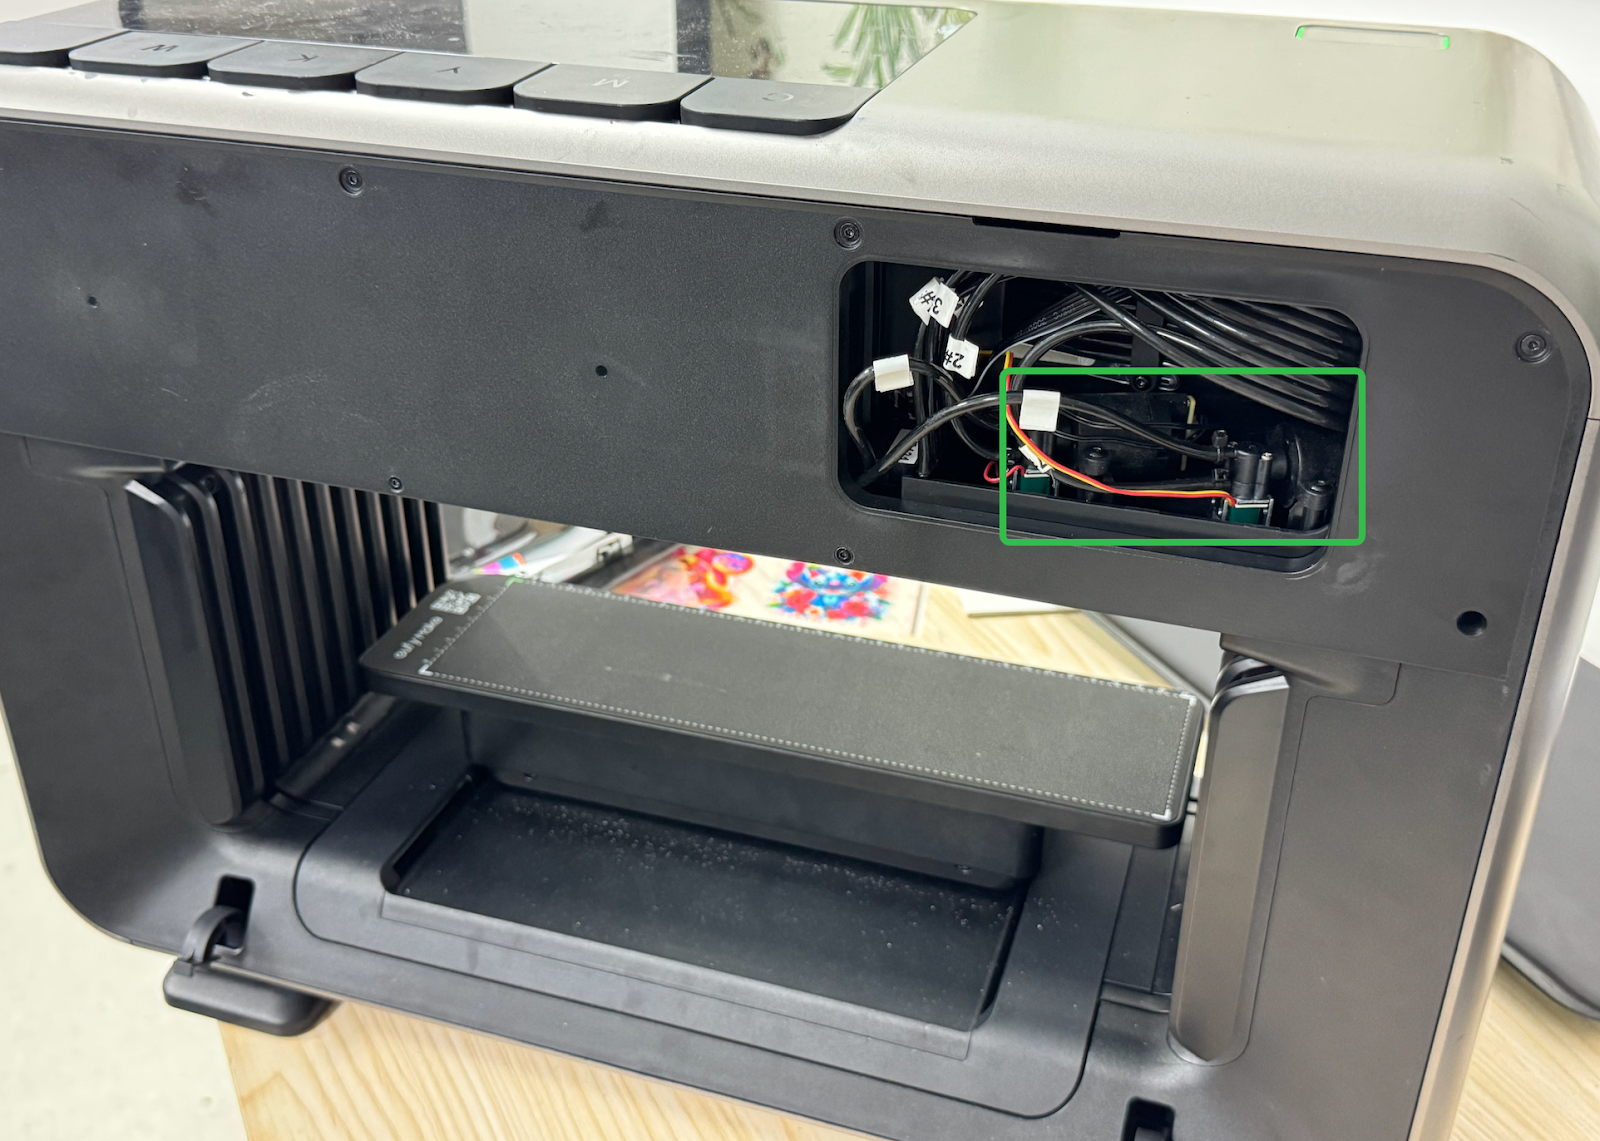
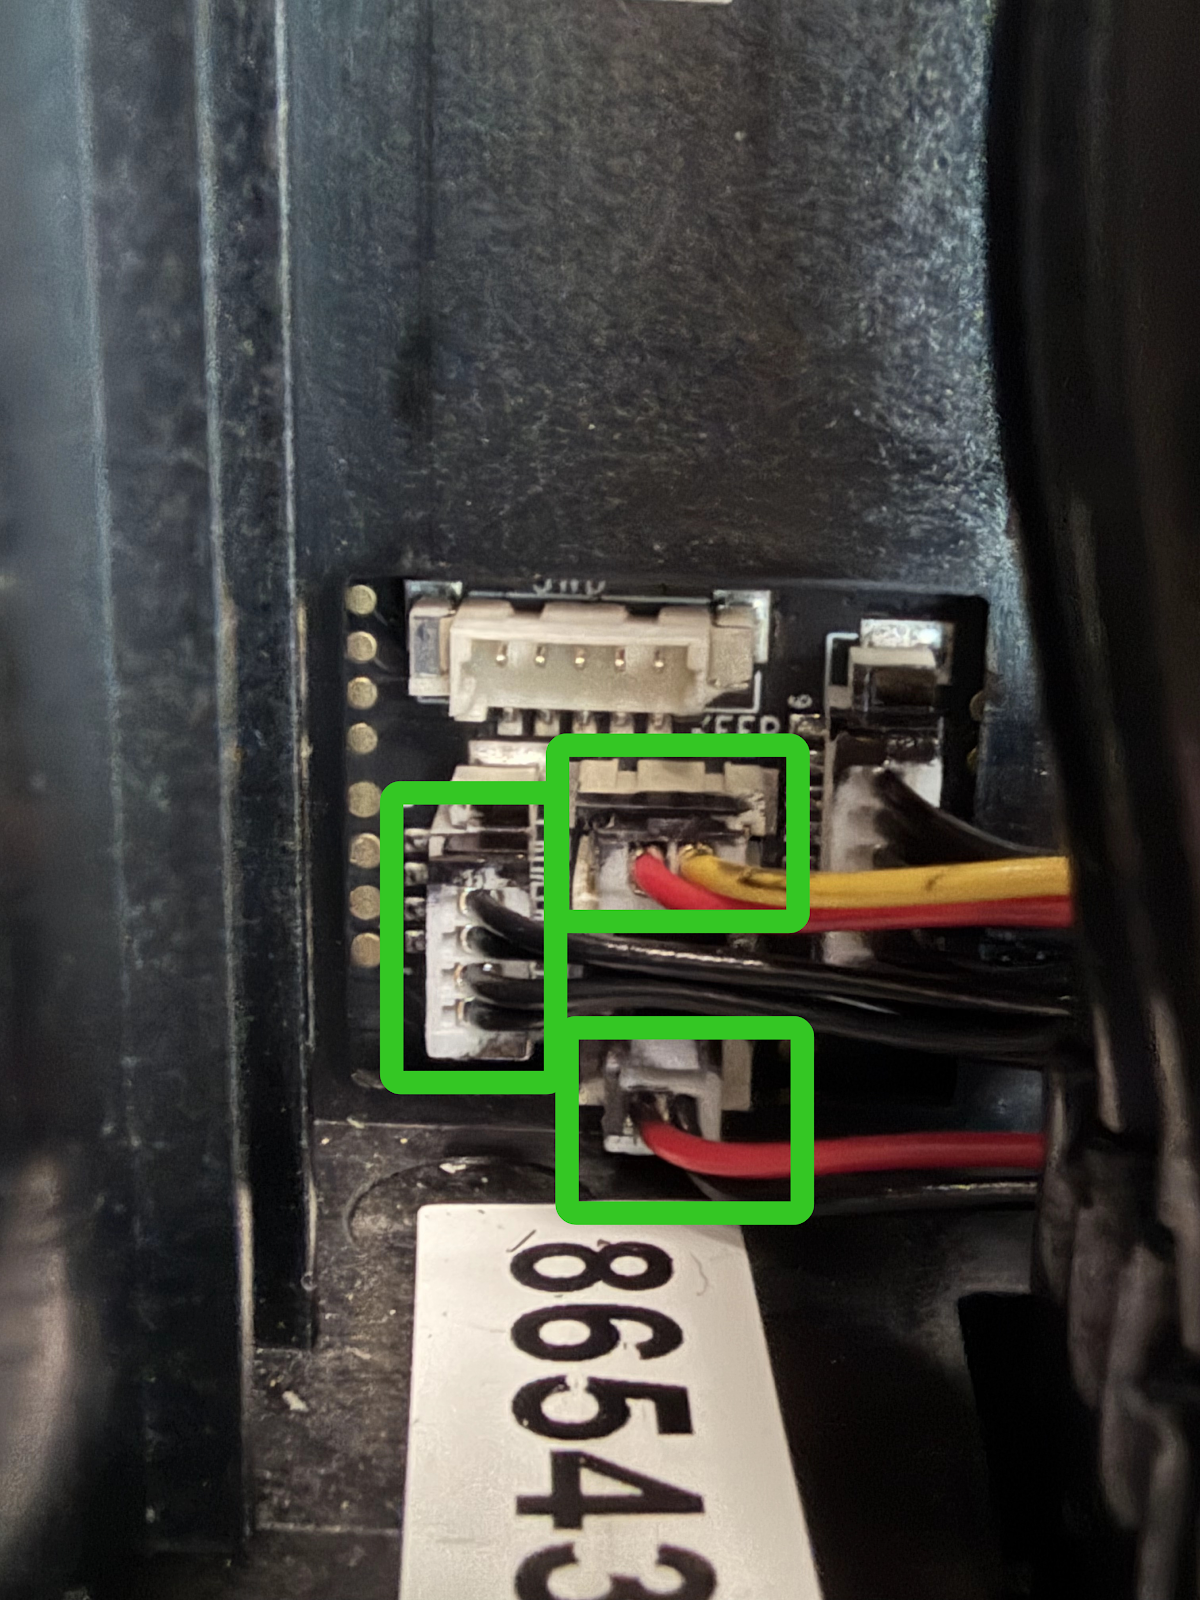
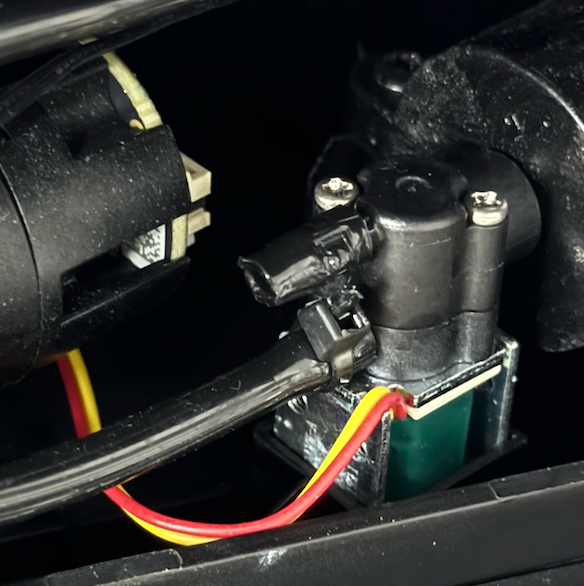
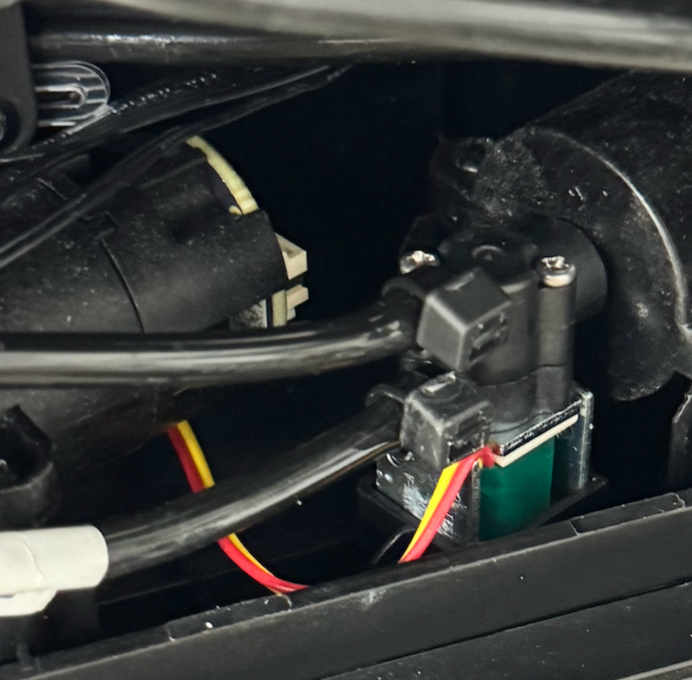
Step 3 - Disconnect the Metering Tank Wiring Harness
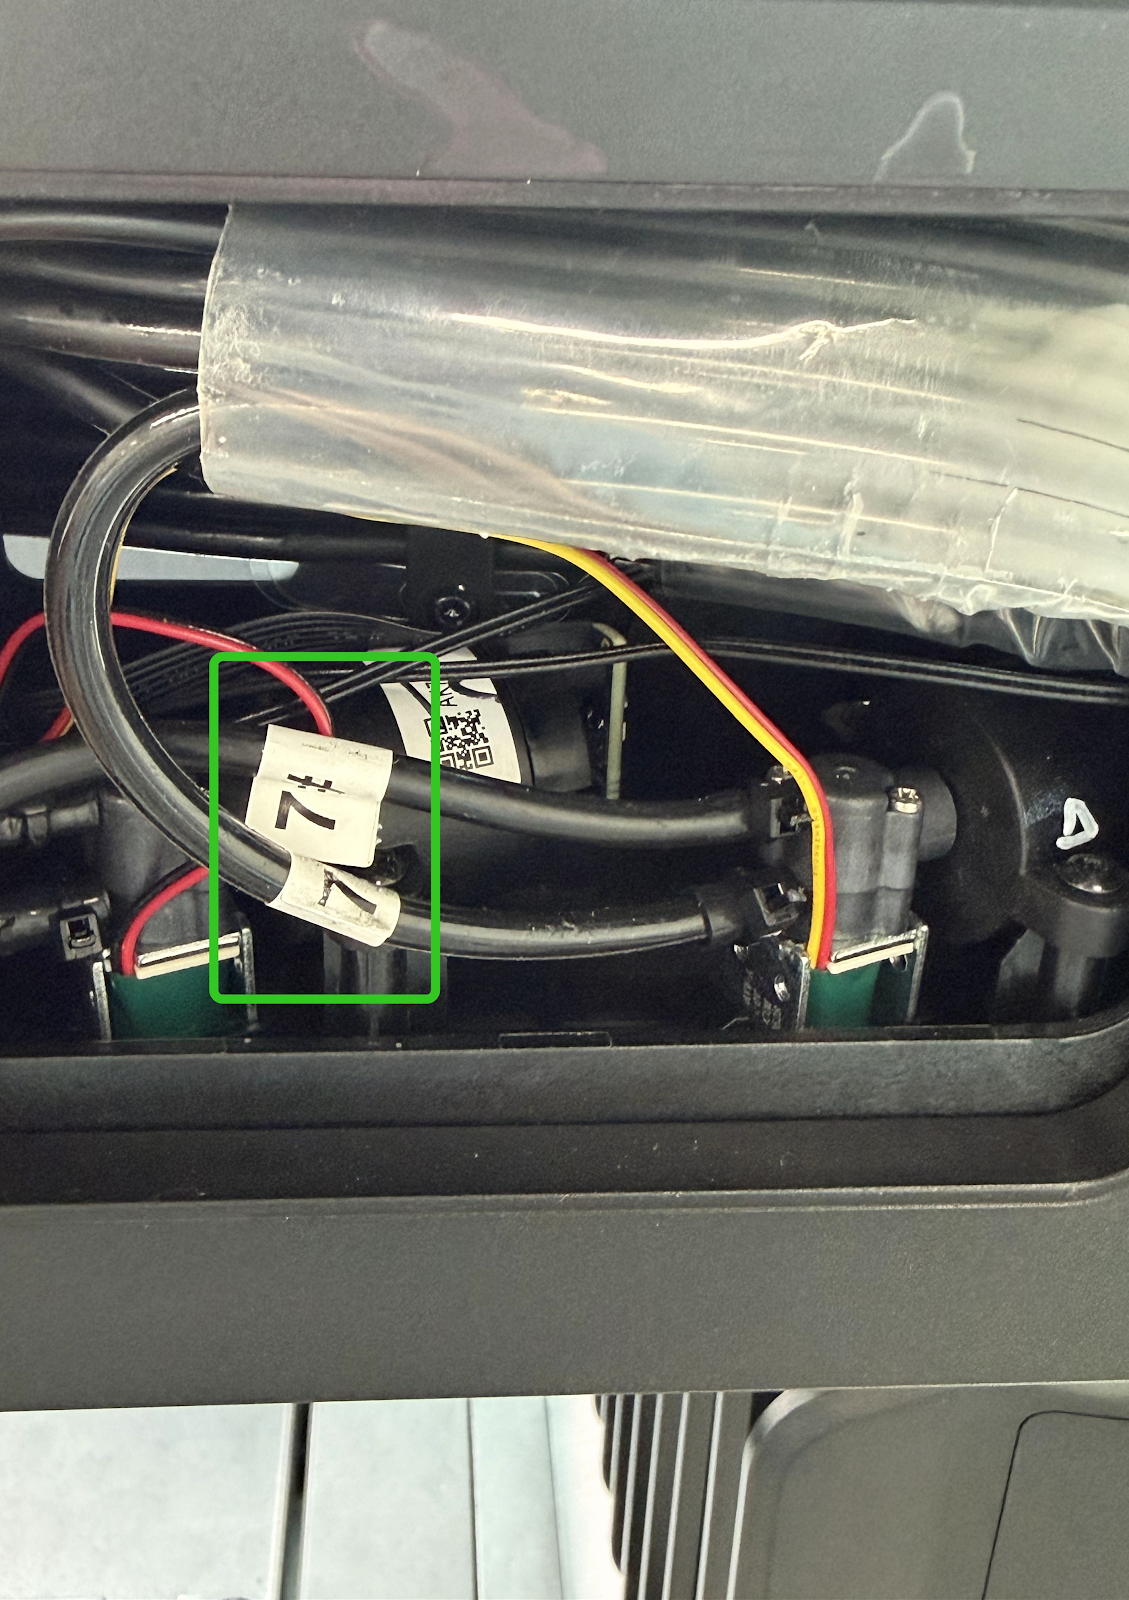
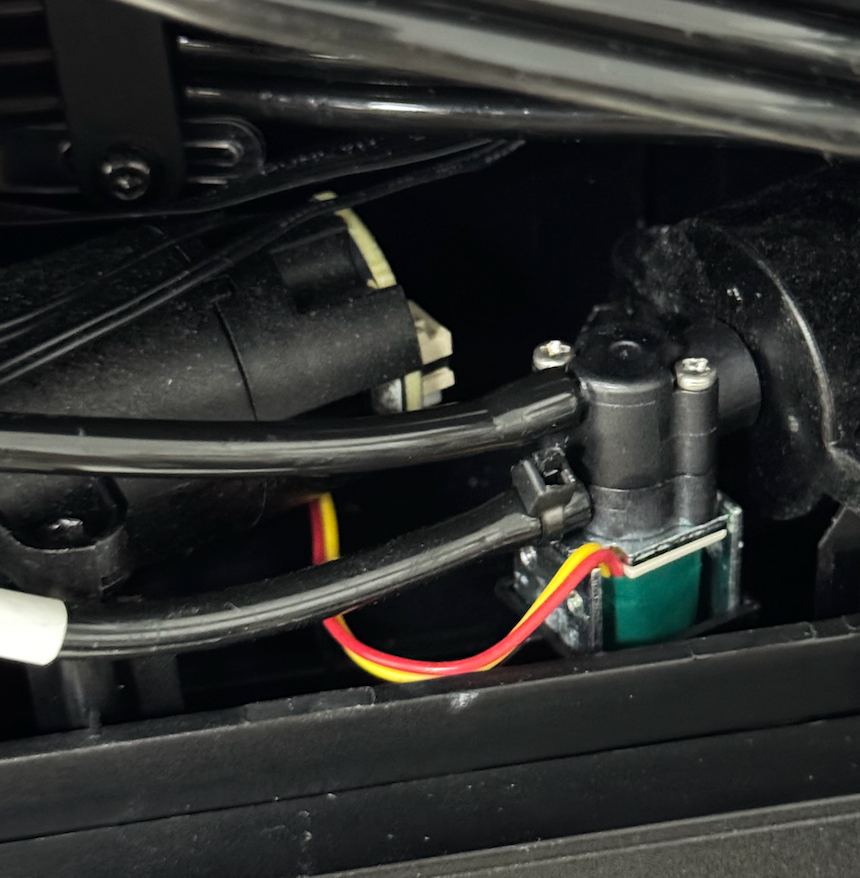
Disconnect the metering tank detection cables (red–black and red–yellow) corresponding to the tank being replaced, as well as the power cable of the three-way valve.
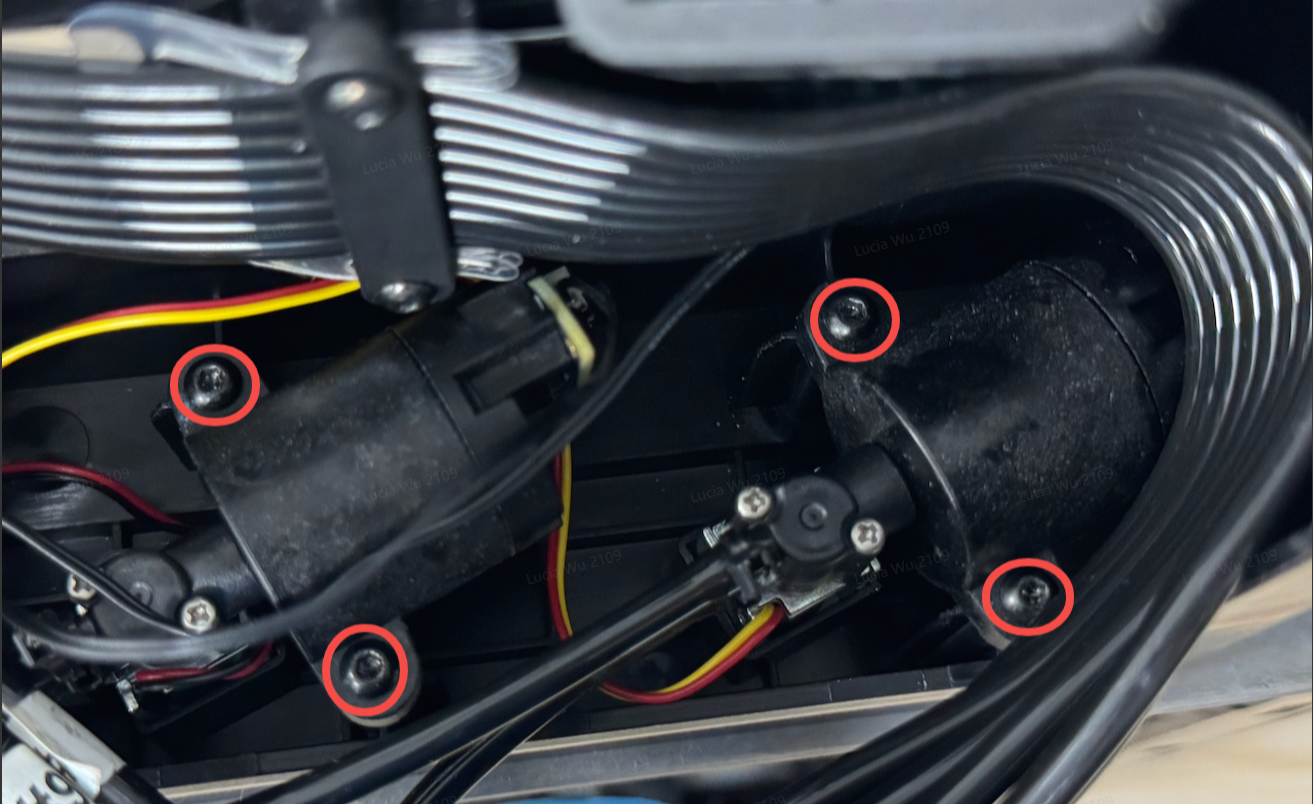
Step 4 - Remove the Metering Tank Screws
Use a 2.0mm hexagon socket screwdriver to remove the screws of the dosing bucket that need to be replaced , and pay attention to distinguish whether the one to be replaced is the cleaning dosing bucket (red and black wiring harness) or the moisturizing dosing bucket (red and yellow wiring harness)
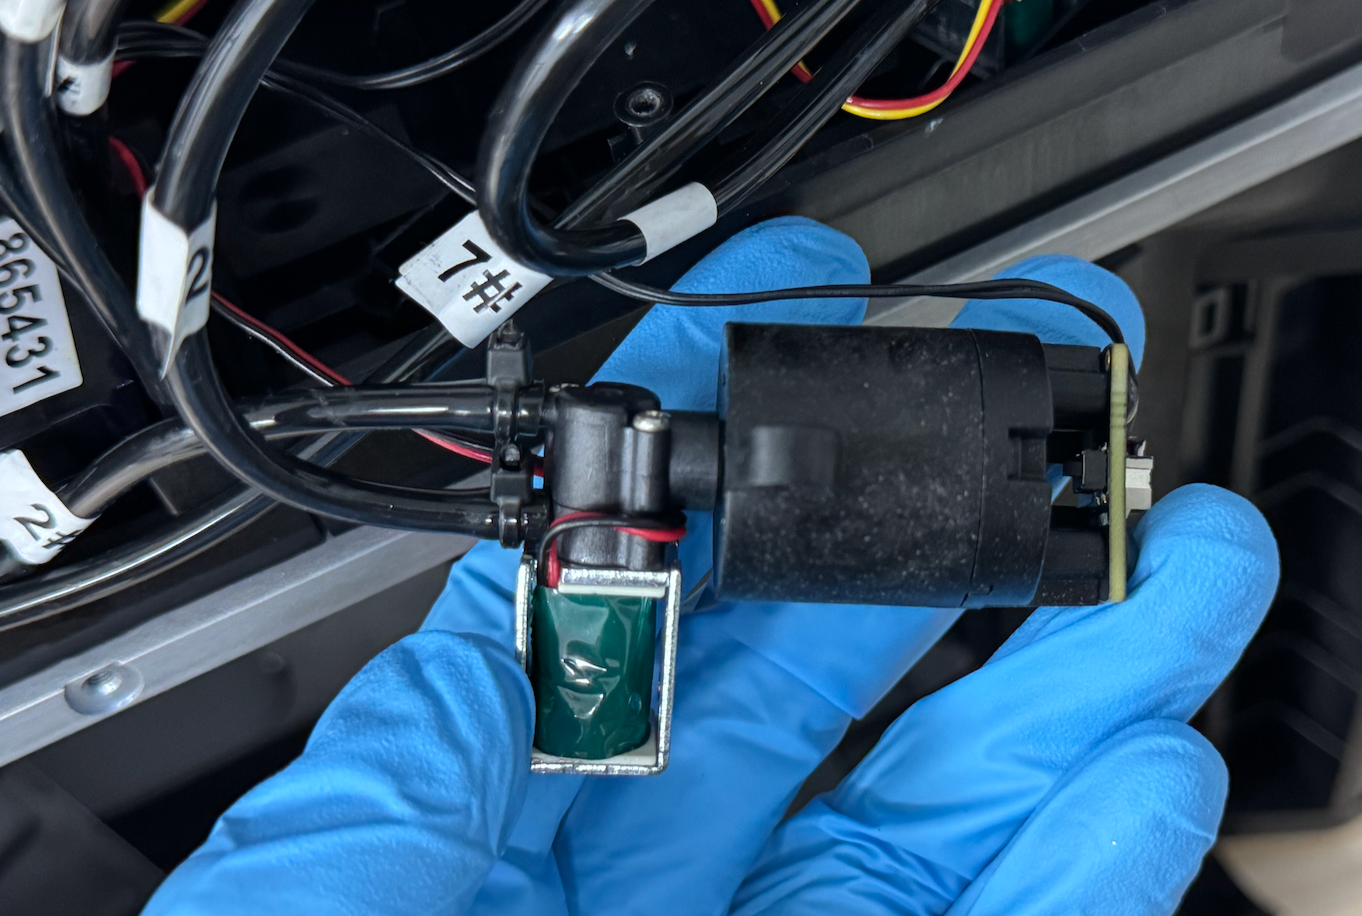
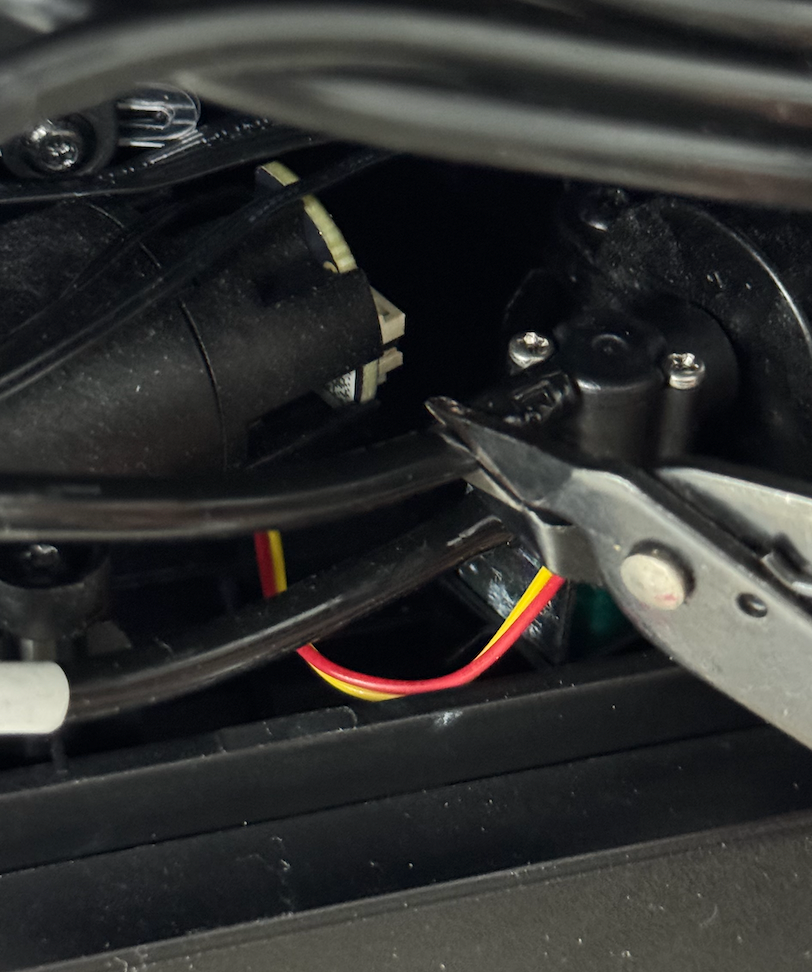
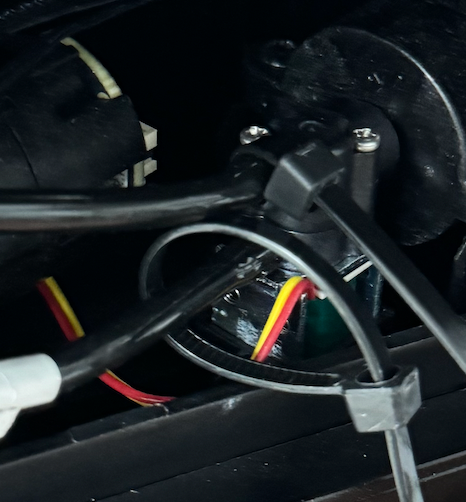
Step 5 - Remove and Replace the Hose
-
Use side cutting pliers to cut the hose cable tie on the metering tank.
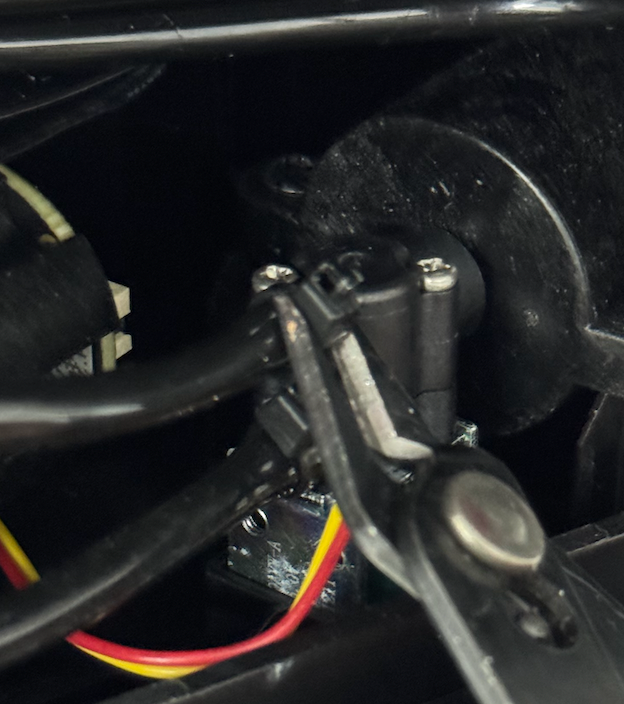
-
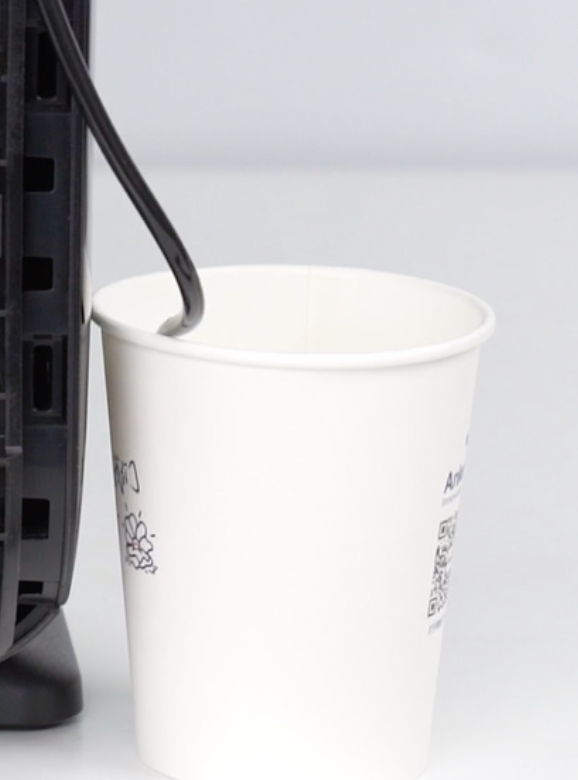
Use side cutters to cut the hose connected to the metering tank being replaced. Use a disposable paper cup to collect any liquid flowing from the hose, then remove the old hose.
Note:
The hose end may expand at the connection point. Cut off a short section of the hose to ensure a secure fit after replacement.
⚠️ Do not cut the connection seat between the metering tank and the hose.
Take the new metering tank, insert the hose, and secure it with a cable tie.
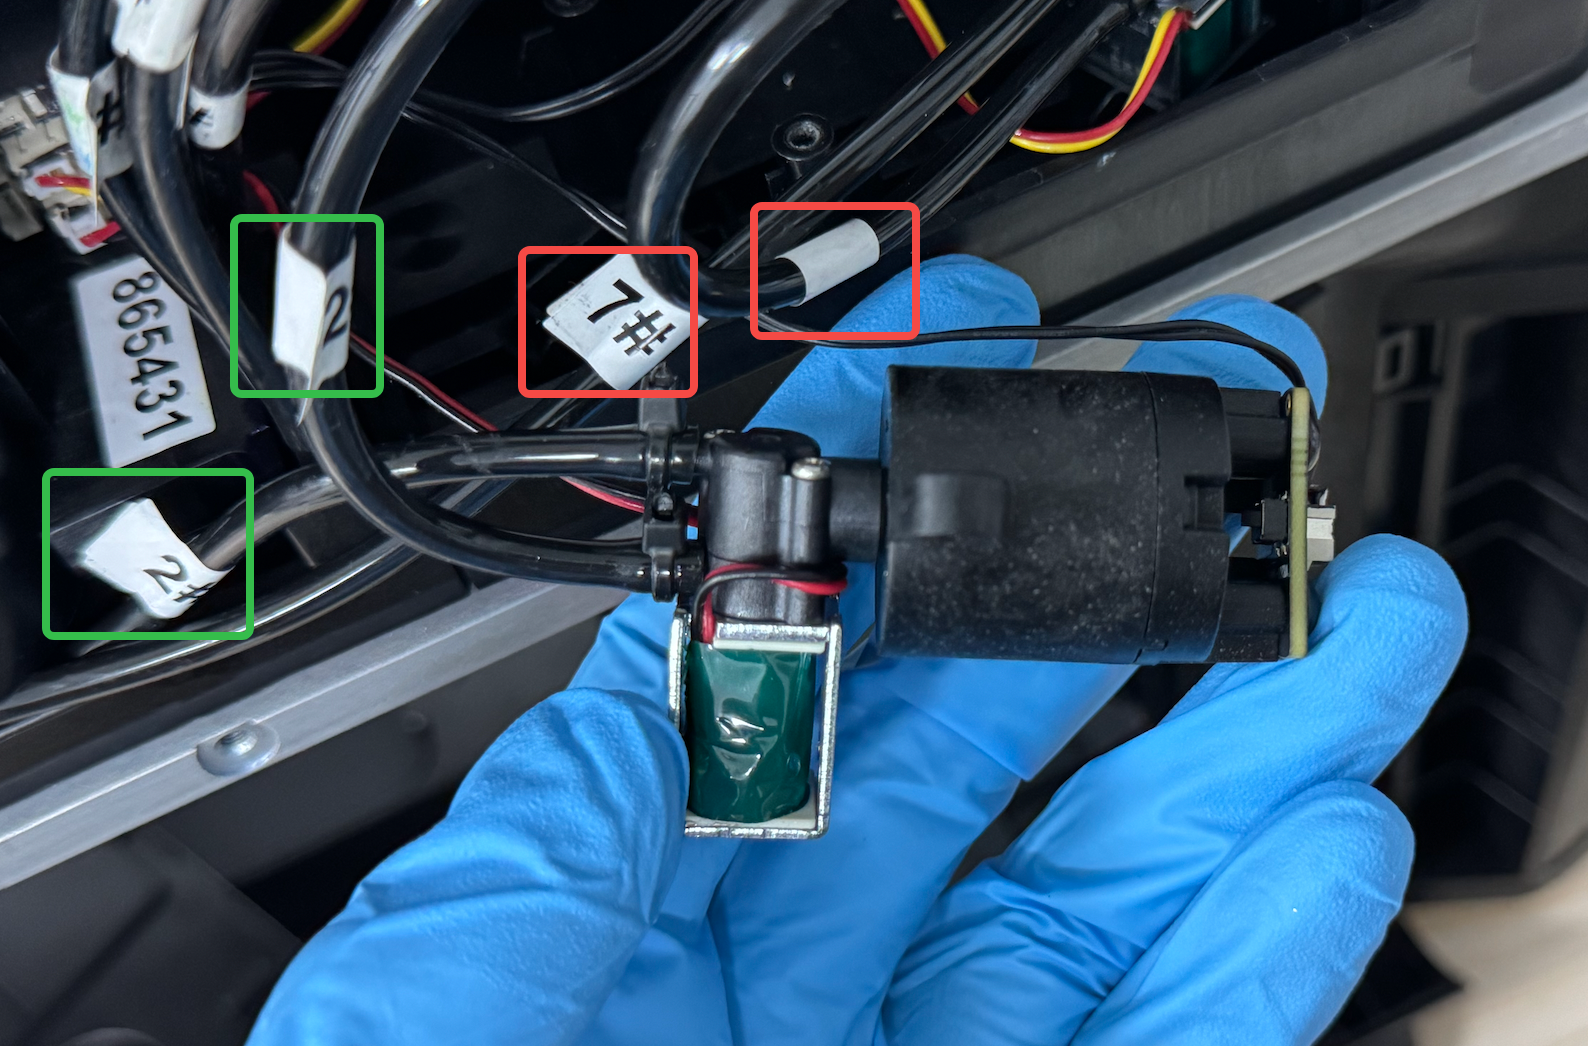
⚠️ Hose connection positions:
-
Cleaning metering tank (red–black harness):
-
Upper interface → 2# hose at the waste ink pump
-
Lower interface → 2# hose among the eight ink tubes
-
Moisturizing metering tank (red–yellow harness):
-
Upper interface → 7# hose at the waste ink pump
-
Lower interface → 7# hose among the eight ink tubes
Step 6 - Reinstall the Metering Tank Screws
Use a 2.0 mm hex key to install the new metering tank back into its original position and secure it with screws.
Step 7 - Reinstall the Cover and Power On
After confirming that all connections are correct, reinstall the cover and power on the printer to complete the replacement.