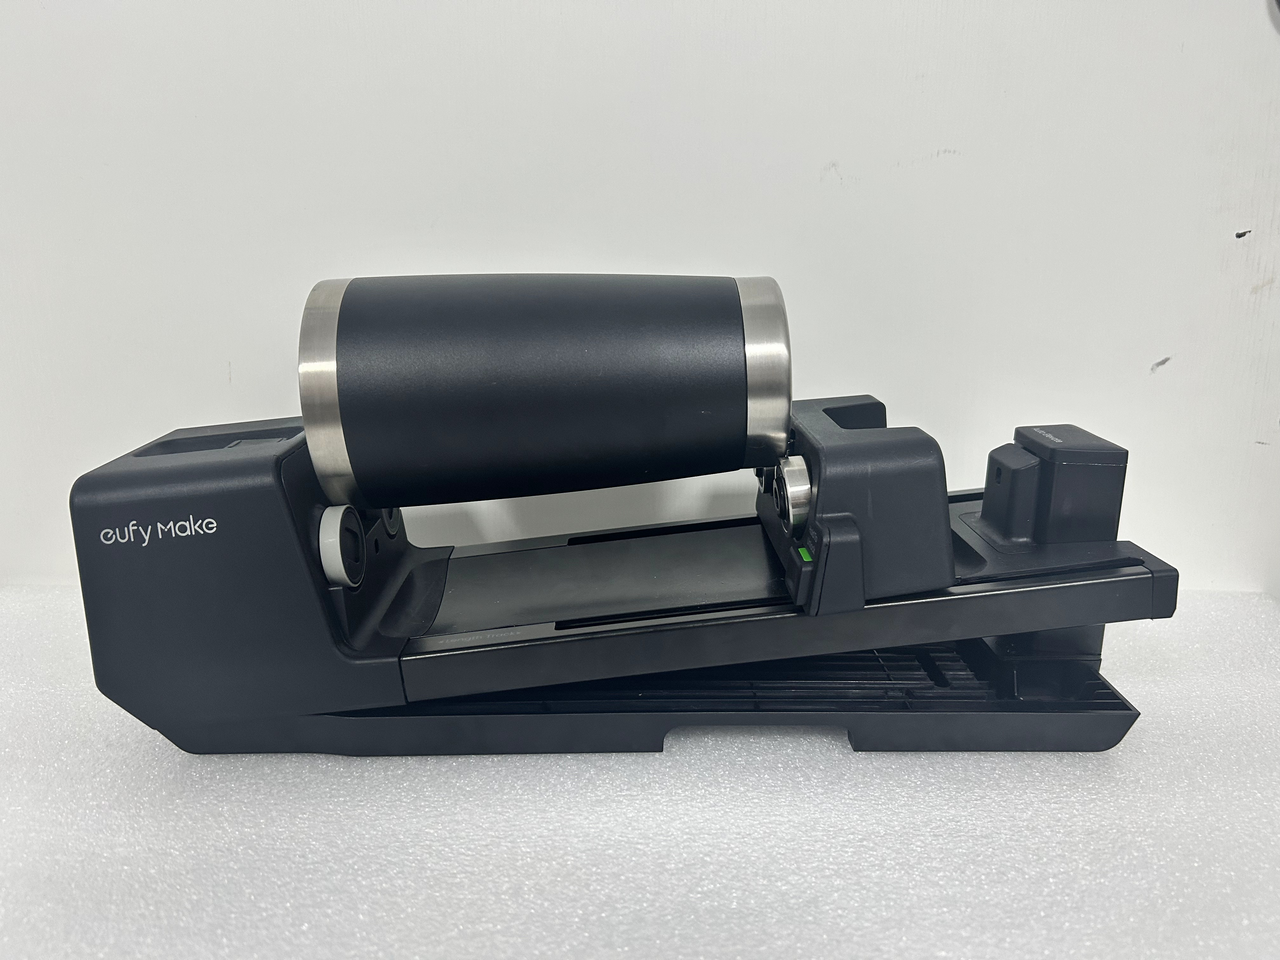
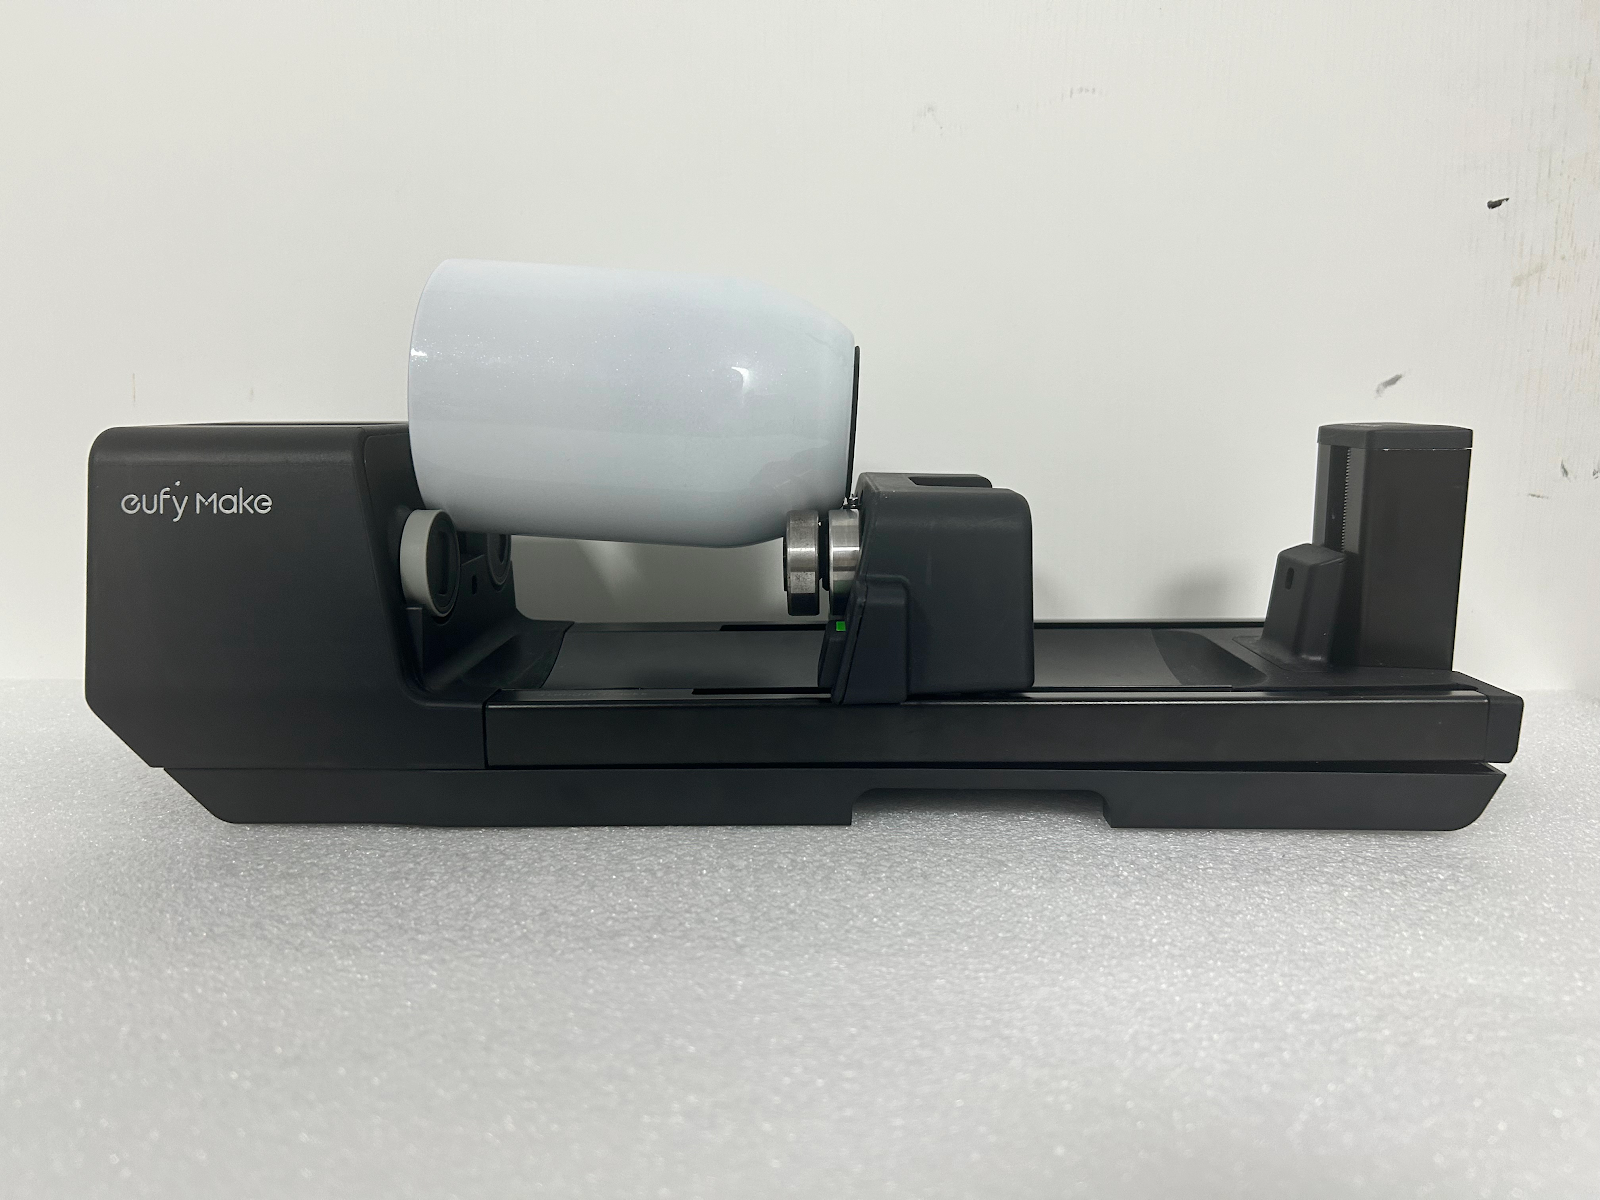
Requirements for Rotary Printing Attachment
General Requirements
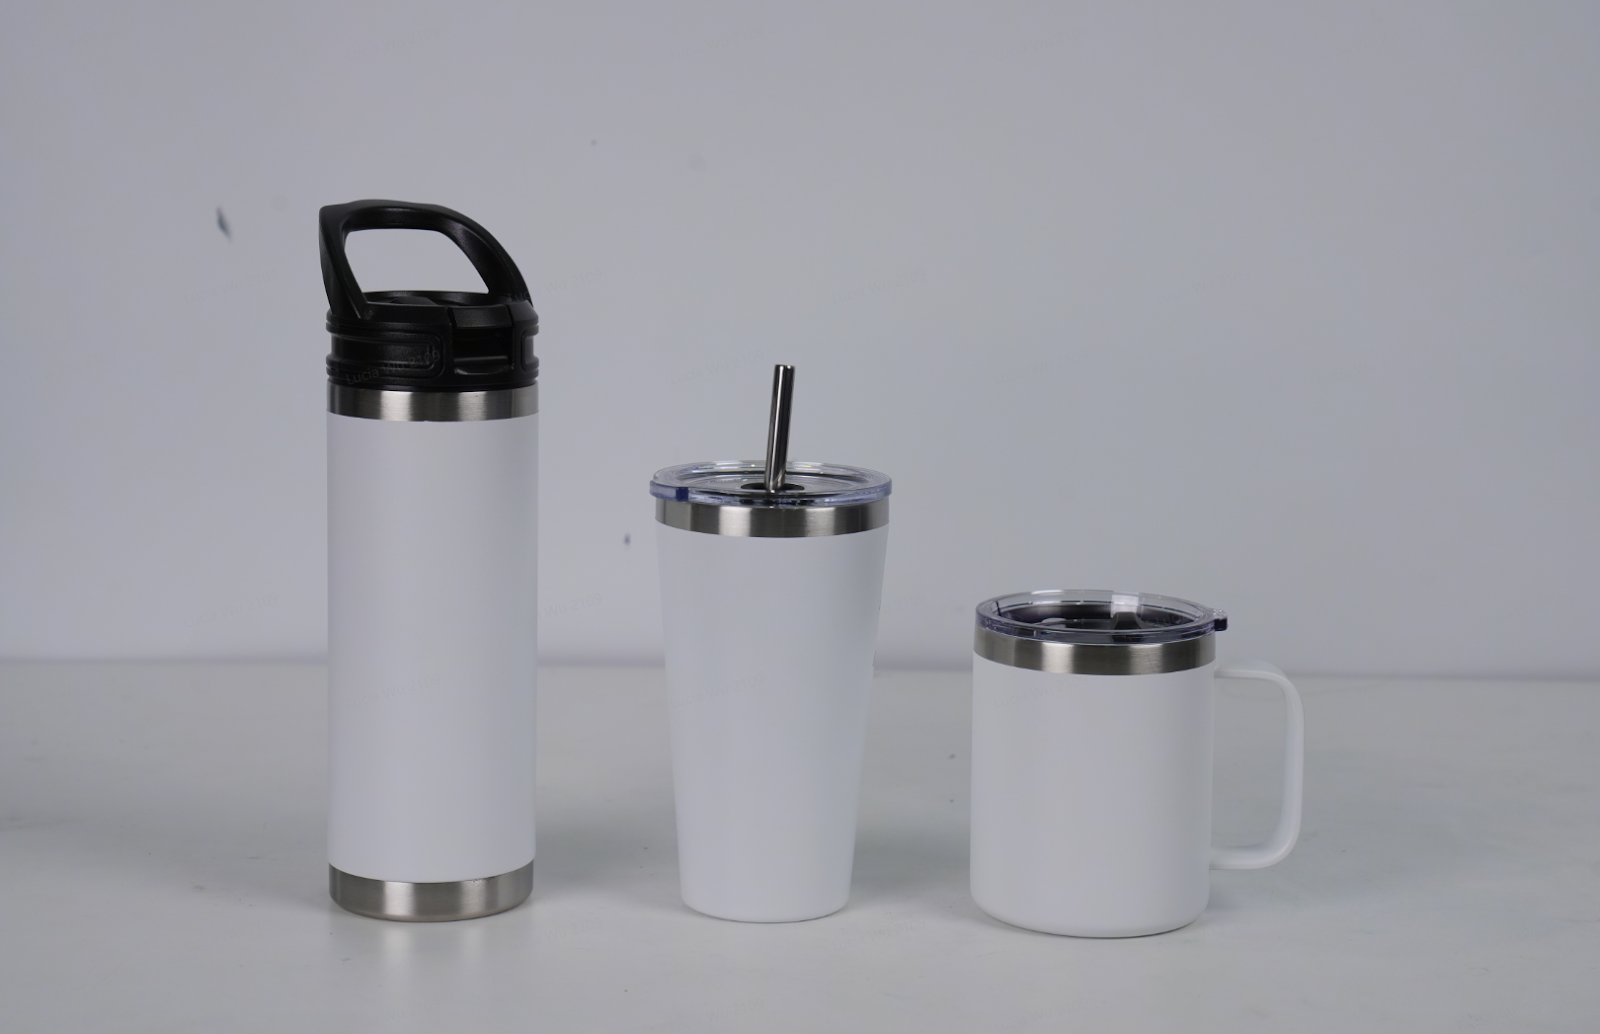
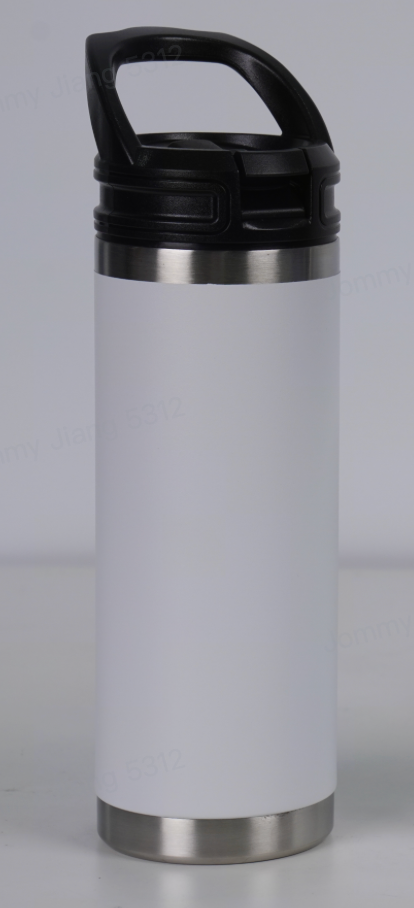
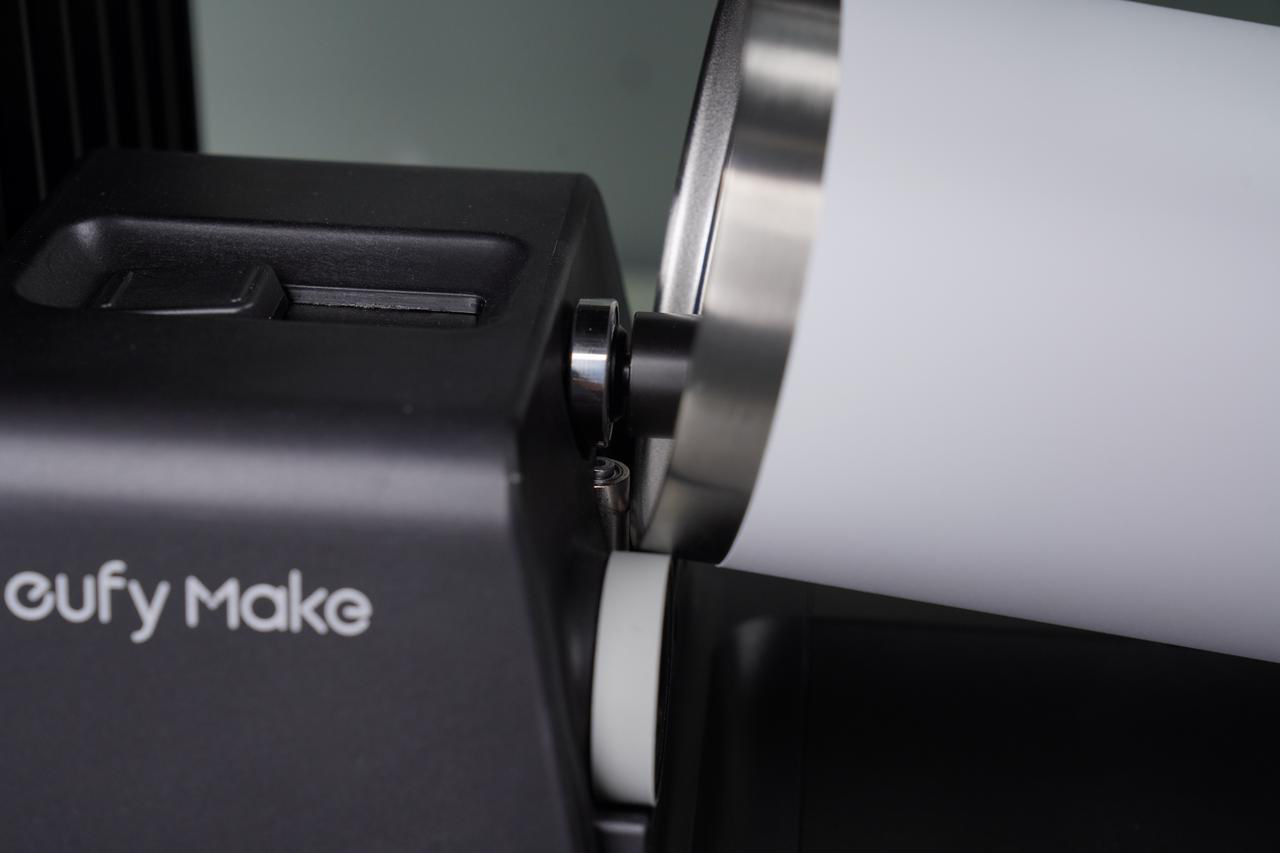
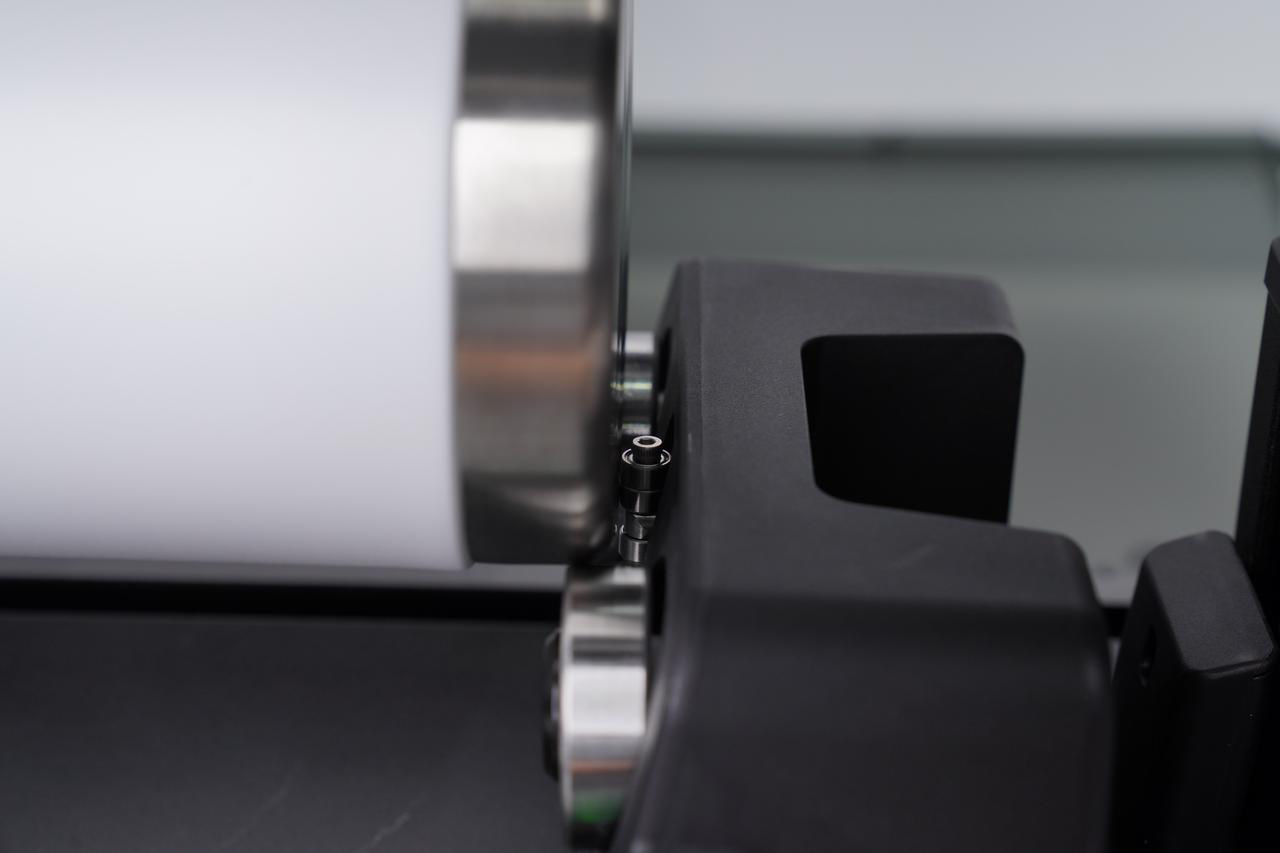
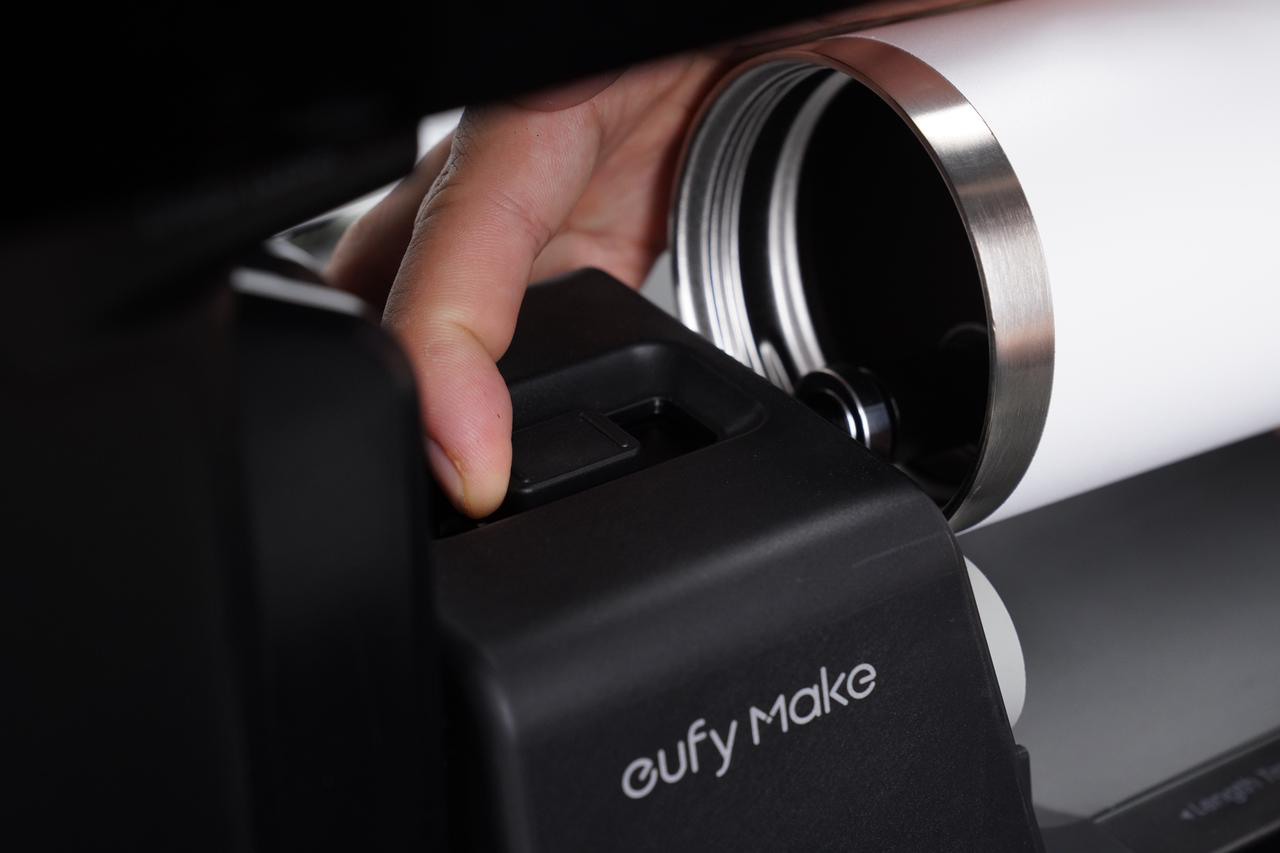
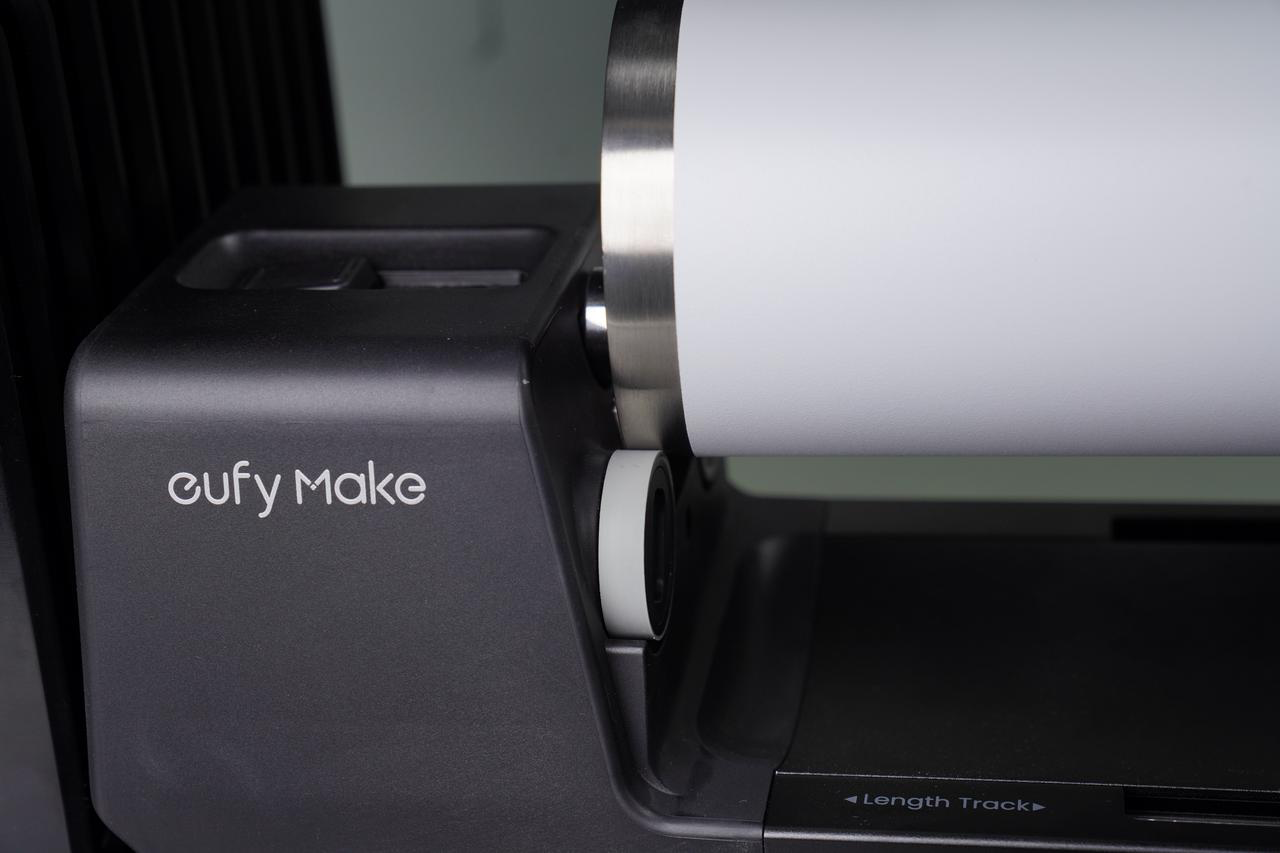
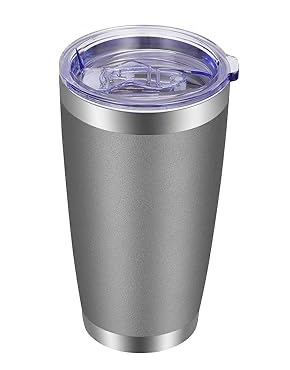
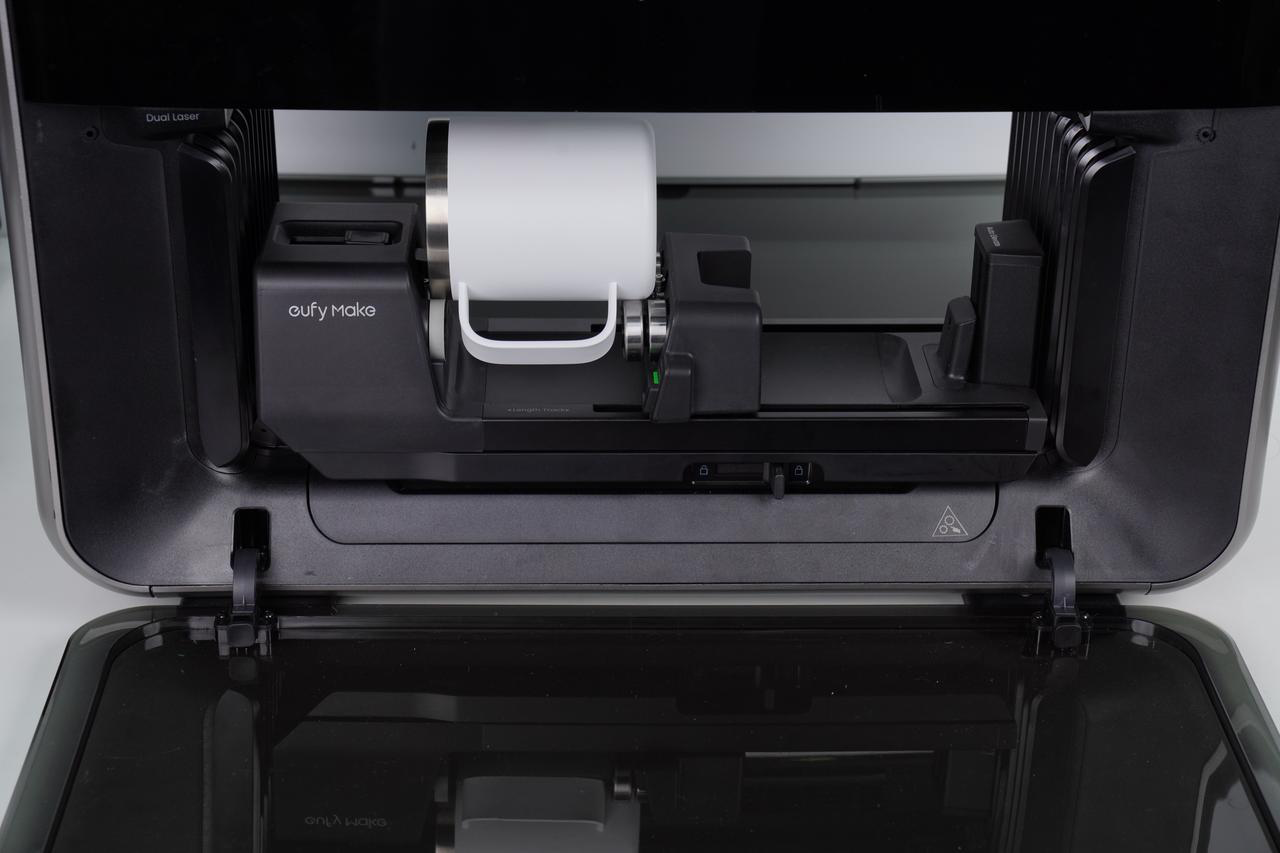
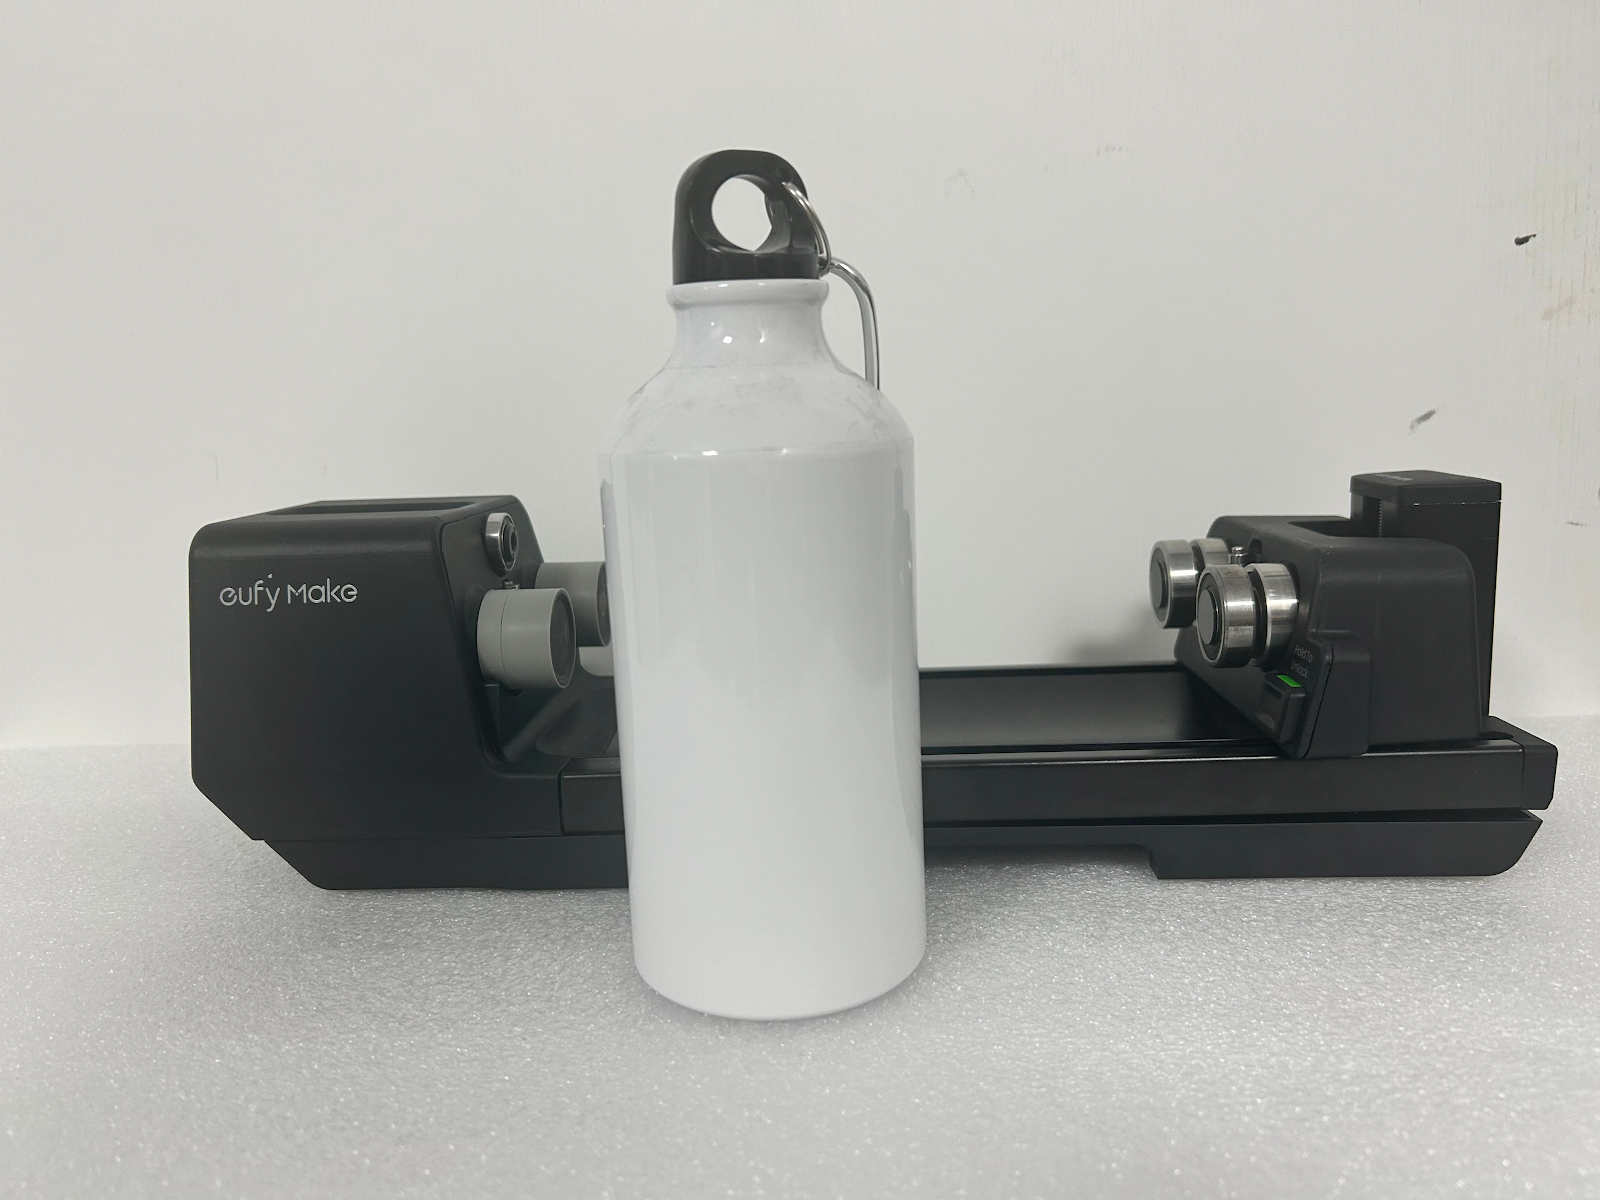
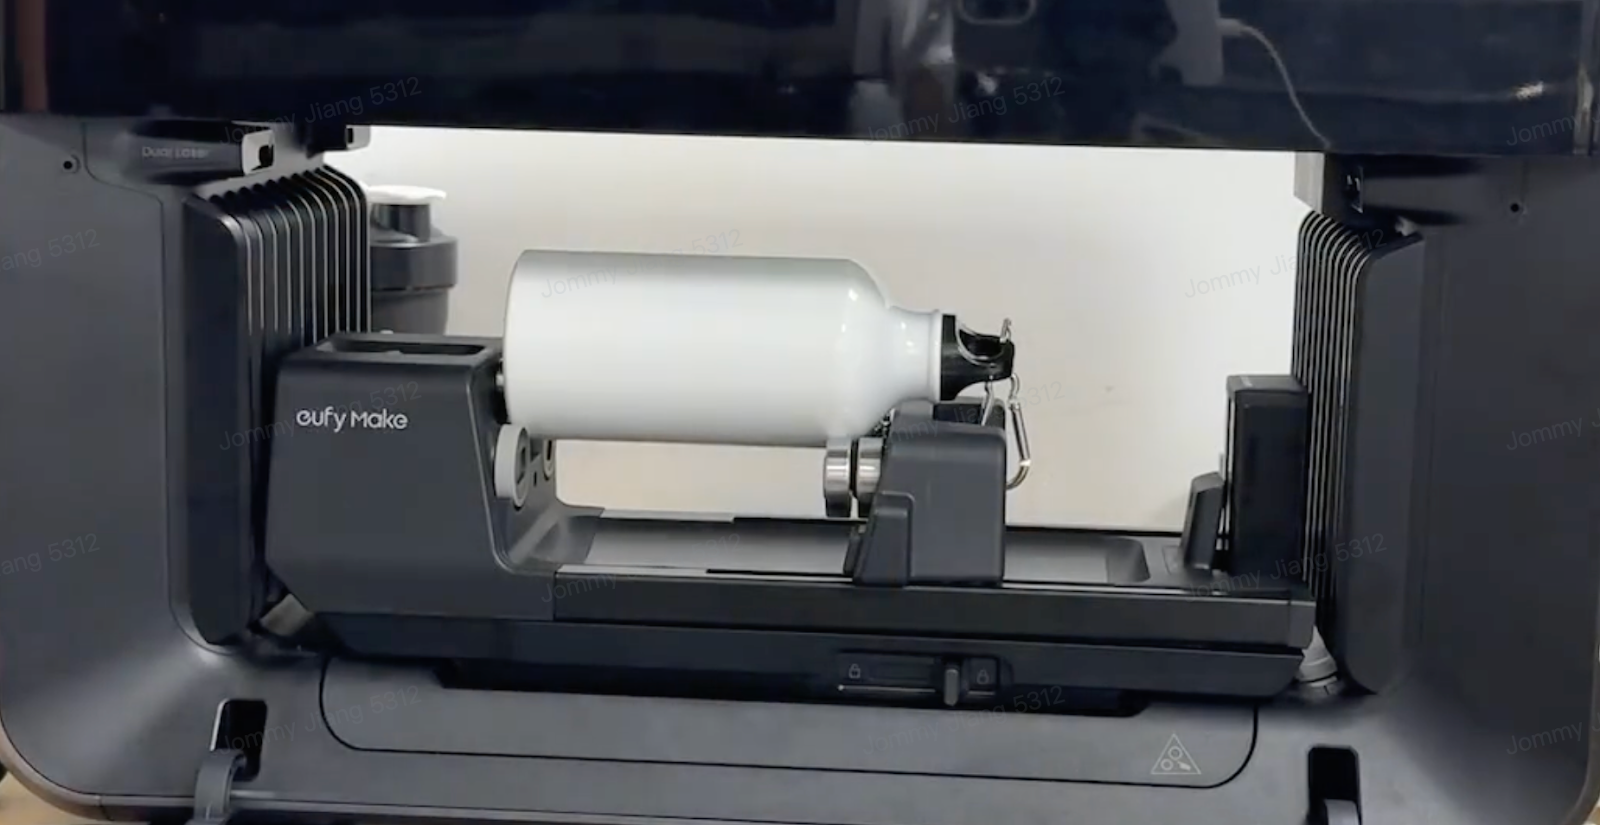
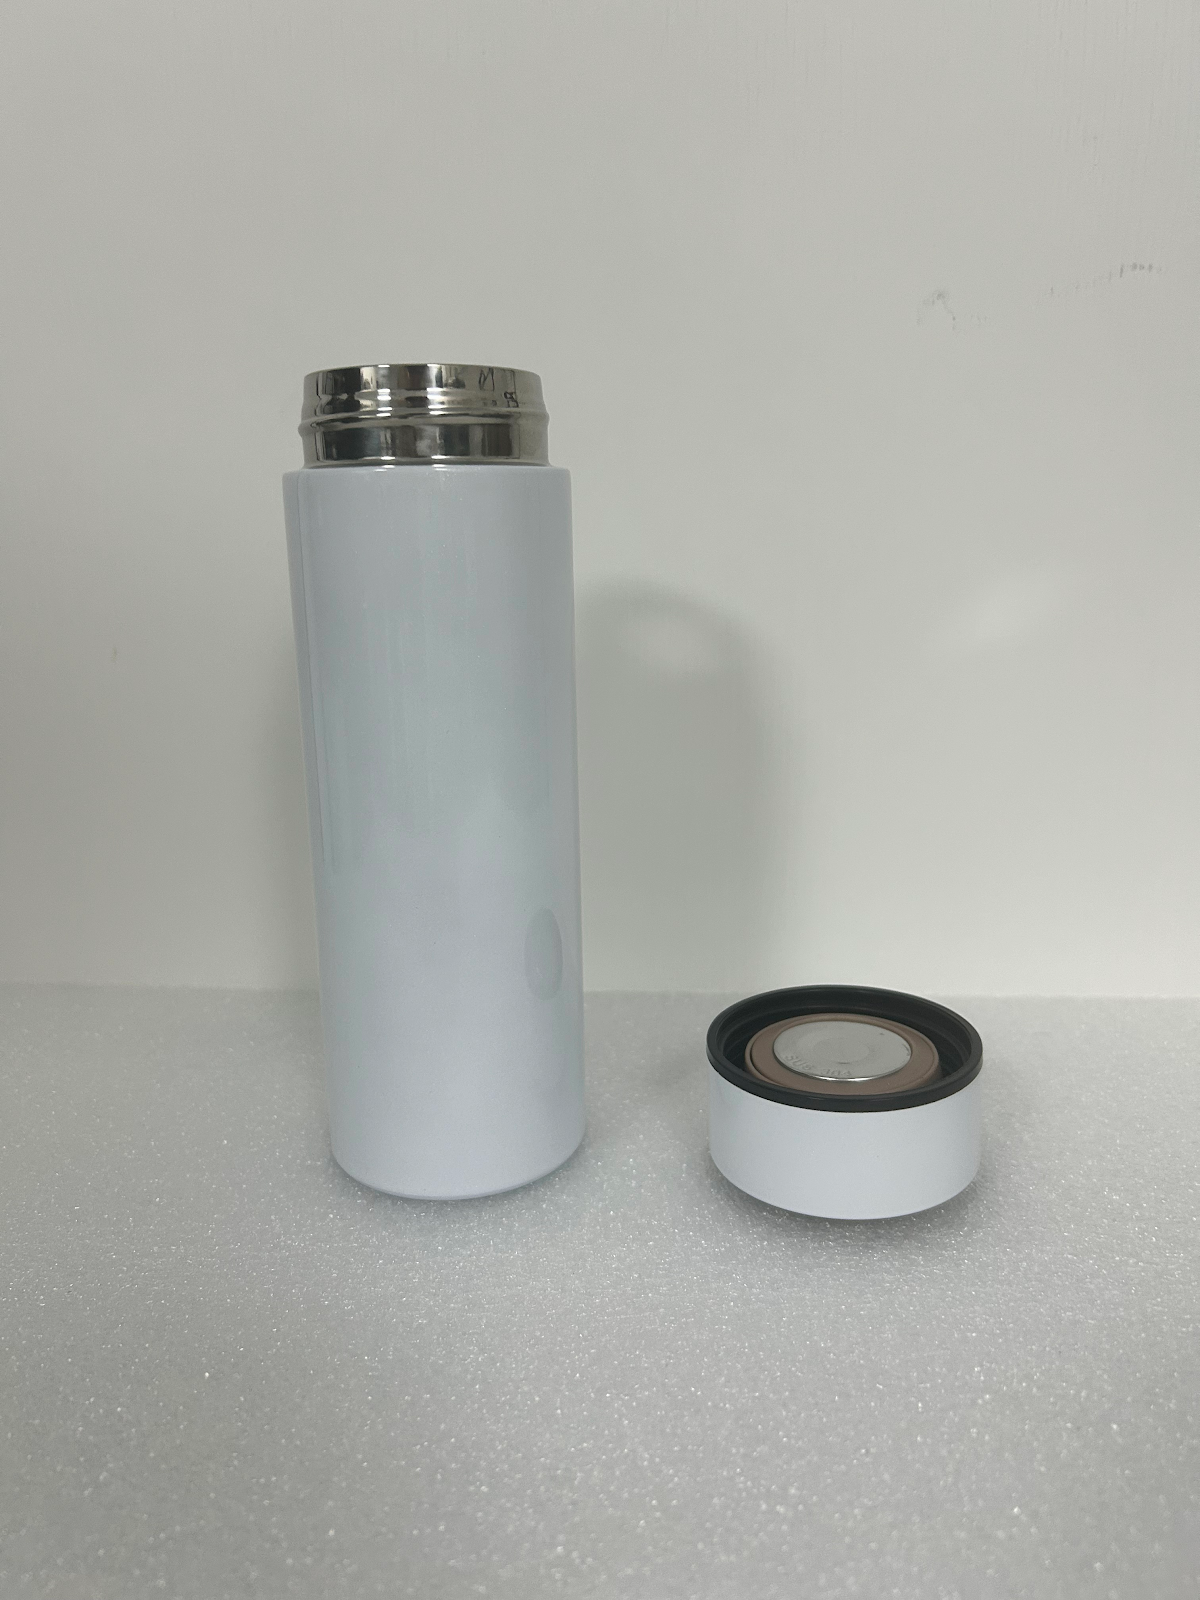
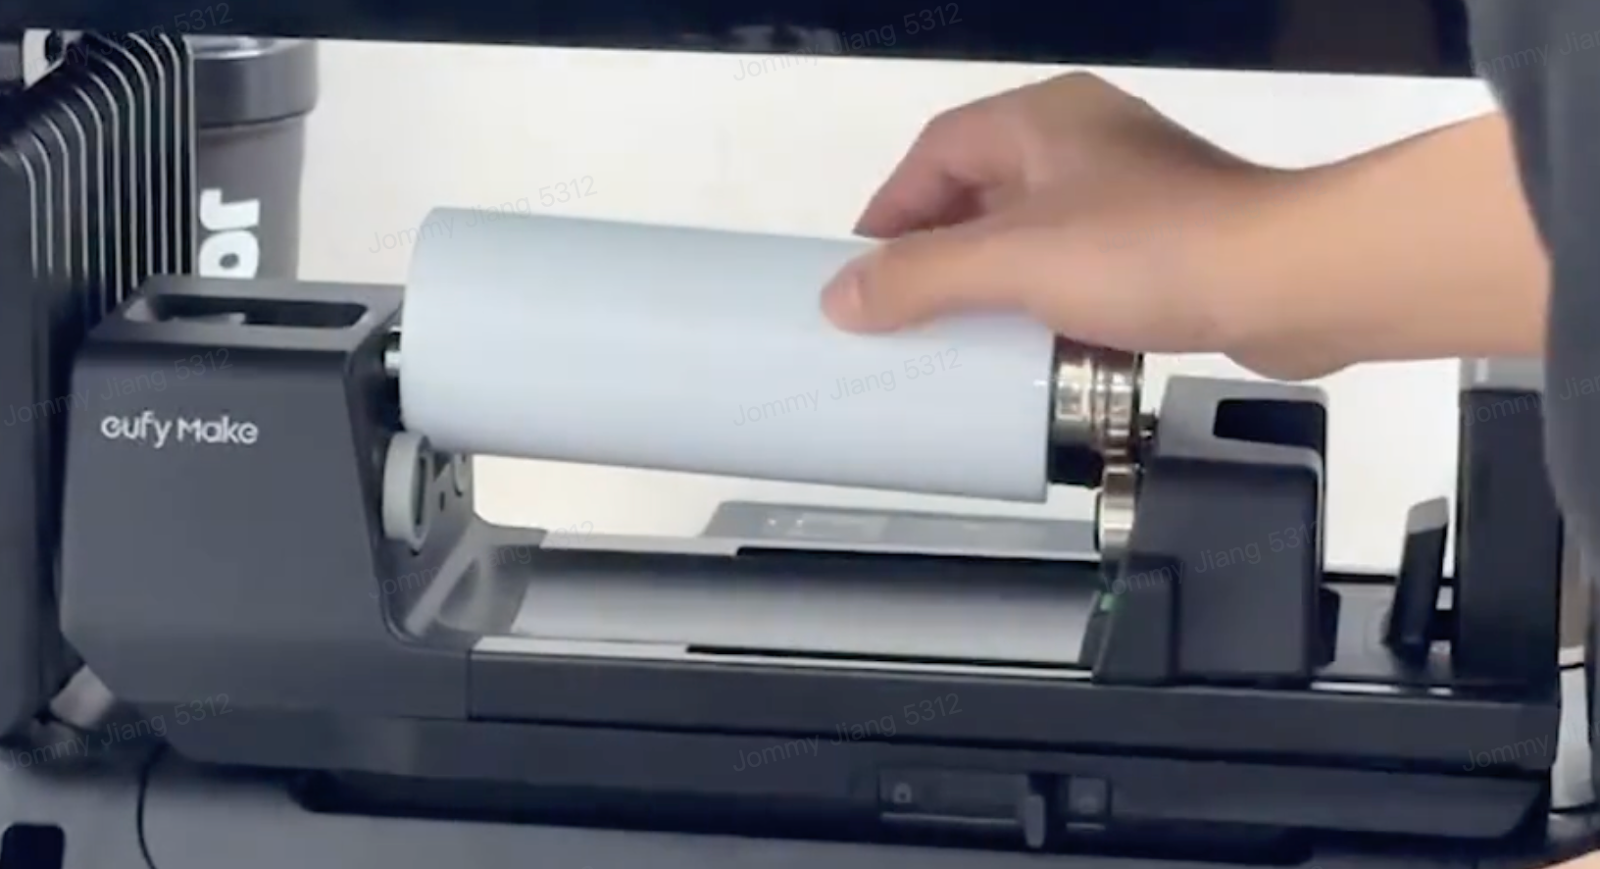
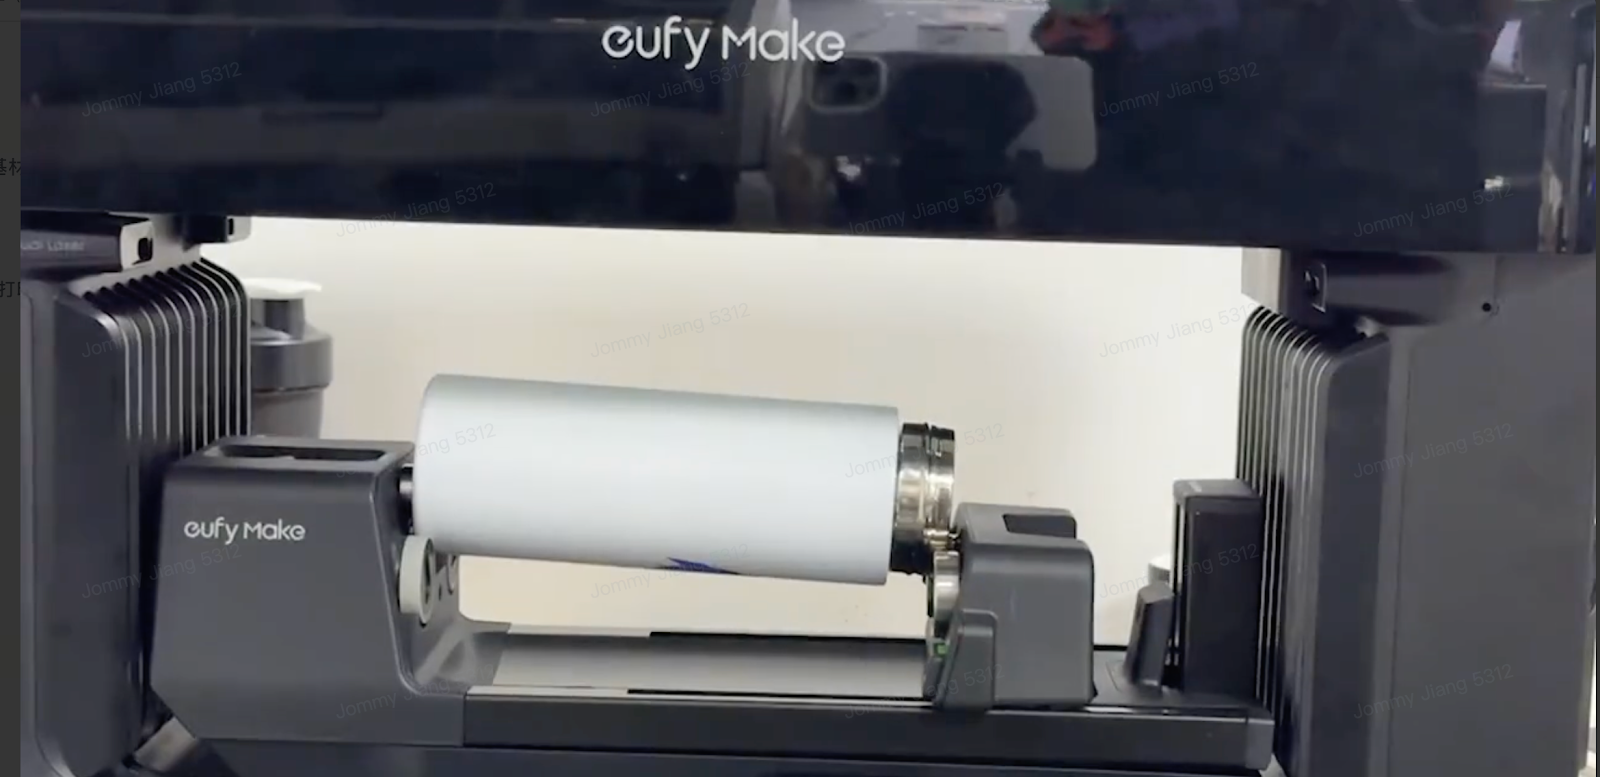
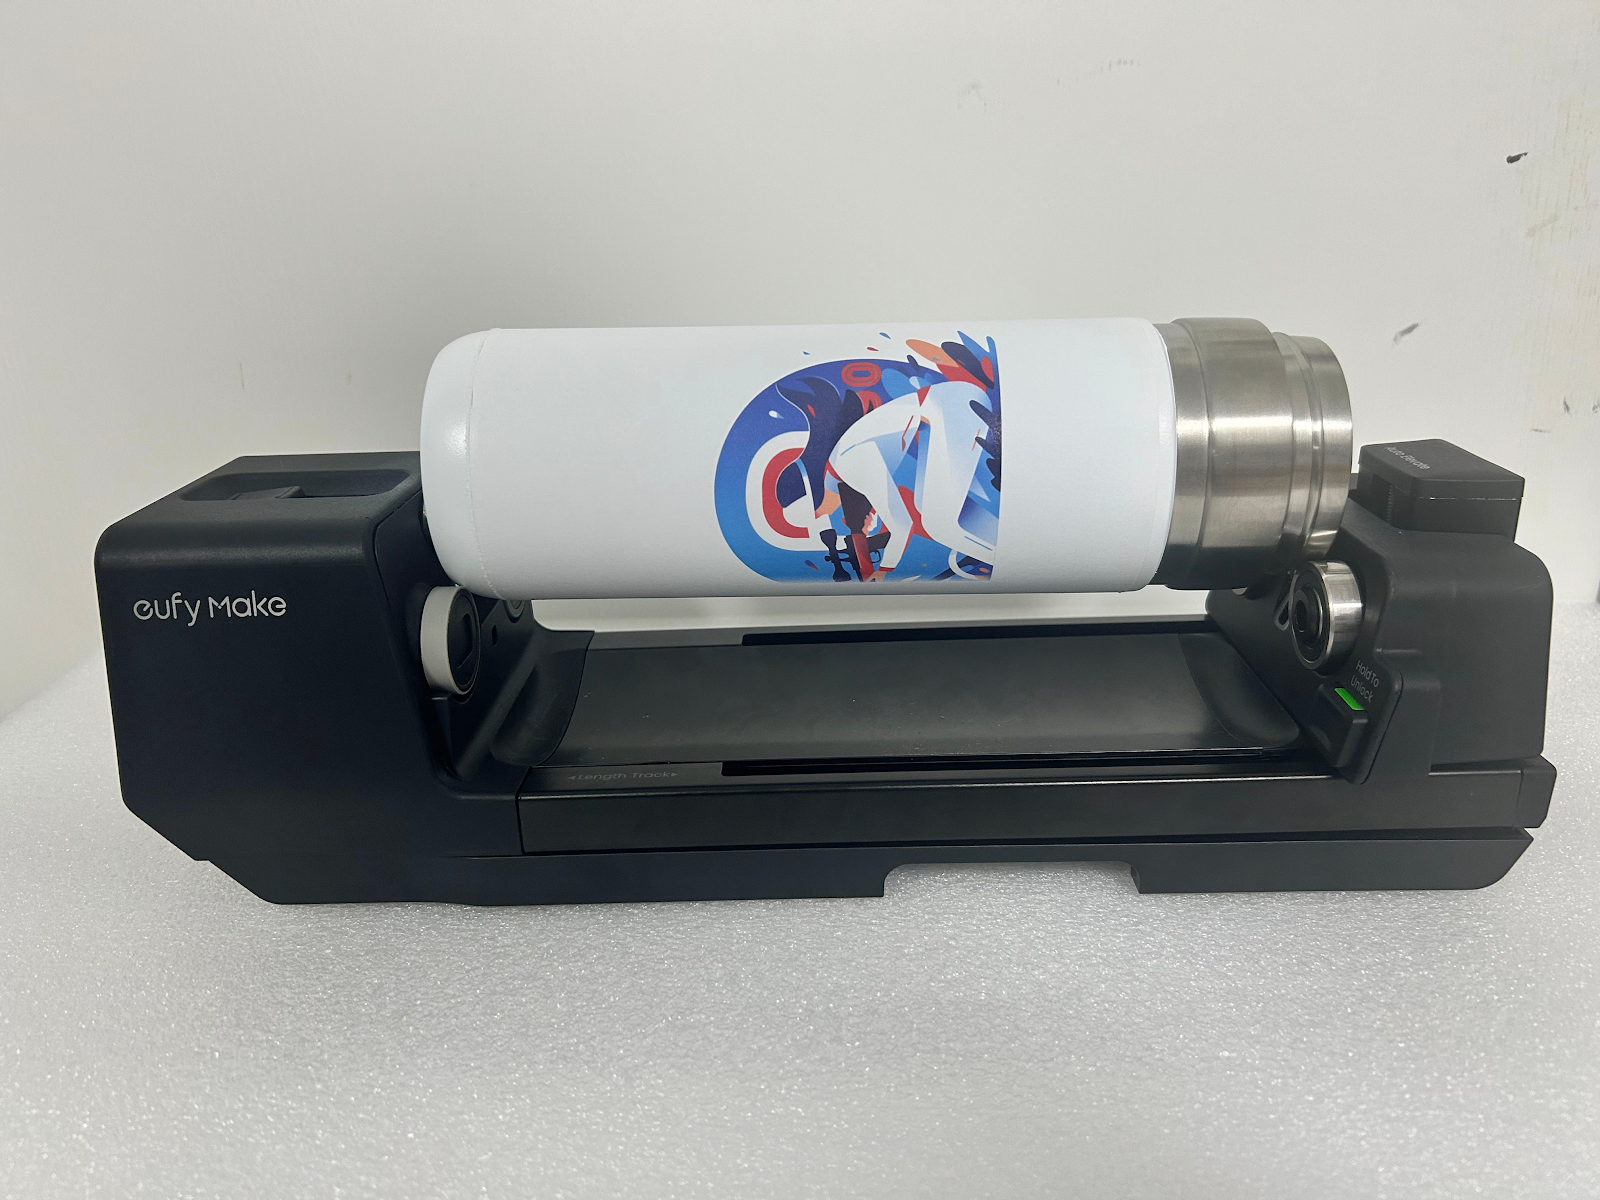
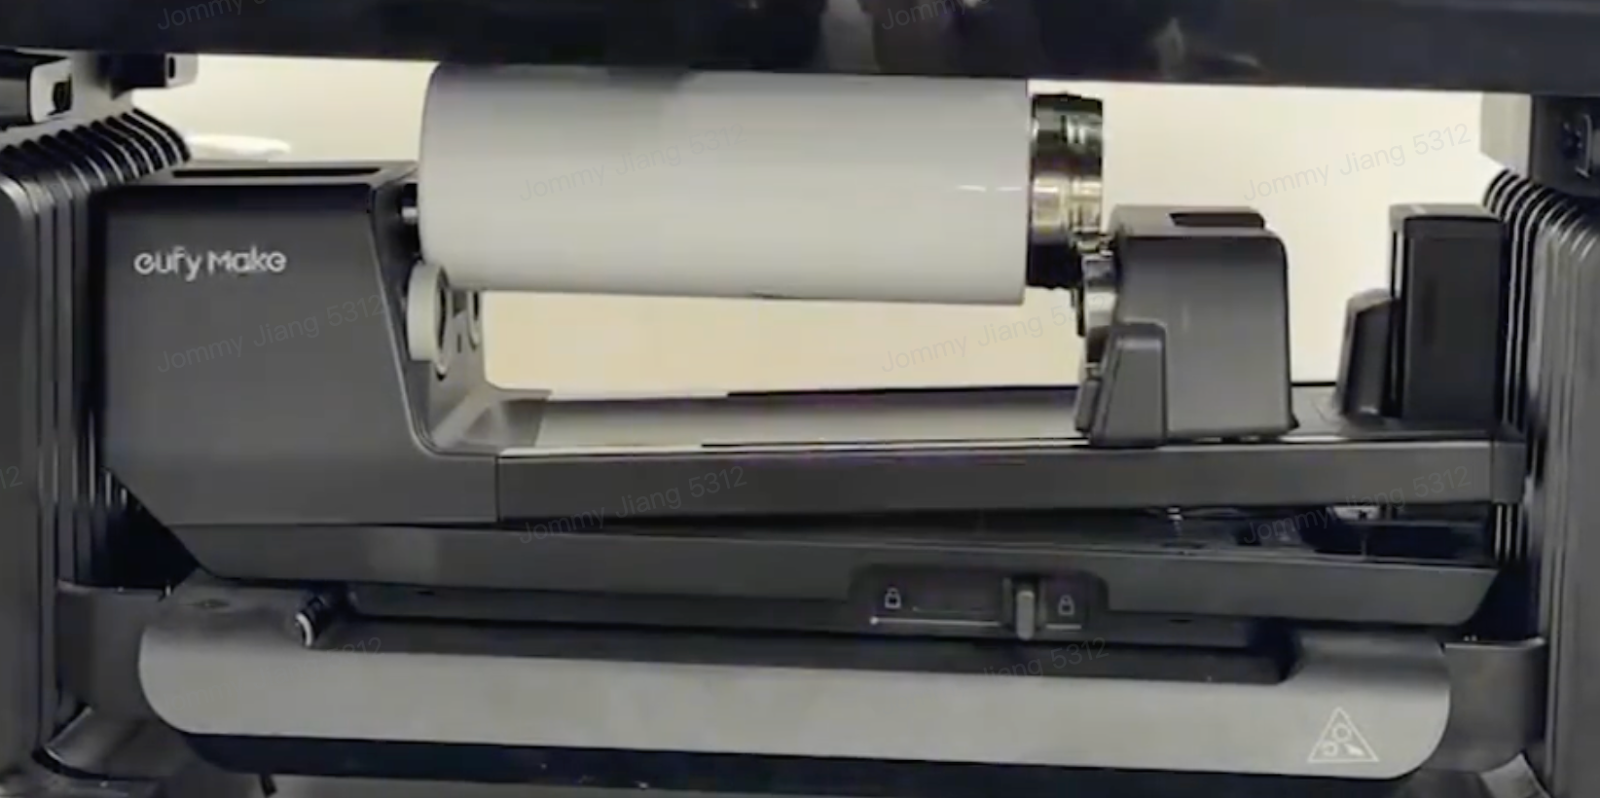
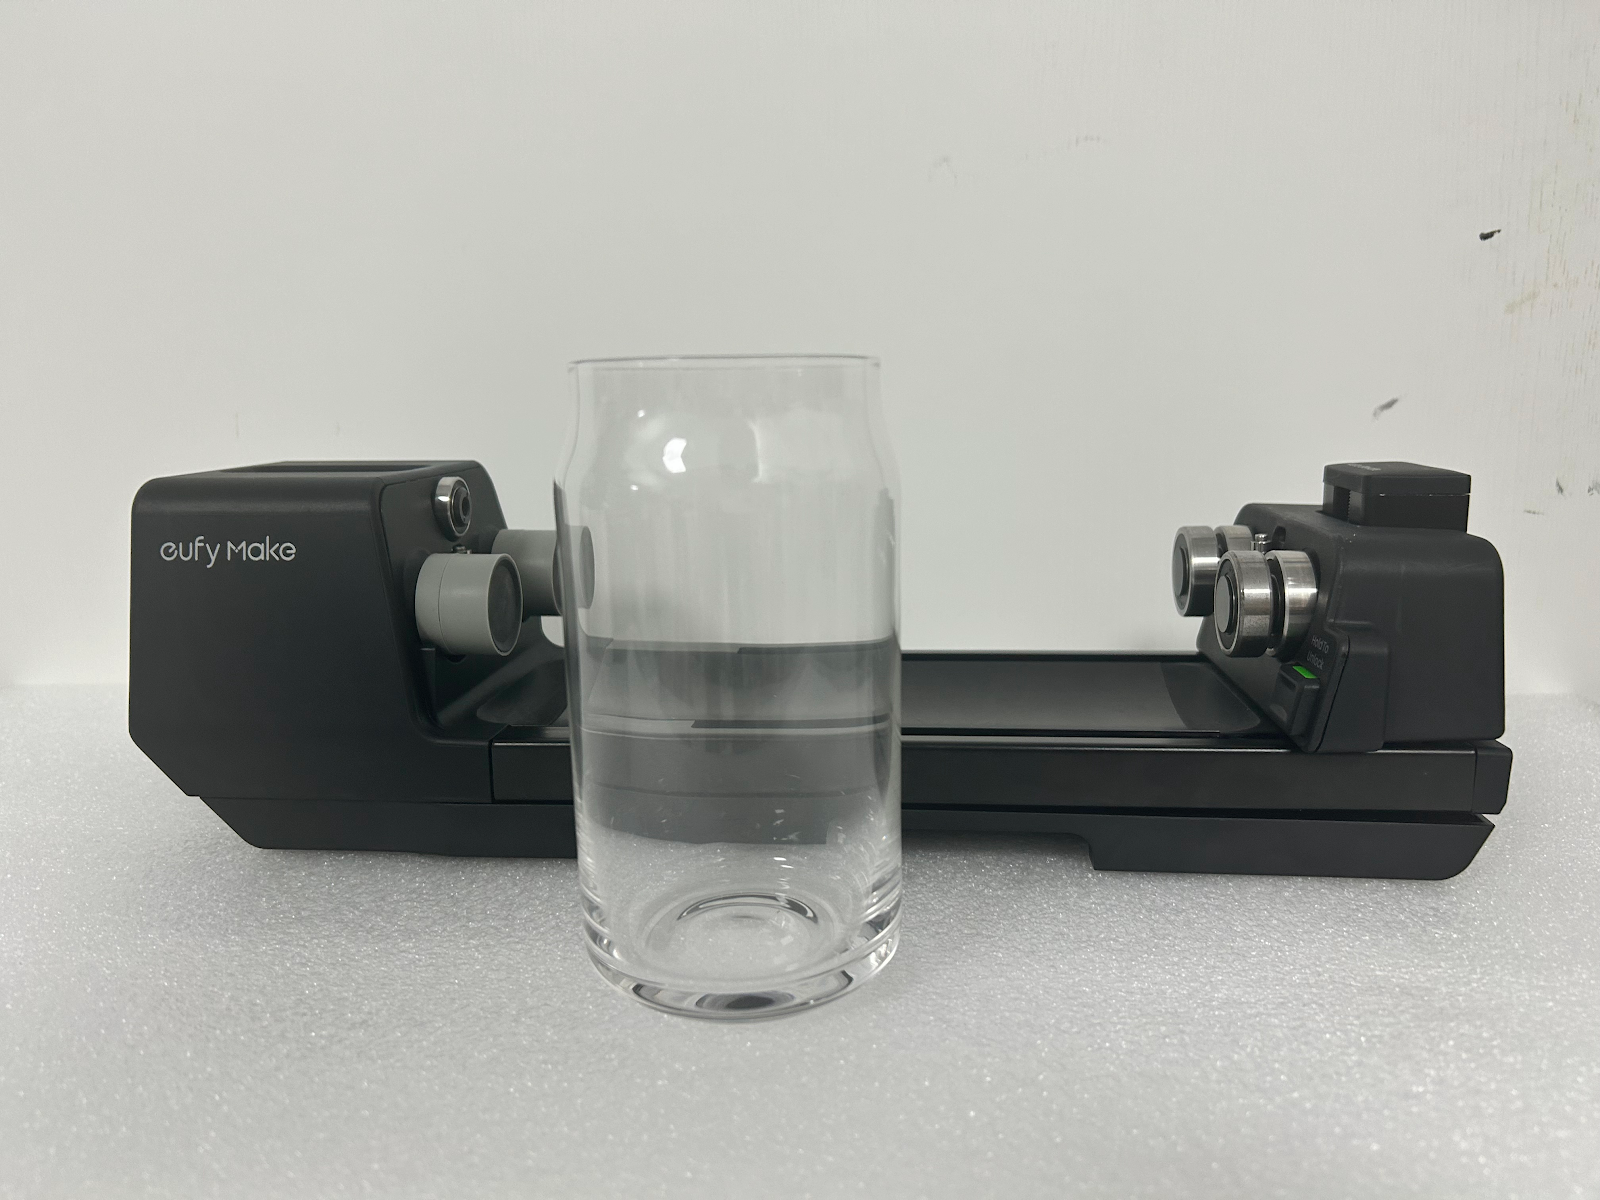
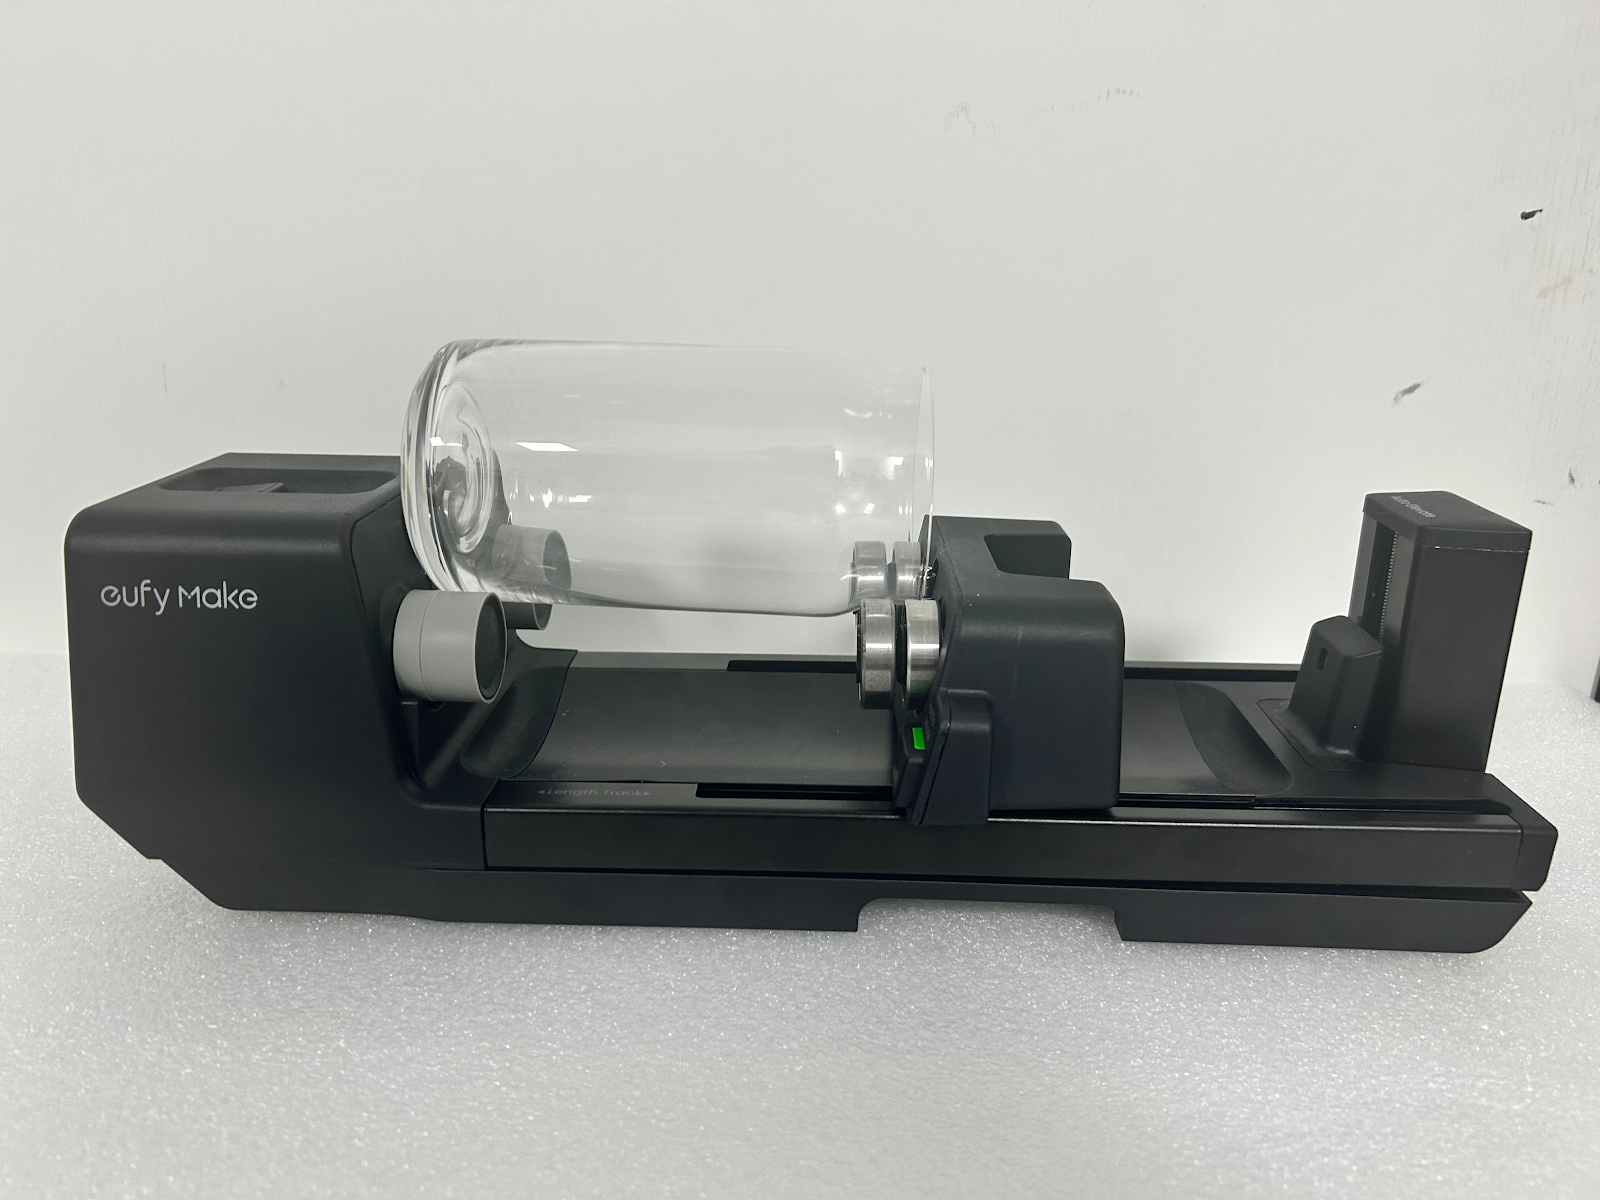
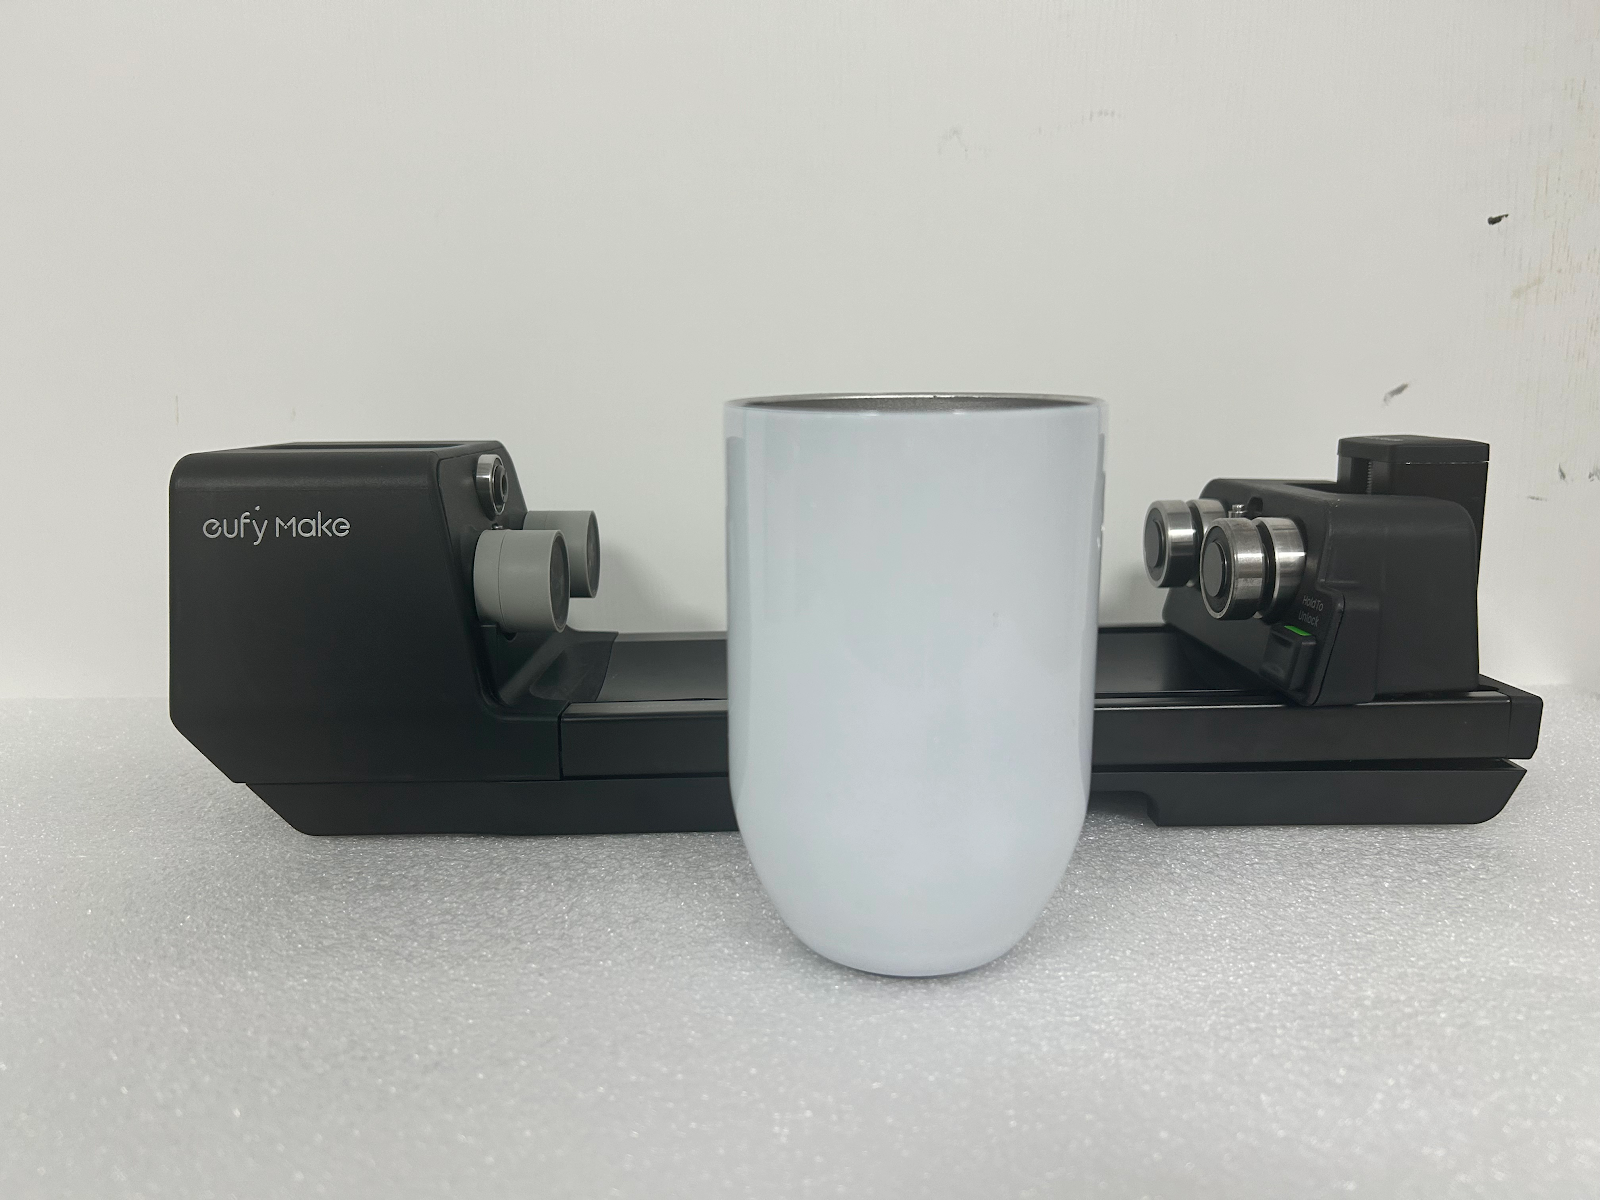
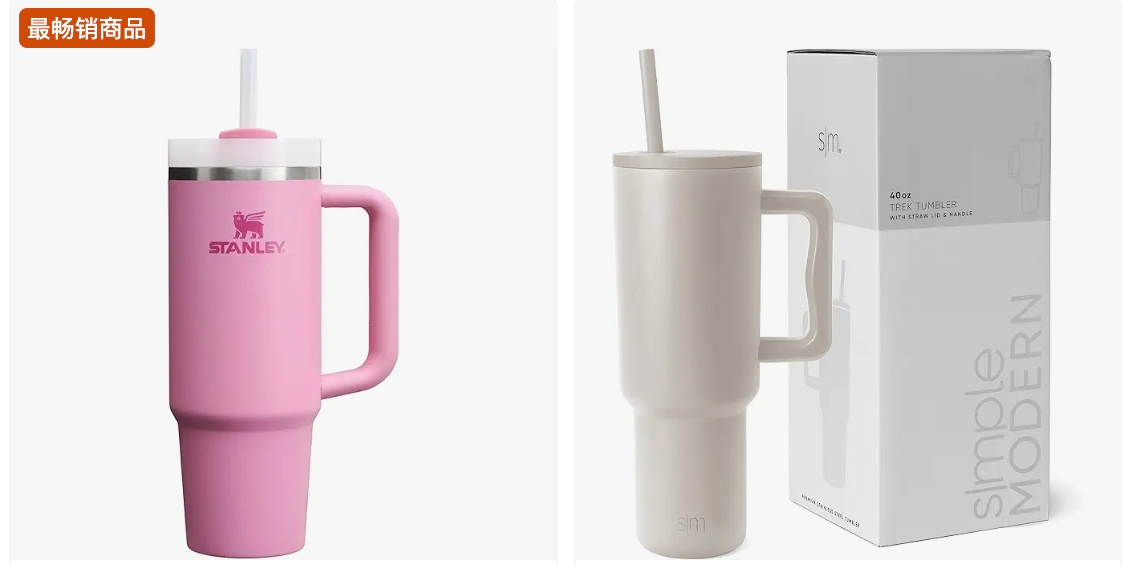
Rotary printing attachments are used in the printing of circular bodies of various shapes and sizes, you can achieve the printing of most cups with and without handles. Handleless cups can achieve full-format printing. The specific application substrate parameter ranges include but are not limited to the following categories:
-
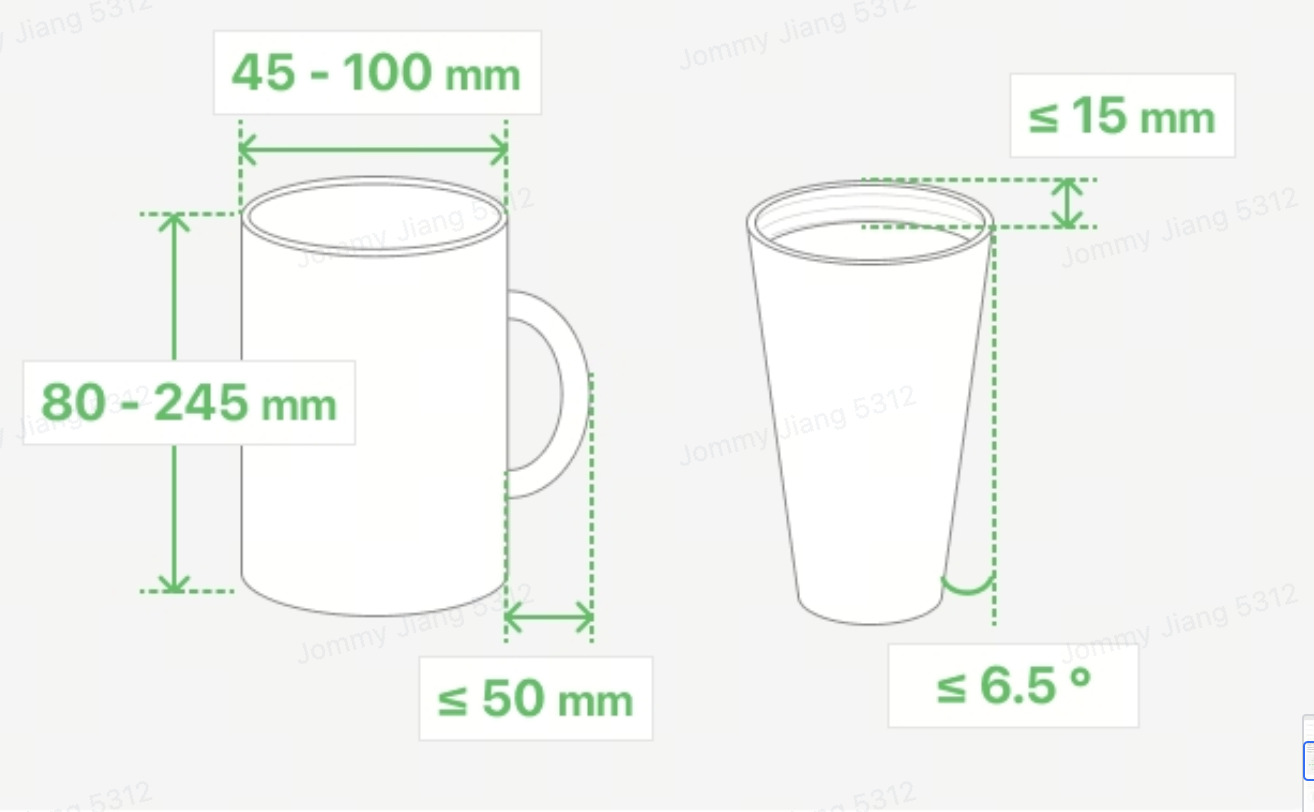
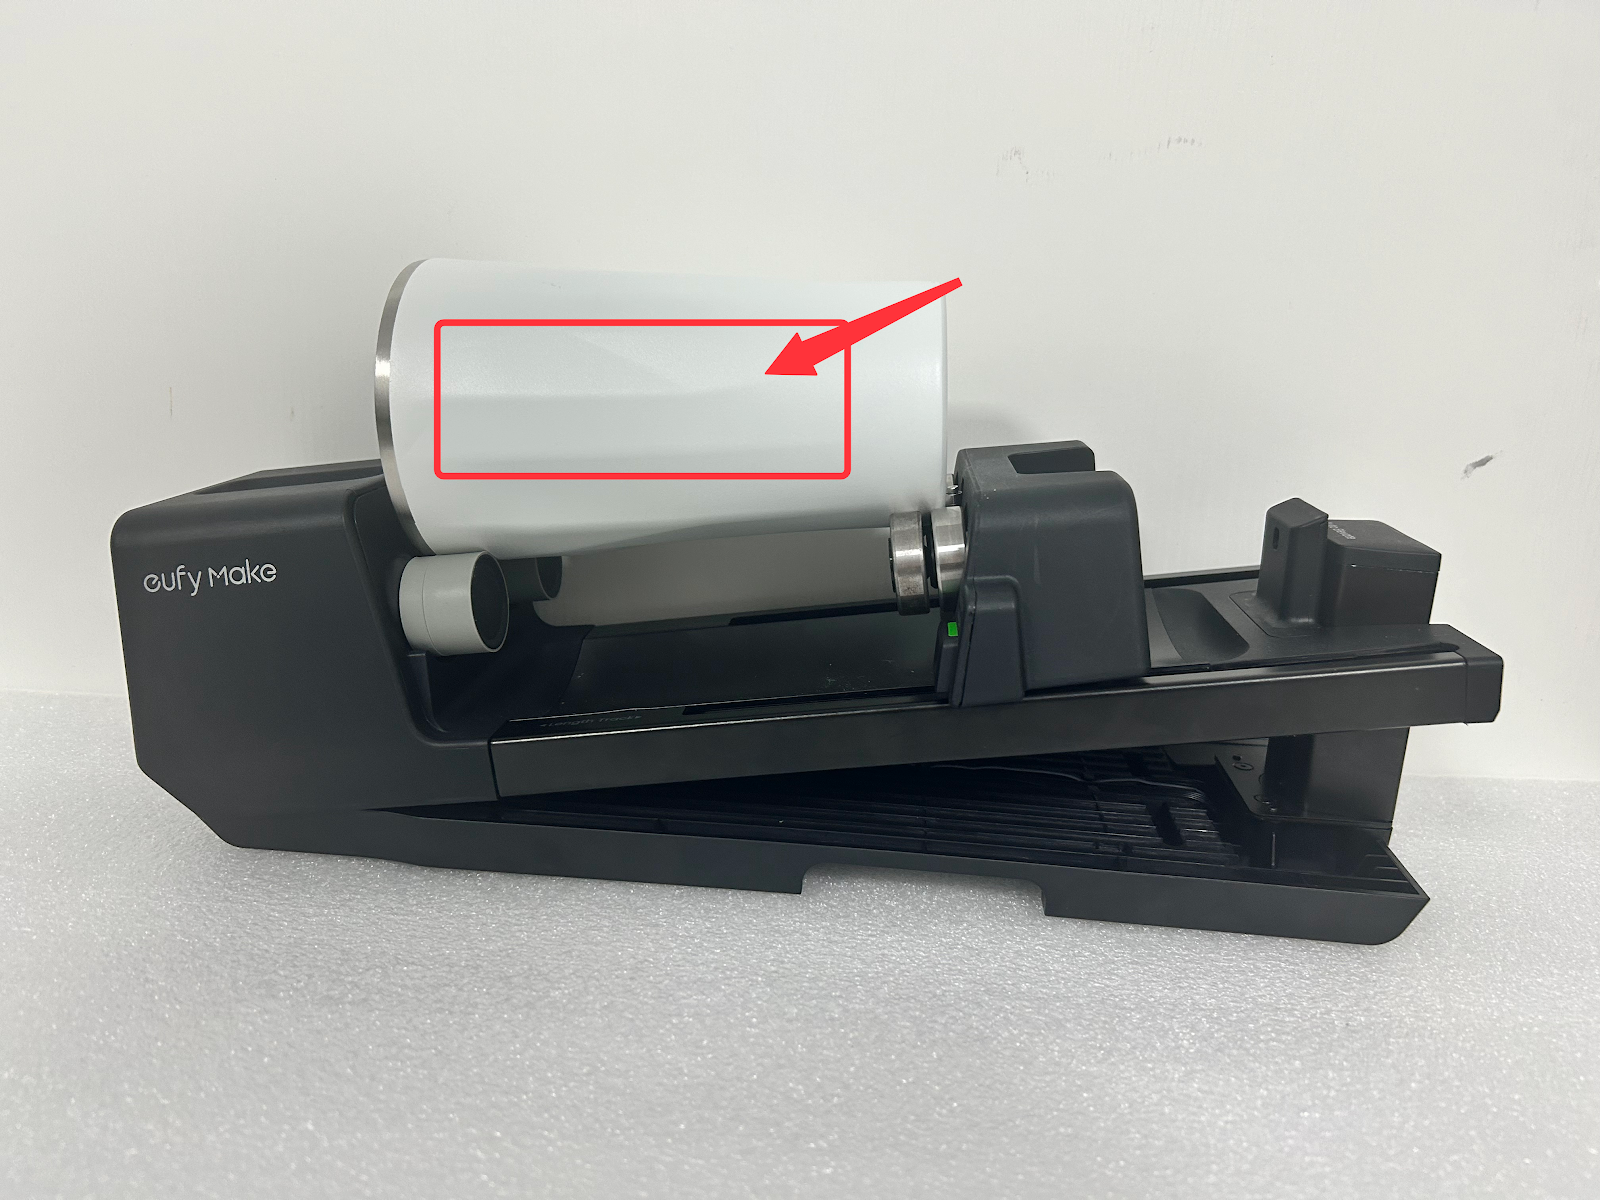
Height Range: The rotary printing attachment is capable of printing on rotary substrates with a printing height between 80mm and 245mm.
-
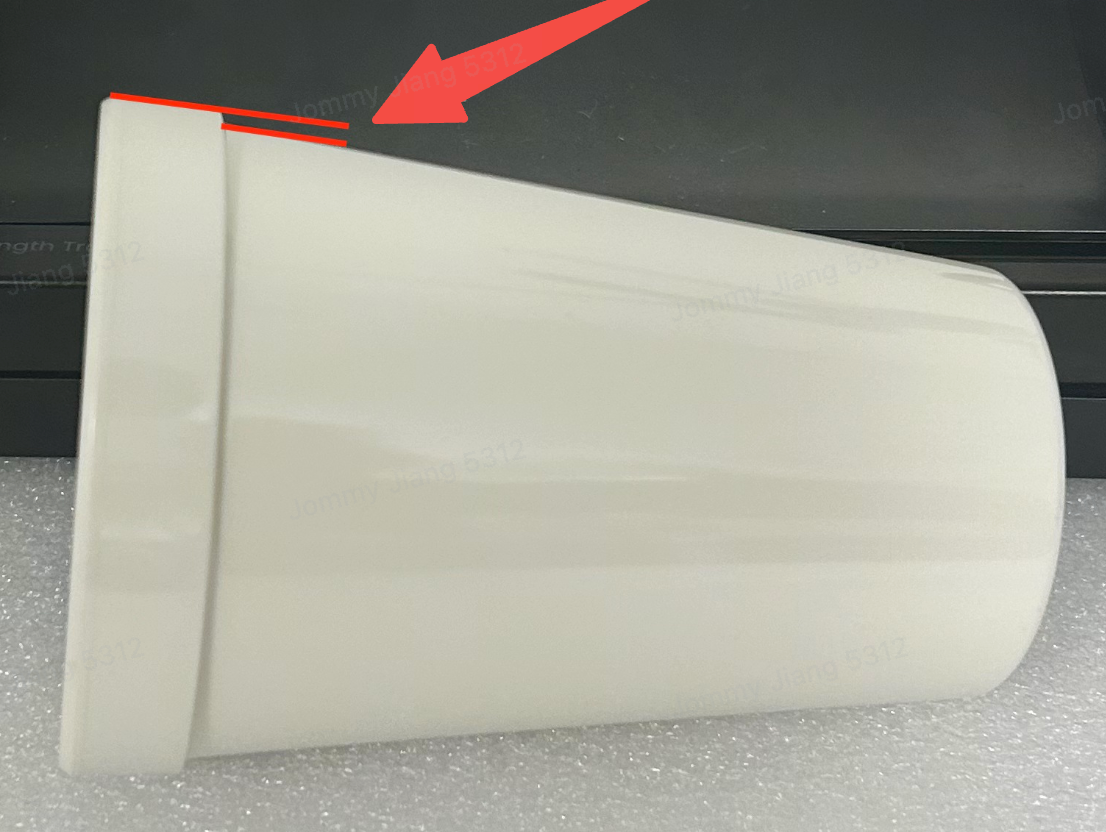
Taper Range: The rotary printing attachment is capable of printing on cone substrates with a taper range of ≤13 degrees.
-
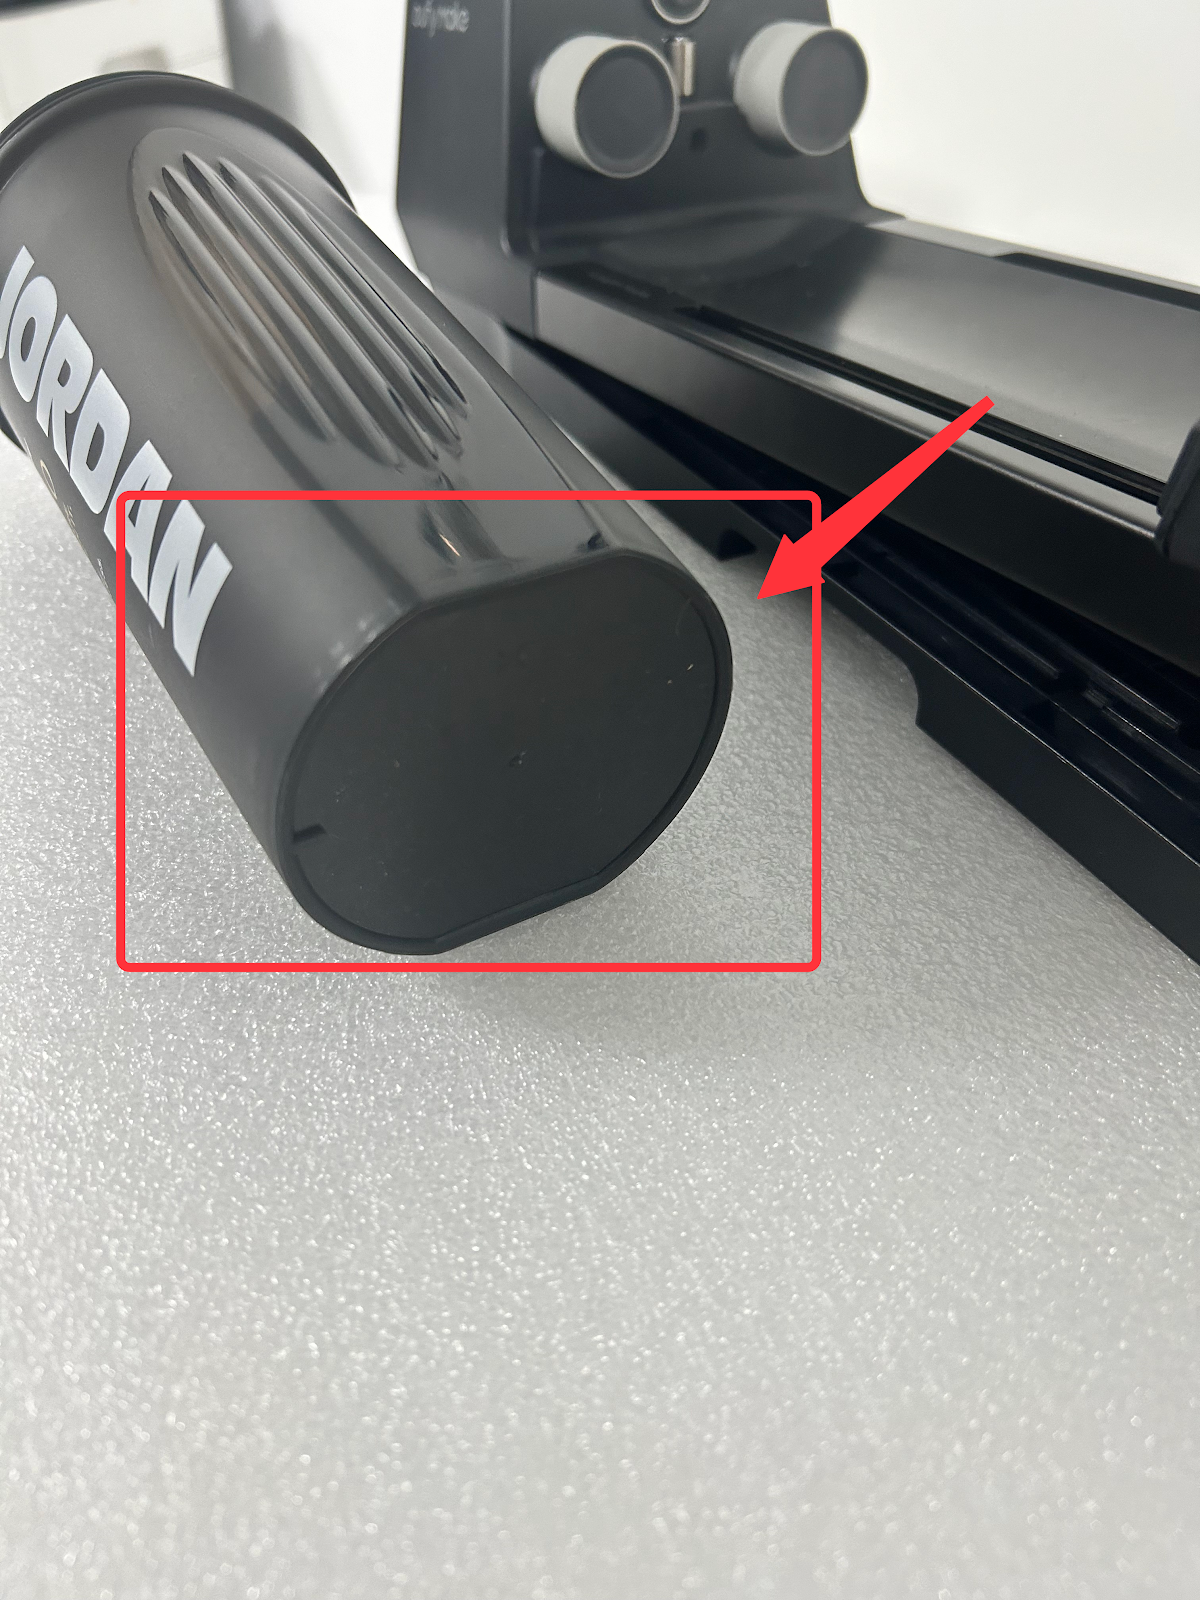
Diameter Range: The rotary printing attachment is capable of printing on rotary substrates with a diameter ranging from Φ45mm to Φ100mm.
-
Handle Height Range: The rotary printing attachment is capable of printing on rotary substrates with handles up to 50mm in height relative to the external surface of the body suitable for.
Print Material Introduction
|
Substrate Type
|
Material Listing
|
White Ink Type (Flexible/Hard)
|
Recommended Material Mode
|
Recommended (Common) Ink Mode
|
Preprocessing Type
|
|
Plastic
|
ABS,PC,PP,PE,PVC,PS,TPU,TPE,PET
|
Flexible/Hard
|
Plastic
|
W+CMYK
|
/
|
|
Metal
|
304 stainless steel, 306 stainless steel, titanium, aluminum, steel, iron
|
Flexible/Hard
|
Metal
|
W+CMYK
|
Requires metal pretreatment solution
|
|
Metal strip coating
|
Spray Painting/Powder Coating
|
Flexible/Hard
|
/
|
W+CMYK
|
/
|
|
Glass
|
Tempered glass, ultra-clear glass, frosted glass, colored glass;
|
Flexible/Hard
|
Glass
|
W+CMYK
|
Requires glass pretreatment solution
|
|
Ceramics
|
Unfired ceramic, glazed ceramic
|
Flexible/Hard
|
Ceramics
|
W+CMYK
|
Glaze: Requires ceramic pretreatment liquid
|
|
Wooden surface
|
Bamboo, woody
|
Flexible/Hard
|
Wooden
|
W+CMYK
|
/
|
|
Leather Surface
|
Artificial leather, genuine leather
|
Flexible
|
Leather
|
W+CMYK
|
/
|
Material (Table)
|
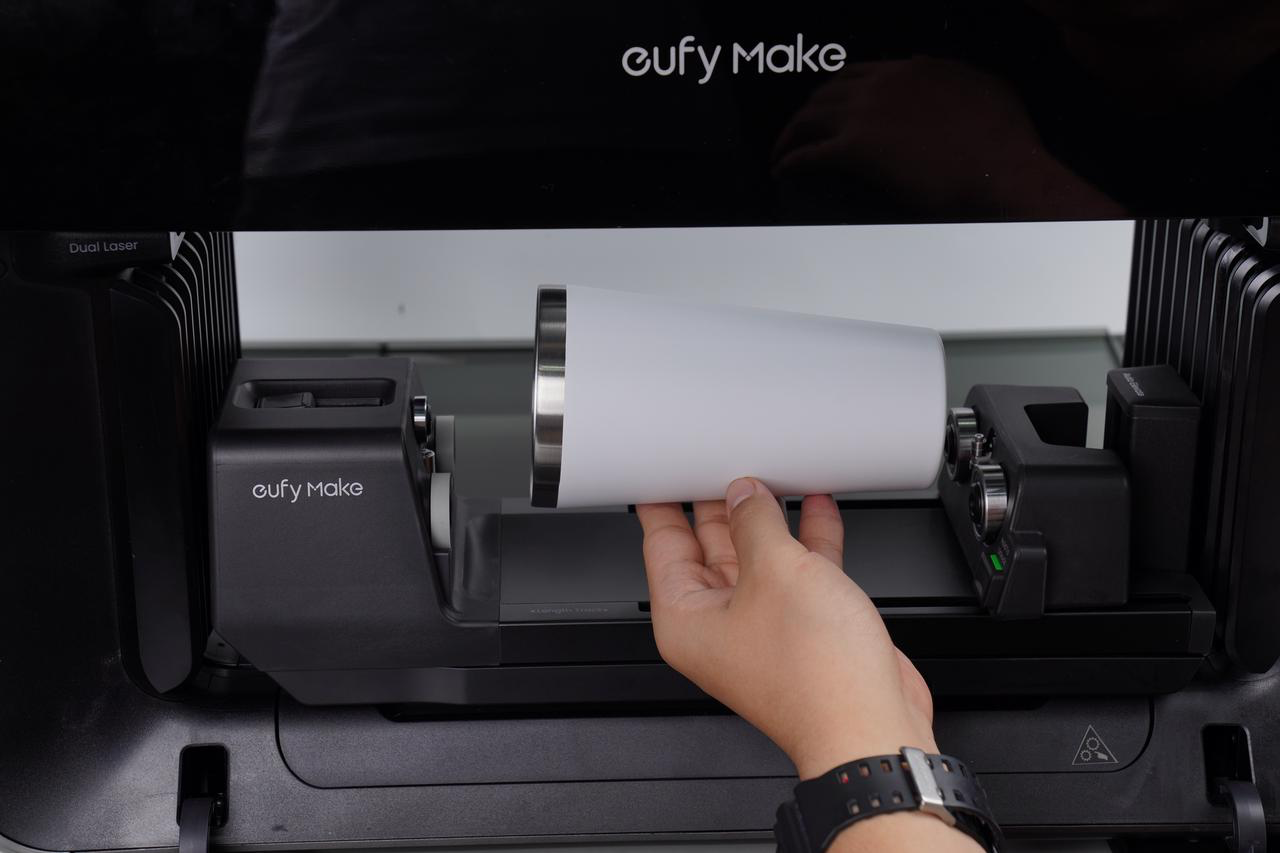
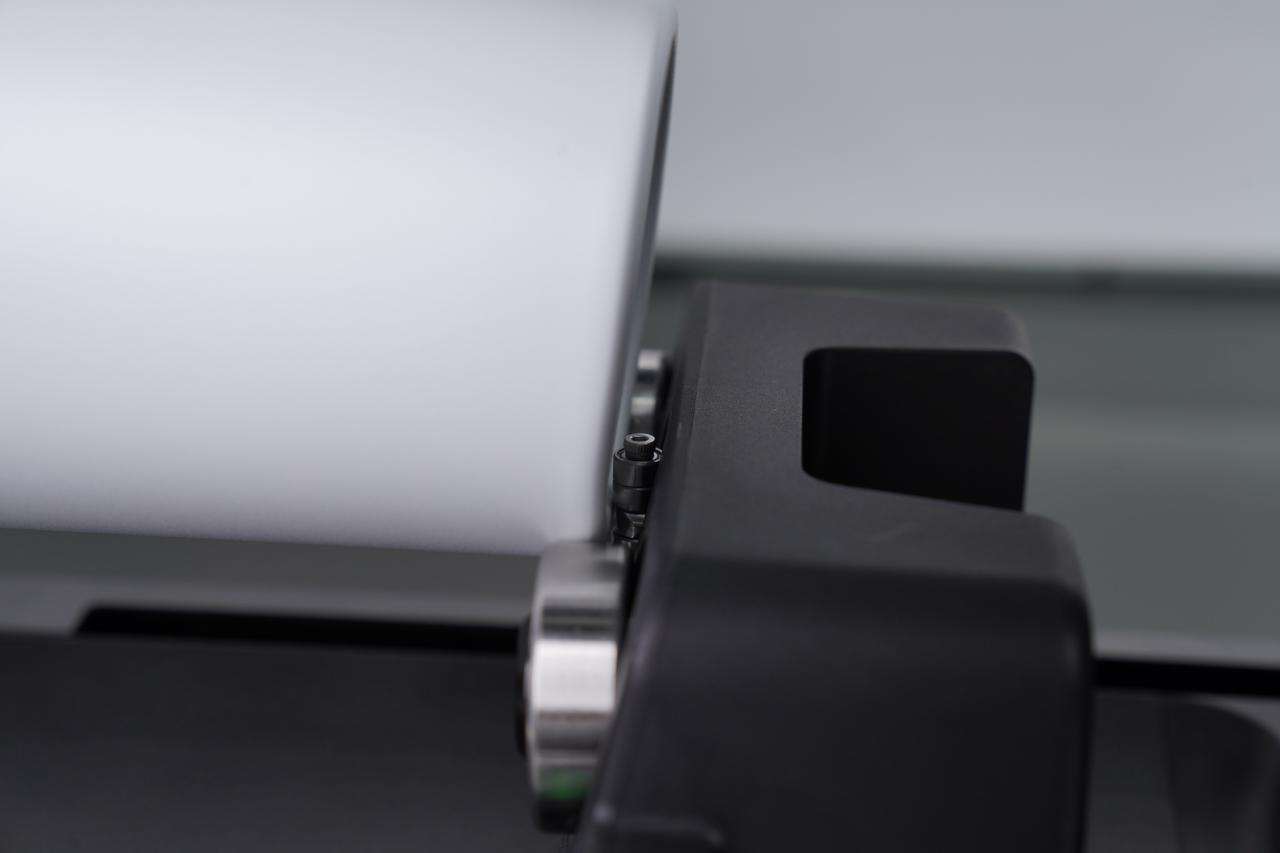
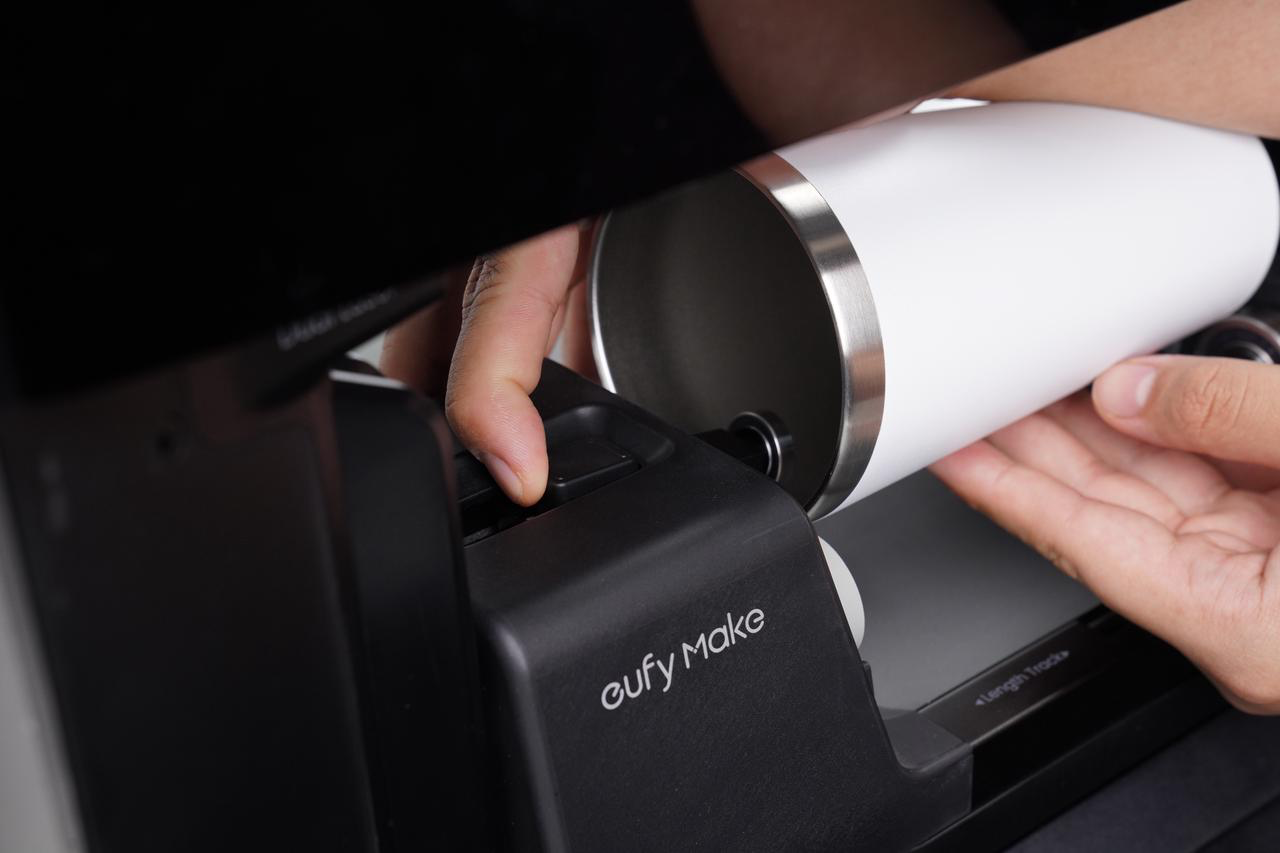
Cup Type
|
Cup Shape Image
|
Cup Mouth Orientation
|
Is it recommended to install
extended pressure rod/
driven wheel/
driving wheel
|
Is it possible to print 2.5D?
|
Installation Image Example
|
Additional Explanation
|
|
Standard Straight Cup
(Internal Thread Width <15mm)
|
|
The cup mouth faces the driving wheel
|
/
|
Yes
|

| |
|
Standard Straight Cup
(Internal thread width > 15mm)
|
|
The cup mouth faces the driving wheel
|
/
|
Yes
|
| |
|
Standard Slanted Cup
|

|
The cup mouth faces the driving wheel
|
/
|
Yes
|
|
|
|
Standard Mug
|
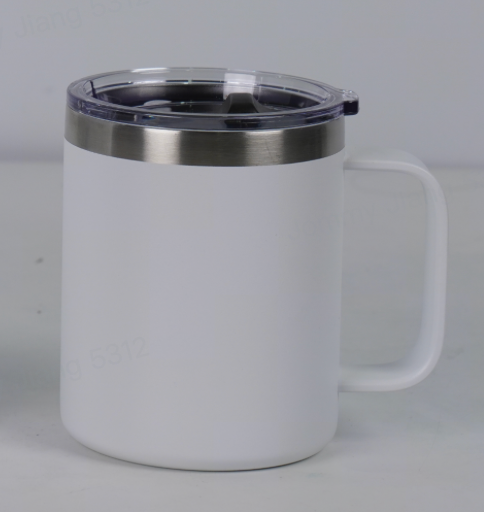
|
The cup mouth faces the driving wheel
|
Install the driven wheel accessories
|
Yes
|
| |
|
Narrow-mouth cup
|
|
The cup mouth faces the driven wheel
|
Install the driving wheel and driven wheel accessories
|
No
|
|
If the cup is relatively light, it is necessary to increase its weight: add a counterweight inside the cup or fill the cup with water.
|
|
External Thread Vacuum Insulated Cup
|
|
The cup mouth faces the driven wheel
|
Install the driving wheel and driven wheel accessories
|
No
|
|
-
If the cup has external threads and the width of the external threads > 17.5 mm, if the cup with the lid on forms a complete cylinder, the lid can be installed on the cup for storage;
-
If the bottom of the cup is higher than the top after placement, swap the top and bottom of the cup for placement;
-
After rotating the body, the design in the canvas needs to be flipped 180 degrees.
-
The distance between the edge of the image in the ware and the top and bottom of the cup remains unchanged;
-
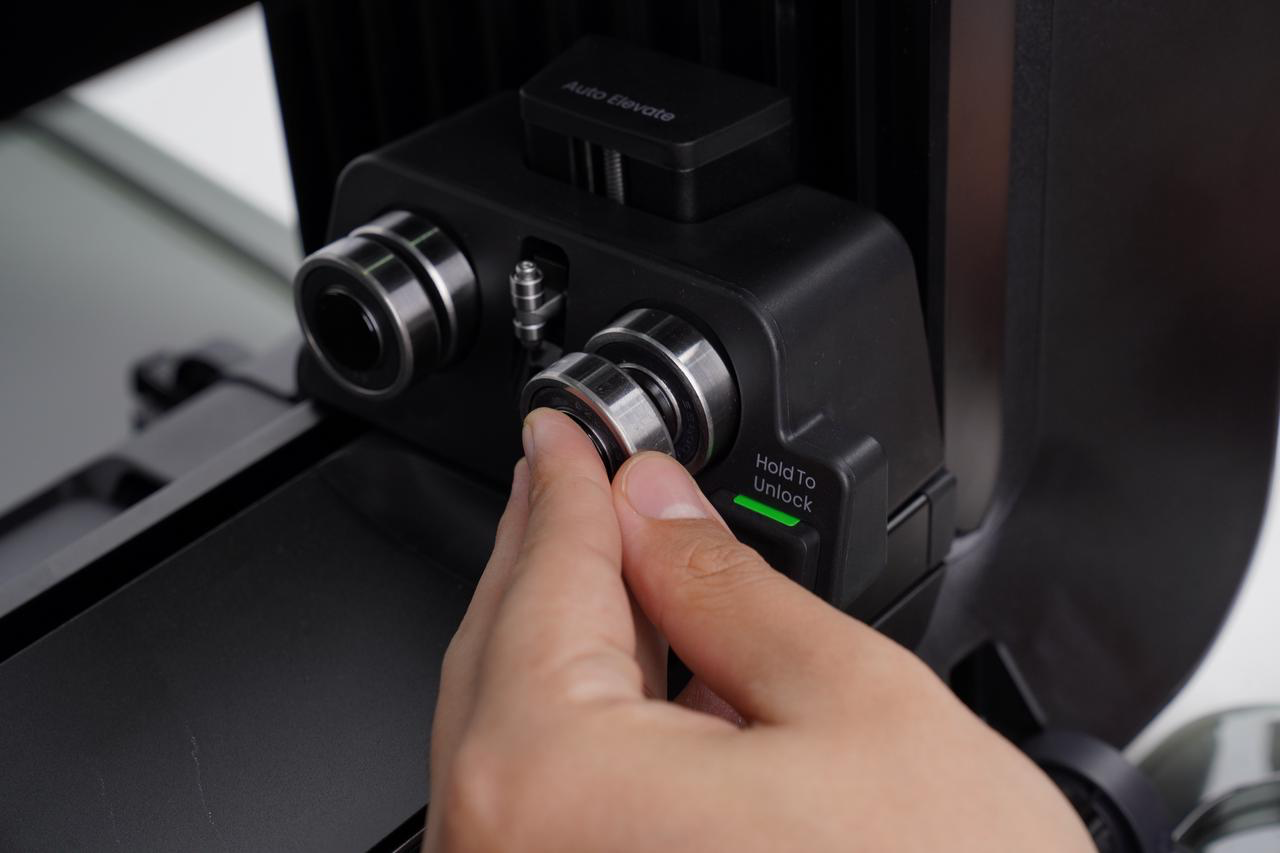
If the contact area between the top and the follower wheel is too small, so the Follower Wheel Bushing needs to be used;
|
|
Special Cup 1
|
|
The cup mouth faces the driven wheel
|
Install the driving wheel and driven wheel accessories
|
No
|
|
-
After rotating the body, the design in the canvas needs to be flipped 180 degrees.
-
If the cup is relatively light, it needs to be weighted.
|
|
Special Cup 2
|
|
The cup mouth faces the driving wheel
|
Install the driven wheel accessories
|
No
|
| |
Tutorial on Printing When Unable to Adapt to Cup Type
|
Reason
|
Legend
|
Solution
|
|
Standard Cylinder Printing: The rotary printing attachment is not suitable for printing standard cylinder objects with a height < 80 mm and a height > 245 mm .
|
|
Printable stickers or crystal stickers can be pasted on the cup body after printing.
Reference Videos:
|
|
Standard cone printing: The rotary printing attachment is not suitable for printing standard cone objects with a taper range of > 13 degrees.
|
Information statistics show the probability of cone cups > 13 degrees on the market is 27%. Meaning most ups are supported.
|
|
Printing of circular objects: The rotary printing attachment is not suitable for printing circular objects with a diameter range from< Φ45 mm to> Φ100mm.
|
|
|
Cup handle rotary printing attachment: The rotary printing attachment is not suitable for cups with a cup handle width > 50 mm .
|

Unable to fit the cup handle with no gap or a gap <7mm between the top or bottom of the cup;
Unable to fit cups with a handle width > 50 mm;
|
|
Cups with non-standard circular bottoms or tops, and cups with poor contact with the driving or driven wheels:
|
|
|
The difference between the highest and lowest points of the cup body exceeds 2mm:
|
|


