Issue Discription
1. Pattern Offset: The printed pattern deviates from the substrate or the starting point of printing.
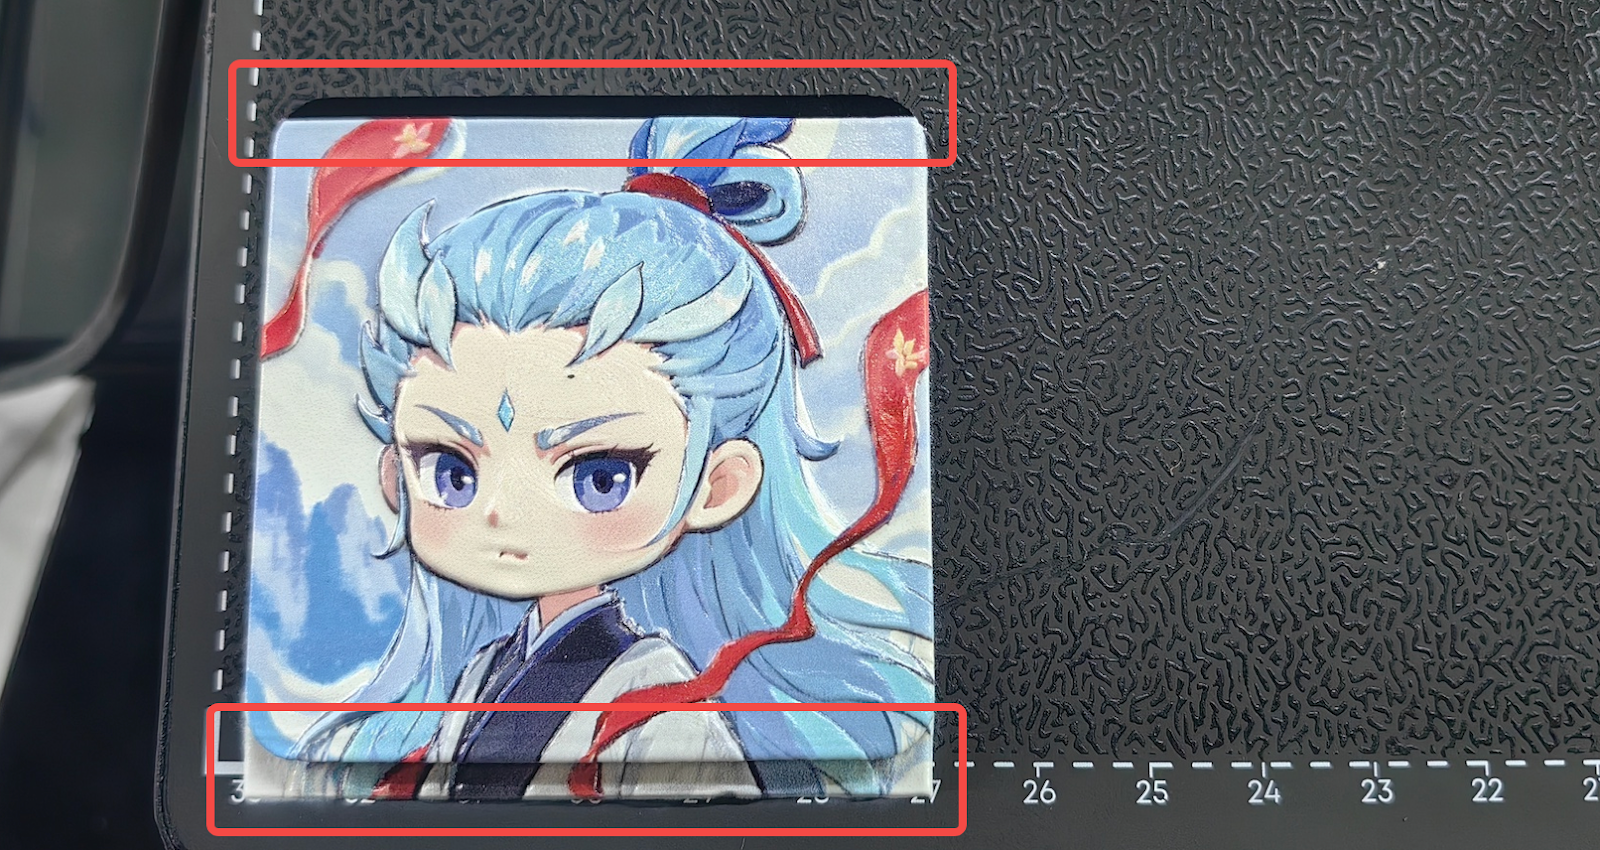
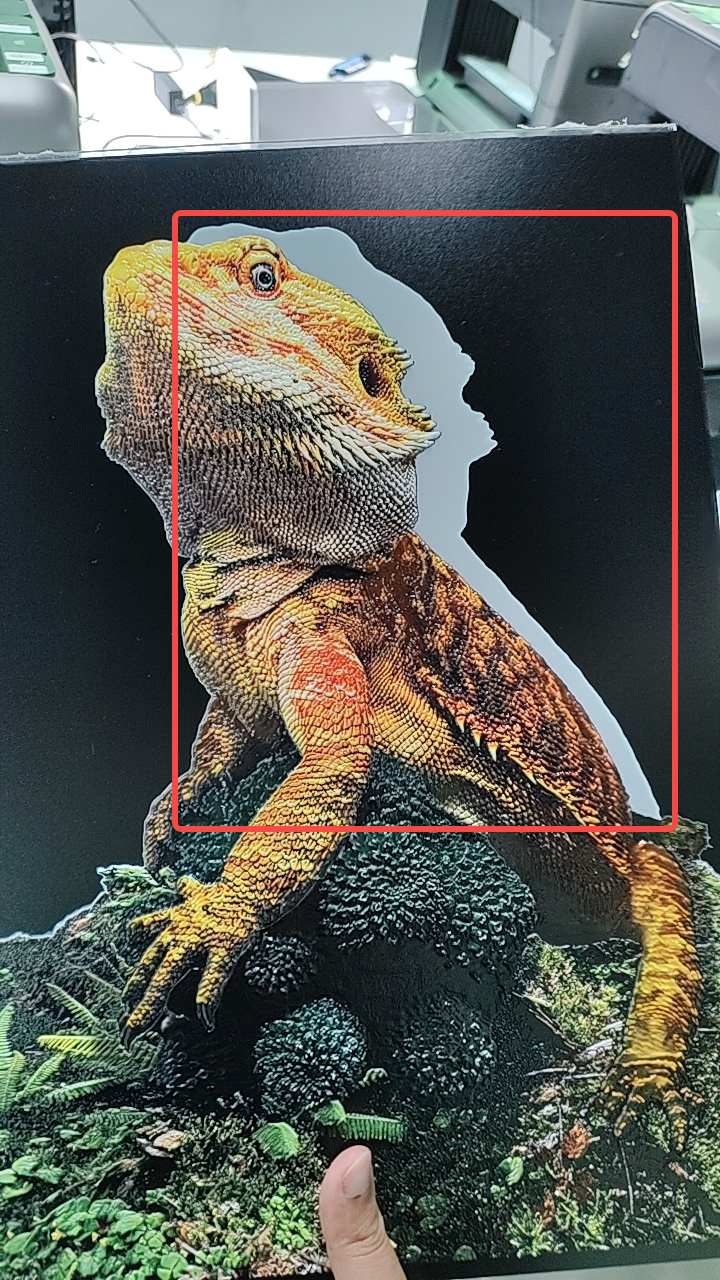
2. Pattern deformation: The printed pattern is significantly deformed.
Possible Causes
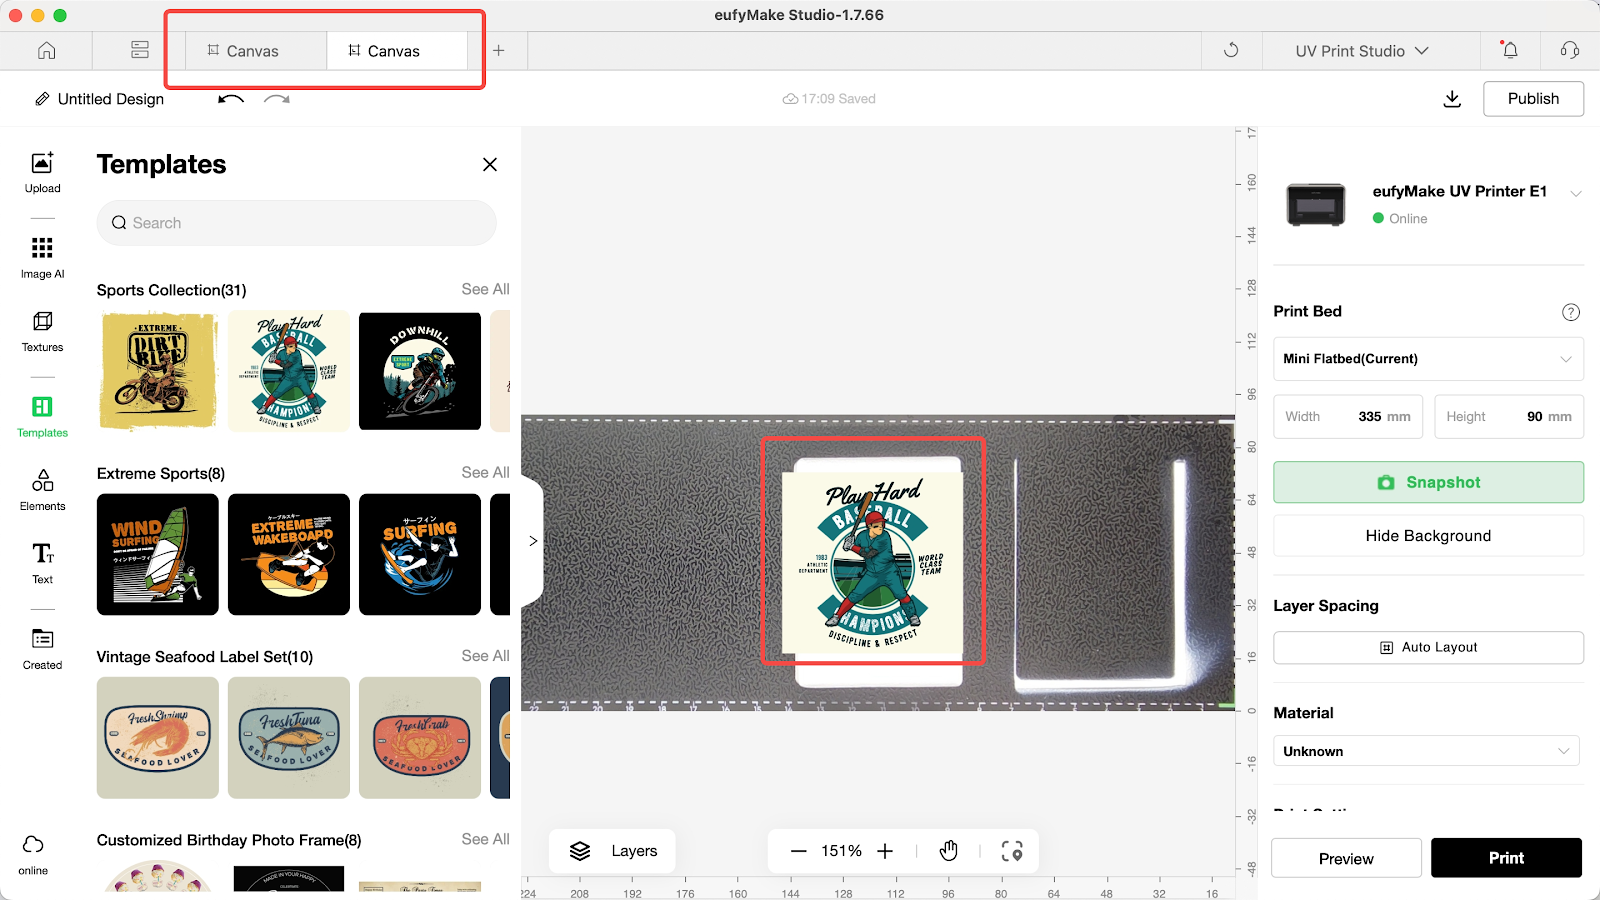
1. The design position in the editing software does not align with the substrate position.
2. The substrate is not secured on the adhesive mat, causing it to move during printing.
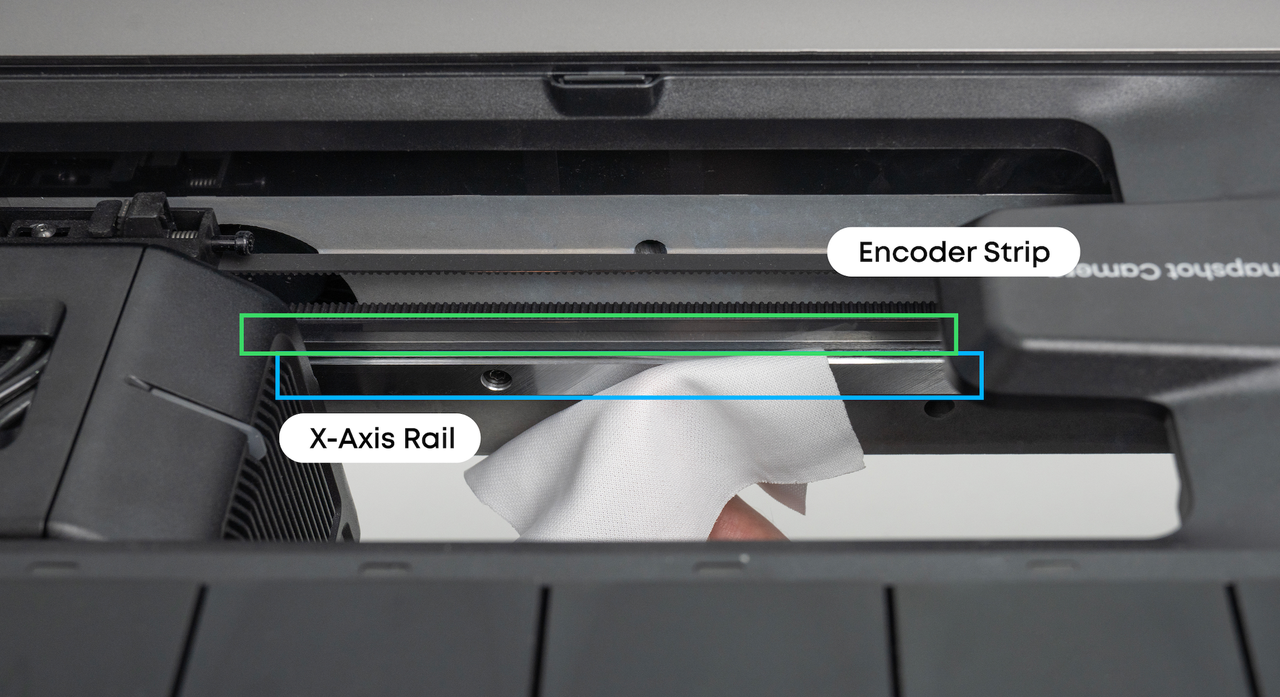
3. X-axis belt is loose or the encoder strip is dirty.
4. Standard Flatbed belt is loose or the guide rail is abnormal.
5. Mini Flatbed is damaged or not installed correctly.
Troubleshooting Steps
1. Provide screenshots of the design position in the software interface and the actual printed image.
2. Check whether the substrate is properly attached to the adhesive mat:
-
If the substrate does not adhere well, use tape or other tools to secure it.
-
If the adhesive mat loses stickiness, it is recommended to replace it with a new one.
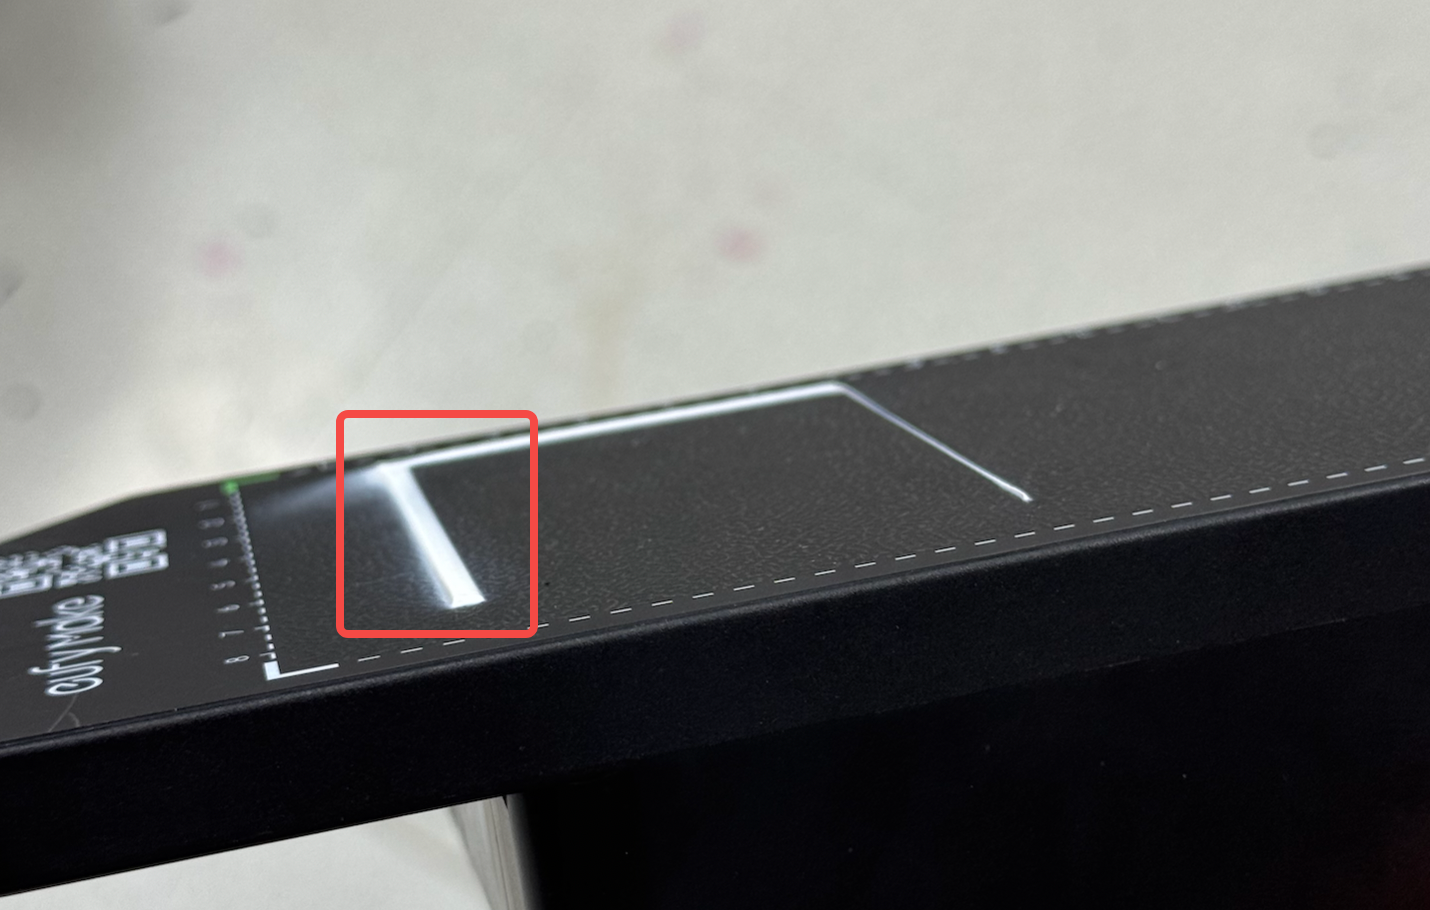
3. Check whether there are any bumps on the adhesive mat; if so, replace it with a new mat.
4. According to the actual offset direction, check:
a. X-axis offset:
Check whether the belt is too loose and retighten it according to the eufyMake E1 X-axis Timing Belt Tension Adjustment Guide.
Check whether the encoder strip is dirty and clean it with a lint-free cloth moistened with alcohol.
b. Y-axis offset:
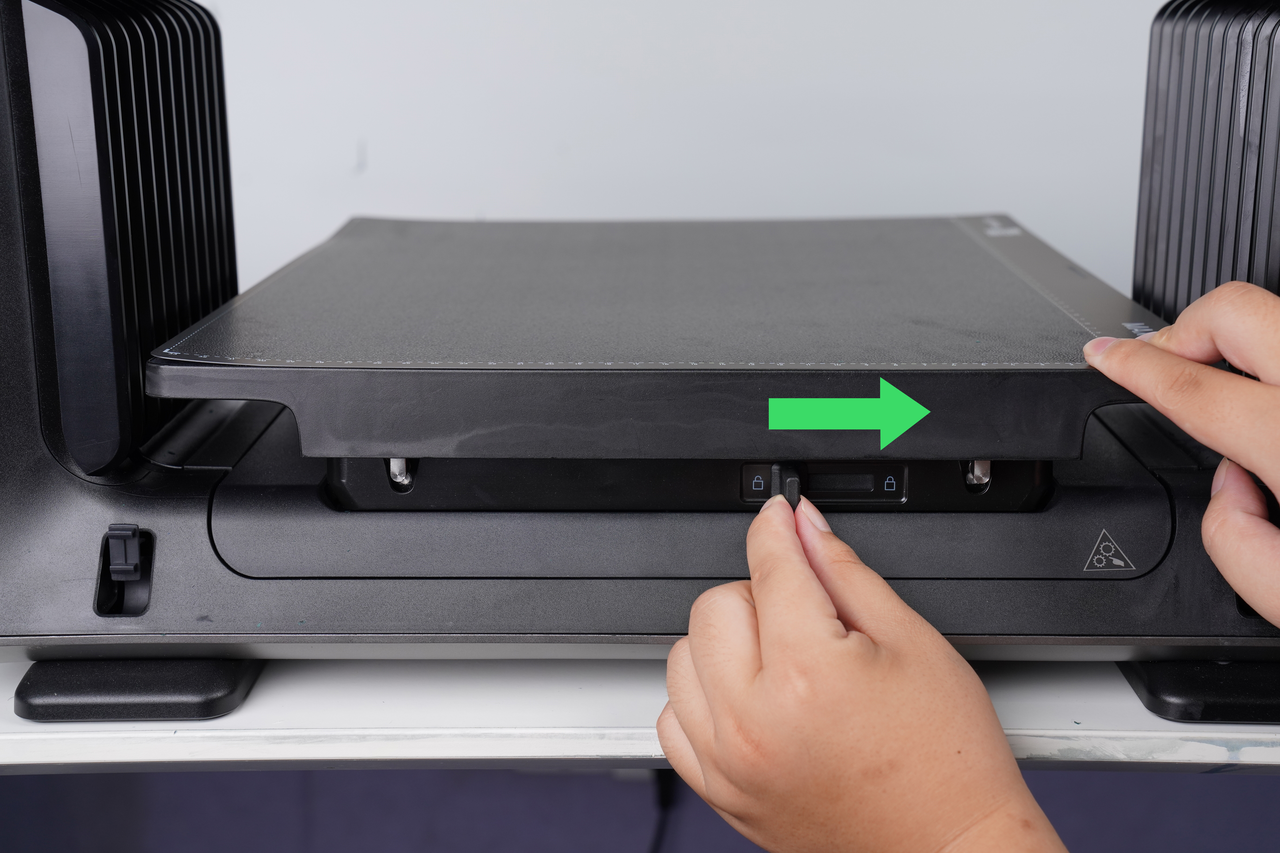
Mini Flatbed: Check whether the Mini Flatbed wobbles after being locked.
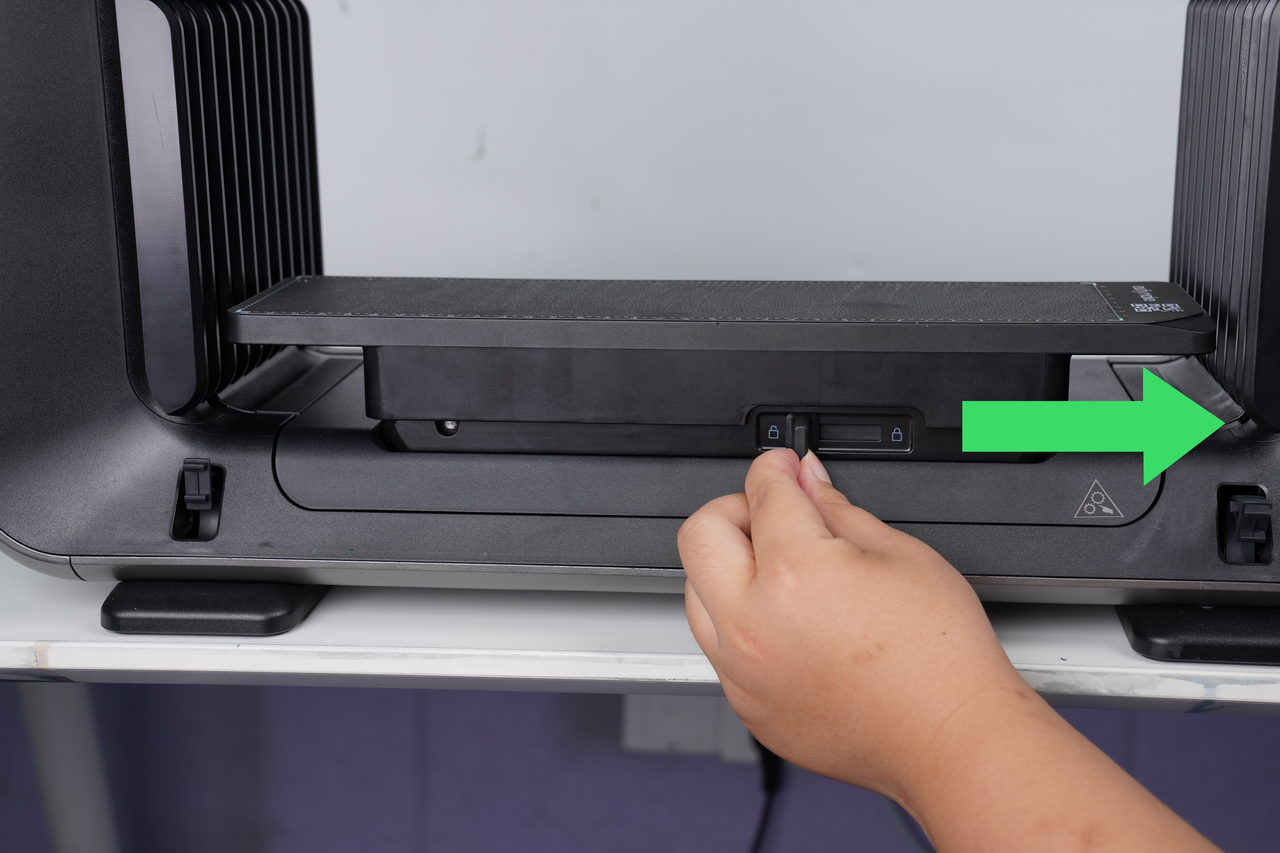
Standard Flatbed: Check whether the Standard Flatbed wobbles after being locked, and whether the belt under the platform is loose.
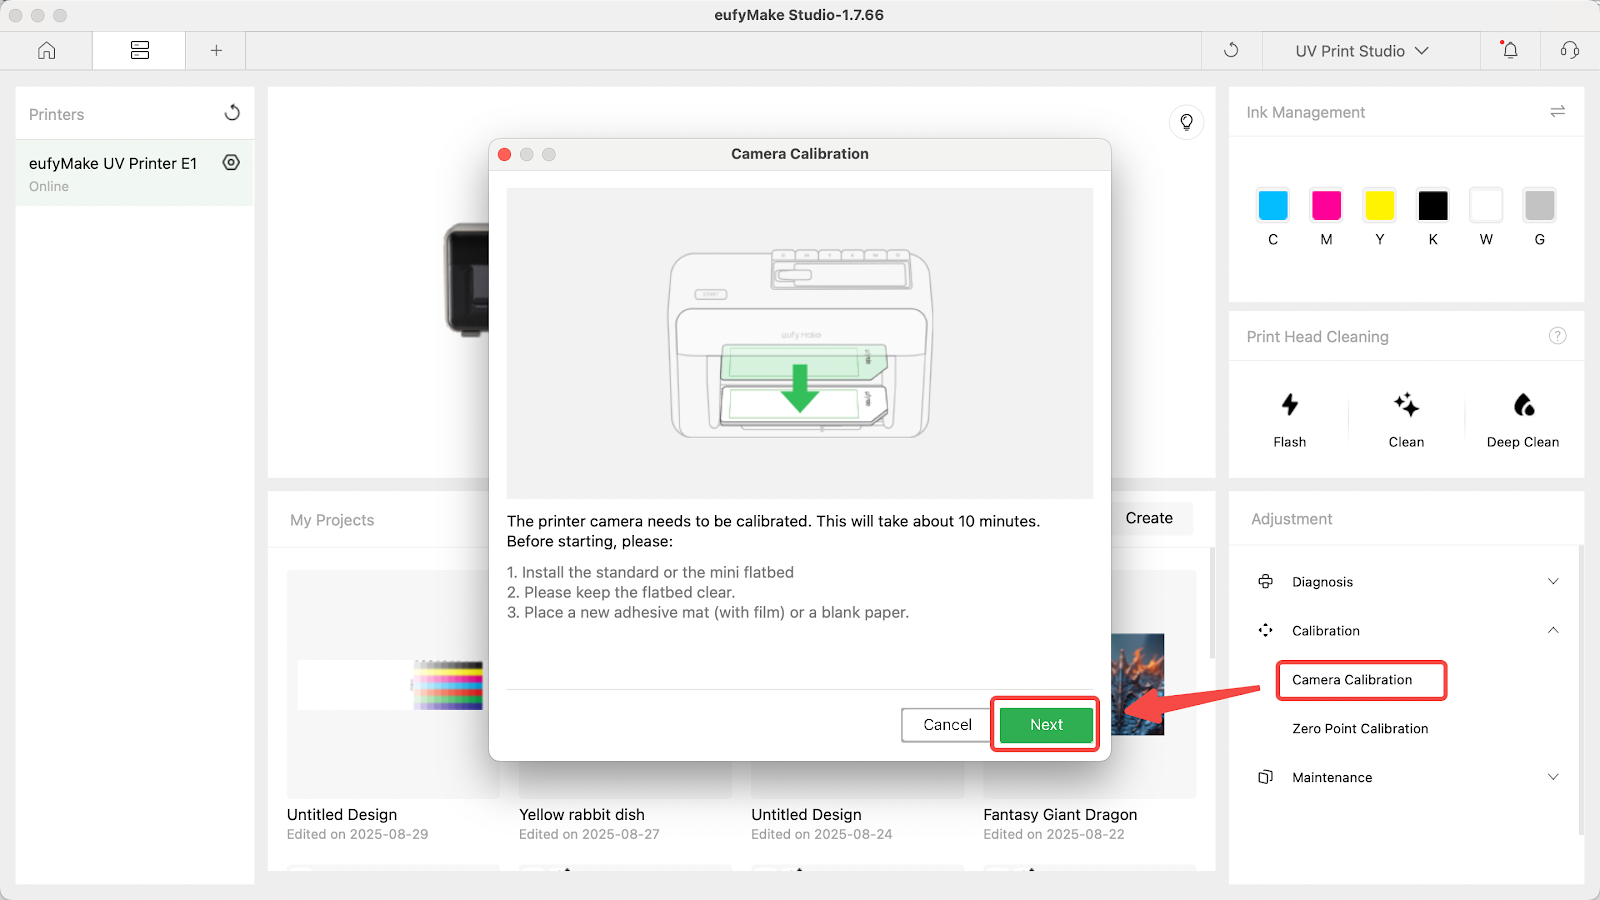
5. It is recommended to replace the new adhesive mat and re-perform camera calibration on the new adhesive mat. If zero alignment is used, the zero calibration action must also be performed.
6. If the issue persists, please contact eufyMake Customer Support and provide the following information:
-
Purchase order information
-
Printer SN (serial number) (Refer to How to Check the Device Serial Number (SN))
-
Printer and app logs (Refer to https://support.eufymake.com/s/article/Log-Upload-Process-App-PC-Overview)
-
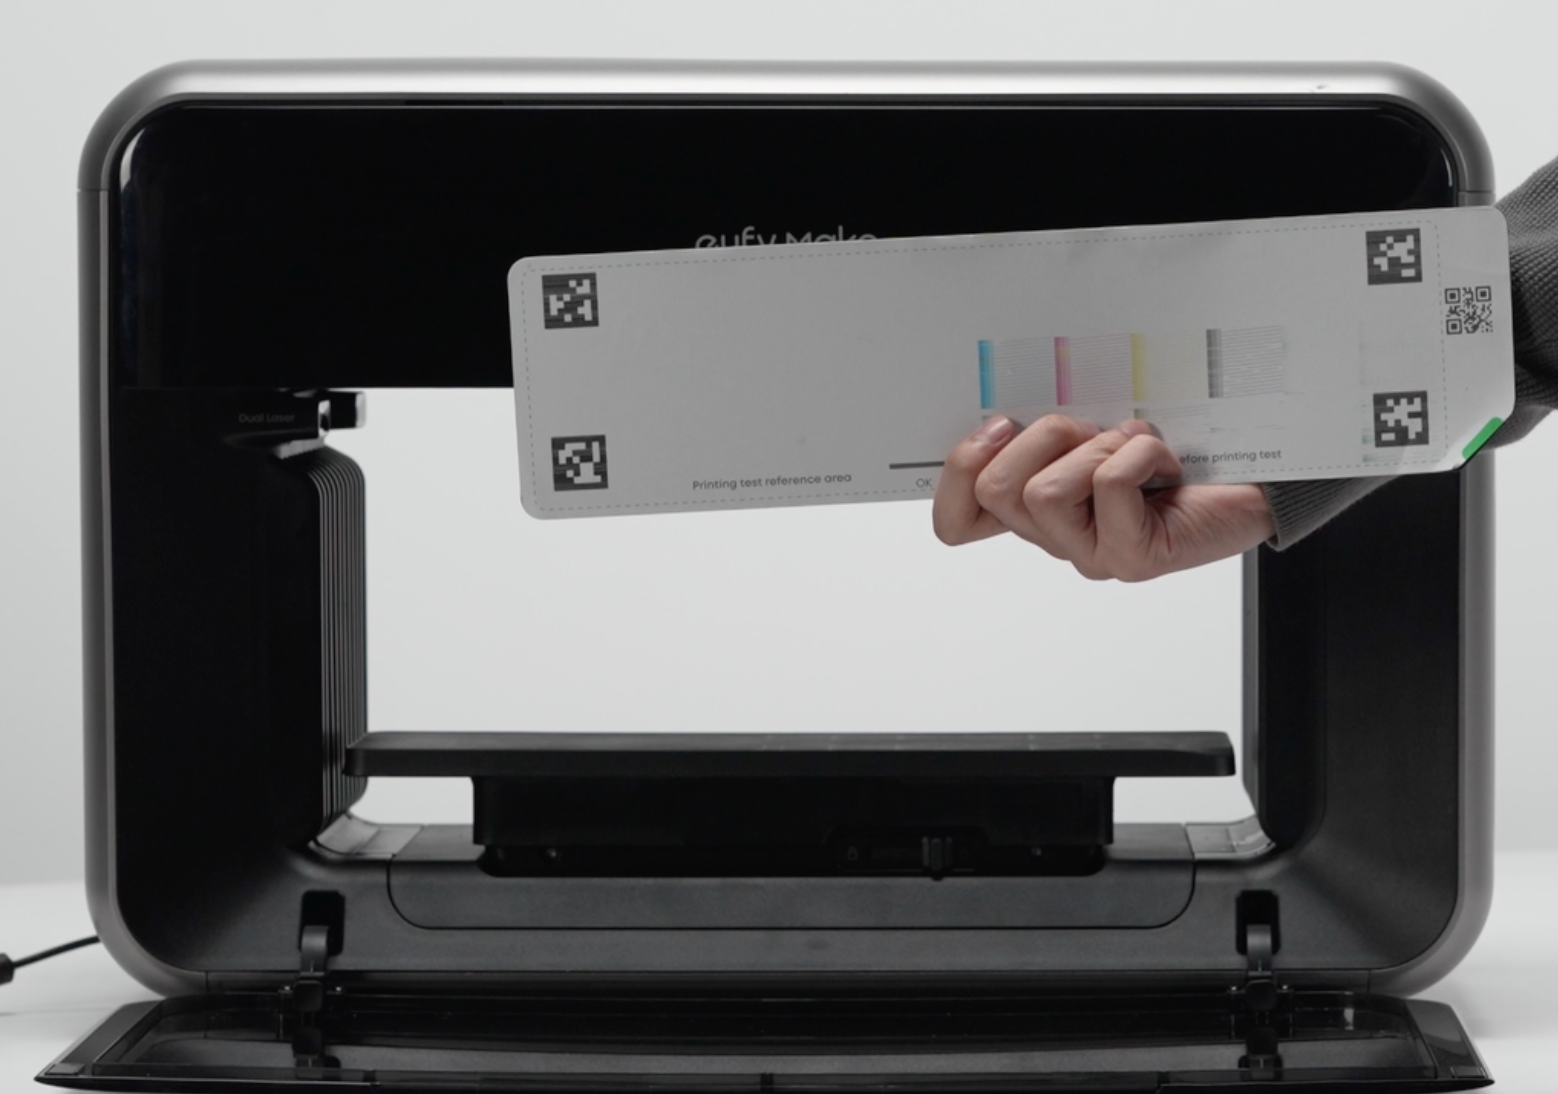
Photos of the failed print and screenshots of the software editing interface (example).


