Printing Flatbed Installation Abnormality
Phenomenon
The printing flatbed is unstable (the flatbed shakes after locking), ink splattering occurs during printing, the main unit cannot recognize the flatbed, or printing cannot be executed.
Cause Analysis
The main cause of abnormal flatbed installation is that the locking slider is not locked in place, causing the flatbed to shake and affect print quality.
In addition, damage to the quick-connect electrical contacts may cause abnormal installation and prevent the flatbed from being recognized, preventing printing.
Required Tools
-
Anti-static gloves
Safety Precautions
-
Handle the flatbed plate and other printing accessories gently during replacement.
-
Anti-static gloves must be worn during operation
Troubleshooting Steps
-
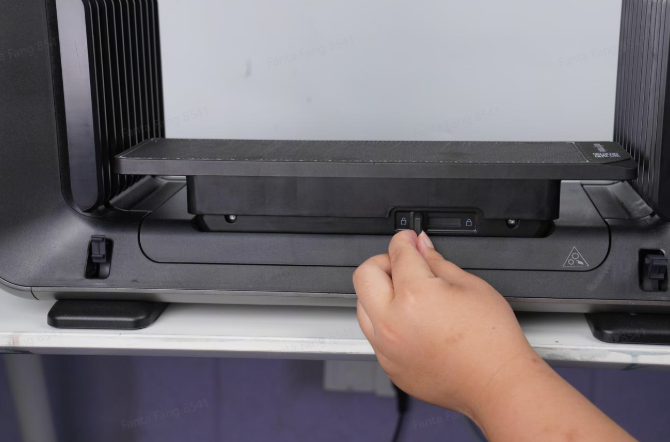
Visually check if the flatbed is level. If it is not level, please reposition it to make it level.
-
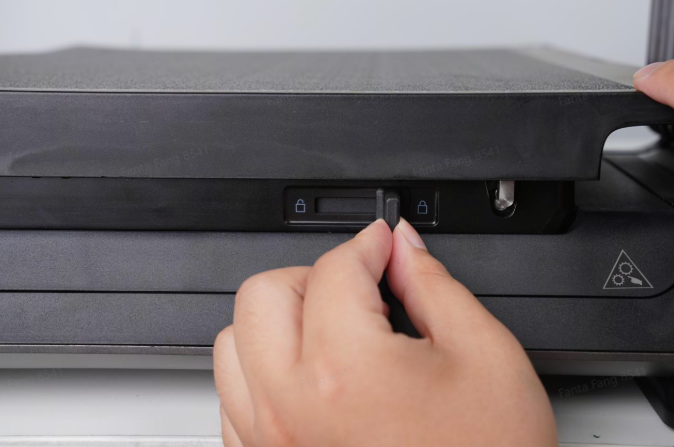
Check whether the locking slider has been fully pushed into place. The figure below shows the locking slider in the correct position.
-
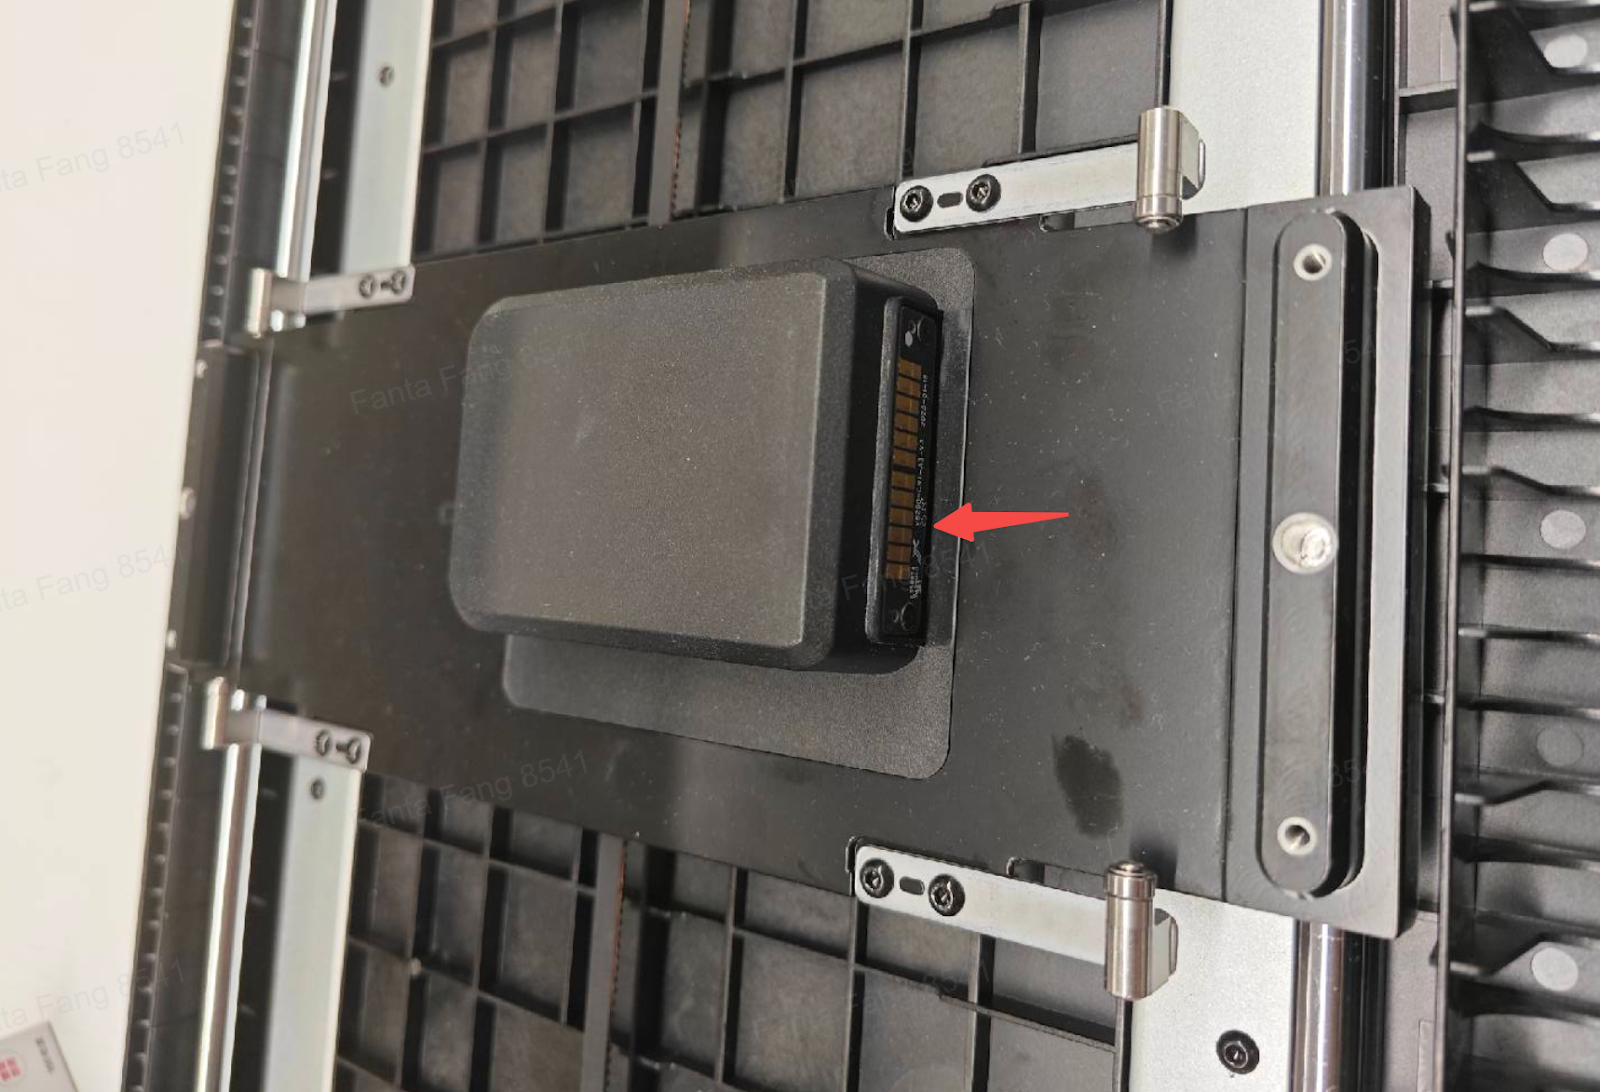
Remove the printing flatbed and check whether there is any obstruction or damage on the surface of the male electrical contacts, which may cause poor contact.

Electrical Contacts (Male End) Diagram
-
Electrical Contact Damage Troubleshooting:
-
First, check the electrical contacts at the flatbed interface. Insert another flatbed or accessory into the main unit to verify whether it is recognized.
-
If it is recognized, the female electrical contacts on the A3 flatbed are damaged.
-
If it is not recognized, the male electrical contacts are damaged.
In this case, disassemble the Y-axis upper cover assembly and the small-format motion seat, then replace the electrical contact male flatbed.
A3 Flatbed Electrical Contacts (Female End) Diagram
Support Contact
If the issue persists after completing the above steps, please contact eufyMake Customer Support at support@eufymake.com with the following information:
-
Your Order Information.
-
Printer SN. Please refer to: https://support.eufymake.com/s/article/How-to-Check-the-Device-Serial-Number-SN
-
Printer and App Logs. Please refer to:https://support.eufymake.com/s/article/Log-Upload-Process-App-PC-Overview
-
Relevant photos and videos.


