The main operating interface for Roll-To-Film printing is similar to that of other printing platforms. This section focuses on how to apply process modes to the official Roll-To-Film substrates, as well as the exclusive functions available when using the Roll-To-Film accessory.
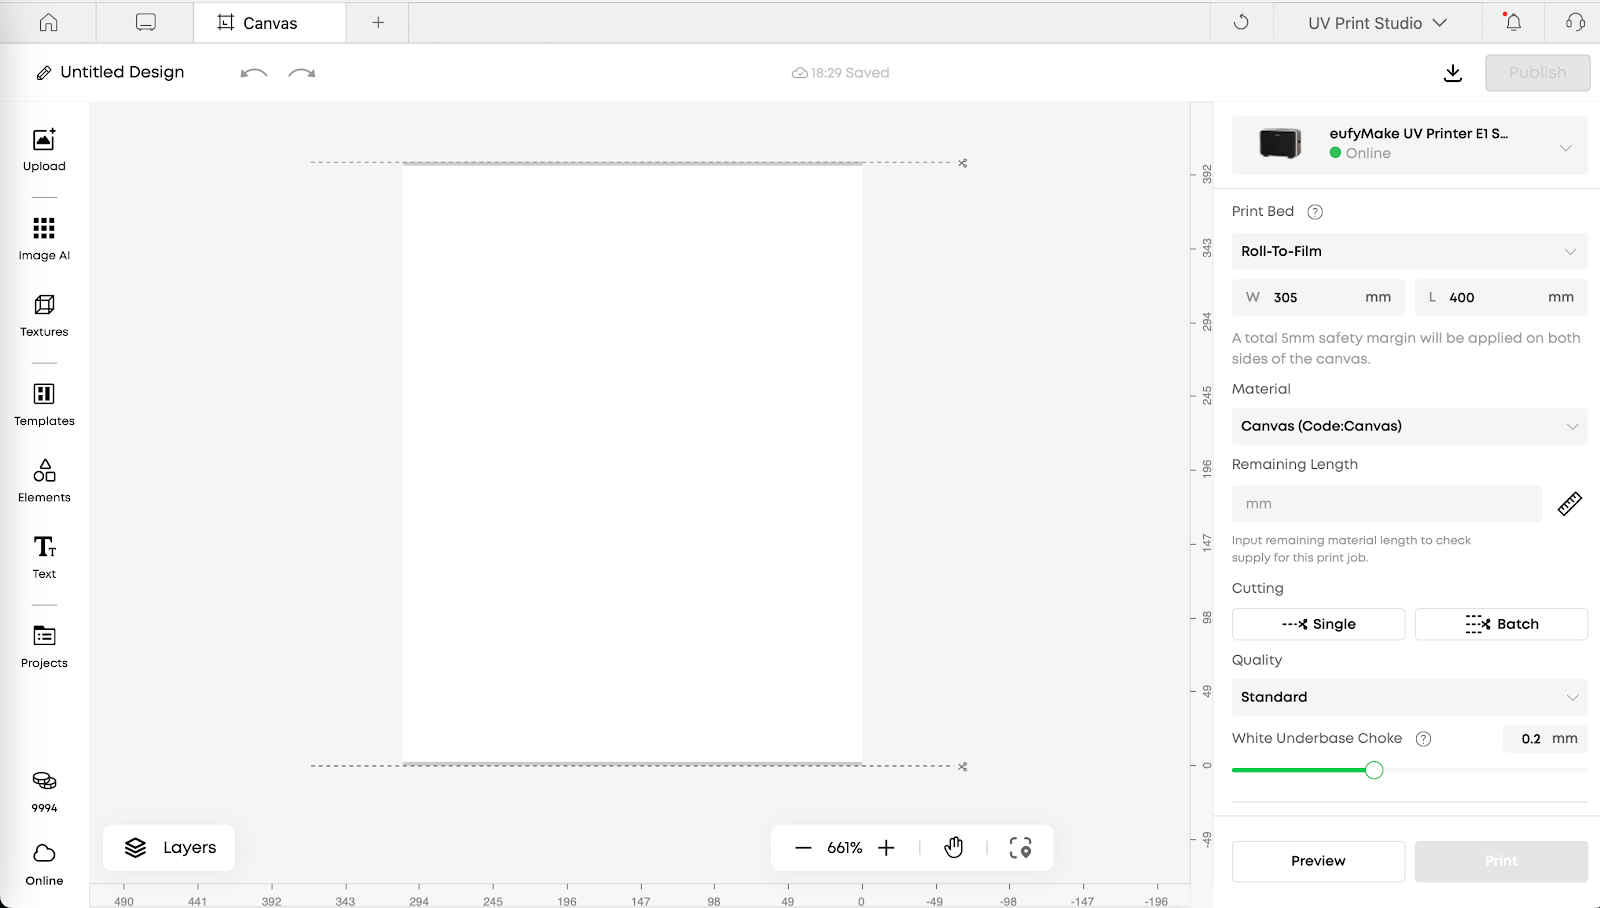
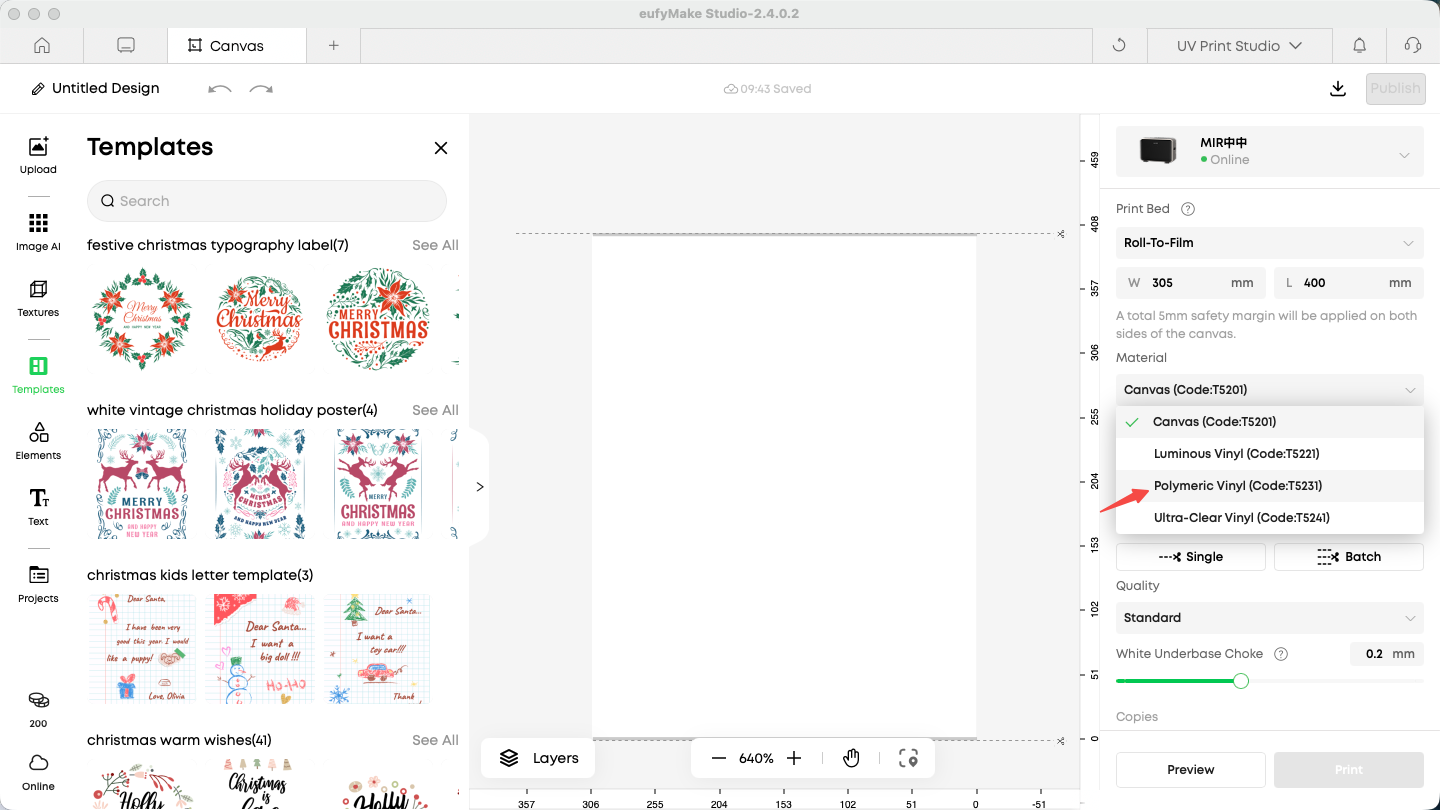
Substrate Selection
Before printing, ensure that the correct substrate is selected. Different substrates require specific parameter settings, which directly affect the Roll-To-Film printing process and final print quality.
Introduction to Roll-To-Film Craft (Craft Mode)
-
Current Limitations of Roll-To-Film Printing
-
When using an ink mode that includes white ink (for example, White > CMYK or Color Raised), flexible white ink must be used. Using hard white ink will cause contraction and curling of flexible substrates.
-
Process or ink modes that include Gloss Varnish cannot be manually selected for Roll-To-Film printing. Gloss Varnish causes substrate contraction and curling.
-
Only Canvas supports 2.5D printing in Roll-To-Film mode. Printing 2.5D processes on any other substrate may cause serious damage to the machine and must not be attempted.
-
Flat Process
When printing with the Flat process on Roll-To-Film substrates, the CMYK ink mode is recommended:
-
Both Polymeric Vinyl and Canvas have white base layers.
-
Printing with White > CMYK and CMYK produces similar visual results, but CMYK reduces ink usage and eliminates the need to switch to flexible white ink.
-
Printing CMYK on Ultra-Clear Vinyl produces a light-transmitting effect. This effect does not occur when using ink modes that include white ink.
-
Different ink layer selections significantly affect color depth and can be adjusted based on design requirements.
-
2.5D Processes
(Flat Raised, Pattern Texture, Relief Texture, Custom Texture)
Currently, only Canvas supports 2.5D printing in Roll-To-Film mode. Printing 2.5D processes on other substrates is prohibited, as it may cause serious machine damage.
-
White (Foil Stamping)
Similar to 2.5D processes, White (Foil Stamping) is supported only on Canvas and has stricter design requirements:
-
A minimum spacing of 25 mm must be maintained between printed graphics and the cutter position.
-
Failure to follow this spacing requirement may cause serious machine damage.
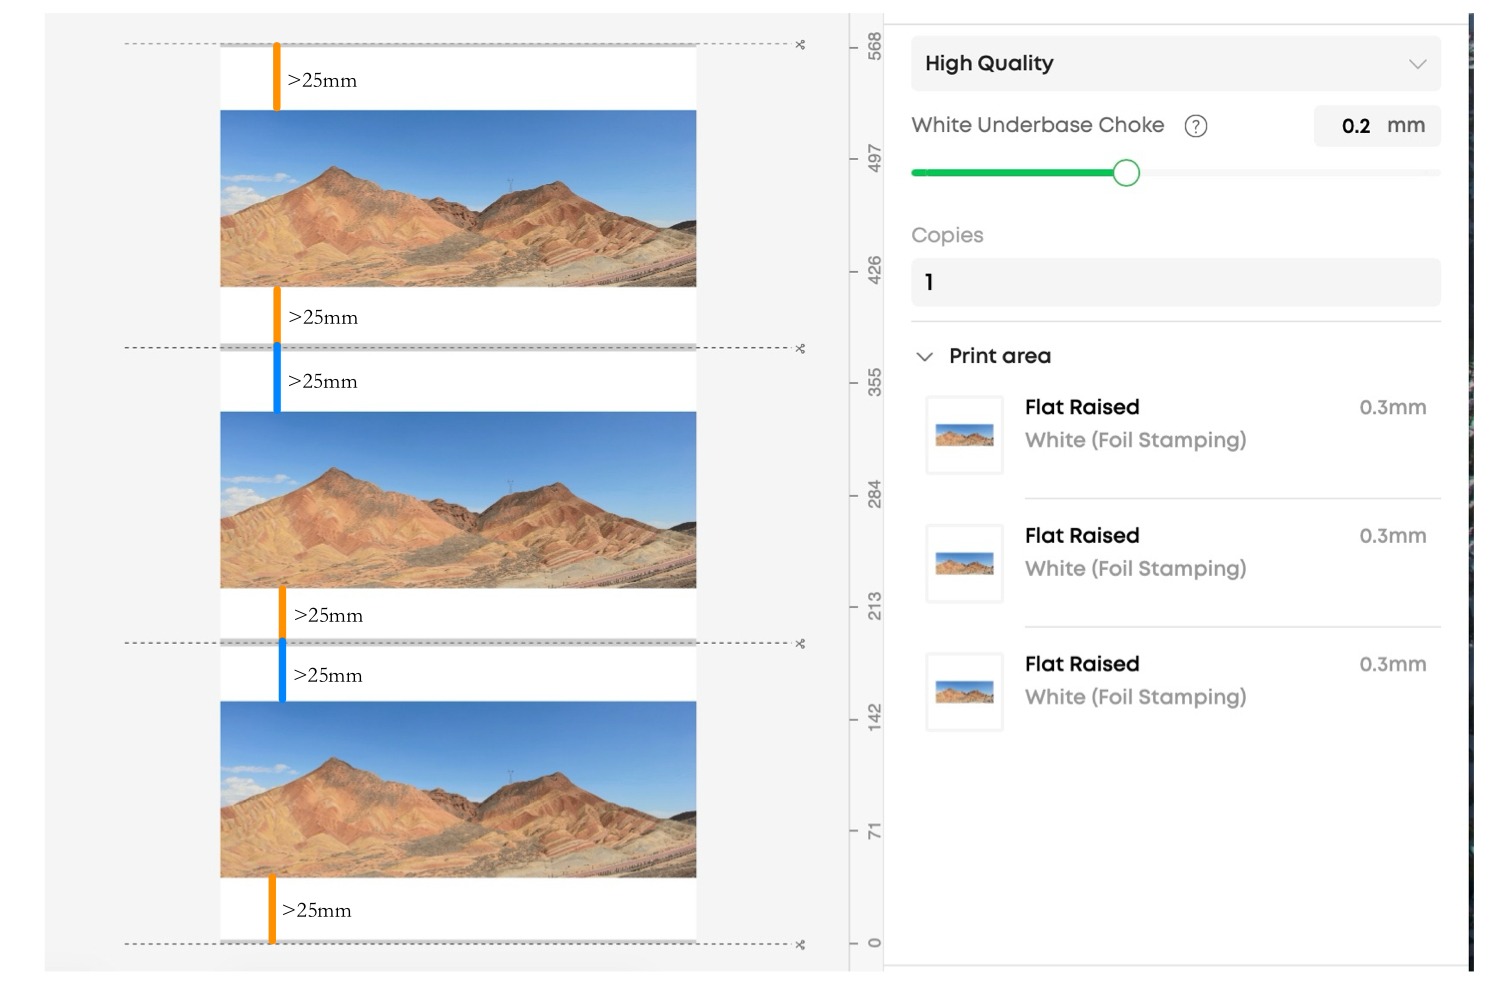
The White (Foil Stamping) process supports coexistence only with CMYK ink mode.
If a project includes White (Foil Stamping), all other areas must use either:
-
White (Foil Stamping), or
-
CMYK
Using other ink modes (such as White > CMYK) in the same project may result in abnormal foil coverage and degraded print quality.
Common Functions and Operating Procedures
-
Media Length Calculator
This tool is used to track the remaining length of the Roll-To-Film media.
-
Purpose: Confirms whether the remaining media length is sufficient for the current print job, preventing print failures due to material shortages.
-
Function: Calculates the remaining length of the media roll.
-
Usage:
-
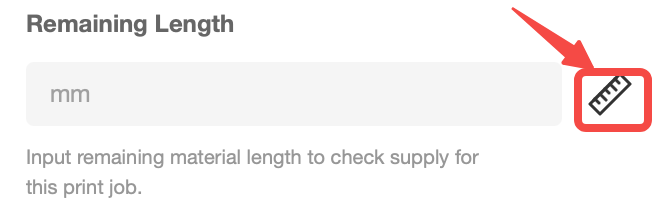
When changing media rolls, click the ruler icon to open the Media Length Calculator.
-
Select the media type and follow the on-screen instructions to measure the remaining length using calipers.
-
If the remaining length is already known, it can be entered directly.
-
The remaining length updates automatically after each print job.
-
The length must be recalculated whenever the media roll is replaced.
-
Cutter Settings
After a print job is completed, the built-in cutter can be used to trim the printed media.
-
Function: Physically cuts the media at user-defined positions.
-
Usage: During project design, the number and positions of cuts can be freely defined.
-
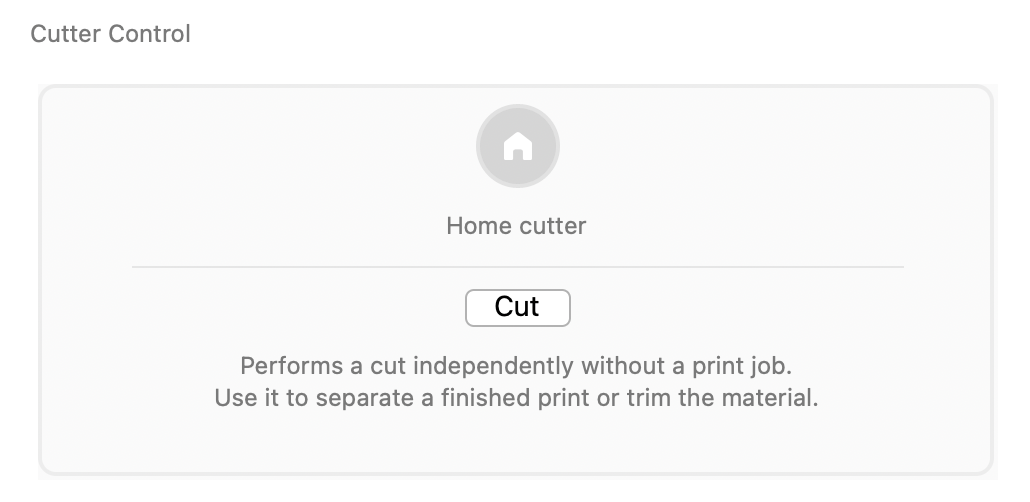
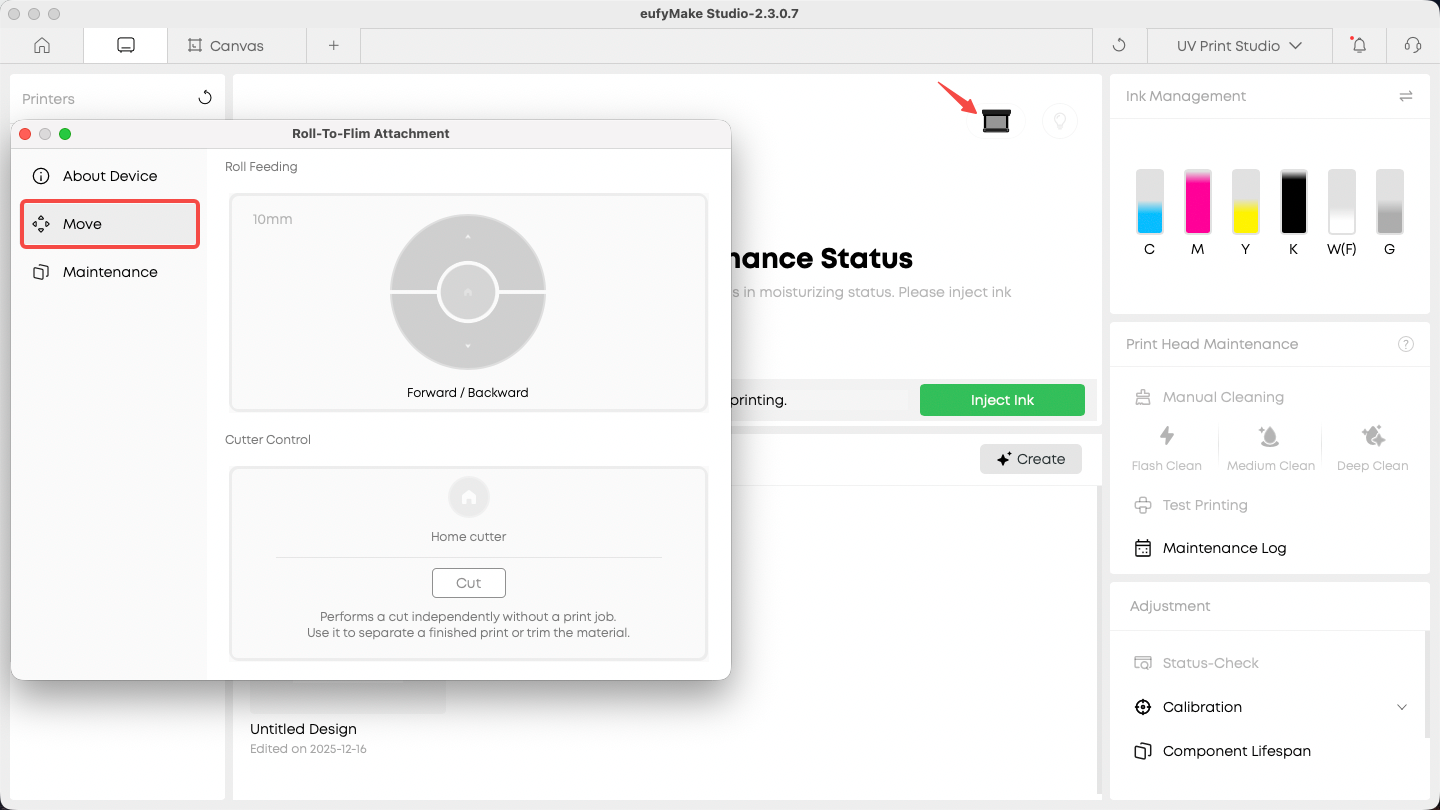
Manual cutting can also be performed from the Roll Feeder menu without starting a print job.
-
Manual Rool and Cutter Control (Without Printing)
This function allows manual forward and backward movement of the reel and cutter operation without initiating a print job.
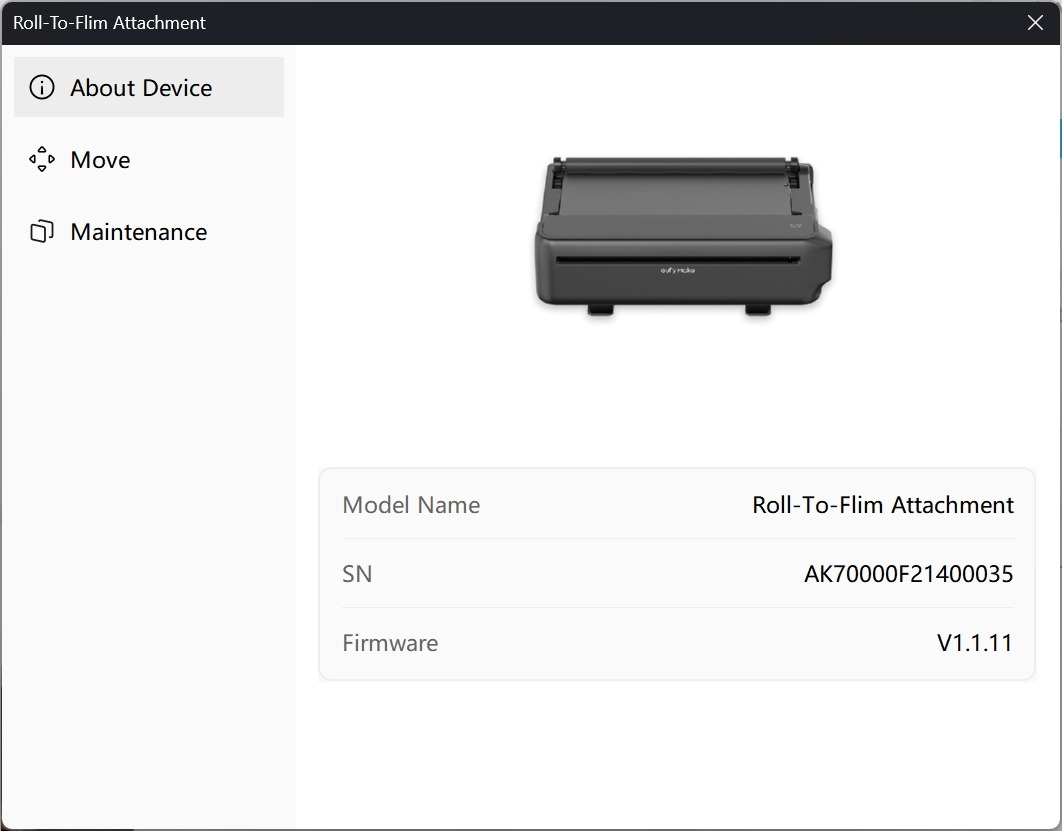
Roll-To-Film Accessory Firmware Upgrade
The firmware of the Roll-To-Film accessory is upgraded automatically together with the printer firmware. After the printer firmware update is completed, installing the Roll-To-Film accessory will trigger an automatic firmware upgrade for the accessory.
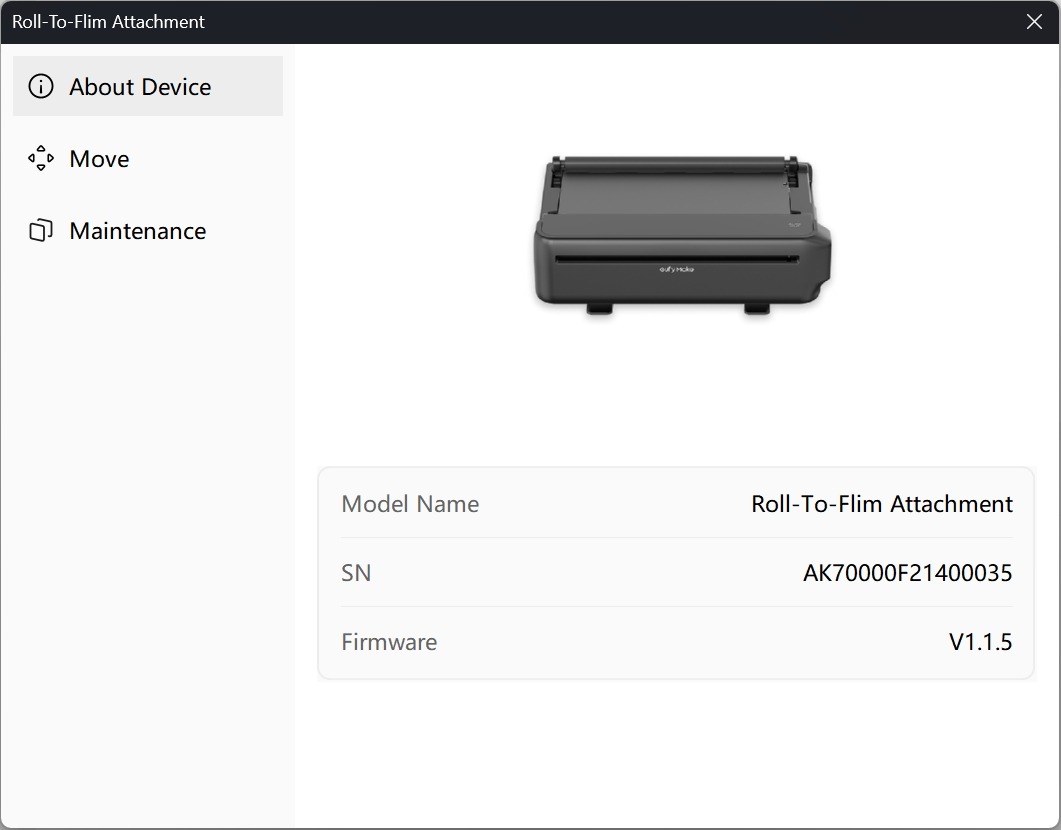
Firmware version and Roll-To-Film accessory SN:
https://support.eufymake.com/s/article/How-to-Check-the-Device-Serial-Number-SN