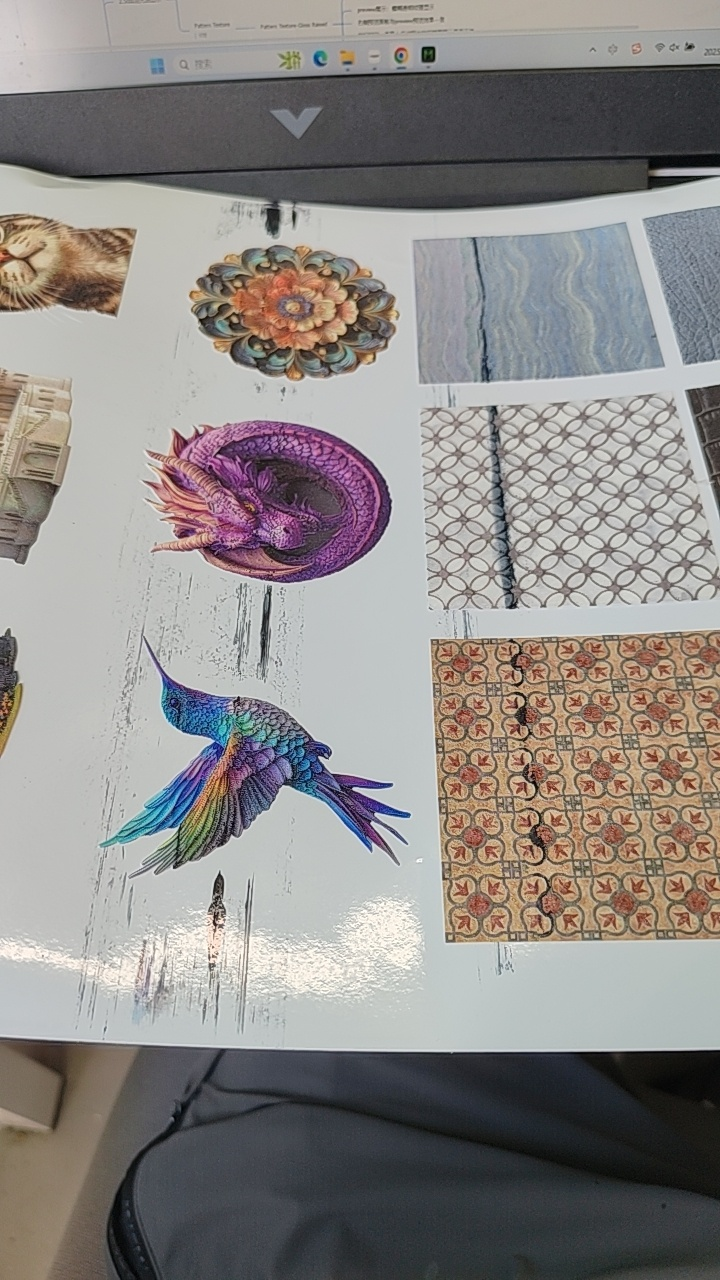
Fault Phenomenon
Black or dark scraping marks appear on the surface of the printed substrate.
Cause Analysis
-
The substrate is not fully adhered to the sticky plate and moves or deforms during the printing process
-
The adhesion of the sticky plate is insufficient, causing some flexible substrates to fail to adhere firmly and resulting in edge lifting.

-
Some thinner acrylic substrates deform and bulge in the middle after prolonged UV light exposure.
-
When printing flexible substrates, soft white ink was not selected, resulting in deformation during printing.
-
Reduced adhesion at the bottom of the sticky plate causes it to warp during the printing process.
-
Abnormal height measurement data causes the substrate to scrape against the nozzle.
Troubleshooting Steps
-
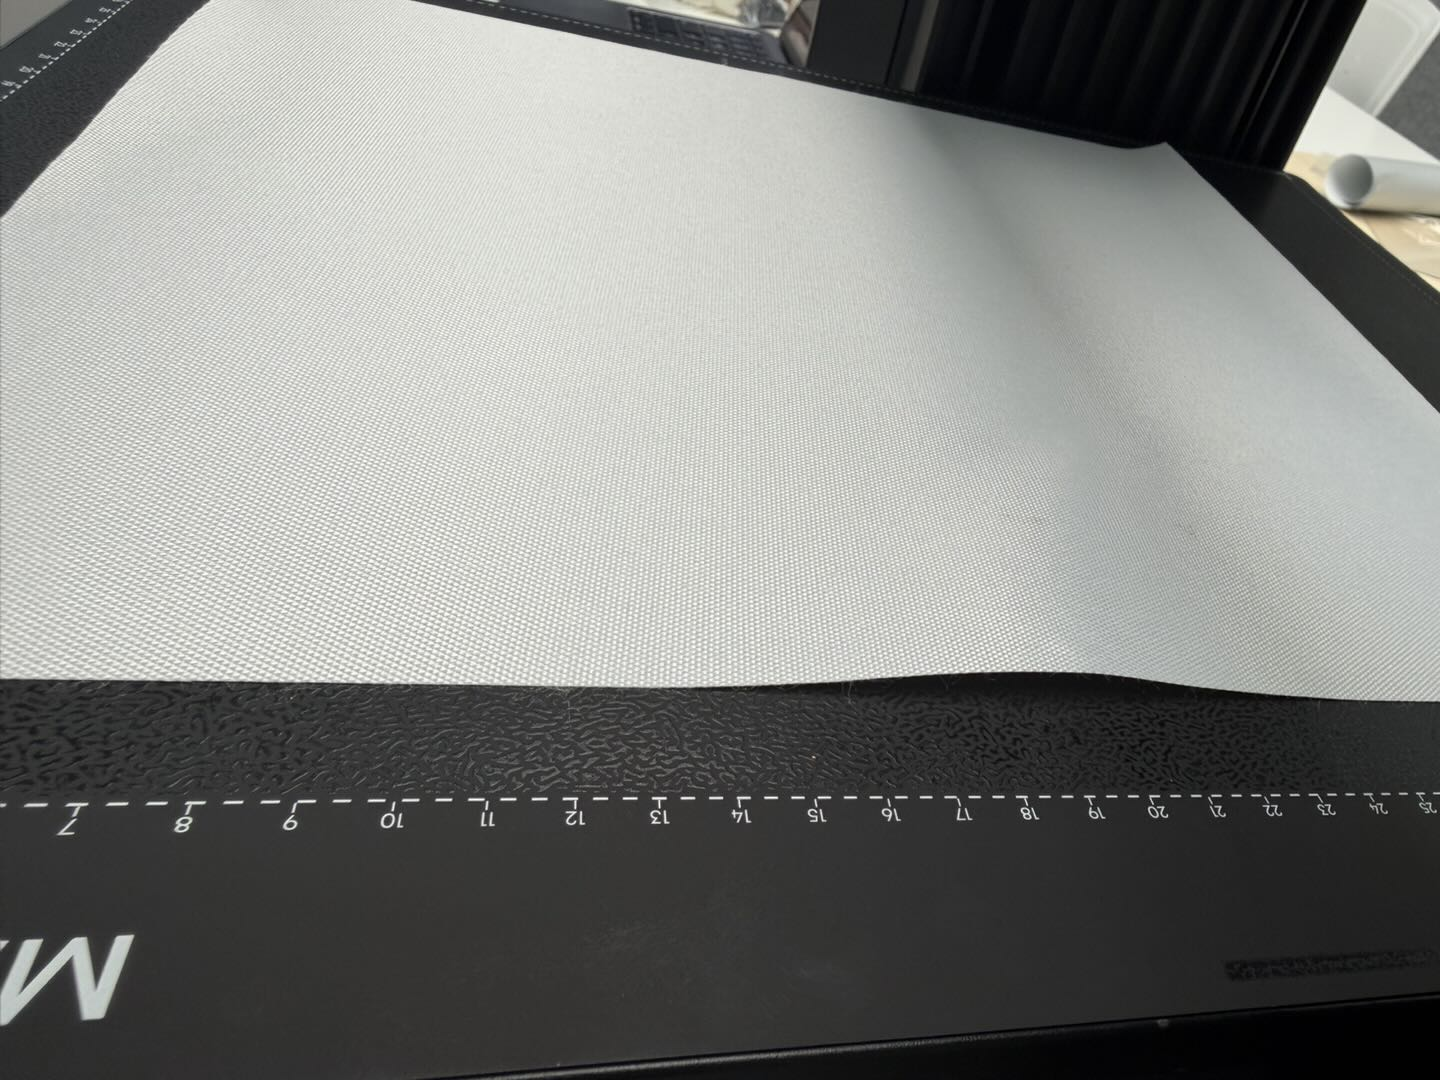
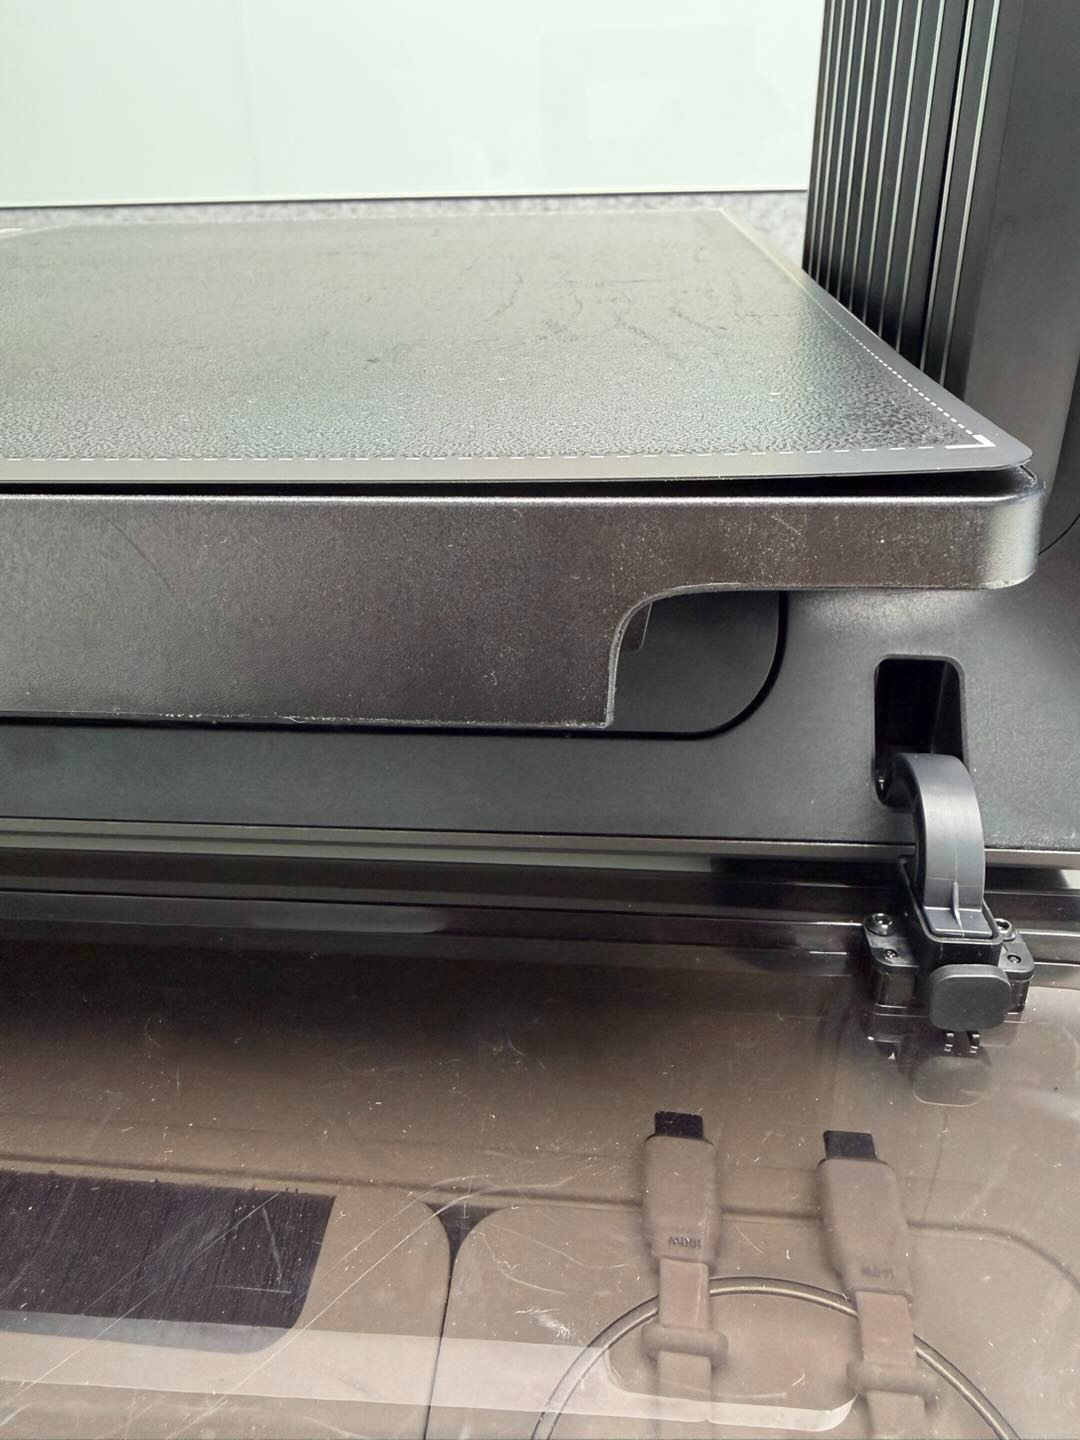
Place the substrate flat on the platform plate and press it down by hand. Check whether any corners are lifted.
-
Sticky Plate Inspection
-
Check whether the sticky plate is warped in the front, back, left, or right directions. If warping is present, press it flat by hand. If it cannot be firmly attached, the bottom adhesive has degraded and the sticky plate must be replaced.
-
Check whether the substrate can be securely fixed to the sticky plate without movement. If surface adhesion has decreased, replace the sticky plate.
-
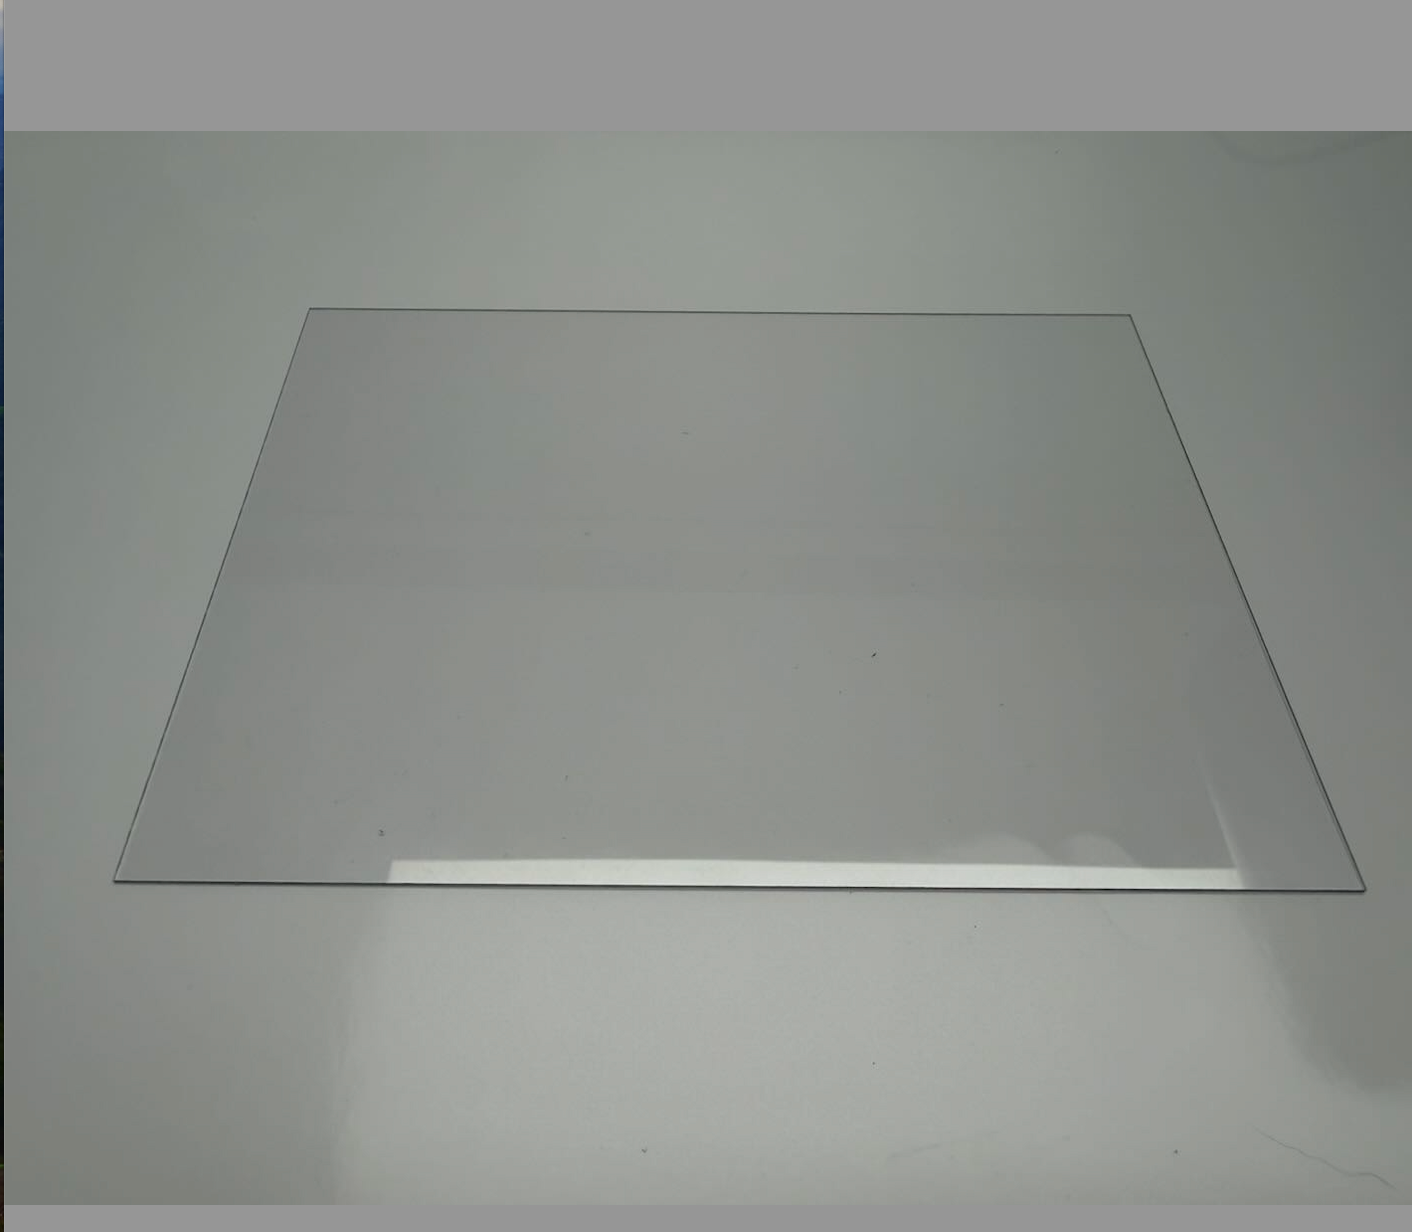
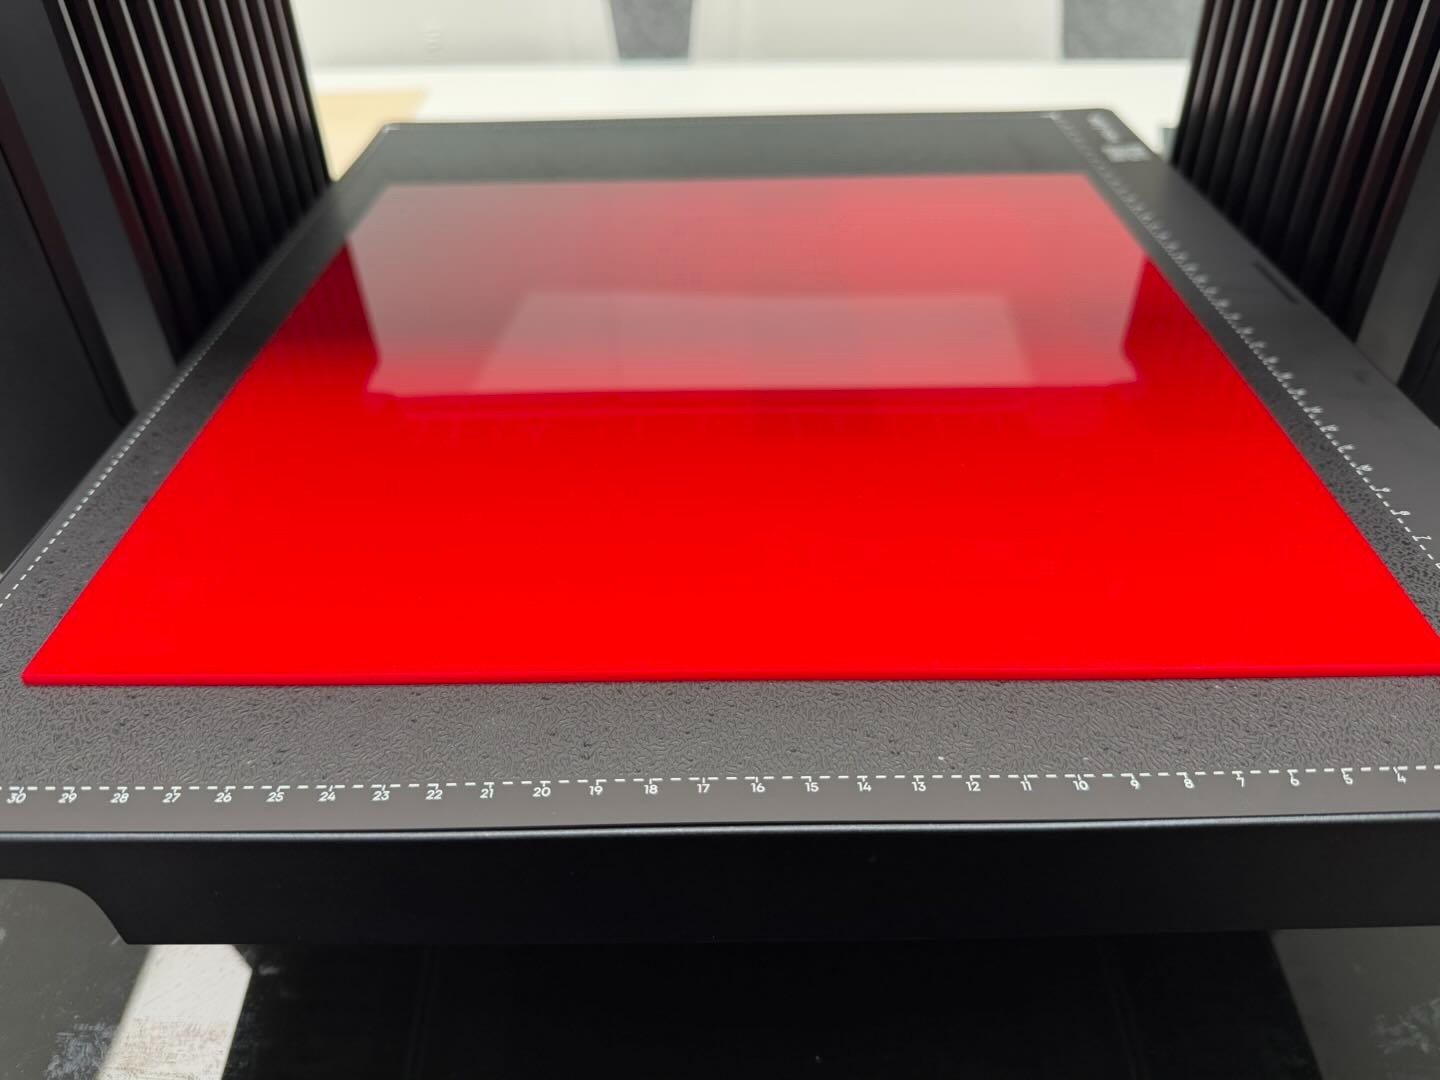
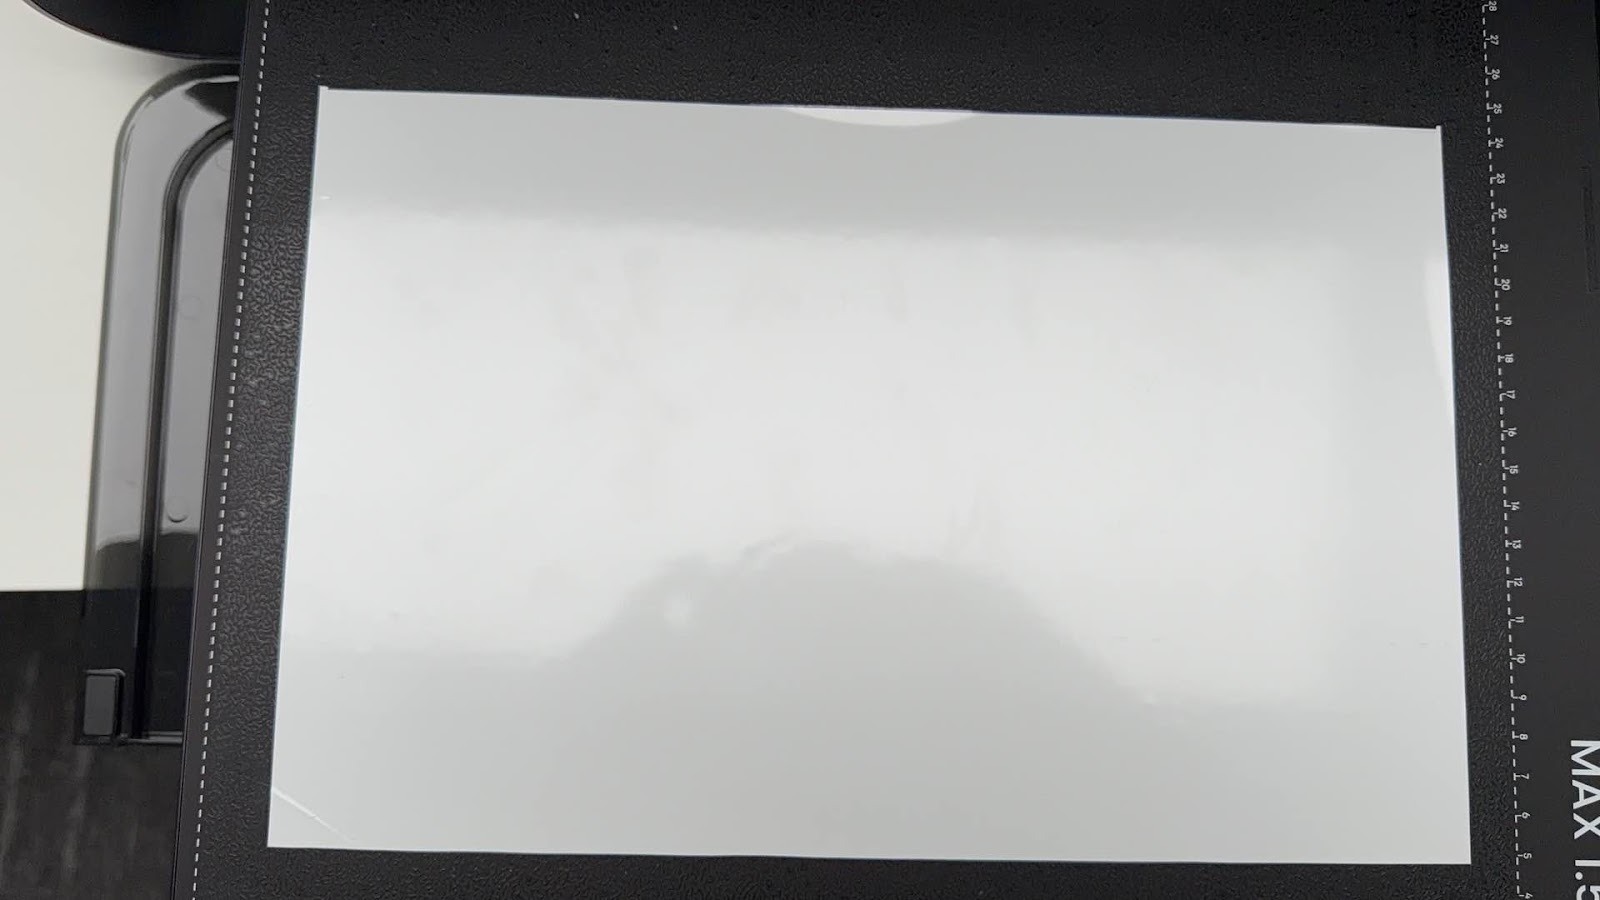
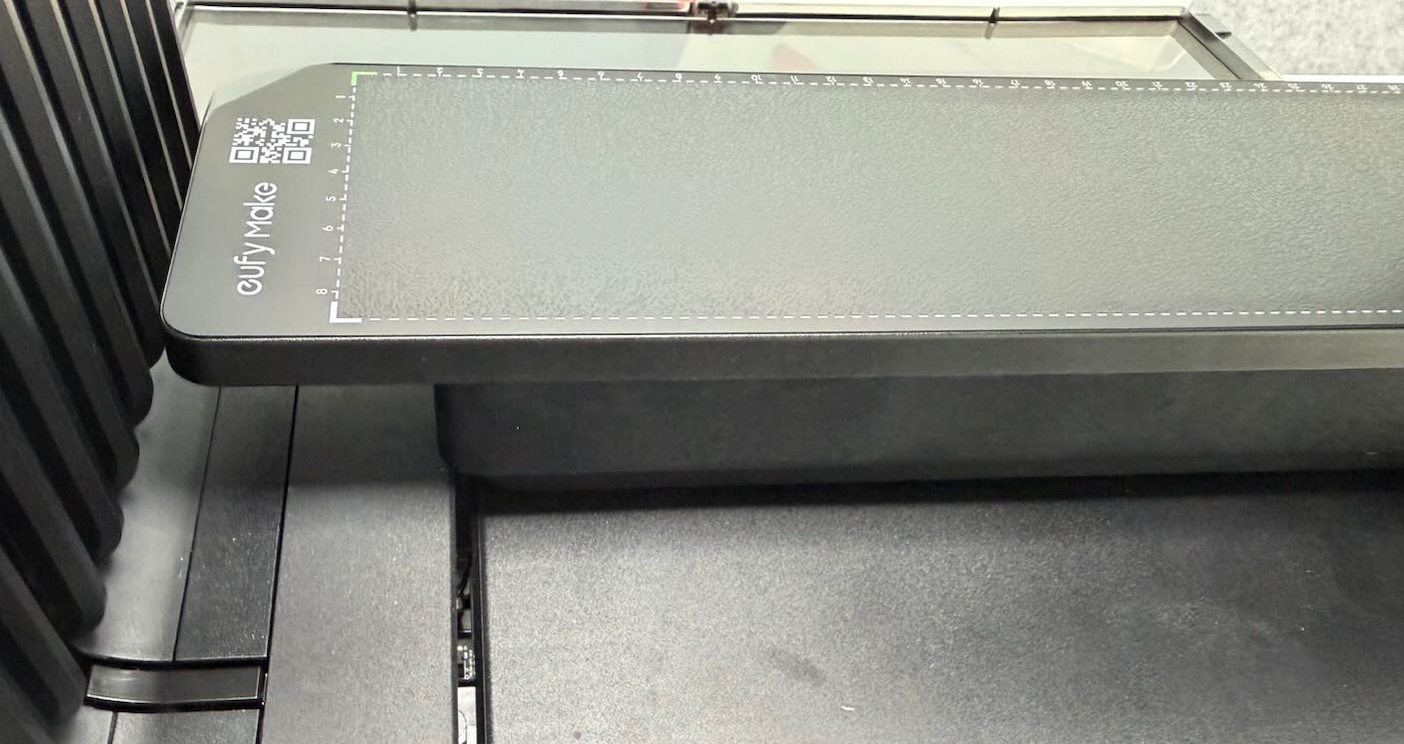
When printing on acrylic, it is recommended to use a thickness greater than 5 mm. If the acrylic is thinner (recommended minimum 1 mm), do not print 2.5D texture effects. Use 2D printing only.
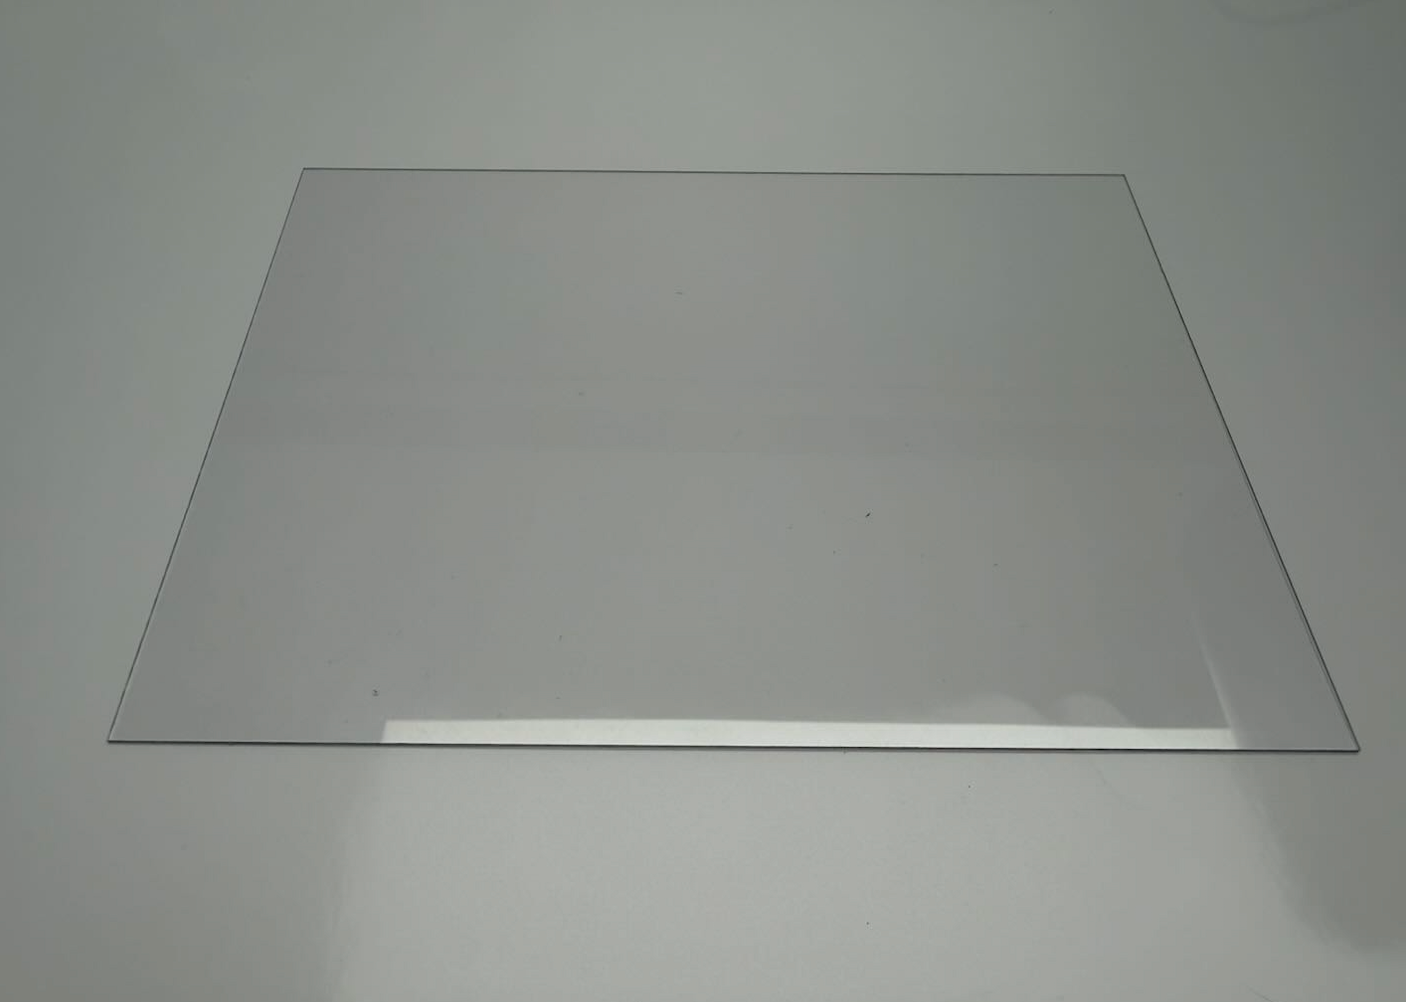
The acrylic in the above image is relatively thin, less than 5mm, and is only recommended for 2D printing.
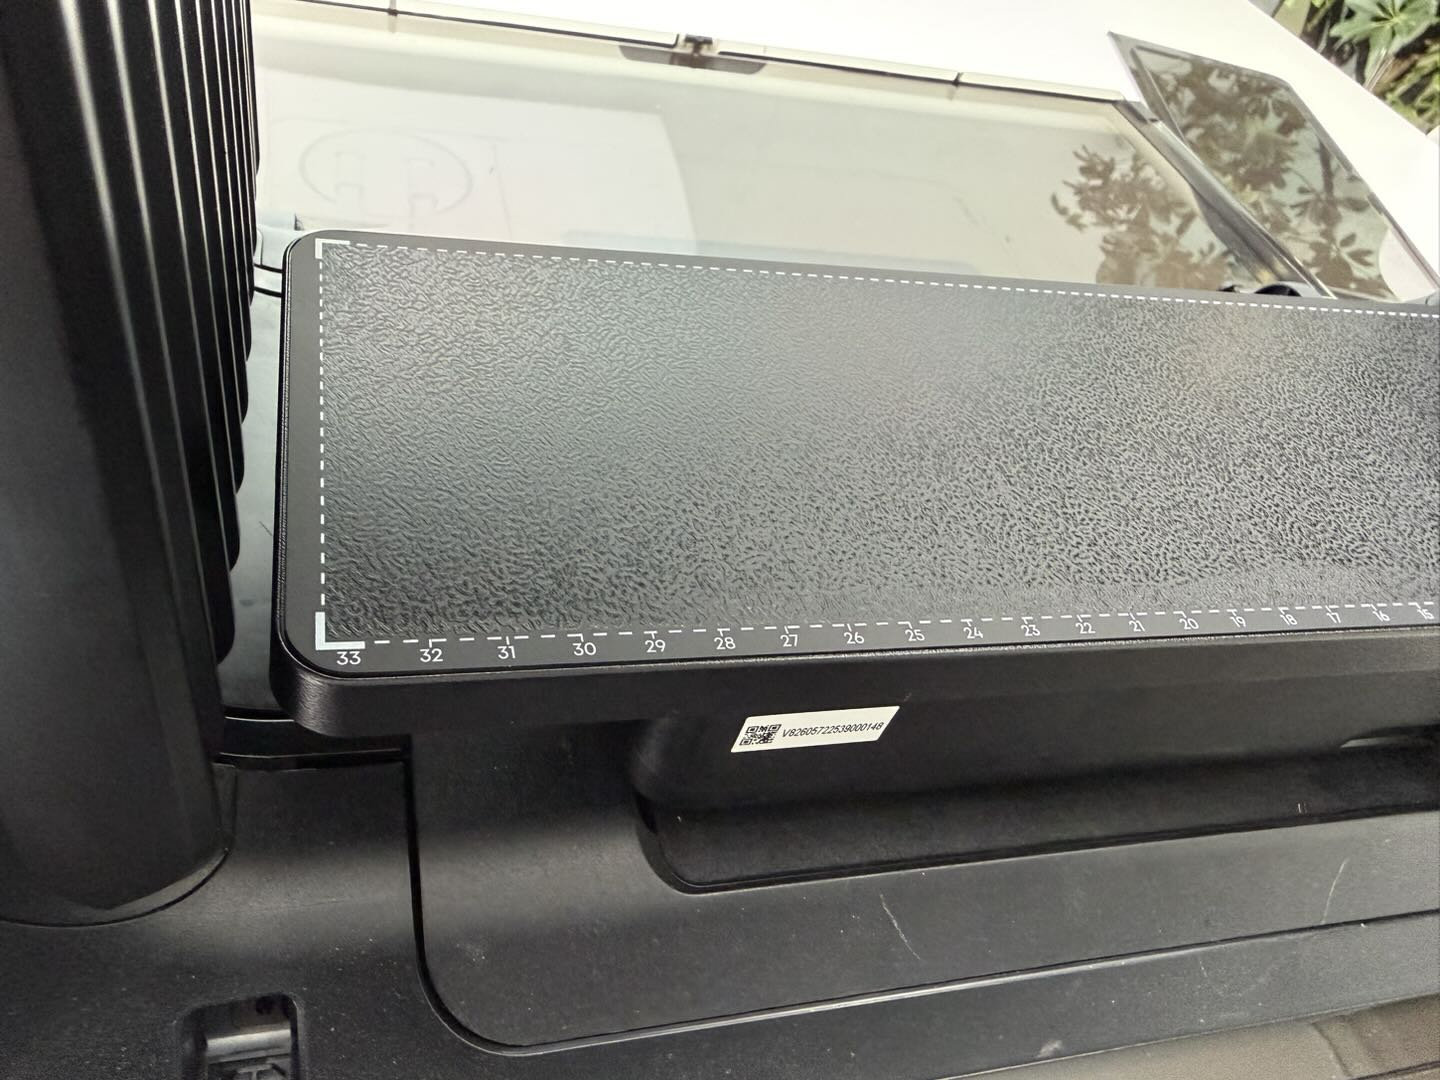
The acrylic in the above image is thicker, exceeding 5mm, and can print 2.5D texture effects.
-
Refer to the following guide to select the appropriate printing mode and ink: https://support.eufymake.com/s/article/Standard-Mini-Flatbed-Printing-Substrate-Compatibility-Precautions
Support Contact
If the issue persists after completing the above steps, please contact eufyMake Customer Support at support@eufymake.com with the following information:
-
Your Order Information.
-
Printer SN. Please refer to: https://support.eufymake.com/s/article/How-to-Check-the-Device-Serial-Number-SN
-
Printer and App Logs. Please refer to:https://support.eufymake.com/s/article/Log-Upload-Process-App-PC-Overview
-
Relevant photos and videos.


