Fault Phenomenon
Liquid leakage is present inside or outside the machine.
Cause Analysis
-
Ink tube leakage
-
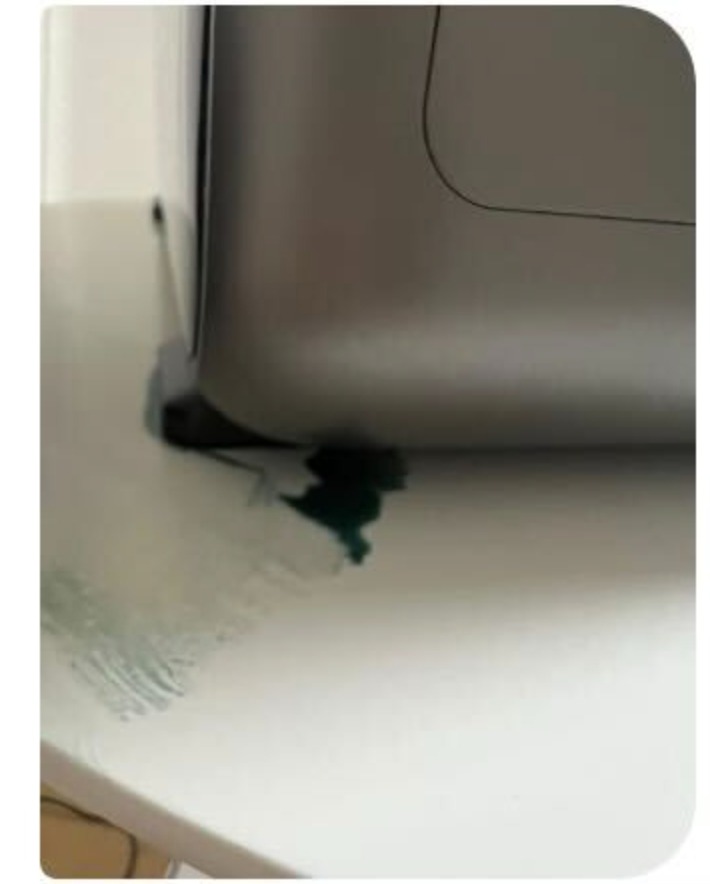
The eight rows of ink tubes near the ink cartridge holder are damaged, causing ink (colored), cleaning fluid (colorless), or moisturizing fluid (colorless) to drip onto the platform plate.
-
Ink accumulation on the ink pad
-
Ink accumulates on the ink pad. When the print head is moved away from the ink stack, leaked ink may be observed.
-
Waste ink pump or pipeline failure
-
If the waste ink pump fails or related pipelines are damaged, waste ink may flow into the silicone groove where the pump is installed and into the interior of the machine.
-
Nozzle ink dripping
-
The nozzle is damaged.
-
When the print head is moved out of the ink stack, the wiper blade fails to fully clean the print head, leaving residual ink droplets on the nozzle surface. Due to a siphon effect, residual ink may be drawn out of the print head and drip onto the platform plate.
-
Runner plate leakage
-
If an ink cartridge leaks, ink may drip onto the cartridge holder. Removing the ink cartridge can be used to determine whether this is the cause.
-
The runner plate itself is damaged and leaking ink. The colored area indicates the runner plate, while the uncolored area corresponds to the ink tubes for cleaning solution and moisturizing solution coming from the dosing bucket.
-
Leakage from the quantitative bucket causes cleaning solution or moisturizing solution to drip from the bottom of the ink cartridge holder onto the platform plate and bottom case.
-
Cleaning cartridge leakage
-
The app displays an overflow notification.
-
The cleaning cartridge is not properly inserted (corresponding app error code: Error 004).
-
The cleaning cartridge is manually removed during a deep clean operation.
-
Improper insertion or removal of the cleaning cartridge causes leakage.
-
Pump or tube leakage
-
The ink tubes or pumps of the cleaning fluid pump, moisturizing fluid pump, or waste ink pump are leaking.
-
Leakage inside the right Z-axis column
Required Tools
-
Disposable nitrile gloves
-
Cleanroom wipes
Troubleshooting
-
Inspect the eight rows of ink tubes and check for liquid leakage on the platform plate and bottom case. Confirm whether the leaked liquid is colored or colorless.
-
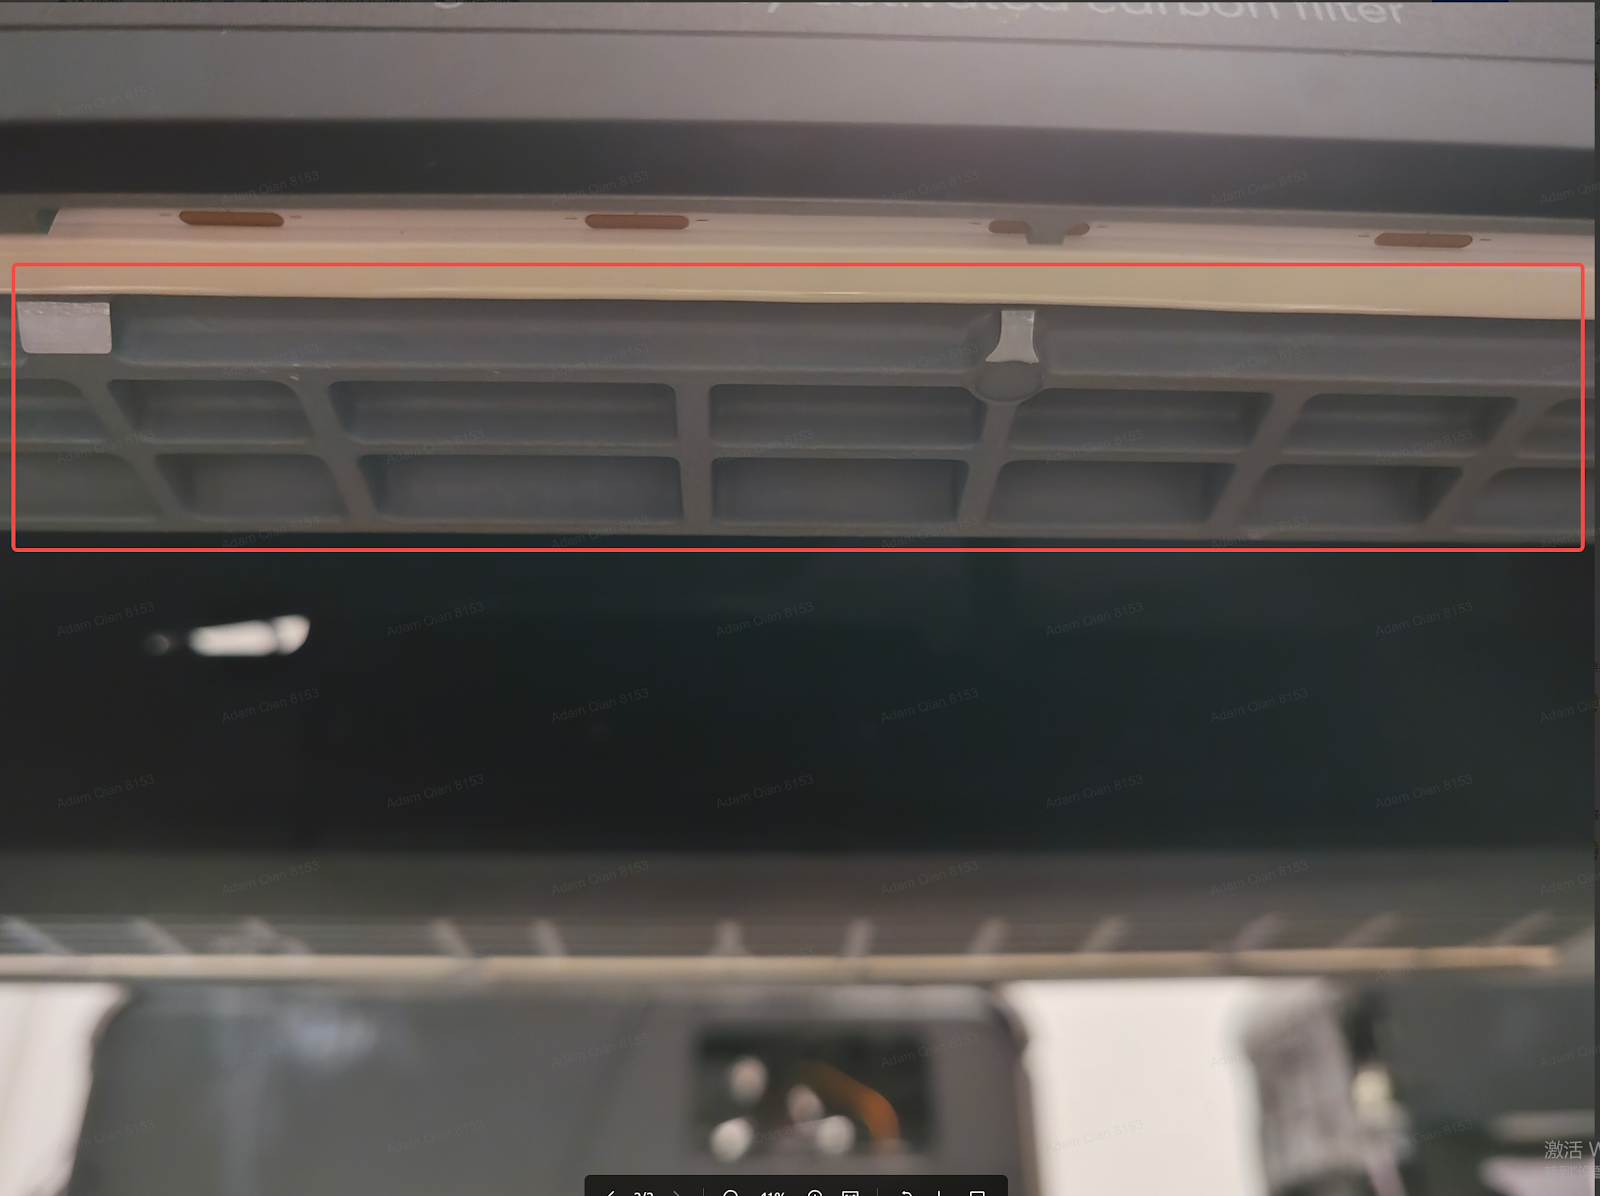
Remove the print head and check for traces of ink leakage along the edge of the ink stack. Inspect the right-side exterior components for signs of liquid leakage.
-
Waste ink pump leakage inspection
-
Remove the right-side cover and check for ink traces on the cover and in the silicone groove where the pump is installed.
-
Check the ink tubes connected to the three pumps for any signs of leakage.
-
Use a lint-free cloth to wipe the metal surface of the nozzle clean, then perform a print test (nozzle status chart).
-
If printing is normal, replace the ink stack wiper blade after completion.
-
If ink leakage persists, perform a deep clean, wipe the surface again, and repeat the print test.
-
If the issue still persists, take relevant photos and report them to customer support.
-
Runner plate leakage inspection
-
Remove all ink cartridges and check for signs of ink leakage at the bottom of the cartridge holder.
-
Check for liquid traces beneath the metal components and confirm whether the liquid is colored or colorless.
-
Remove the right quick-release panel and check for liquid leakage around the cleaning cartridge holder.
Solution
Except for ink dripping from the print head, cleaning cartridge issues, or ink cartridge leakage, all other leakage issues require repair or replacement.
Please contact eufyMake Customer Support at support@eufymake.com and provide the following information:
a. Purchase order information
b. Printer serial number (SN):
https://support.eufymake.com/s/article/How-to-Check-the-Device-Serial-Number-SN
c. Printer and app logs:
https://support.eufymake.com/s/article/Log-Upload-Process-App-PC-Overview
d. Relevant photos showing liquid leakage


