Flat Raised Mode Overview
Flat Raised is an advanced three-dimensional printing mode based on planar printing. It creates raised structures by stacking multiple layers of ink vertically.
Based on your requirements for relief thickness, you can adjust the number of ink layers, select ink types suitable for the substrate, and ensure the final structure is stable with smooth, well-defined edges. This mode is ideal for producing customized 3D effects such as raised graphics, text, and signage.
How to Use Flat Raised Mode
After selecting an element in the editor, a process editing panel will appear on the right side.
-
Select Flat Raised mode
-
Preview the result using the 3D preview
-
Download the generated depth map if needed
-
Select the ink mode:
-
Solid color
-
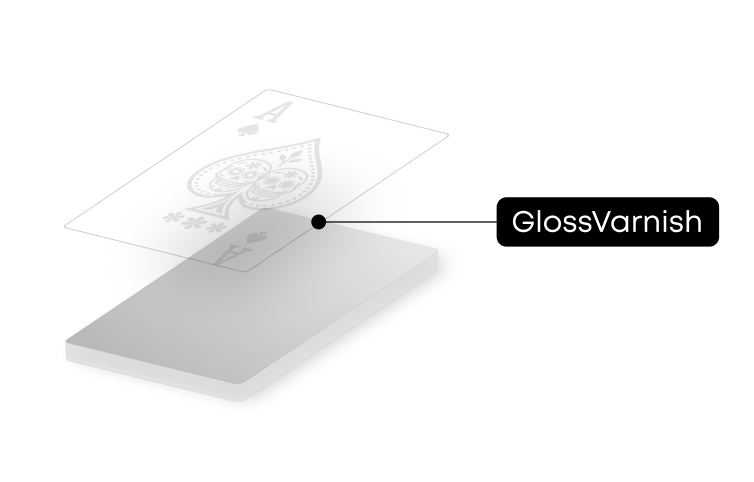
Solid varnish
-
White (foil-stamp)
-
Set the desired printing thickness