Applicable Scenarios
When you have completed your creative design and wish to share your work on the Make It Real platform, you need to fill in the project information and publish it. This article guides you through completing all required and optional fields on the project upload page to ensure your work is published successfully and discoverable by other users.
Applicable to:
-
Creators who want to share UV printing works on the Make It Real platform
-
Users who need to upload design files and set project parameters
-
Designers who want their works to be discovered by a wider audience
Operation Steps
-
Access the project upload page
Log in to the Make It Real platform, then click Publish Project to enter the project upload page.
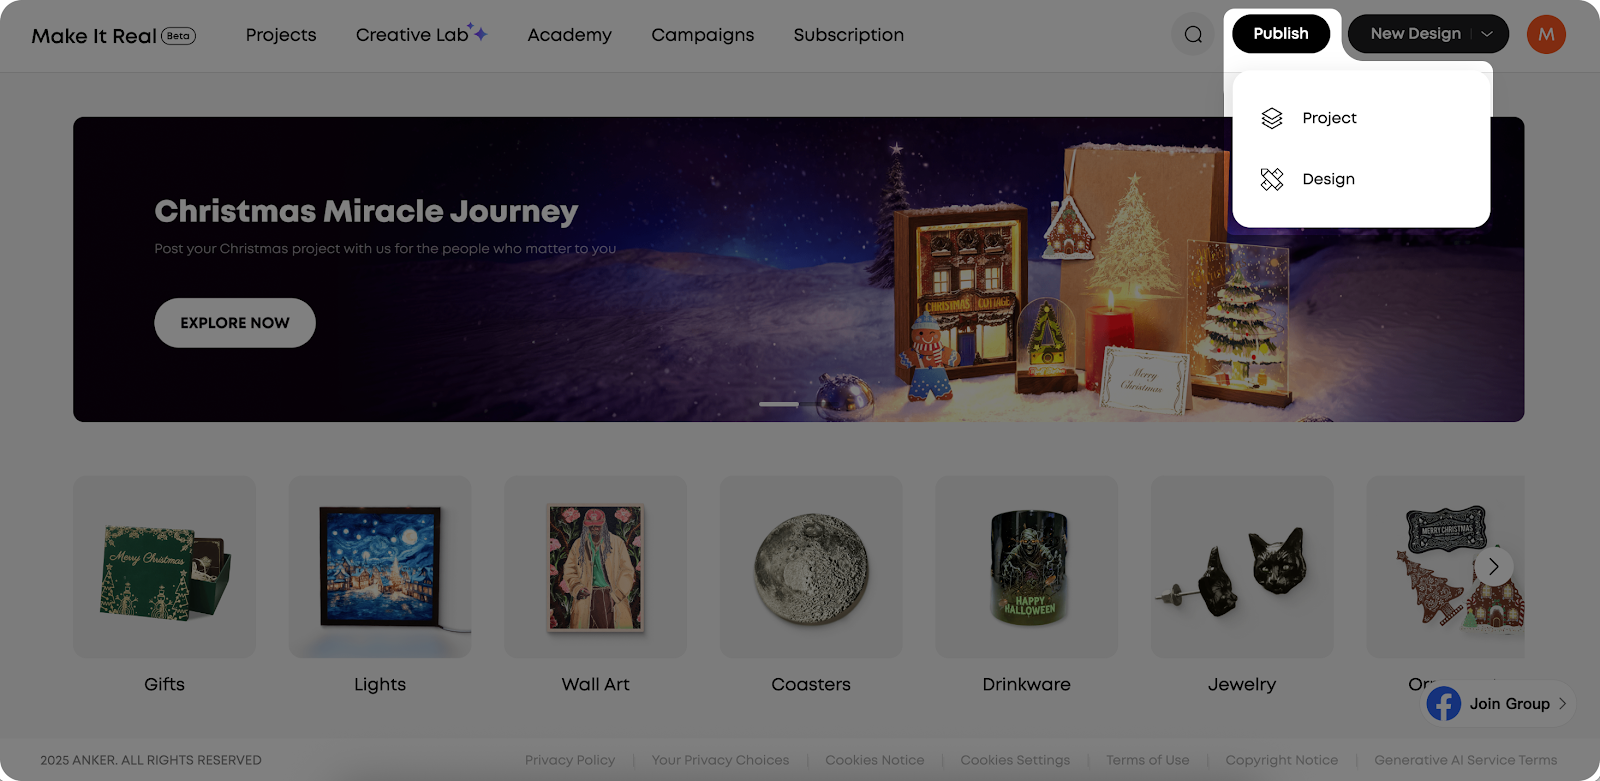
Publish Button
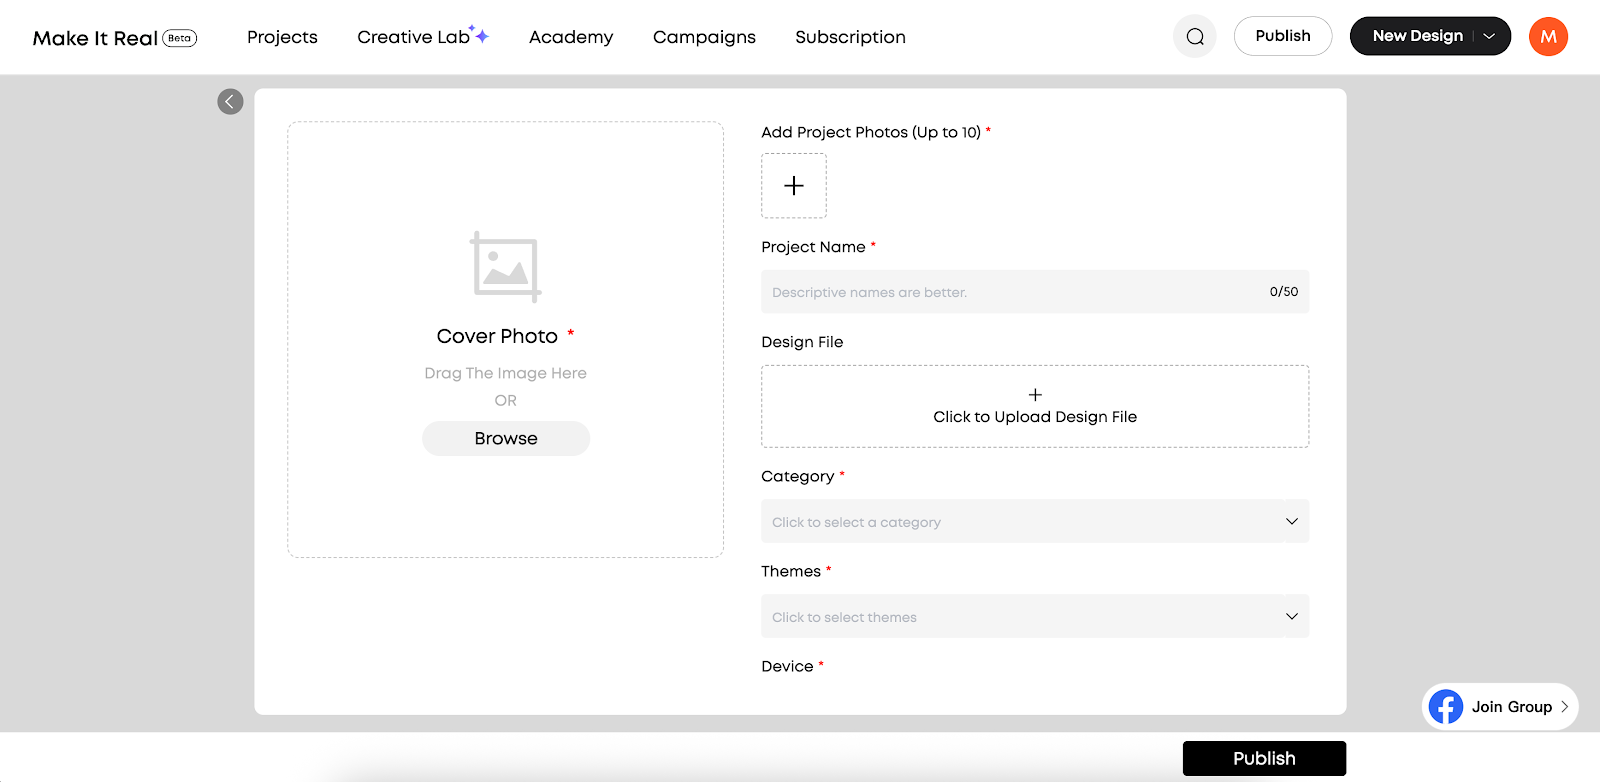
Release Project Page
-
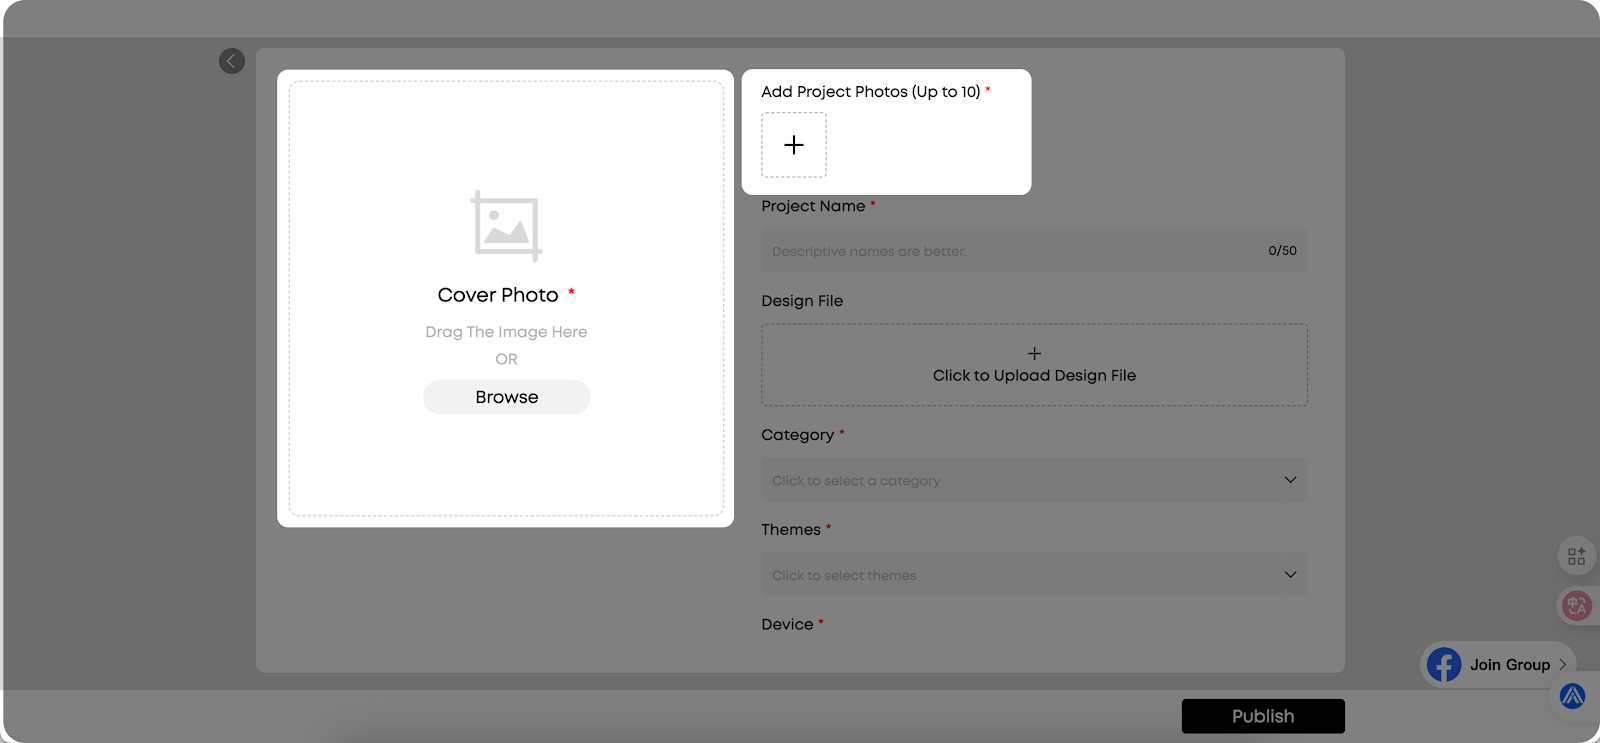
Upload Project Cover and Images (Required)
-
Fill in the Project Name (Required)
-
Enter the project name in Project Name
-
Maximum length: 50 characters
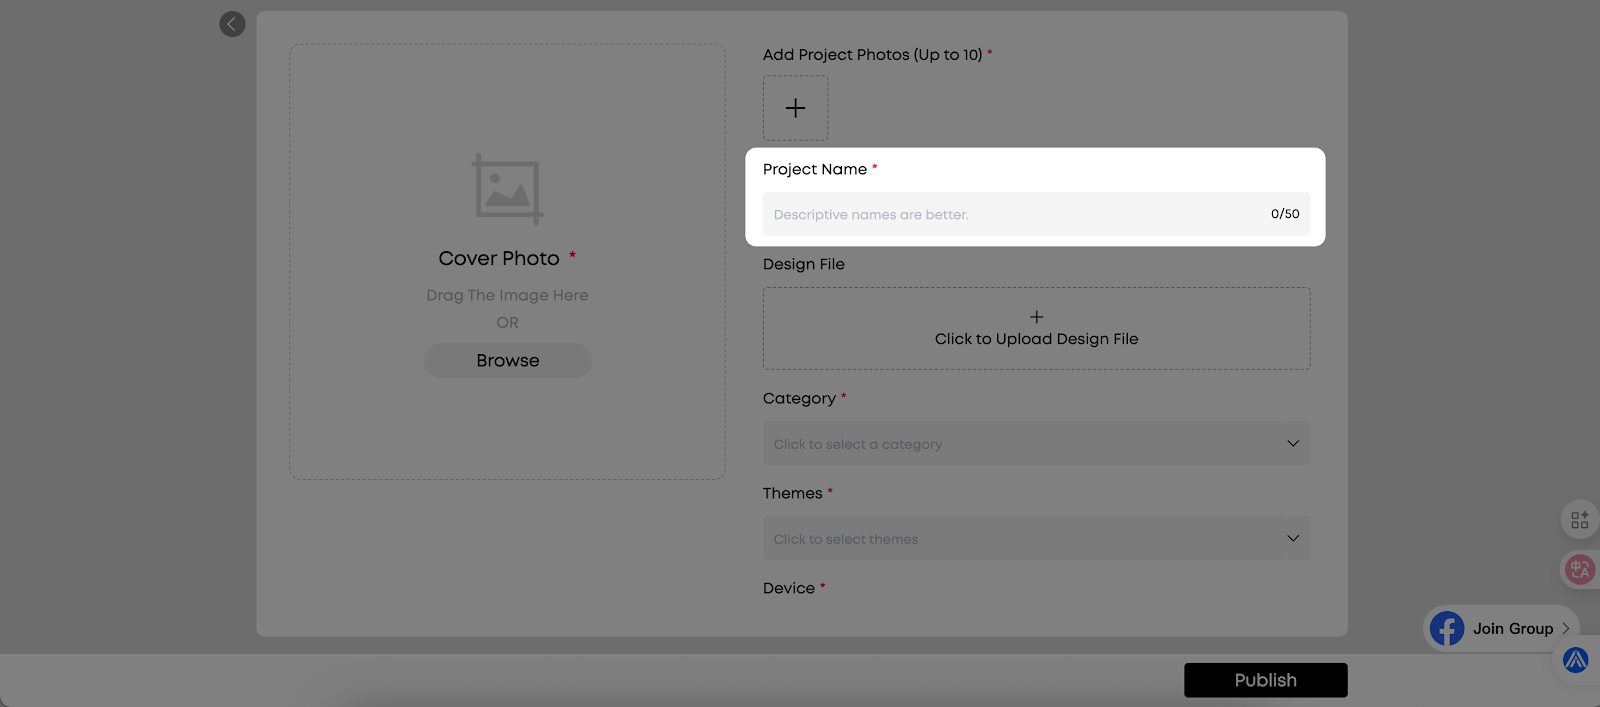
Tip: Use concise and descriptive names to help other users search for and identify your work.
-
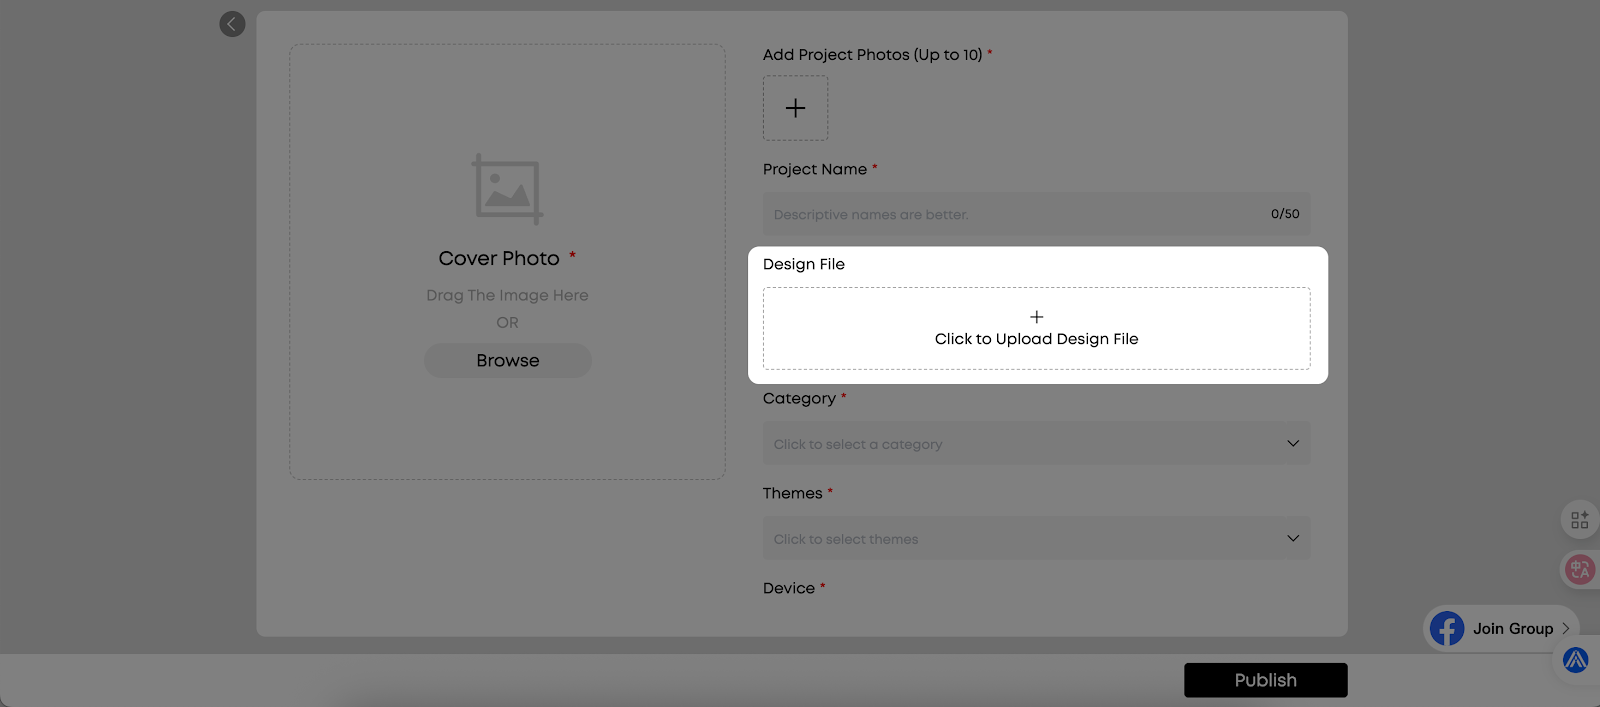
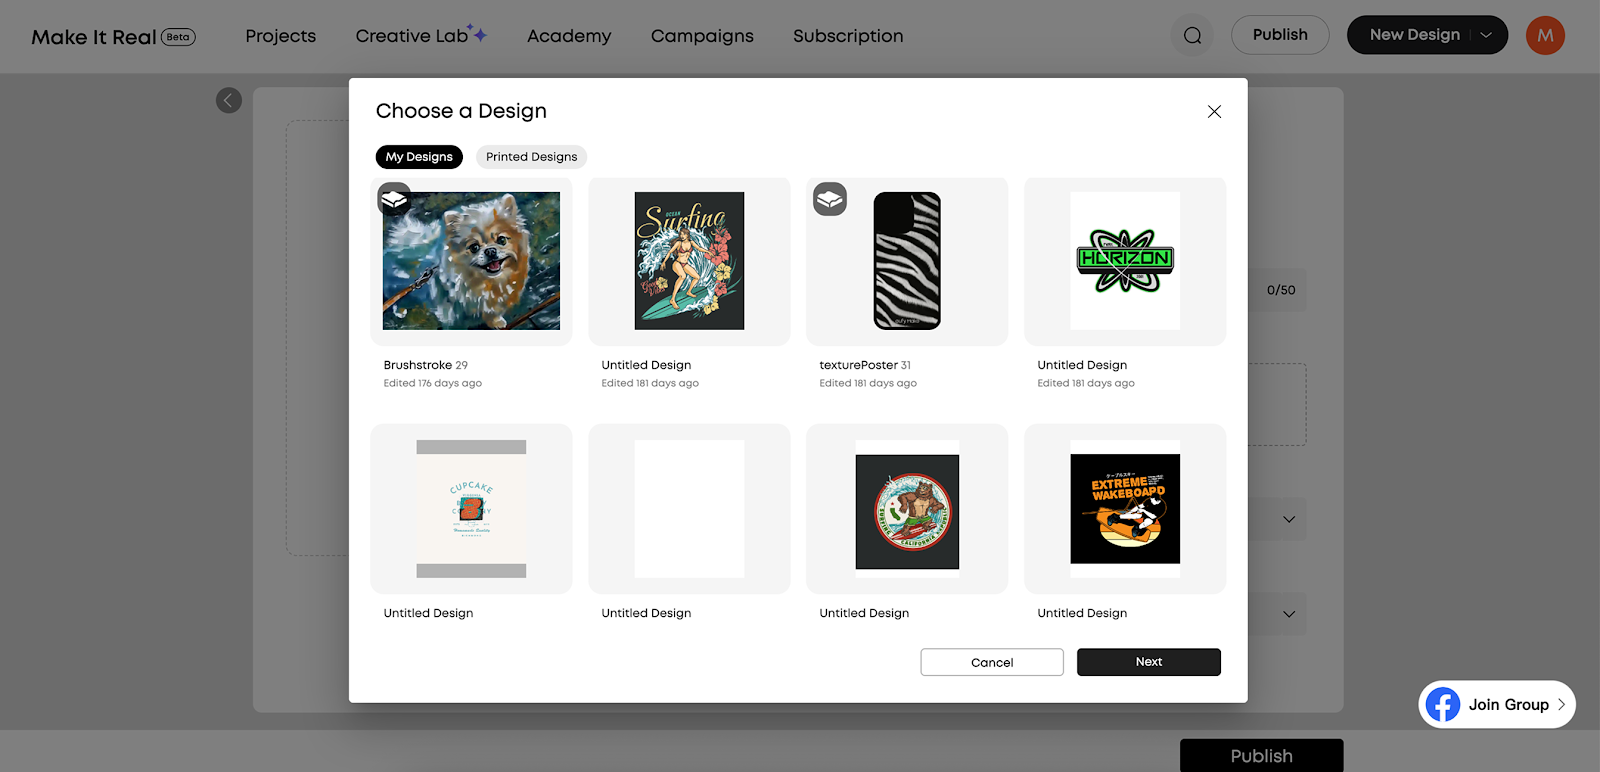
Upload Design Files (Optional)
-
Click Click to Upload Design File
-
Select your design file
Notes:
-
Uploading design files is optional
-
If design files are uploaded, other users can download and use them for custom printing
-
If no design file is uploaded, the Customize button on the project details page will appear gray and display “Author has not enabled customize”
-
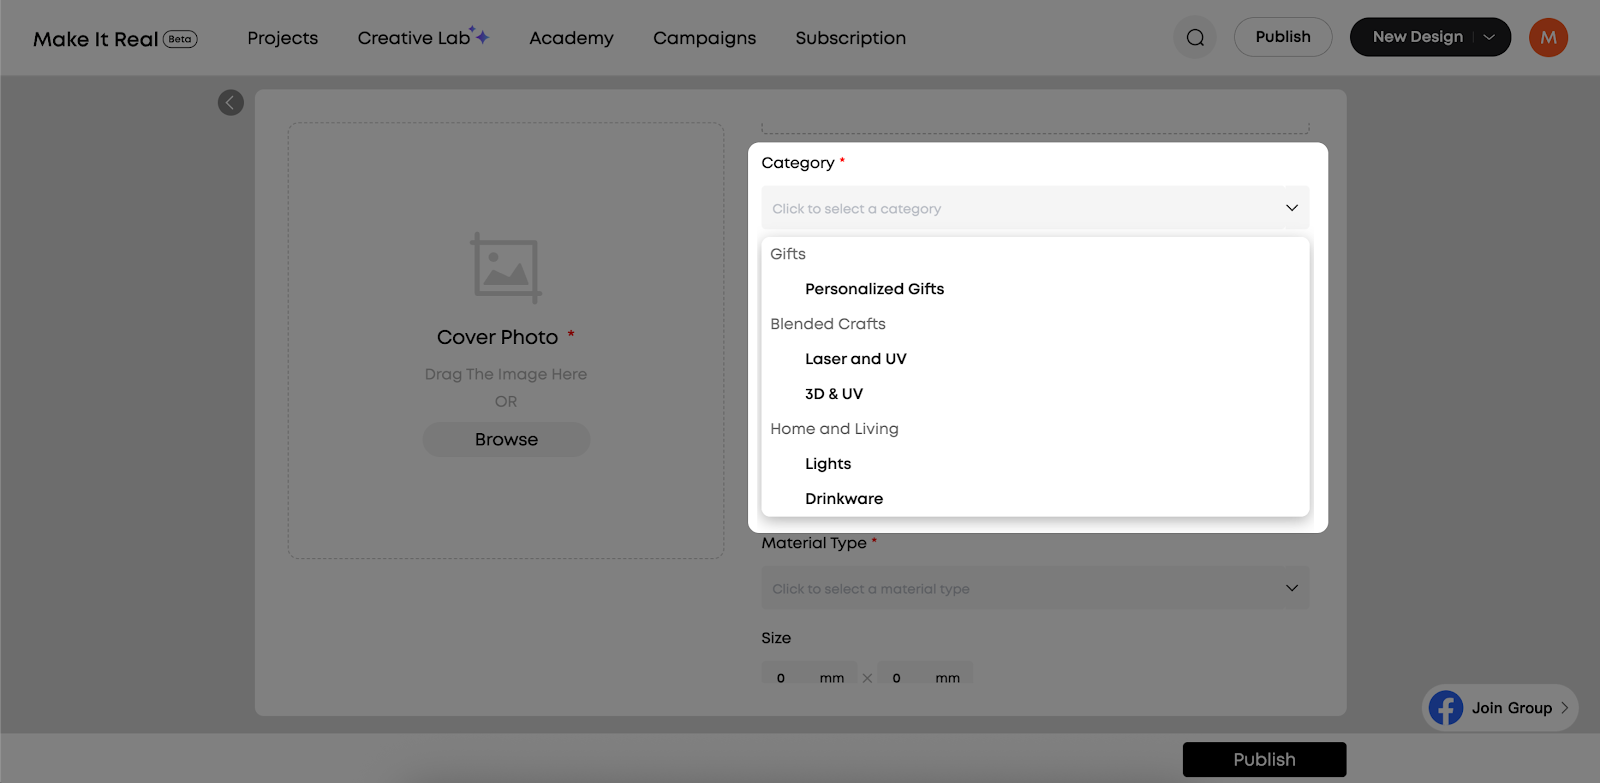
Select Project Category (Required)
-
Click the Category drop-down menu
-
Select the most appropriate secondary category
-
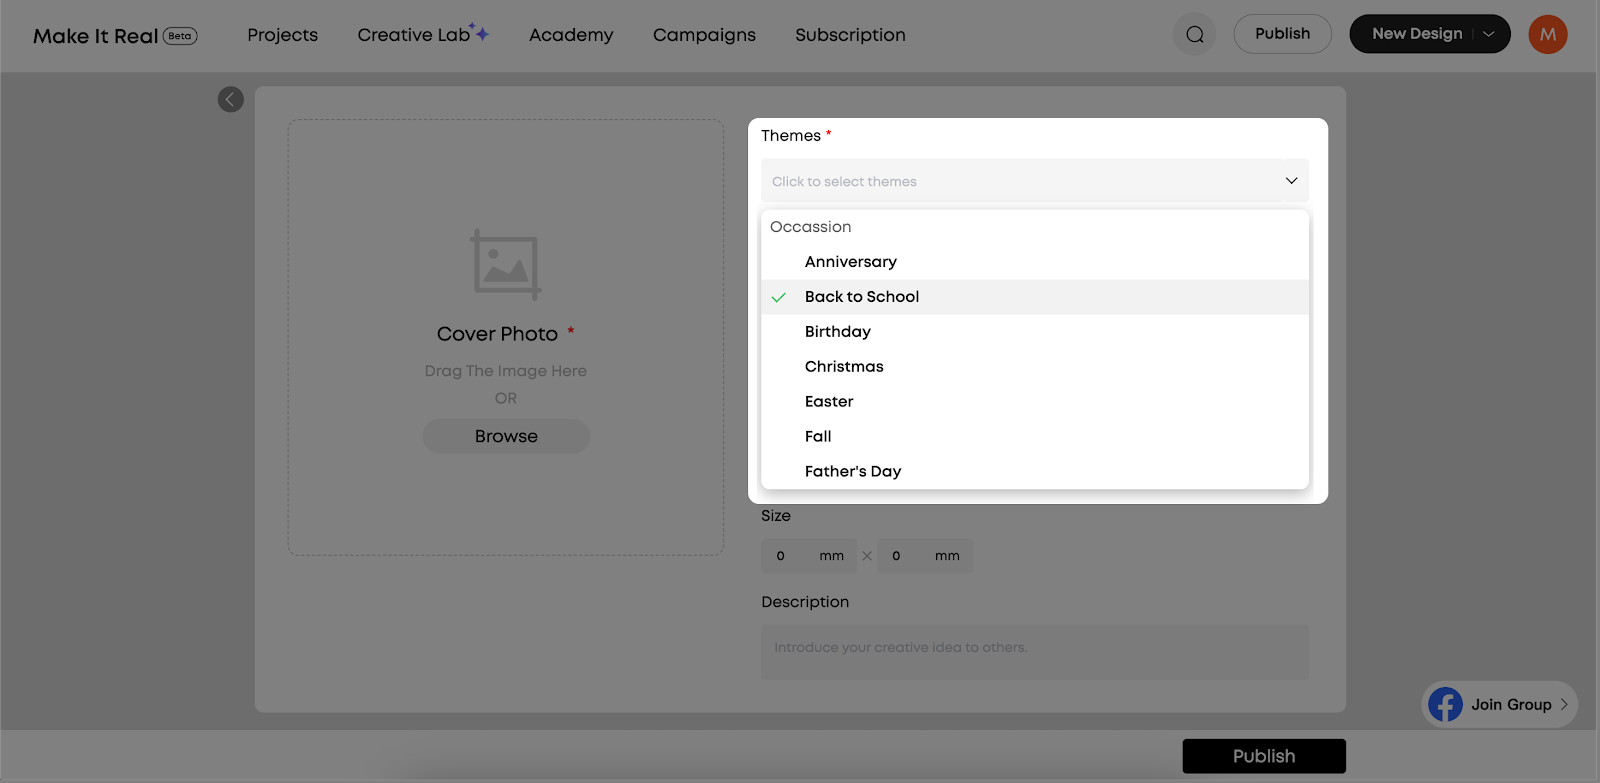
Select Project Theme (Required)
-
Click the Themes drop-down menu
-
Select theme tags that match your project (multiple selections allowed, up to 5)
-
Select device (required)
-
Click the Device drop-down menu
-
Select the printing device you use: eufyMake UV Printer E1
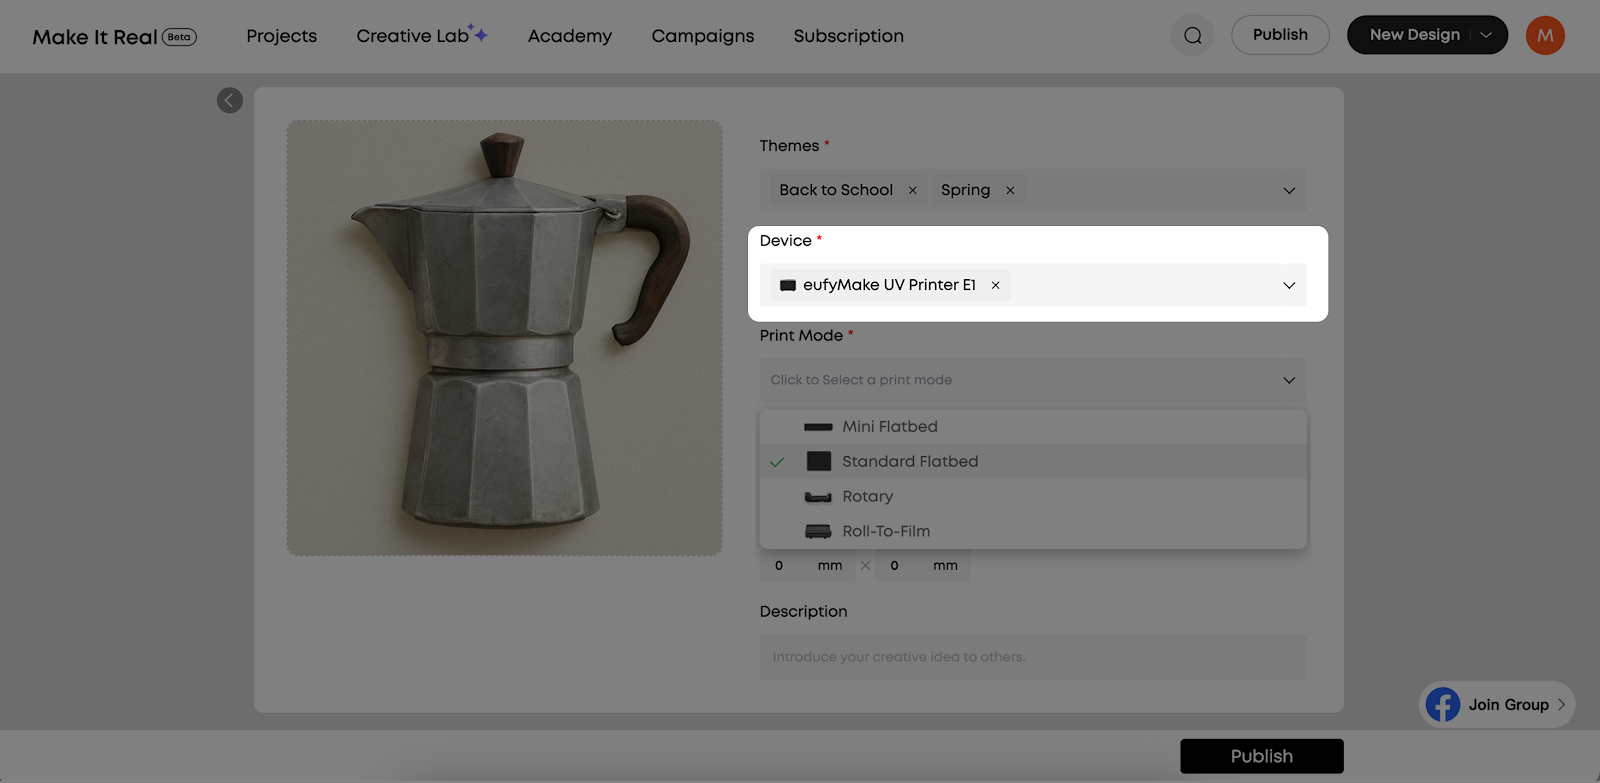
Note: If you upload a design file, the system will automatically identify the device
-
Select print mode (required)
-
Click the Print Mode drop-down menu
-
Select the print mode to use based on your device:
-
Mini Flatbed
-
Standard Flatbed
-
Rotary
-
Roll-To-Film
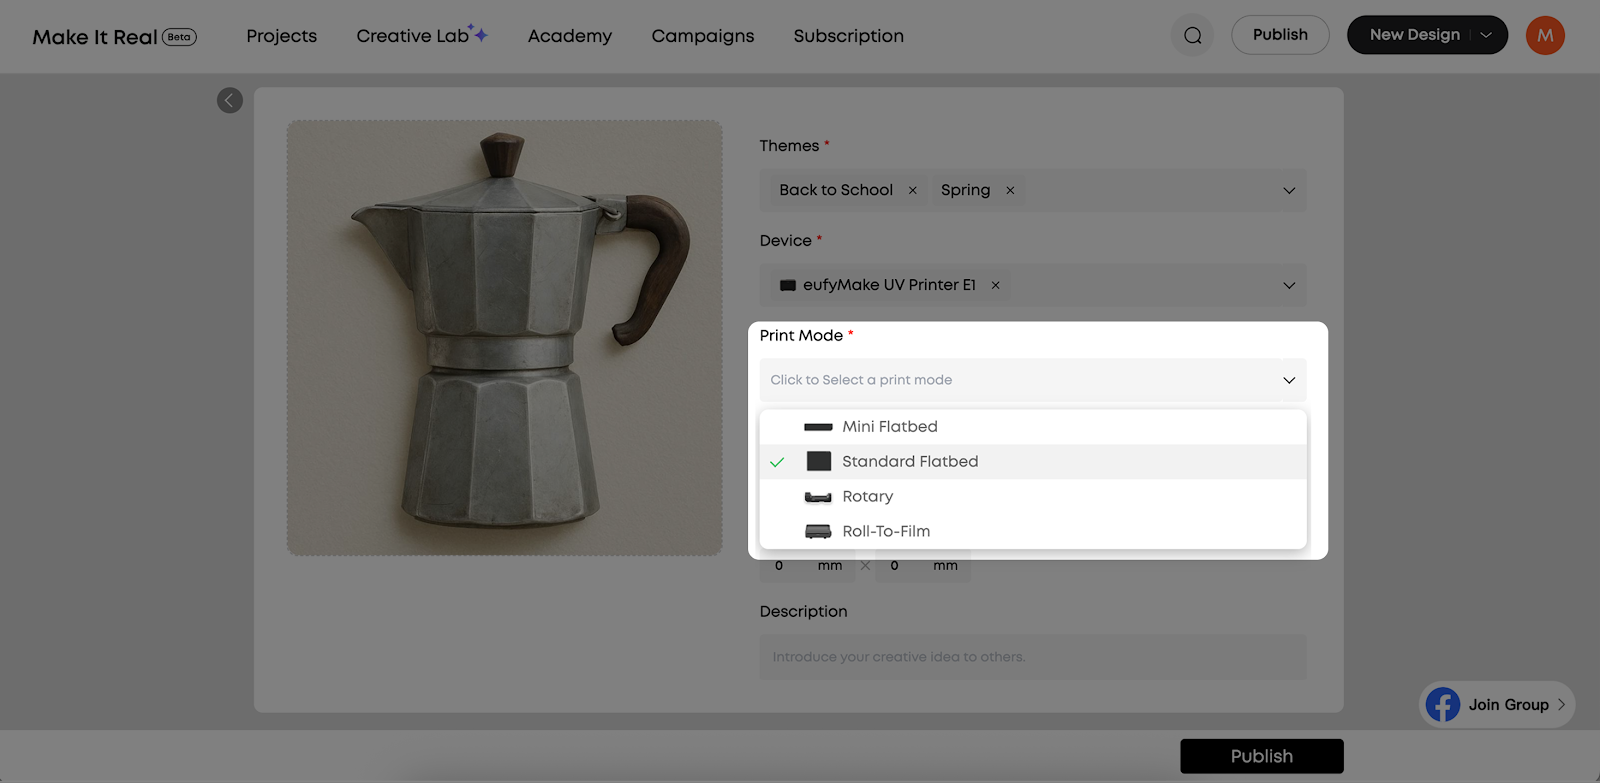
Note: If a design file is uploaded, the system will automatically recognize the printing mode.
-
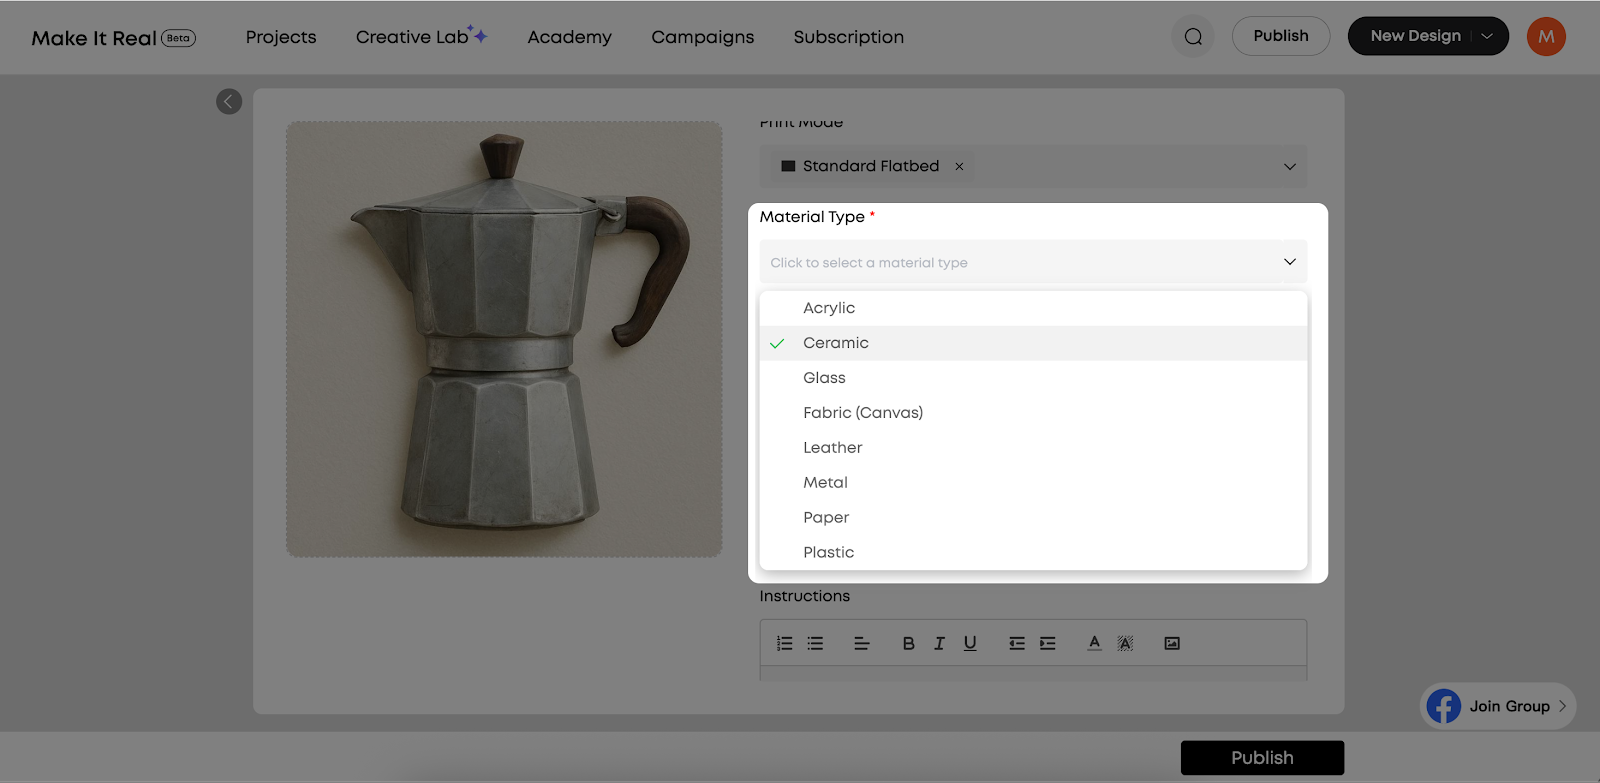
Select printing substrate
-
Click the Material Type drop-down menu
-
Select the printing substrate to be used
-
Enter Project Dimensions (Optional)
-
Enter the project dimensions in Size (unit: centimeters)
-
Supports numbers and decimals, up to one decimal place
-
Input range: 0.1–9999
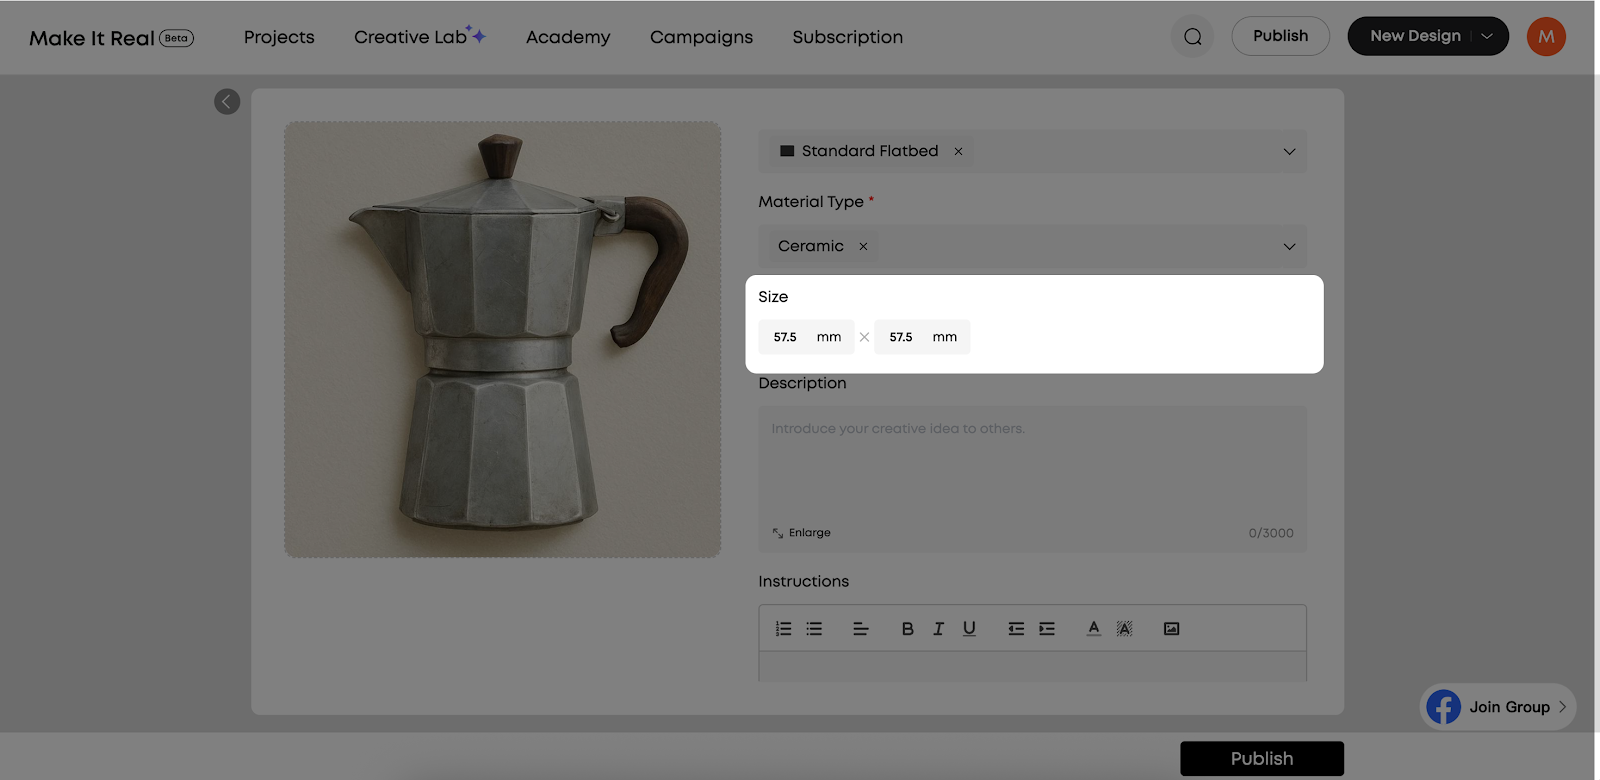
Notes:
-
This field is optional
-
If left empty, the project details page will display “Unknown”
-
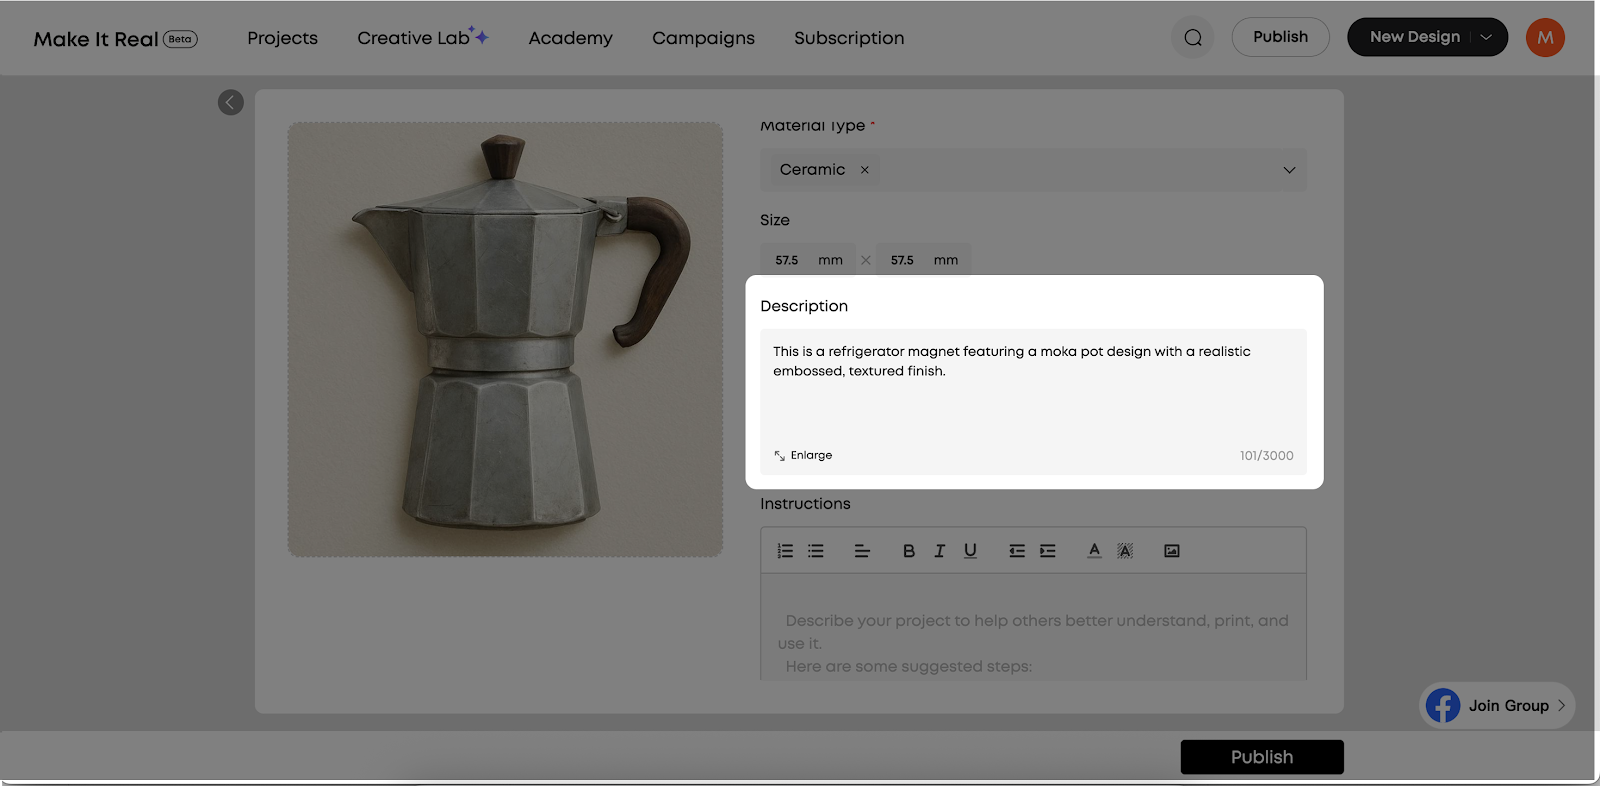
Enter Project Description (Optional)
-
Enter the project description in Description
-
Maximum length: 3000 characters
-
Click Enlarge to expand the input field
-
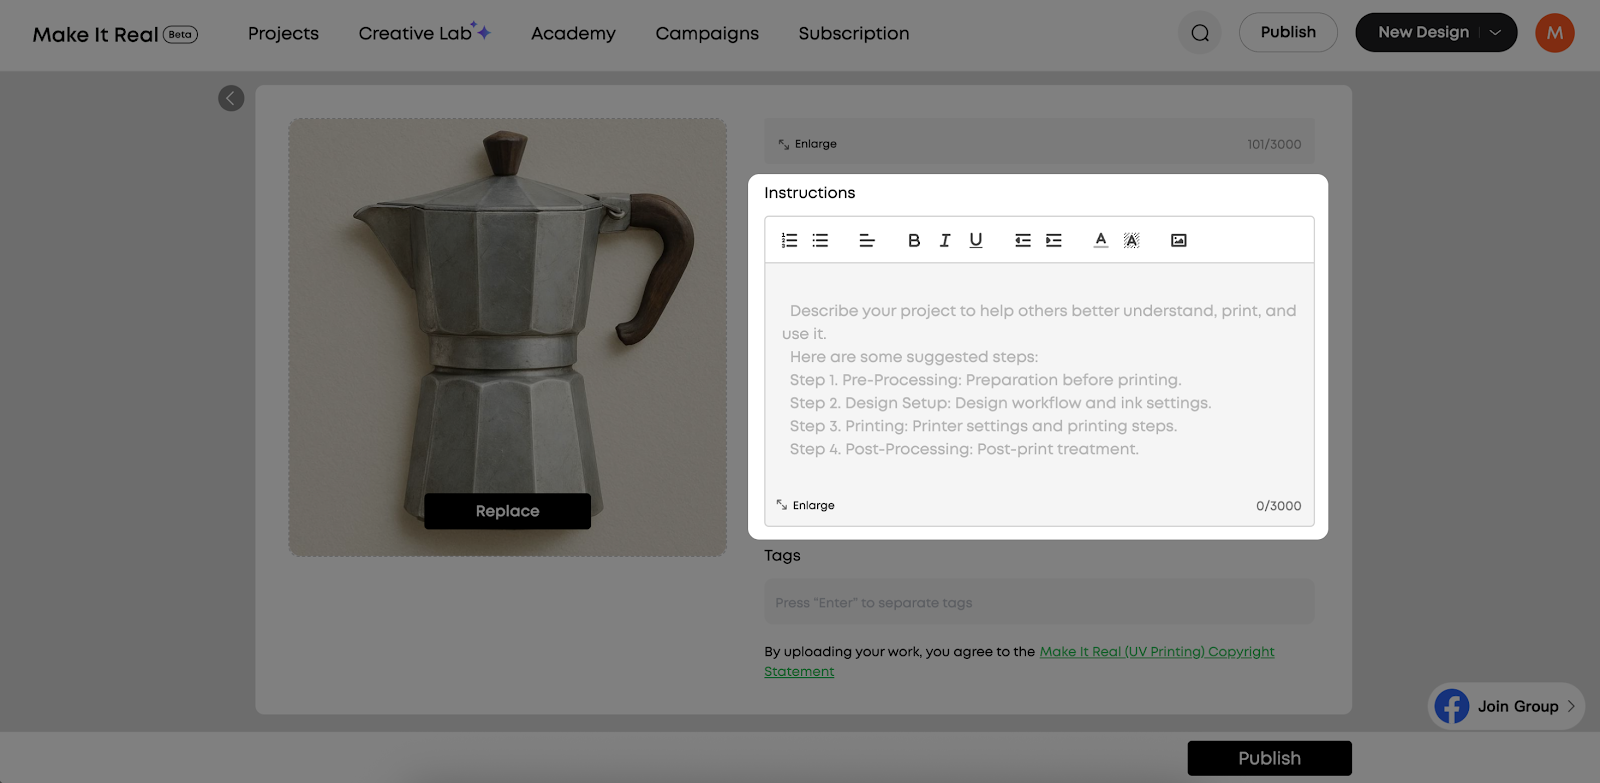
Enter Production Instructions (Optional)
-
Enter production instructions in the Instructions rich text editor
-
Supports rich text formatting (bold, italics, lists, etc.)
-
Maximum length: 3000 characters
-
Click Enlarge to expand the input field
-
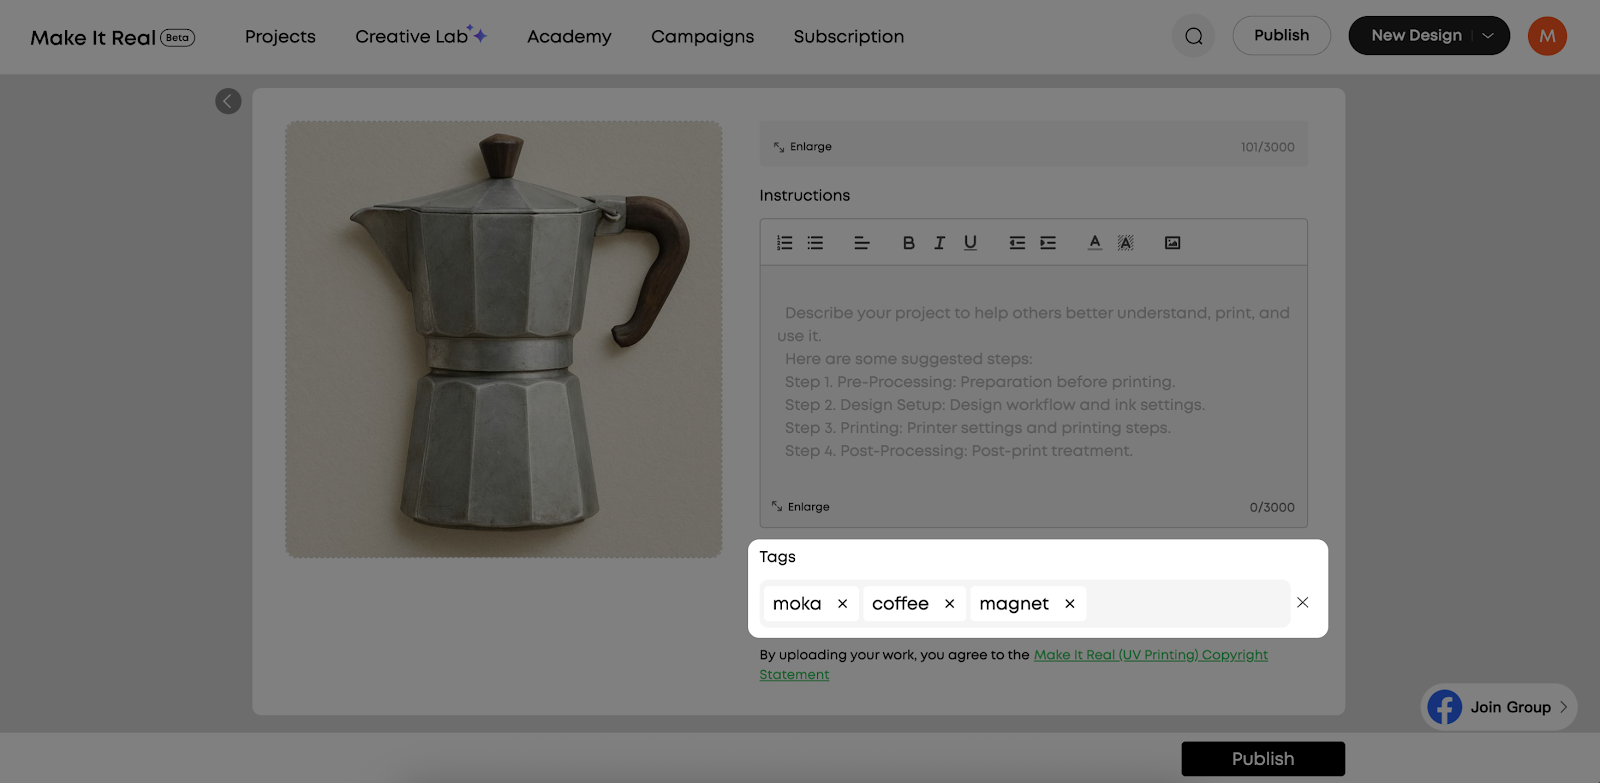
Add Tags (Optional)
-
Enter keywords in the Tags input box
-
Press Enter to separate multiple tags
-
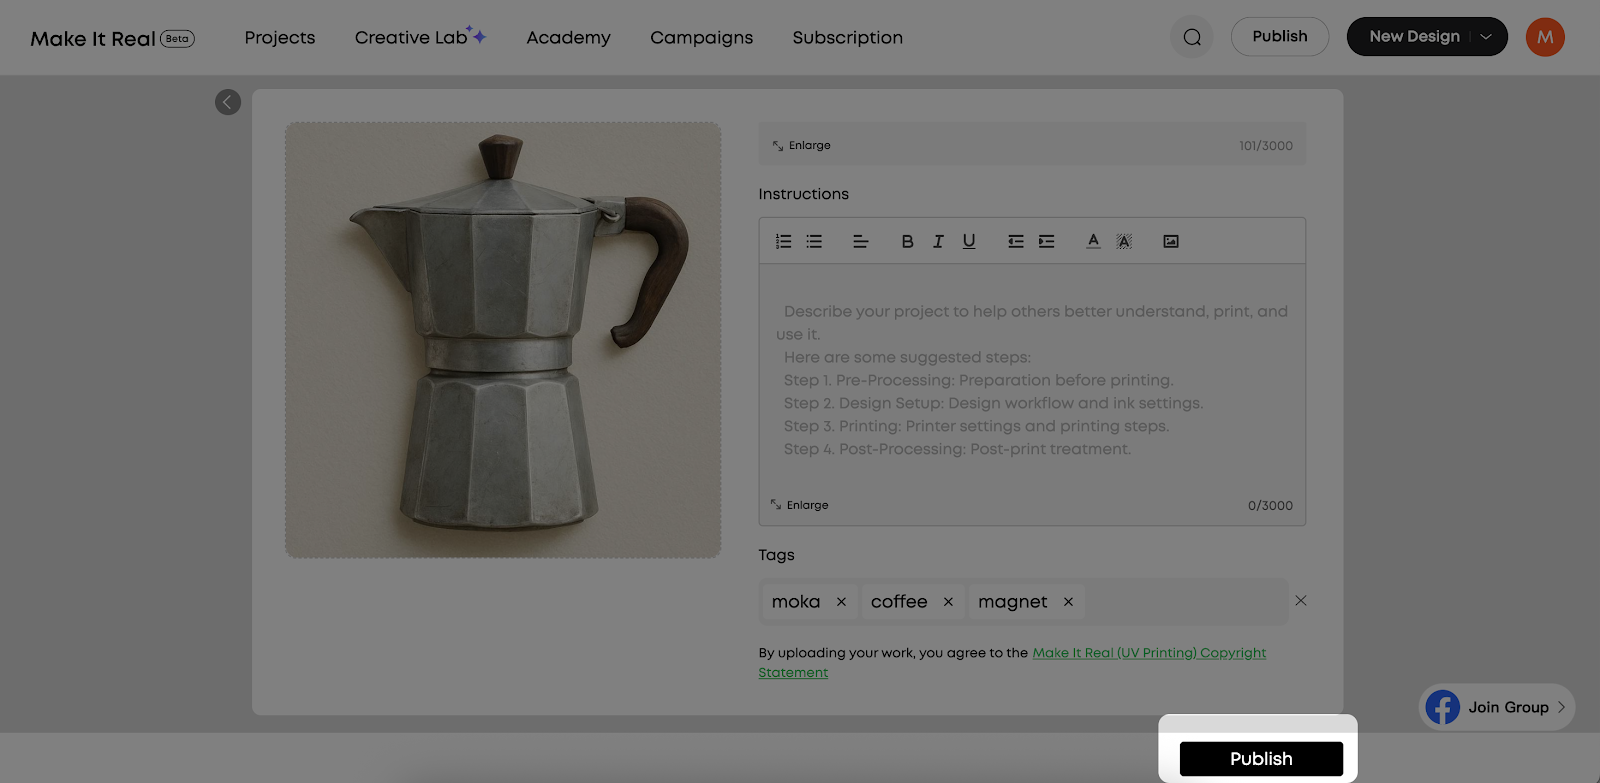
Review and Publish
-
Confirm that all required fields are completed. More complete project information improves discoverability.
-
Click Publish at the bottom of the page
-
Click Publish again in the confirmation pop-up
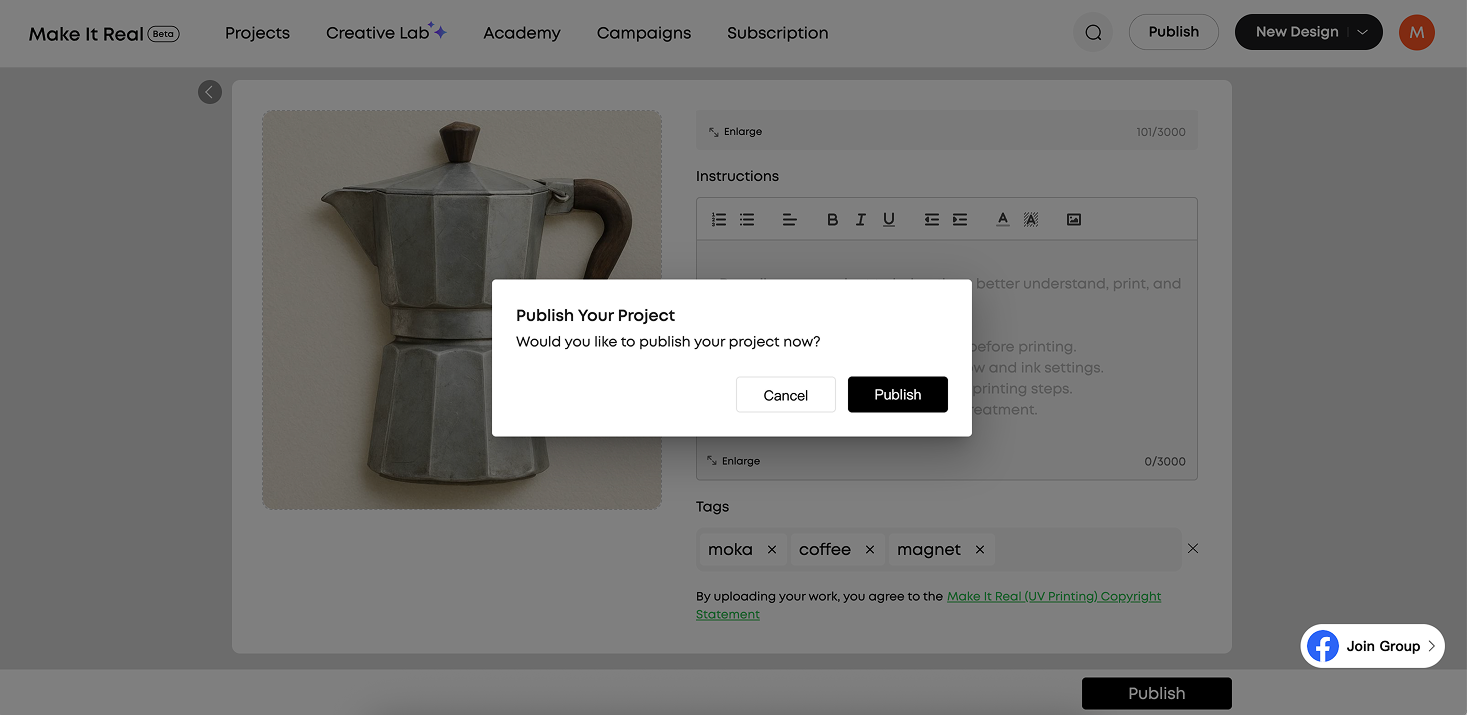
-
Once published, the work will be publicly displayed on the Make It Real platform
Precautions
-
Design File Upload
-
Ensure that you own the copyright of any uploaded design files or have obtained proper authorization
-
Uploaded design files allow other users to download and use them, including for commercial purposes
-
If you do not wish to share design files, you may skip this step and upload only finished project images
-
Required Field Validation
-
Before publishing, the system automatically checks all required fields
-
If required fields are missing, a prompt will appear and the page will automatically scroll to the first incomplete field to assist you in completing the project information


