Installation Steps:
- Unpacking:
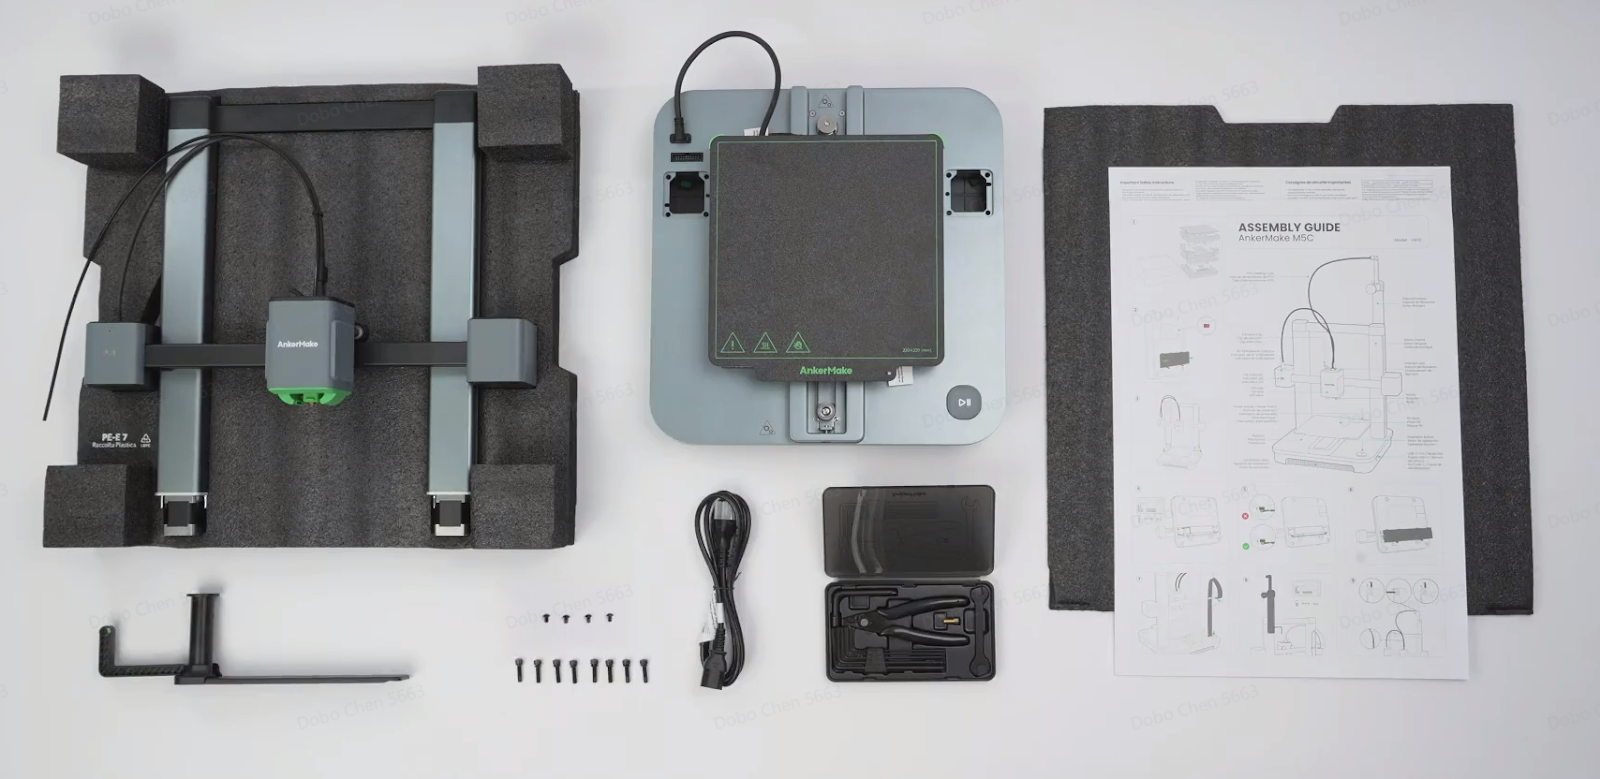
- Open the box and remove the foam, installation instructions, printer base, gantry, accessories, and other materials from the printer.
Set Voltage Level:
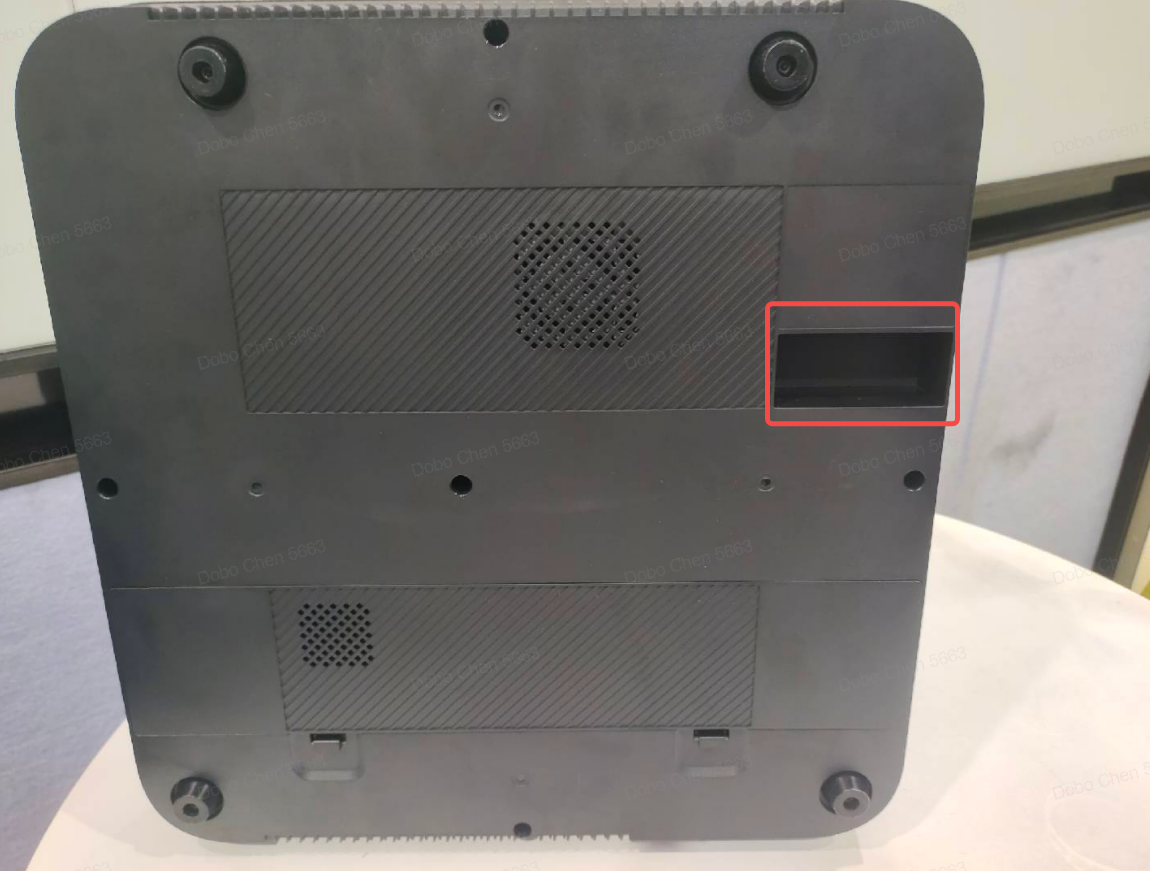
- Flip the equipment base back. Locate the voltage adjustment window on the right side of the bottom. Adjust the voltage switch to either 115V or 230V based on your local voltage requirements. The 115V setting is suitable for the 90V-130V range, and the 230V setting is suitable for the 180V-260V range.

Install the Equipment:
3.1 Align and insert the positioning pins on the left and right Z-axis motors of the gantry with the positioning pin holes on the printer base.


3.2 Flip the printer backwards, open the printer base cover, take out 8 M5 * 20 gantry locking bolts, and use a 4.0 hexagonal wrench to tighten the 8 gantry locking bolts.

3.3 Insert the left and right Z-axis motor signal lines, ensuring the left motor connects to the short cable and the right motor to the long cable, then cover the base cover.

3.4 Stand up the printer, plug in the bottom cable of the left upright, and remove the fixing foam on the hot bed (one piece at the front and one at the back).


3.5 Install the material rack by locking the 4 M4 * 6 printer material rack bolts using a 2.5 wrench.

3.6 Pass the Teflon tube through the back of the Type-C port.

3.7 Remove the Teflon tube clip from the rack and insert the Teflon tube into the hole on the rack (ensure the Teflon tube port is flush with the right side of the rack).


3.8 Plug in the power cord, turn on the power switch in the upper right corner of the device base, and wait for the device to fully start after the device "beeps."

3.9 Perform "Automatic Leveling" of the printer.
If the above problems cannot be solved, please contact us at us.


