How to Transfer Files and Start Printing for M5
M5 Model File Gcode Data Transmission Methods
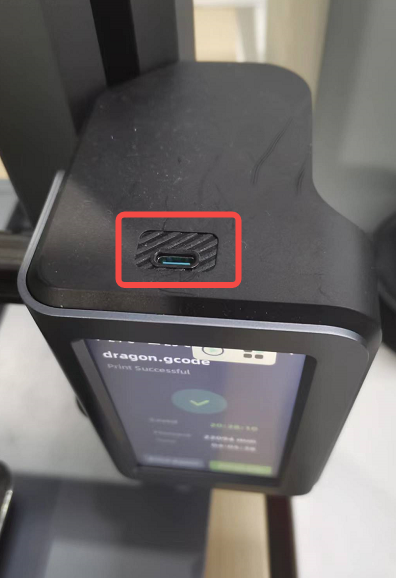
1. Using a USB-C Flash Drive
- Create Gcode File:
- Use AnkerMake Slicer or compatible third-party slicer software (like Cura, Simply3D, and PrusaSlicer) to create a Gcode file.
- Copy to USB-C Flash Drive:
- Store the Gcode file on a Type-C flash drive (not included).
- Insert the USB flash drive into the M5. The Gcode files on the flash drive will appear in the USB section on the M5.
- Note: Files sliced by AnkerMake Studio have the suffix .acode, which includes the Gcode and AI intelligent detection function files required for printing. AnkerMake M5 works best with AnkerMake Slicer, which supports AI recognition.
2. Sending via Wi-Fi Using AnkerMake Studio
- Import Model:
- Import the model into AnkerMake Studio.
- Click "Slice Now" to slice after selecting the slice mode and parameters.

Print:
- In the Preview interface, select "Print" and then choose the corresponding device to start printing.


M5 Model Printing Methods
1. Screen Control Printing
- Start Printing:
- Click "Start" on the PC and console game page.

Select Gcode:
- Choose the storage location of the Gcode and select the workpiece to be printed.


View and Print:
- View relevant parameters in the workpiece details interface, such as speed, filament weight consumption, and printing time.
- Click "Print" to begin. The device will preheat first. Once the nozzle and hotbed reach the set temperatures, printing will start automatically.


Monitor Progress:
- During printing, monitor the completion progress and remaining time.
- Adjust the Z-offset and nozzle and hot bed temperatures in real-time.

Reprint:
- After printing is complete, the total printing time and consumable weight will be displayed. To print the same workpiece again, select "Reprint."

Remote Control Printing via AnkerMake App
- Select Printer:
- Choose the printer in the app.


Select Print File:
- Tap the "Print" button, then choose the print file from Storage (pre-stored Gcode files) or USB (ensure USB is plugged into M5).

Start Printing:
- Select the print file and tap "Print" at the bottom.

- The device will preheat, and once ready, printing will start.

3. Remote Control Printing via AnkerMake Studio
- Slice and Preview:
- After slicing in AnkerMake Studio, preview the slice.

- Blue indicates different structural parts, red shows the current layer scanning path, and yellow previews workpiece topography at different heights.
Print:
- Click "Print" in the lower right corner, select the printing device, and confirm. The device will start printing once it reaches the required temperature.


Still Need Help?
Contact AnkerMake customer support via us.
119 undefined

M5C X Axis Belt Adjuster.gcode
Ankermake Studio Guide(V1.5.21)
M5C Y axis belt adjuster.gcode
V8110 AnkerMake M5C EU Declaration of Conformity
V8110_UK Declaration of Conformity
M5C Y Axis Belt Adjuster.gcode
View More


How to Replace the Air Guide of the Print Model Fan

How to Replace the Print Model Fan

Auto Leveling

V Wheel Adjustment

How to Transfer Files and Start Printing

Loading Filament
View More