How to Replace the Display Screen for M5
Identifying Issues:
- Display touch failure.
- Display screen is broken.
- Black dots, horizontal lines, vertical lines, etc. on the display screen.
Method of Replacement:
- Remove the Right Shoulder Shell Back Cover:
- Use an H2.0 hex wrench to remove the three bolts on the back cover and the two bolts at the bottom front end of the M5's right shoulder shell.


Remove the Right Shoulder Rear Shell Cover Plate:
- Use the H2.0 hex wrench to remove the four bolts that fix the front shell of the right shoulder internally.


Disconnect Wires:
- Use an H2.0 hex wrench to remove the ground wire connection bolts, the two TYPE-C wire bolts, and pull out the TYPE-C wire.

Remove the Display Screen Module:
- Remove the front decorative cover of the display screen, remove the display screen cover, unplug the camera LED light cable, push the buckle forward to remove the camera cable, unplug the X-axis motor cable, and push the FCC cable buckle upward to unplug the FCC cable. Remove the entire display screen module.


Remove the Junzheng Board:
- Use an H1.5 hex wrench to remove the board fixing bolt (green in the figure below), unplug the WIFI antenna (red in the figure below), remove the display cable (green in the figure below), and remove the board.


Remove the Display Screen Fixing Plate:
- Use an H1.5 hex wrench to remove the four fixing bolts of the display screen fixing plate and remove the display screen fixing plate and display screen.


- Install the New Display Screen:
- Install the new display screen and use an H1.5 hex wrench to lock the display cover with four bolts.
- Reinstall the Board:
- Install the board, lock it with an H1.5 hex wrench, plug in the display cable, and the WIFI antenna.
- Reconnect the Cables:
- Plug in the camera module LED line, camera cable, X-axis motor line, and FCC cable into the board.
- Reconnect the TYPE-C Wire:
- Insert the TYPE-C wire and install the TYPE-C wire fastening bolts using an H2.0 hex wrench.
- Secure the Bottom Line Connecting Screws:
- Use an H2.0 hex wrench to fix the bottom line connecting screws and install the display front decorative cover.
- Reinstall the Front Cover:
- Install the front cover with an H2.0 wrench and install the screen cover screwdriver.
- Reinstall the Right Shoulder Back Cover:
- Use the H2.0 wrench to lock the right shoulder back cover and bottom housing bolts to complete the screen replacement.
If you encounter any issues or need further assistance, please contact AnkerMake customer support at us.


119 undefined

M5C X Axis Belt Adjuster.gcode
Ankermake Studio Guide(V1.5.21)
M5C Y axis belt adjuster.gcode
V8110 AnkerMake M5C EU Declaration of Conformity
V8110_UK Declaration of Conformity
M5C Y Axis Belt Adjuster.gcode
View More

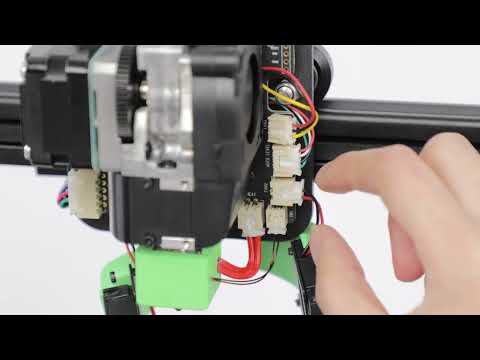
How to Replace the Air Guide of the Print Model Fan
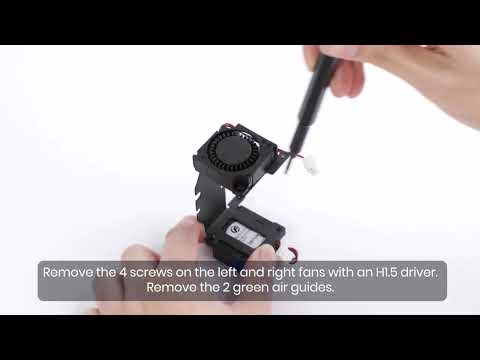
How to Replace the Print Model Fan
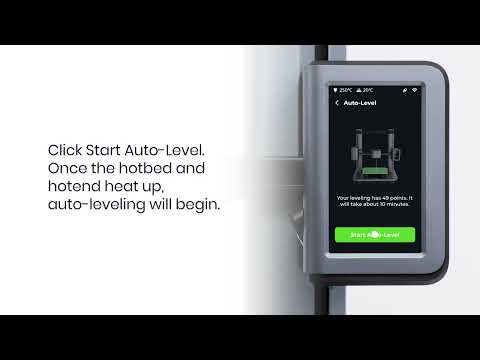
Auto Leveling
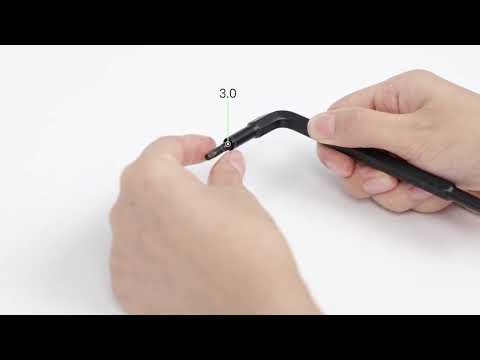
V Wheel Adjustment
How to Transfer Files and Start Printing
Loading Filament
View More


