Overall Introduction
The initial startup process consists of two main parts:
-
Machine Binding
Link the device to your personal account. This is similar to logging in with an Apple ID or Google account on a new phone and is required before using all device features.
-
Machine Initialization
A fully automated “physical check” and preparation process, including ink filling, printhead inspection, and camera calibration. This ensures the printer reaches an optimal printing state. Initialization is only required during the first startup or after a factory reset. For factory reset, please refer to: https://support.eufymake.com/s/article/eufyMake-UV-Printer-E1-Device-Unbinding-Factory-Reset
Important Notice:
If factory settings have been restored, ensure all ink cartridges are at least half full before starting initialization. This amount includes the initial ink injection and a safety buffer. Not all ink will be consumed during initialization.
Detailed Functions and Operating Procedures
Watch the instructional video: To better understand the process, it is recommended to watch the official instructional video: eufyMake E1 Tutorial | Part 2: Setup and Beginner’s Guide
Step 1 - Machine Binding
First, we need to connect the machine to the network and bind it to your account.
Overview of Binding Process
The software will guide you through the following steps:
Select device model -> Select network connection method -> Search for and select your device -> Account authorization -> Set up Wi-Fi -> Complete binding
How to choose the networking method?
We offer two networking methods, and you can choose according to your own environment:
-
Wi-Fi Connection (Recommended)
-
Advantages: Easy to operate, no network cable required. Supports 2.4GHz and 5GHz frequency bands.
-
Operation: During the binding process, simply search for the Wi-Fi signal in your environment and enter the password.
-
Ethernet connection
-
Advantages: More stable connection, not affected by wireless signal interference.
-
Prerequisite: Connect the printer to your router using an Ethernet cable, and ensure that your phone or computer is also connected to the router's network.
How to find and connect your device?
-
Bluetooth Search (Recommended) : The software will automatically search for nearby devices to be paired via Bluetooth. You only need to select your machine from the list.
-
Scan the QR code : You can also quickly identify and bind the device by scanning the QR code on the device body.
Important Notice: One device can only be bound to one primary account. After successful binding, the primary account can share the device's usage rights with up to 3 other users.
Step 2 - Machine Initialization
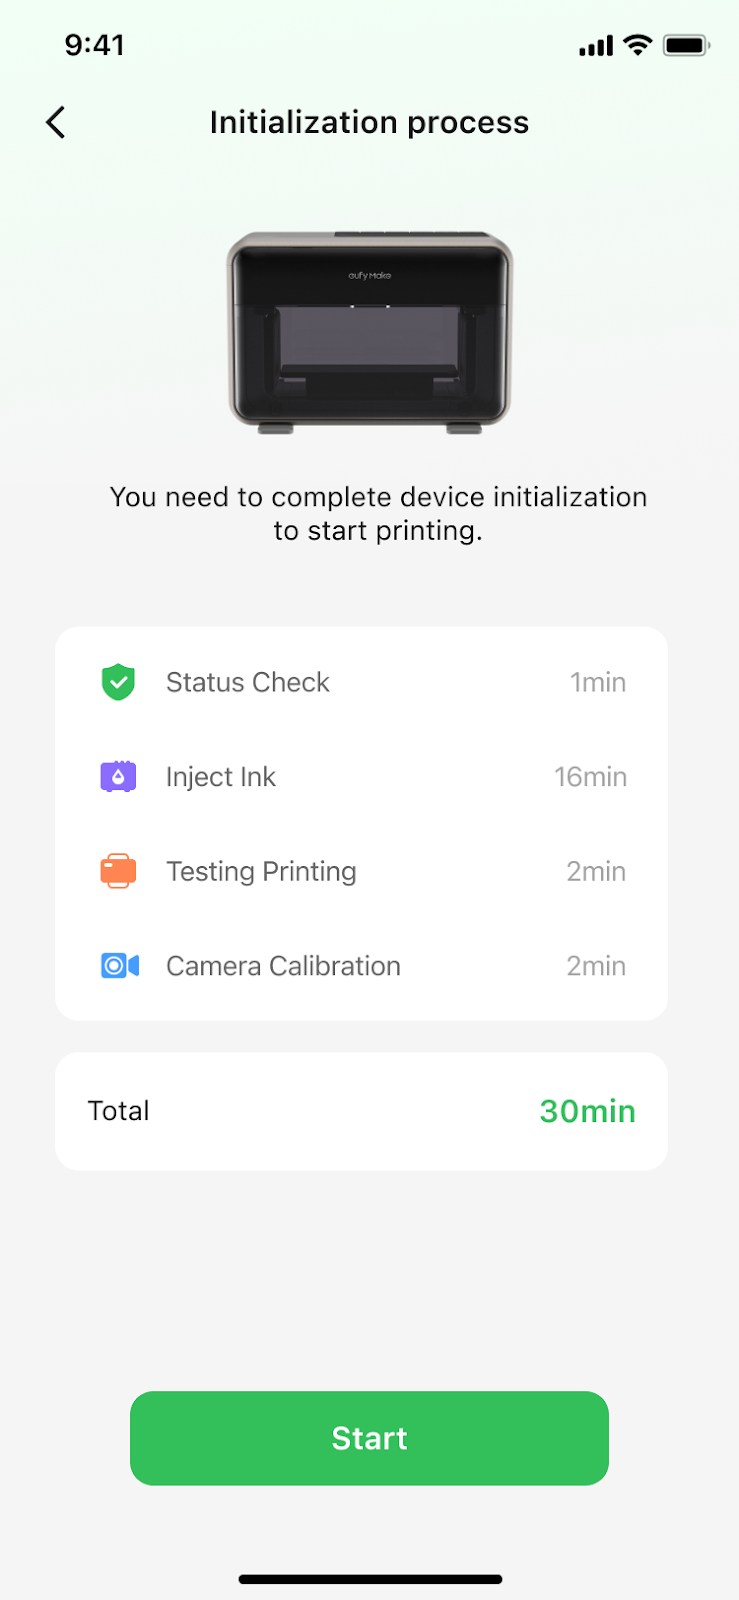
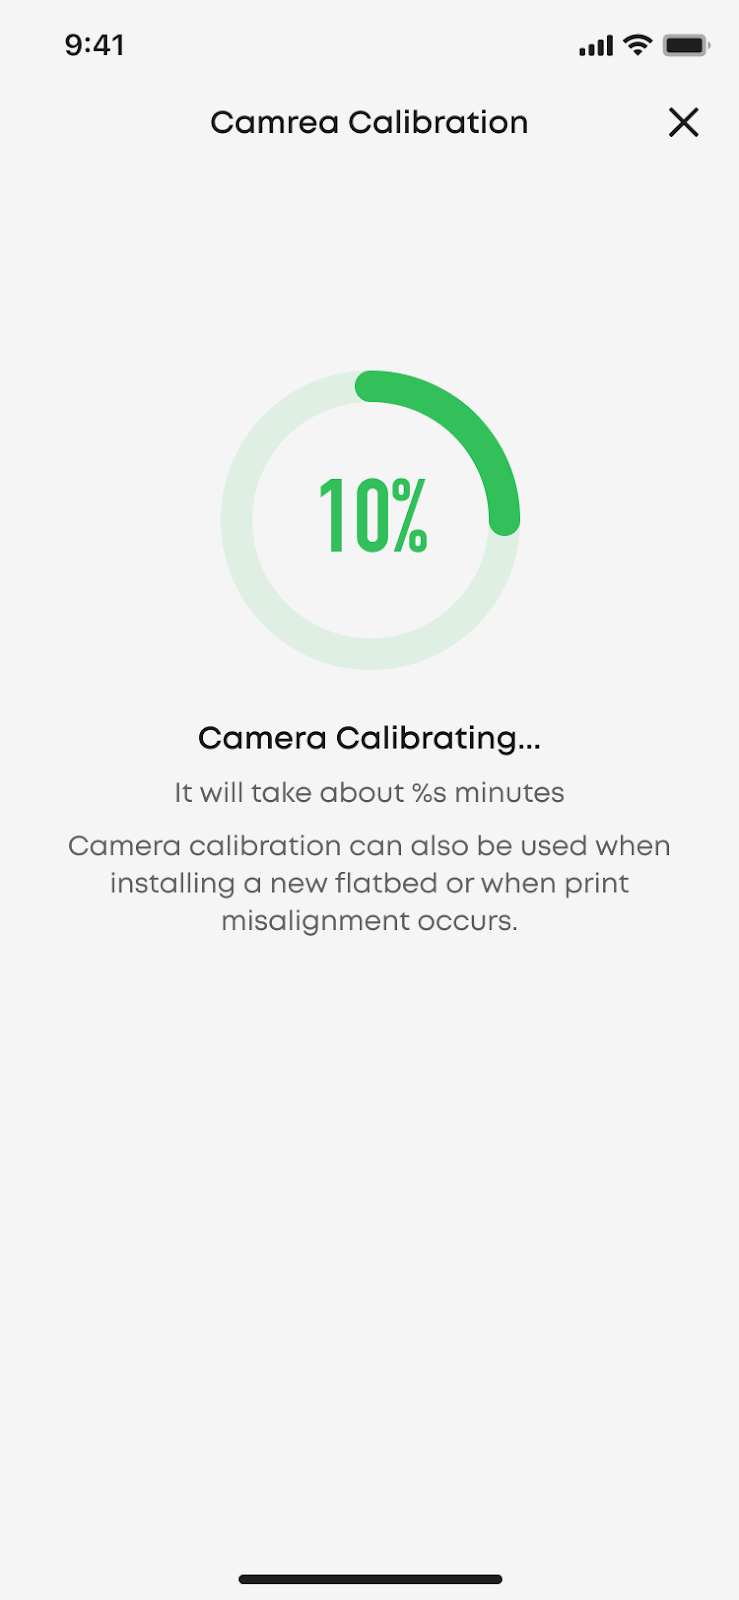
After successful binding, the software automatically enters the initialization process. This process is fully automated. Follow the on-screen prompts to complete setup.
Detailed Explanation of Initialization Process
-
Check device status: The system will automatically check whether each component of the machine is functioning properly.
-
Ink Filling : Install the ink cartridges as prompted. The system automatically fills the ink pipelines. During this time, the software may present essential printing information.
-
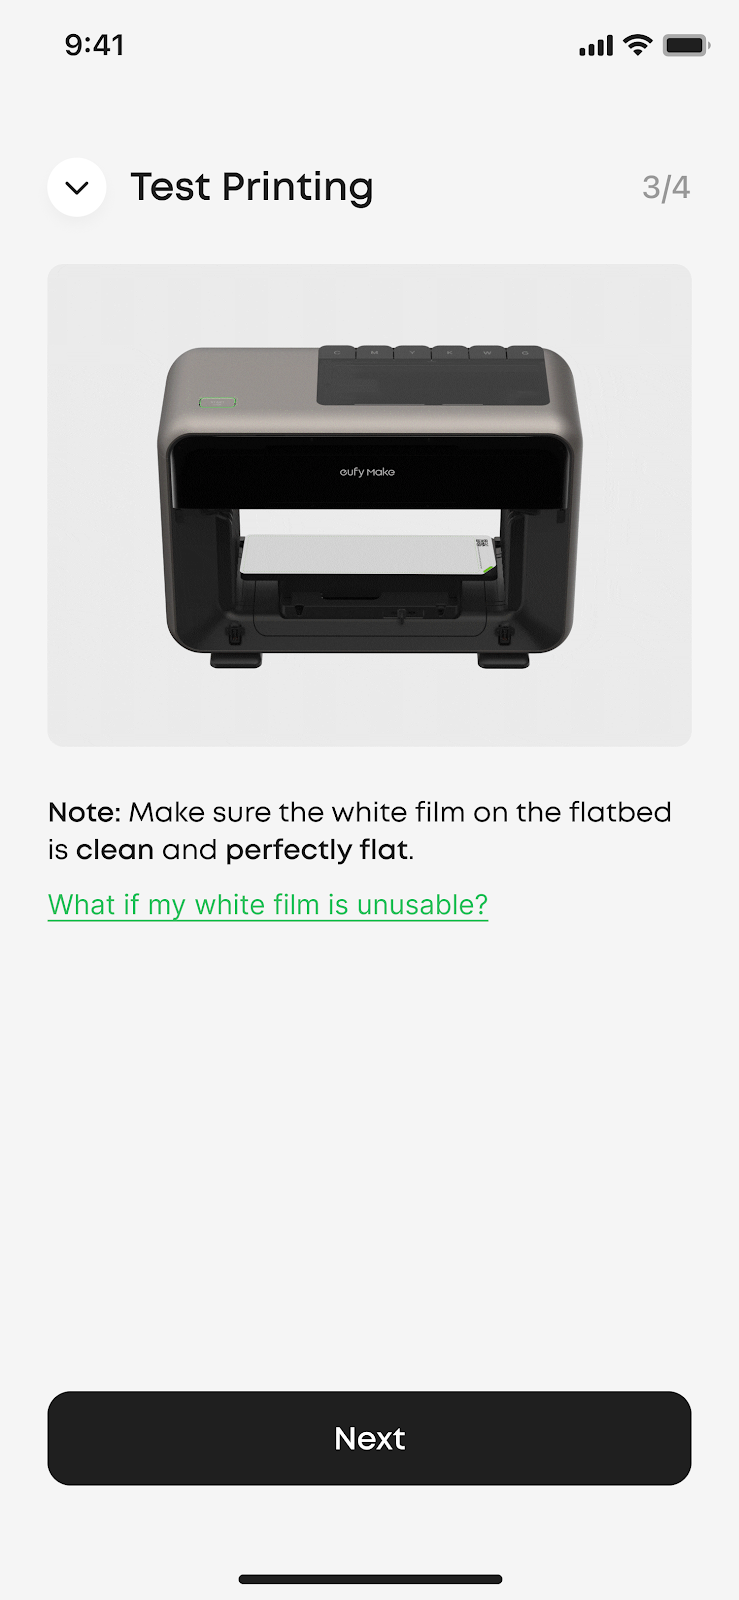
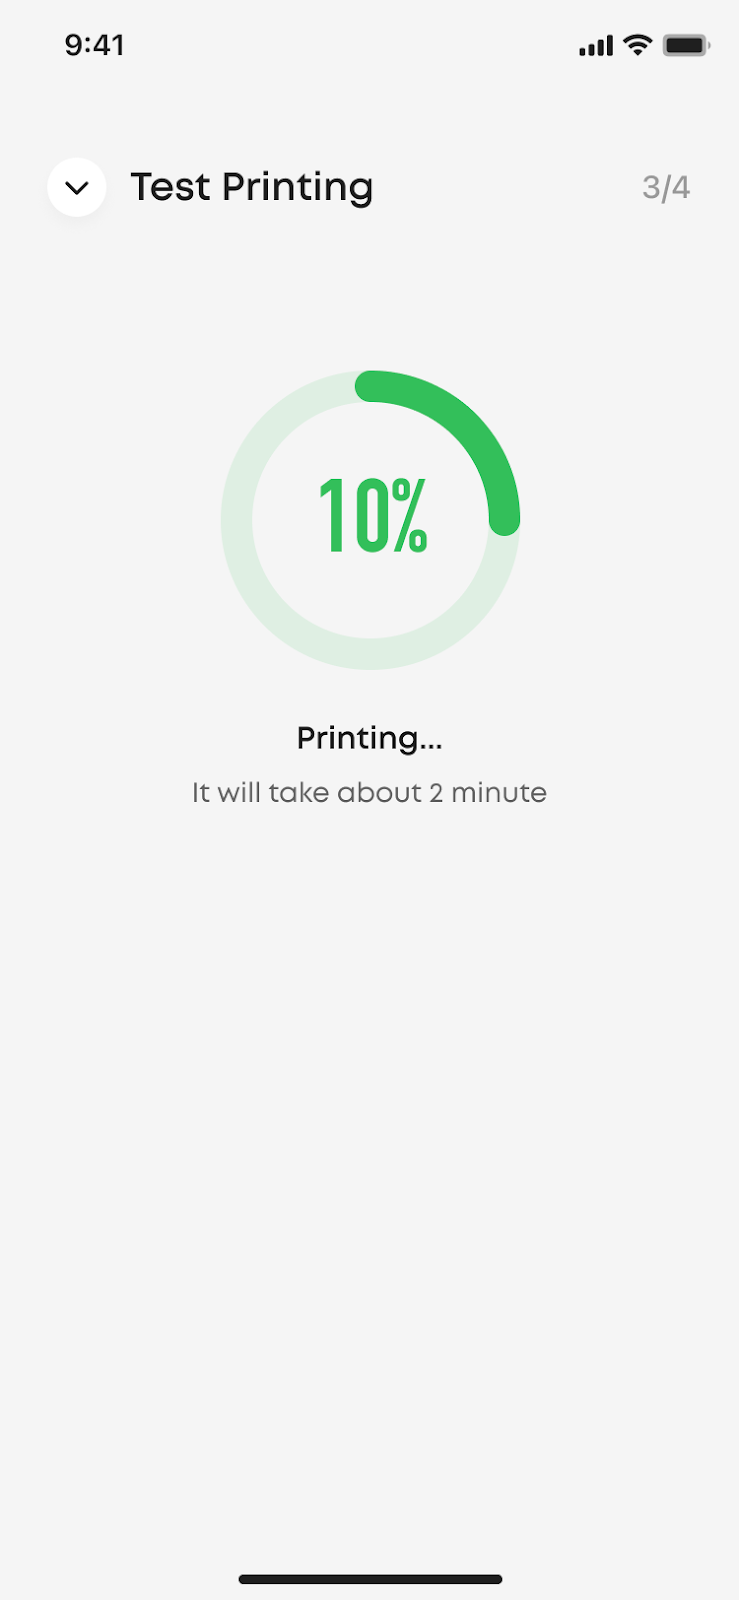
Print Test: The system prints a test pattern to verify the print head status.
-
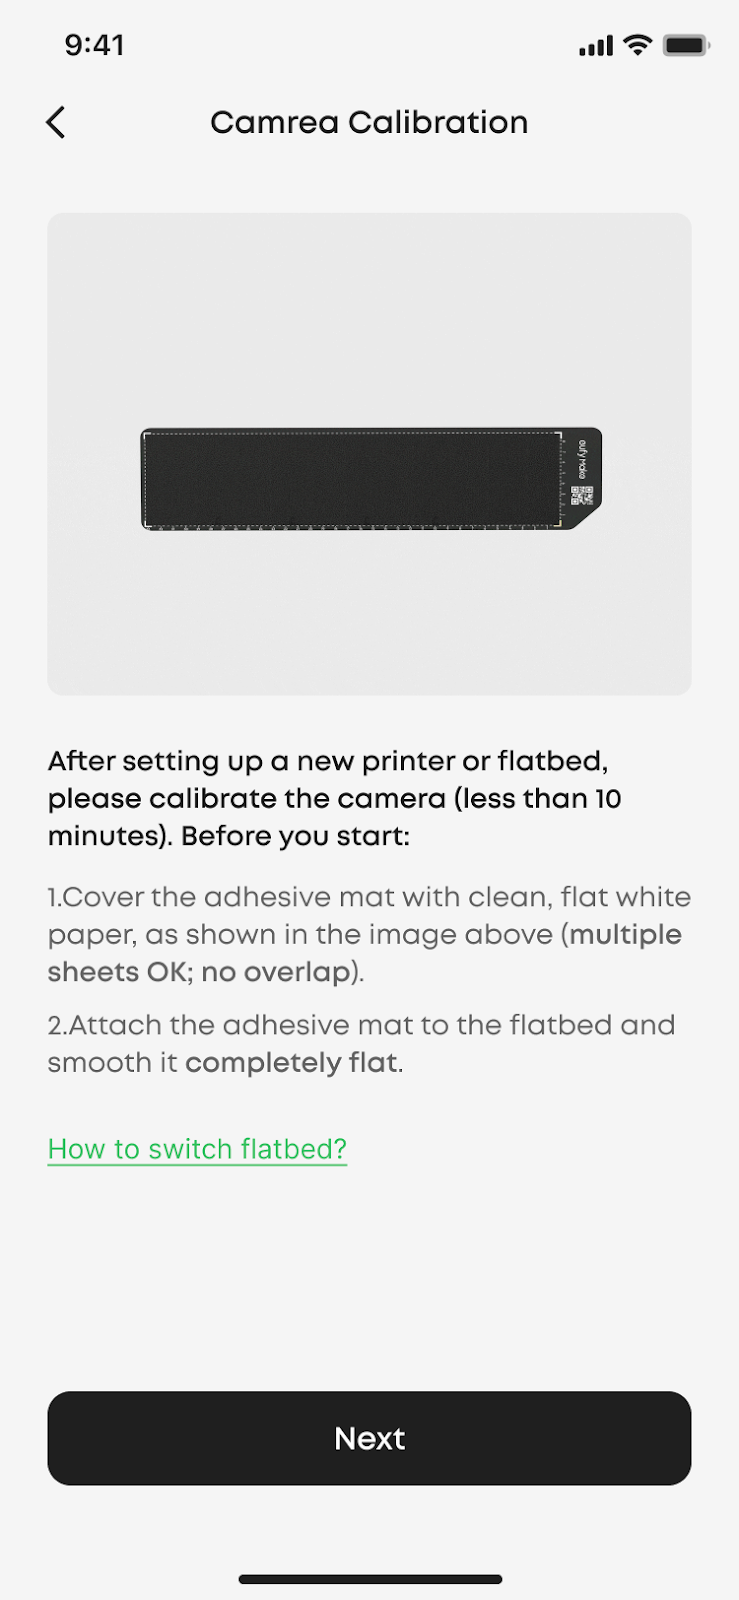
Camera Calibration: The final and very crucial step, used to calibrate the camera.
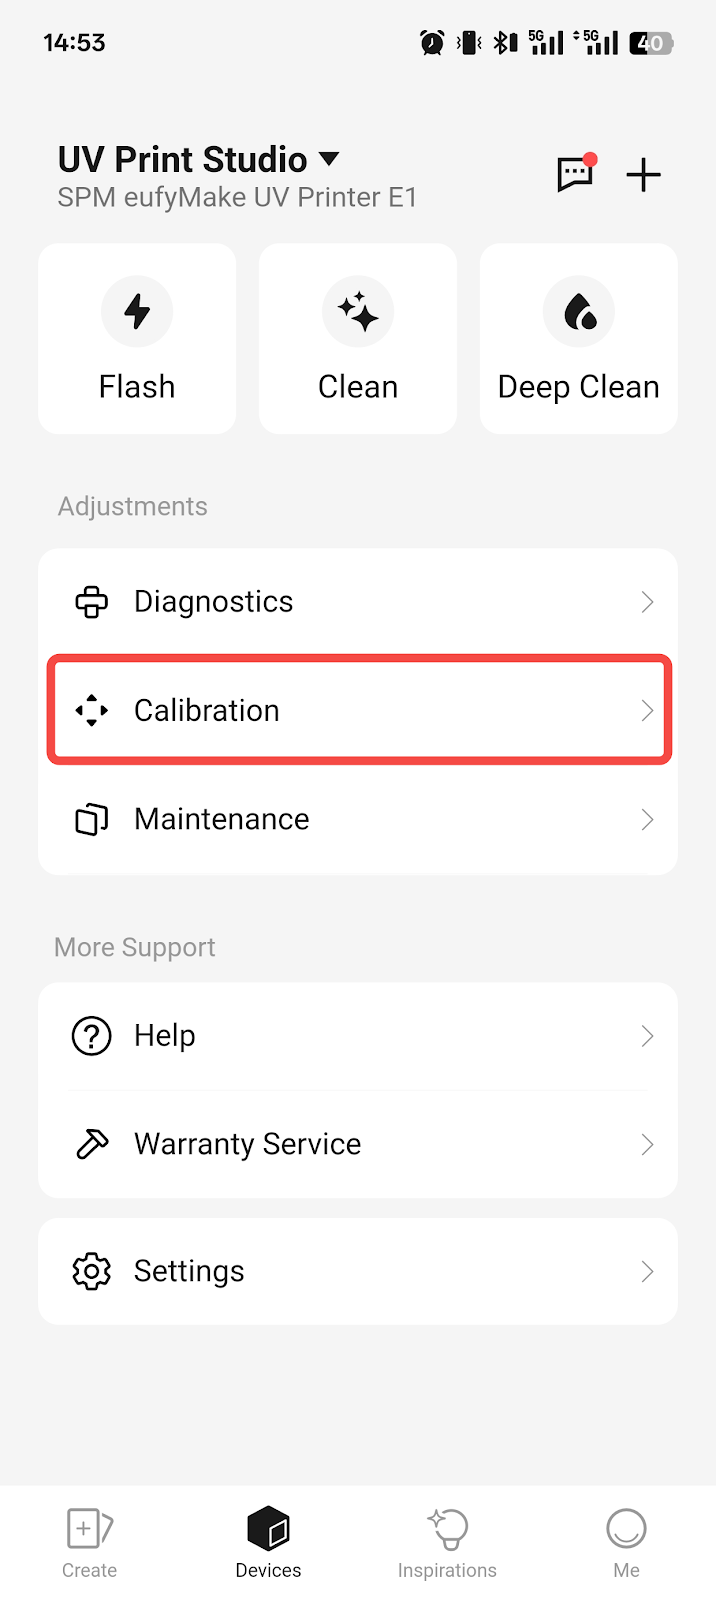
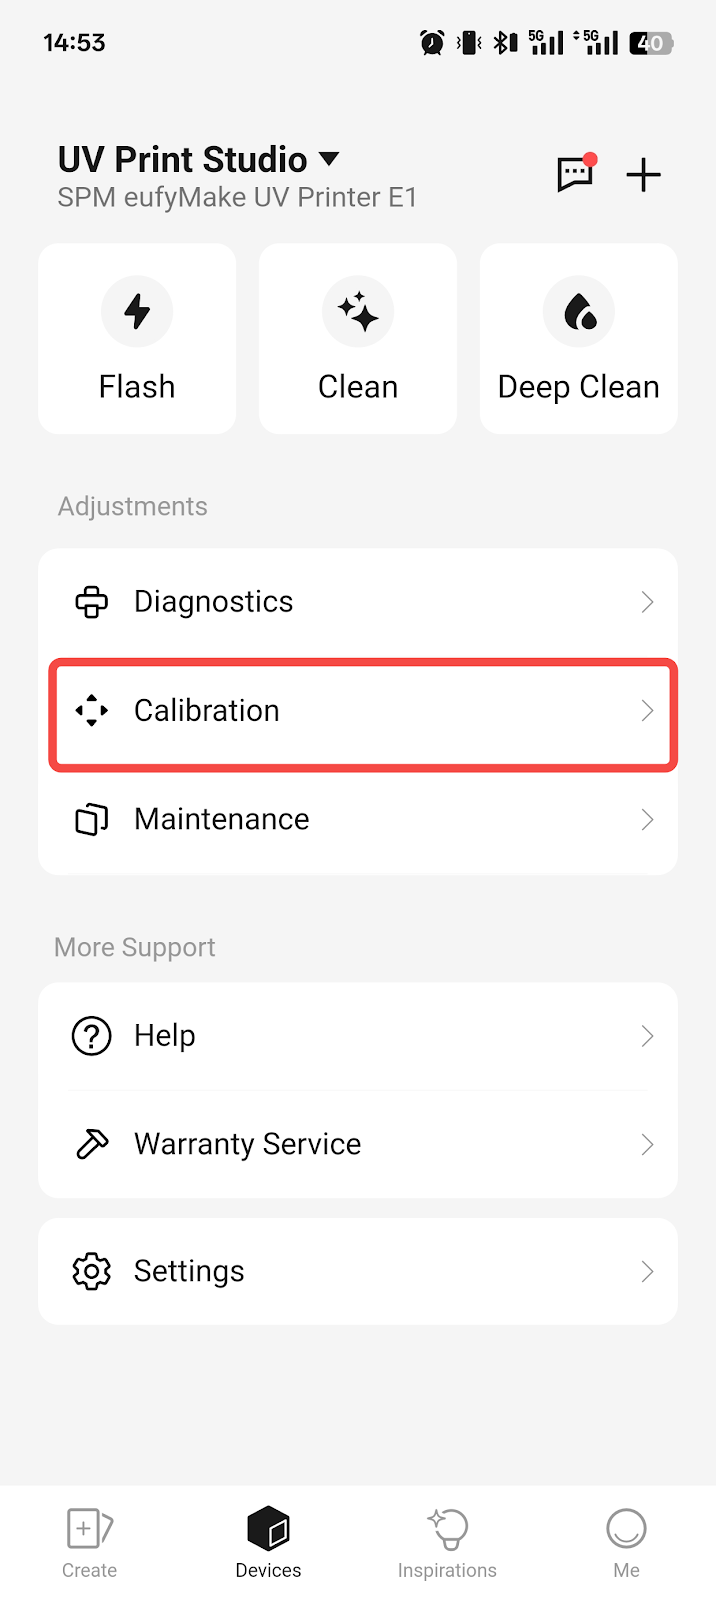
Step 3 - Understand Key Calibration Functions
In daily use, you may also need to manually perform some steps in the initialization.
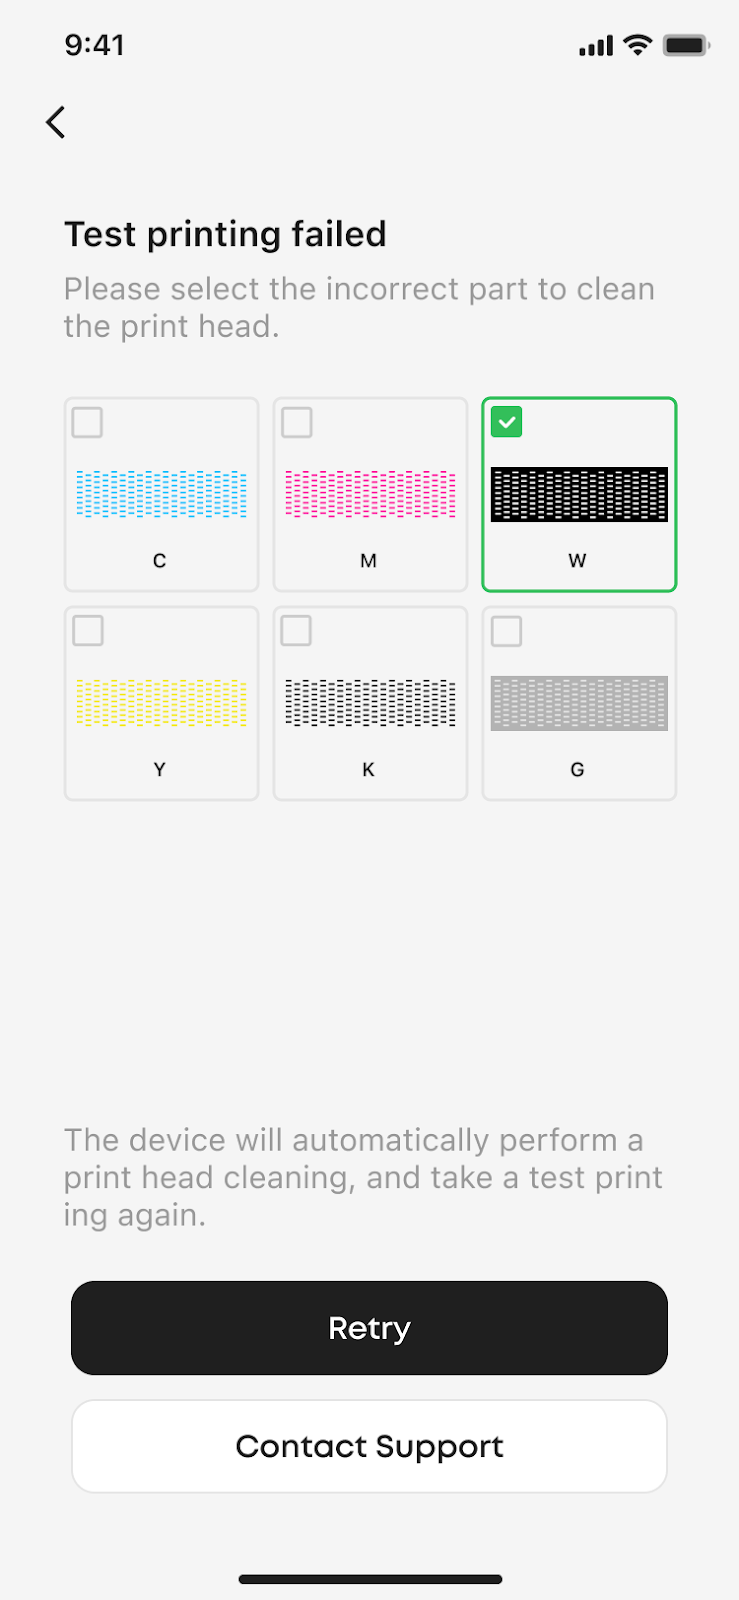
Print Test FAQ
-
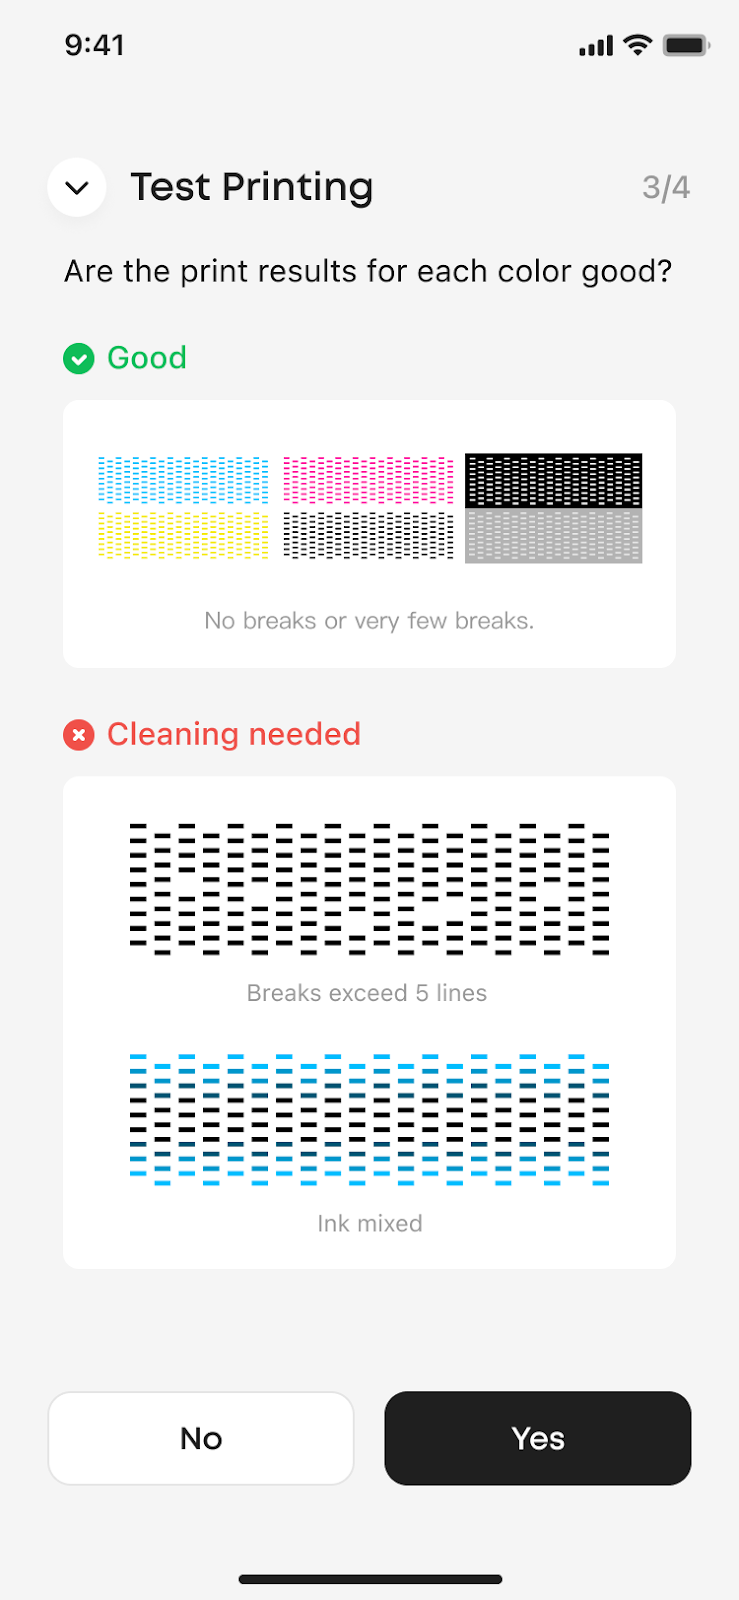
What is this for? Check if the print head is clogged or has poor ink output.
-
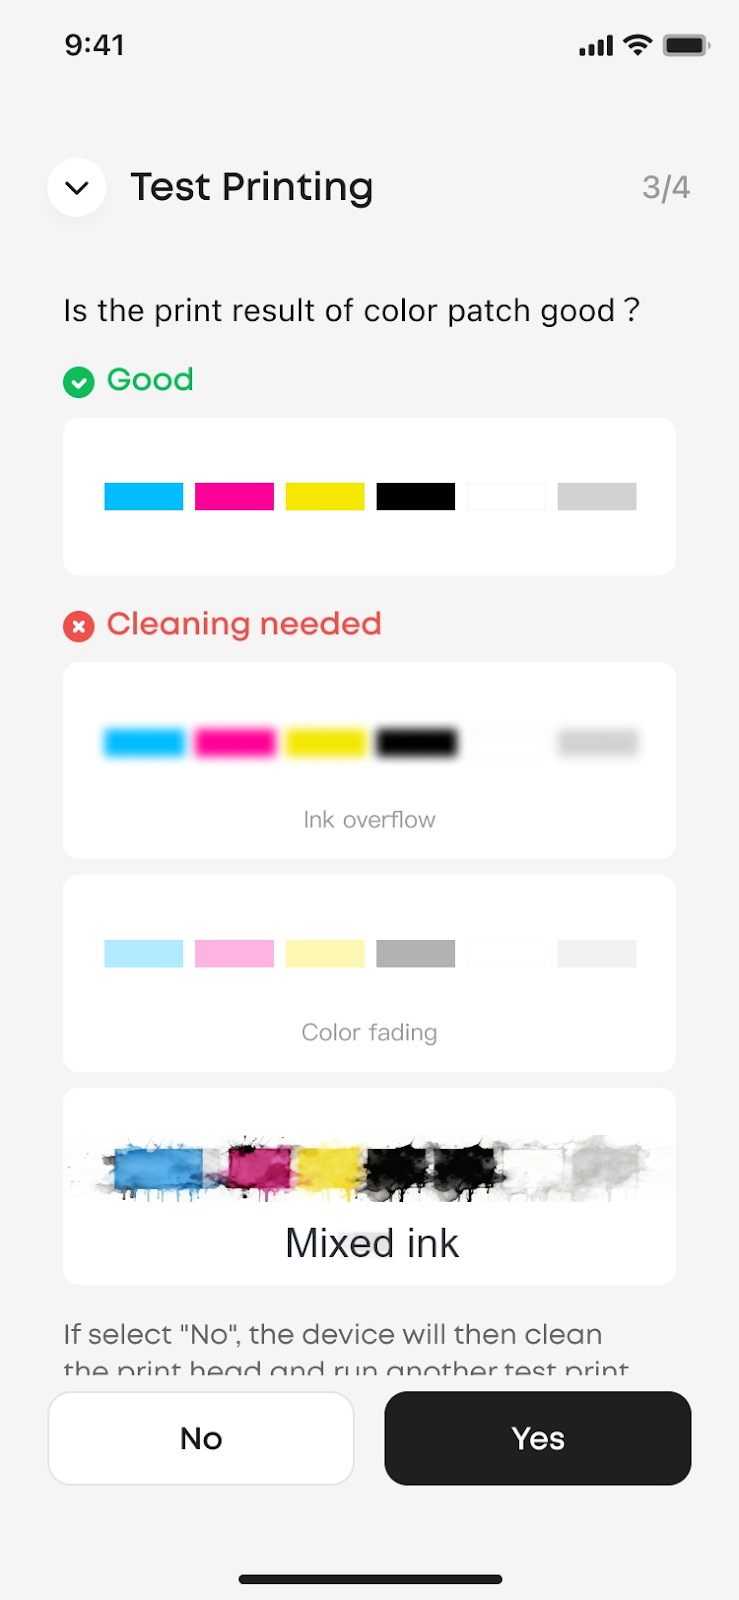
When should it be done? When you notice that the printed pattern shows color mixing or that some colors are not printing, you can run this process to check for issues.
-
What if the print results are not satisfactory? If the test pattern has broken lines or missing parts, it indicates that the print head needs cleaning. You can use the "Clean" function in the software to resolve this.
-
Supported flatbeds: flat, roll-to-film.
Camera Calibration FAQ
-
What is this for? Improves camera positioning accuracy so the on-screen preview matches the actual print position.
-
When do I need to do it?
-
When using a new machine or a new flatbed for the first time, the software will automatically prompt you.
-
After replacing flatbeds of different sizes (calibration needs to be performed once for each of the large and small flatbeds).
-
When you notice a significant deviation in the printing position.
-
What should I do if calibration fails? Please check the following common causes:
-
Paper does not fully cover the area: Ensure that the paper used for calibration completely covers the entire platform plate area.
-
Paper is not flat: Ensure the paper is laid flat on the board without wrinkles or curled edges.
-
Pattern is unclear: If the printed calibration pattern is blurred, it is recommended to first perform a "Clean" operation, and then try calibration again.
-
Supported flatbeds: Only flat surfaces.

Standard Flatbed
Mini Flatbed
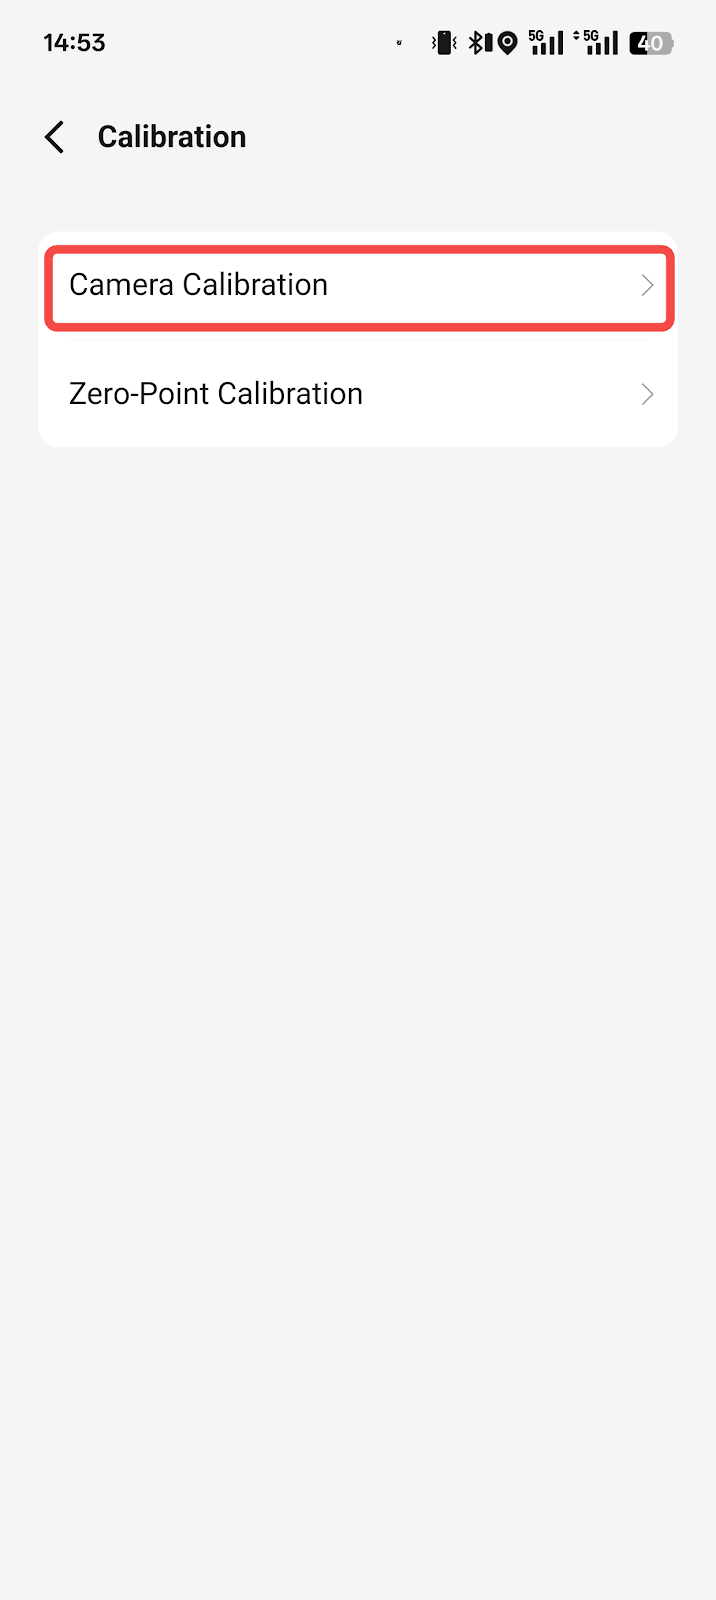
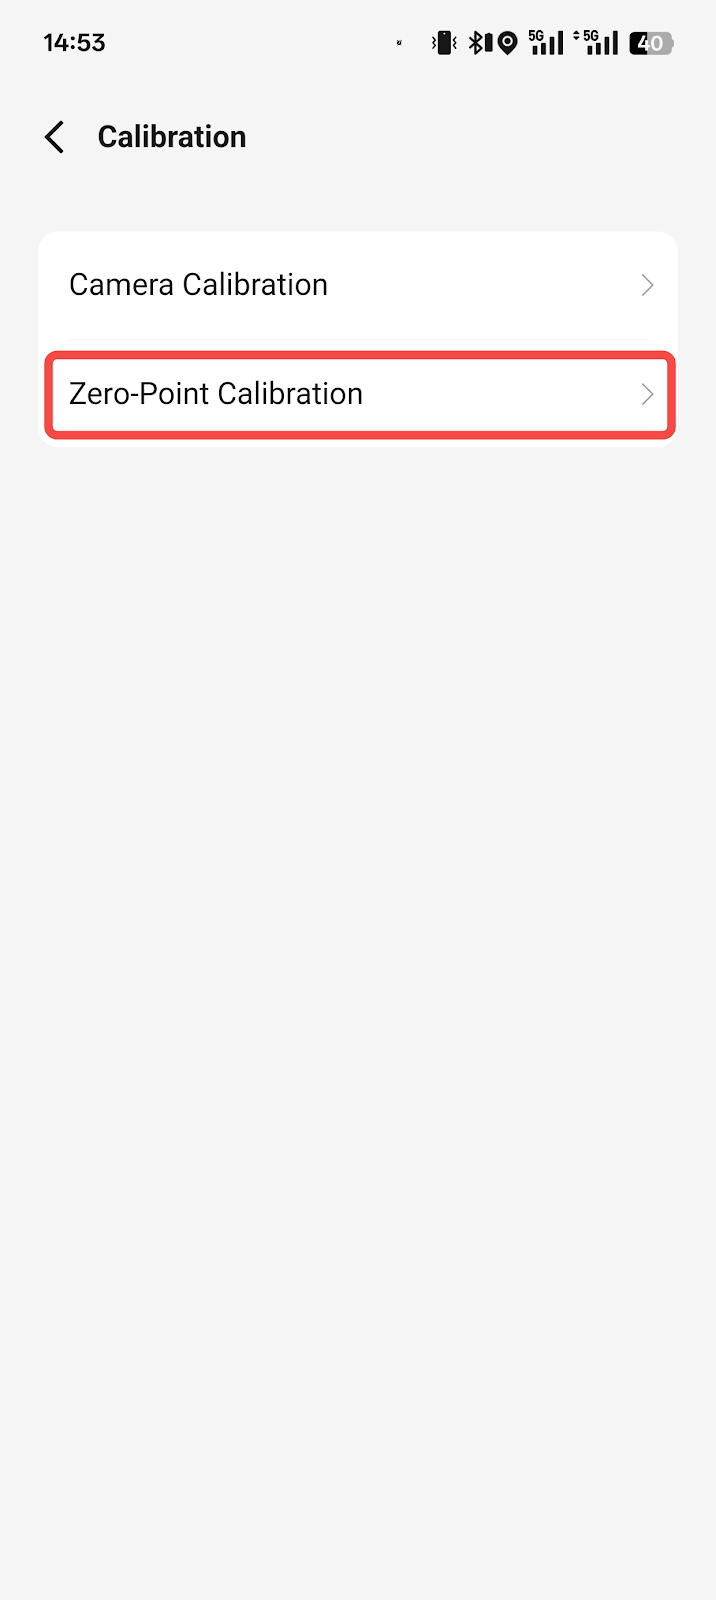
Zero-Point Calibration
-
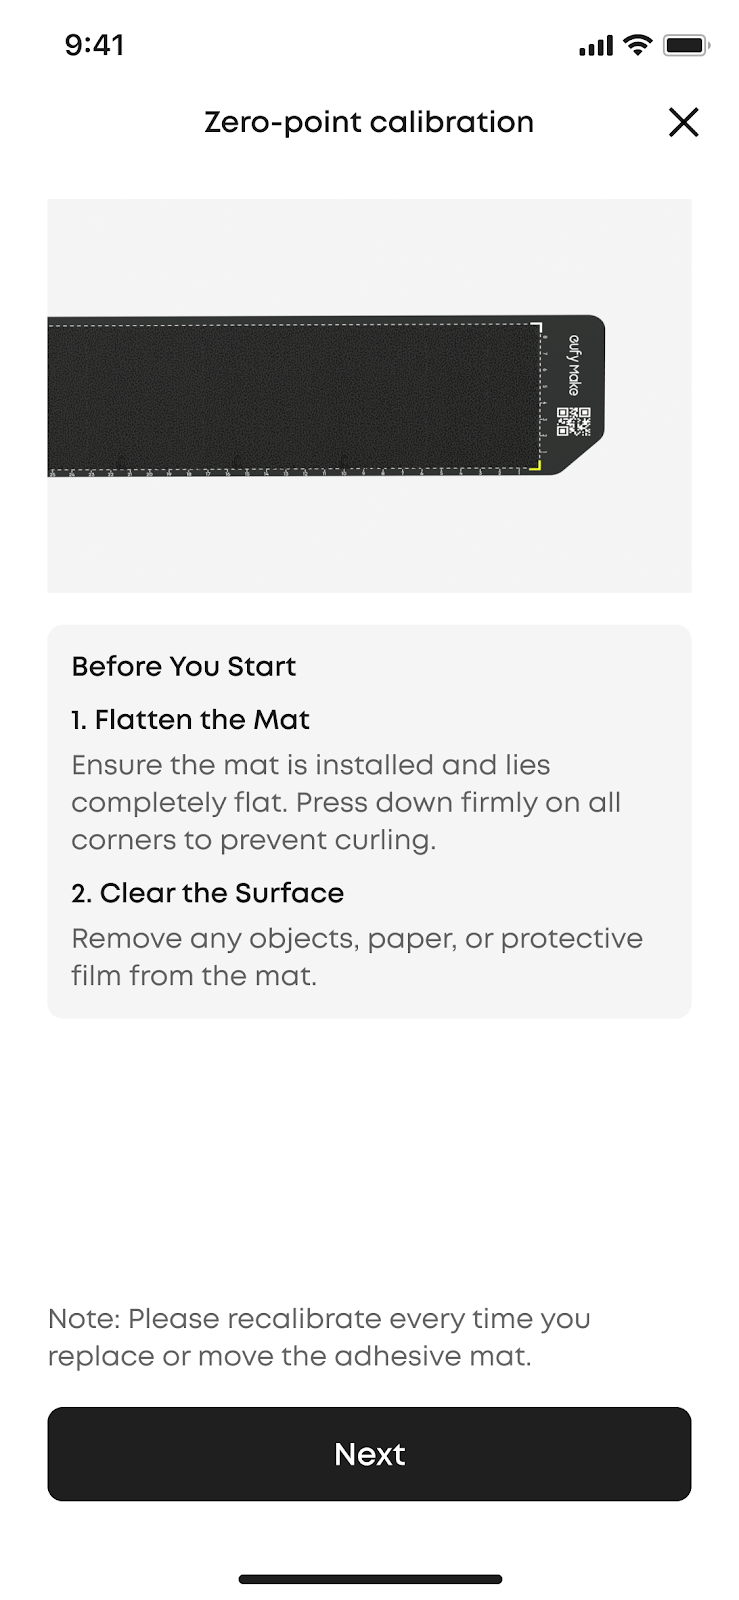
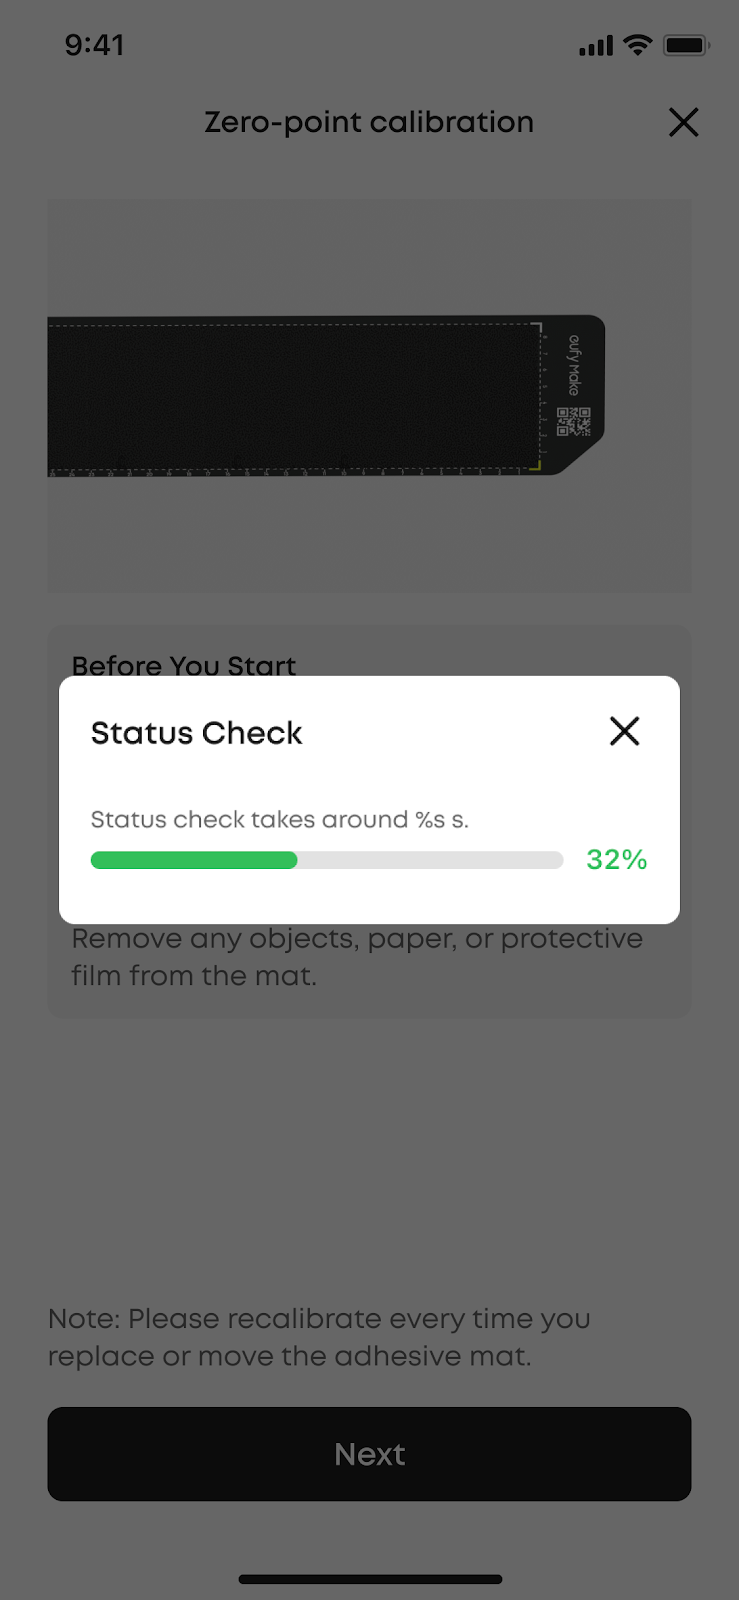
What is this for? Ensures precise alignment between the design and the starting position (zero point) of stickers or fixtures.
-
When do I need to do it?
-
Before using the "Zero Alignment" function for the first time, a zero calibration must be performed.
-
When you replace the printing board or fixture with a new one.
-
When you feel the zero position is inaccurate.
FAQ
Q1: Do I need to initialize the machine every time it is powered on?
A: No. Initialization is only required during first startup or after restoring factory settings.
Q2: Can one machine have multiple primary accounts?
A: No. Each machine supports one primary account. The primary account can share access with up to three additional users.
Q3: My test pattern prints intermittently. What should I do?
A: This usually indicates nozzle clogging. Use the Manual Clean function in the software. In most cases, one to two cleanings will resolve the issue.
Support Contact
If the issue persists after completing the above steps, please contact eufyMake Customer Support at support@eufymake.com with the following information:
-
Your Order Information
-
Printer SN. Please refer to: https://support.eufymake.com/s/article/How-to-Check-the-Device-Serial-Number-SN
-
Printer and App Logs. Please refer to: https://support.eufymake.com/s/article/Log-Feedback-Upload-Process-App-PC-Overview
-
Relevant photos and videos.


