When Should Camera Calibration Be Used?
Step 2: Place the Calibration Surface
Routine calibration (non-first-time)
Step 4: Fully Automatic Execution and Waiting
Step 5: View Calibration Results
Frequently Asked Questions (FAQ)
What is Camera Calibration?
Camera calibration is an independent and critical function used to restore and maintain printing accuracy. By performing camera calibration, the printer relearns positional data and compensates for physical deviations, ensuring that printed patterns are accurately aligned with the intended position shown in the software.
When Should Camera Calibration Be Used?
Camera calibration is recommended in the following scenarios:
Scenario A: Reduced print accuracy
-
When printed patterns show a noticeable overall offset compared to the preview position in the software.
Scenario B: After replacing the platform board
-
Whenever a platform board is replaced, whether a Mini platform or Standard platform, manual camera calibration must be performed once to adapt to the physical characteristics of the new board.
Scenario C: As instructed by customer support
-
During troubleshooting of complex print accuracy issues, customer support may request that you perform camera calibration.
Operation Steps
Step 1: Initiate Calibration
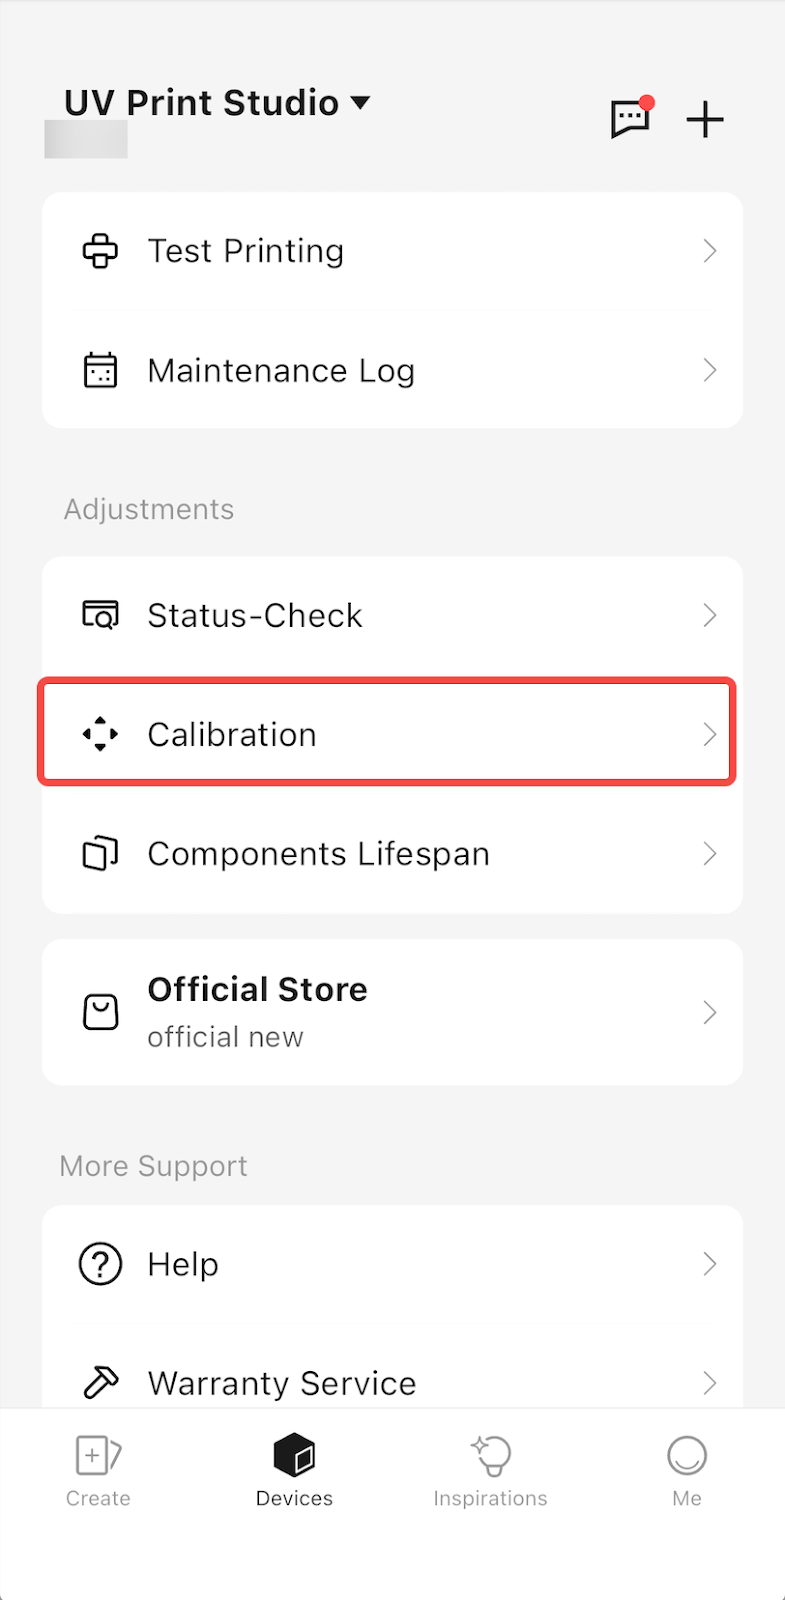
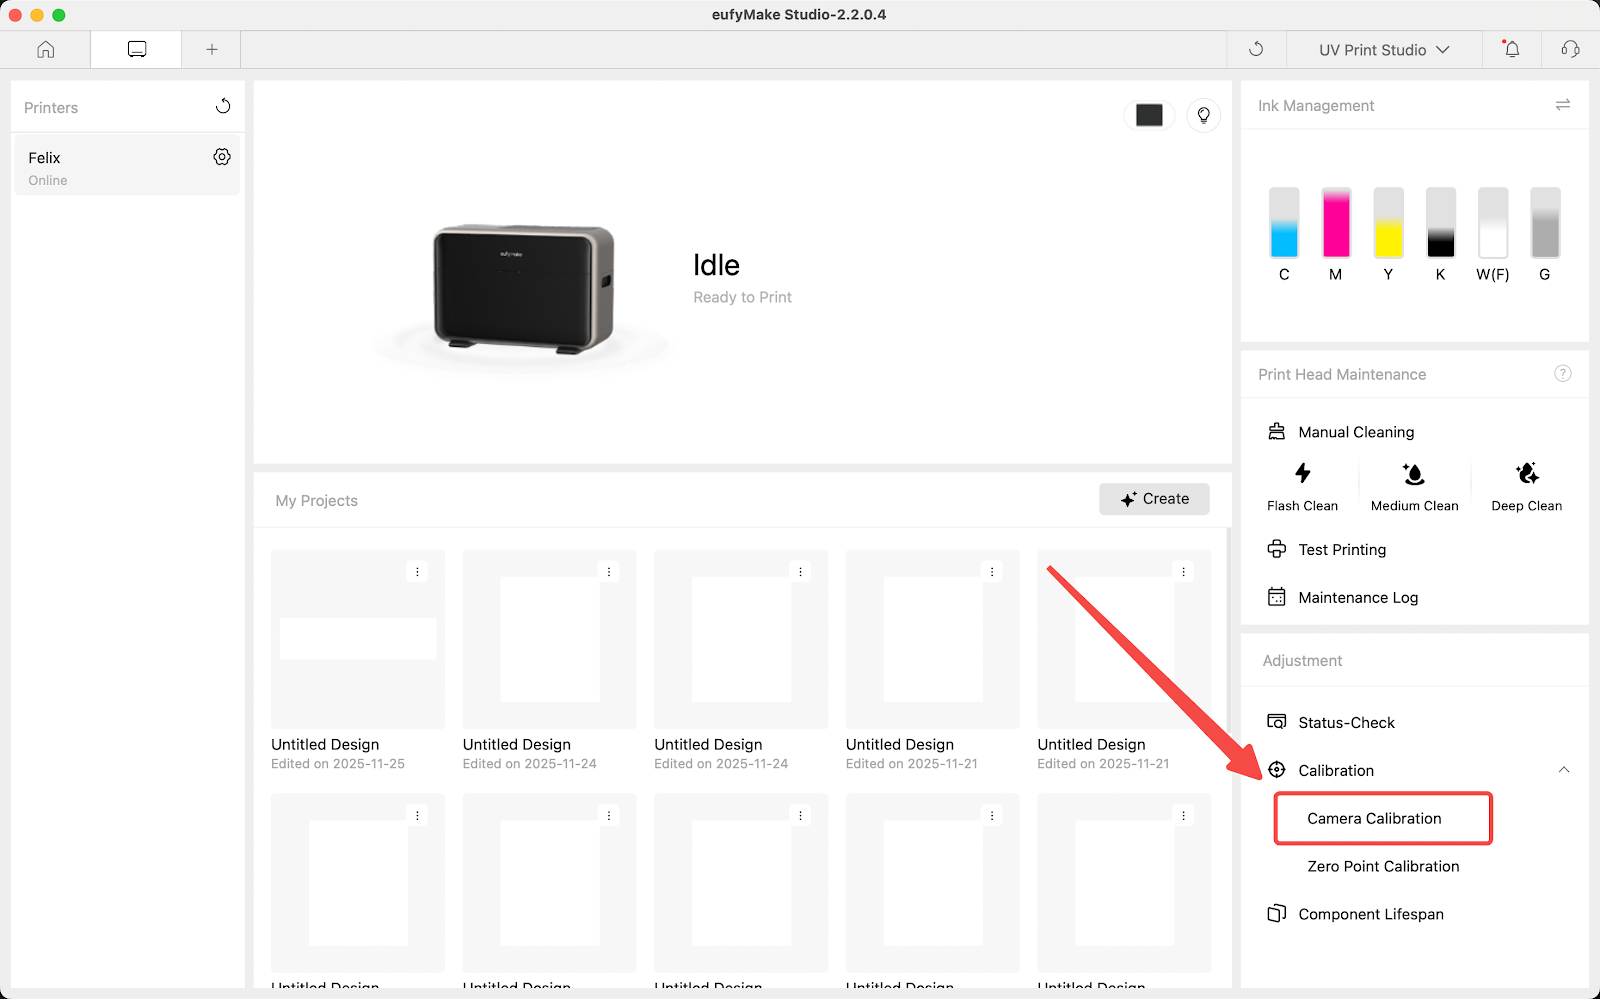
On the Device Management page in the eufyMake App or PC client, locate and click Camera Calibration.
(The process is identical on both platforms; the App interface is shown below as an example.)
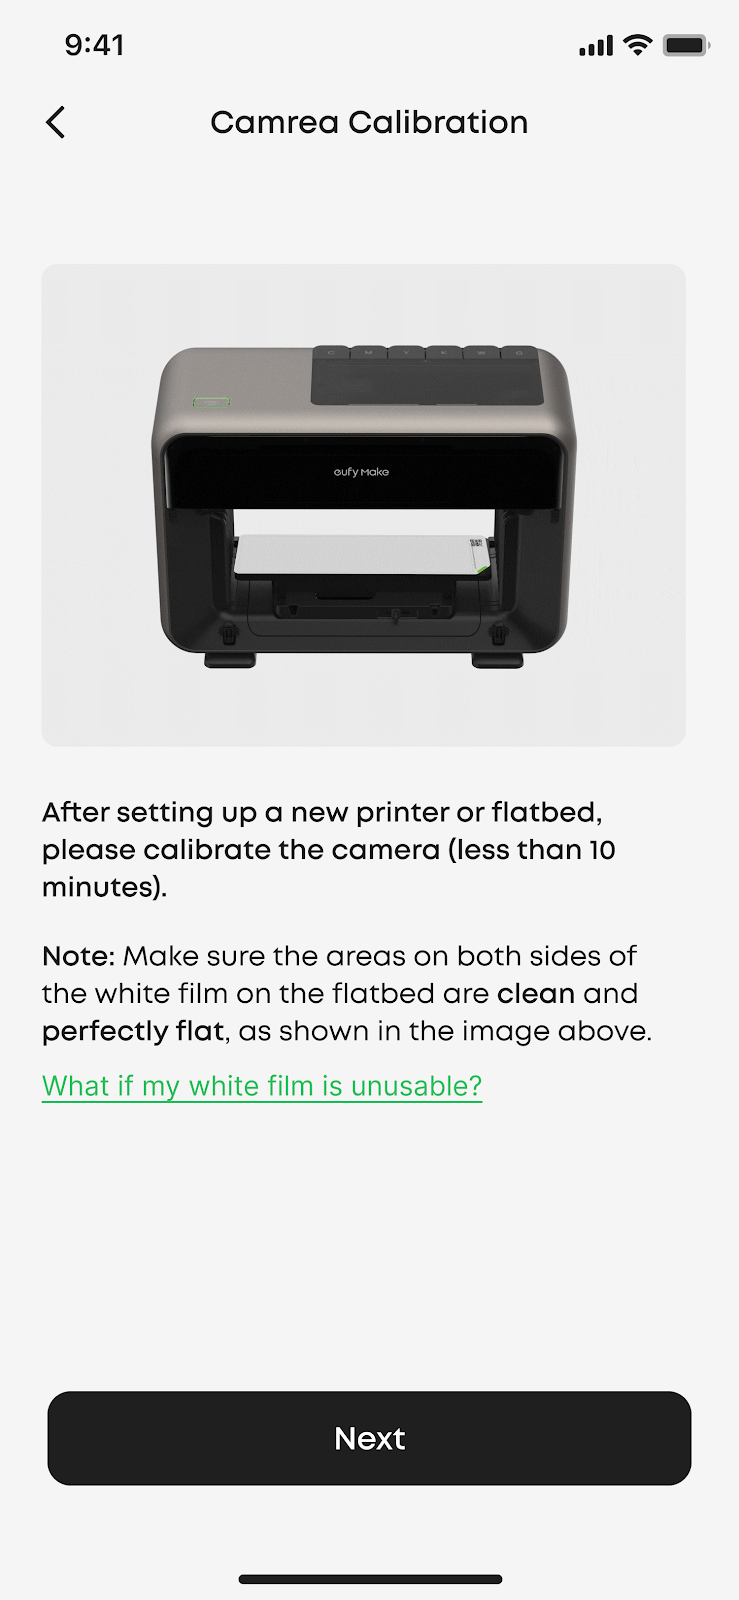
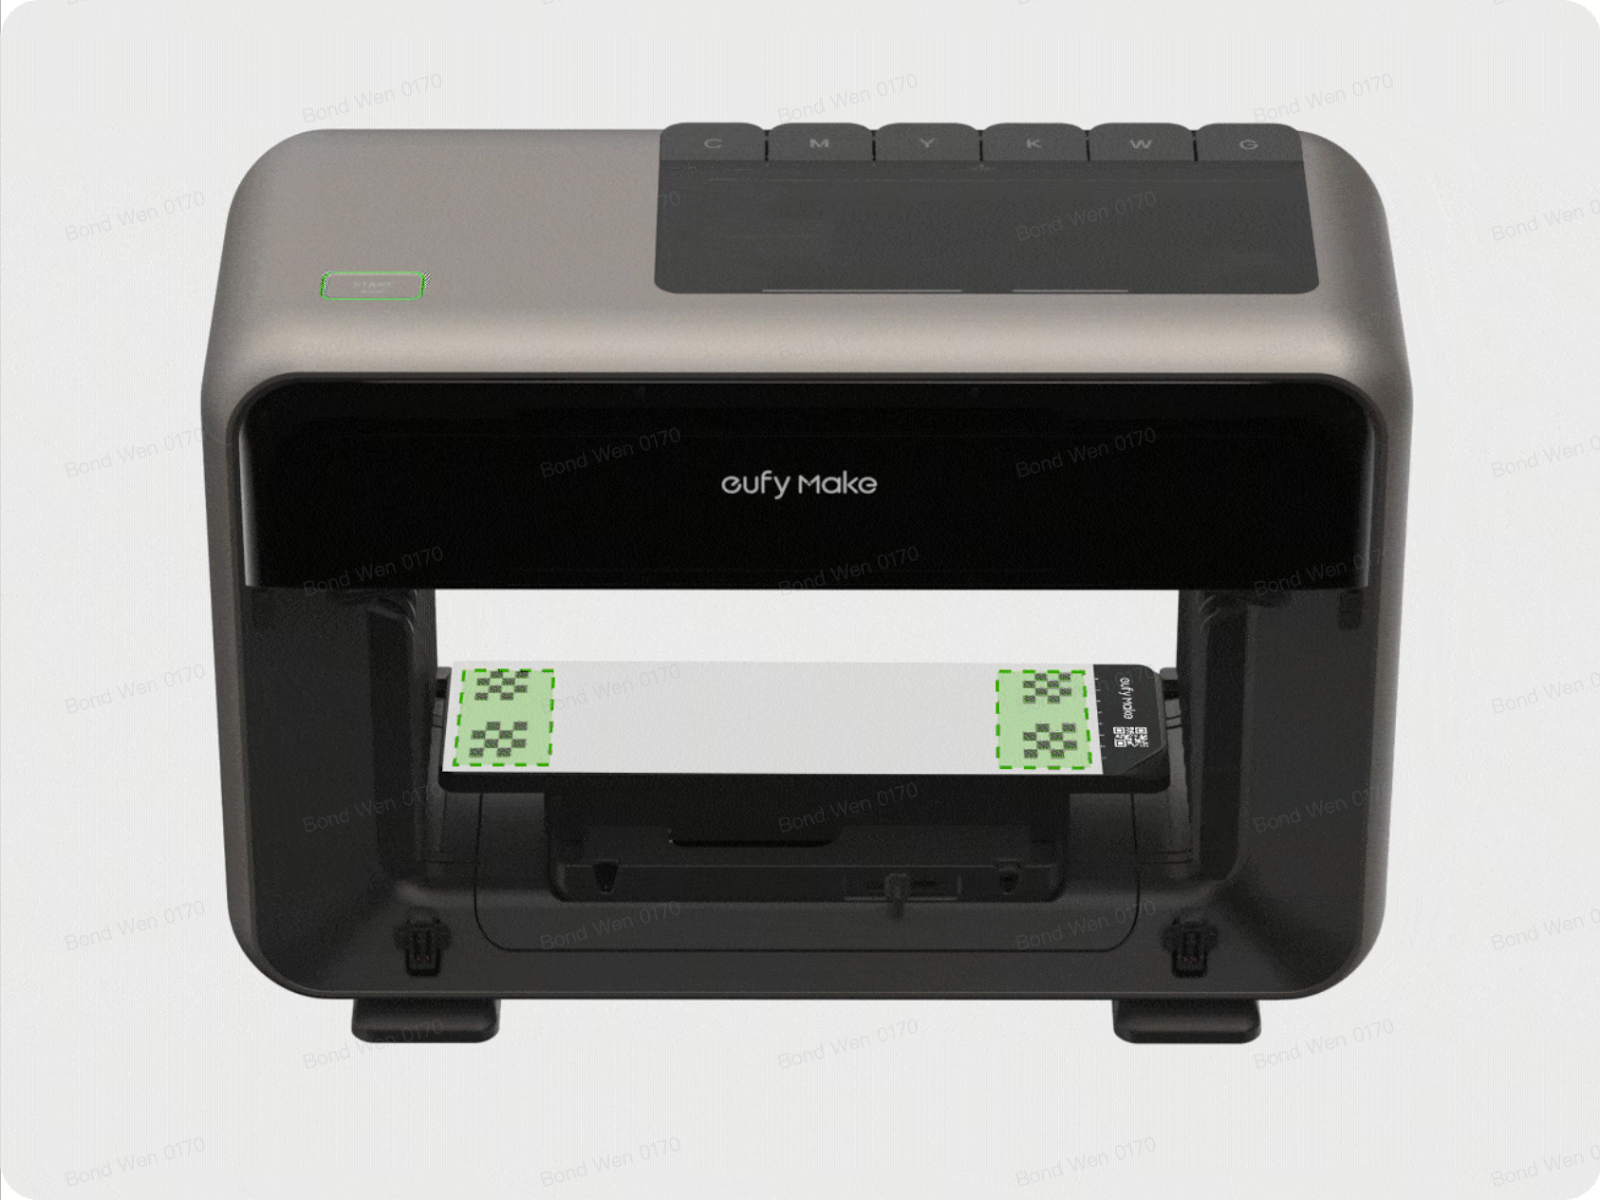
Step 2: Place the Calibration Surface
First-time calibration with a new platform board
For the first calibration on a new platform board, black stickers and adhesive sheets are not required.
The system will automatically recognize the new platform and display the corresponding calibration interface.
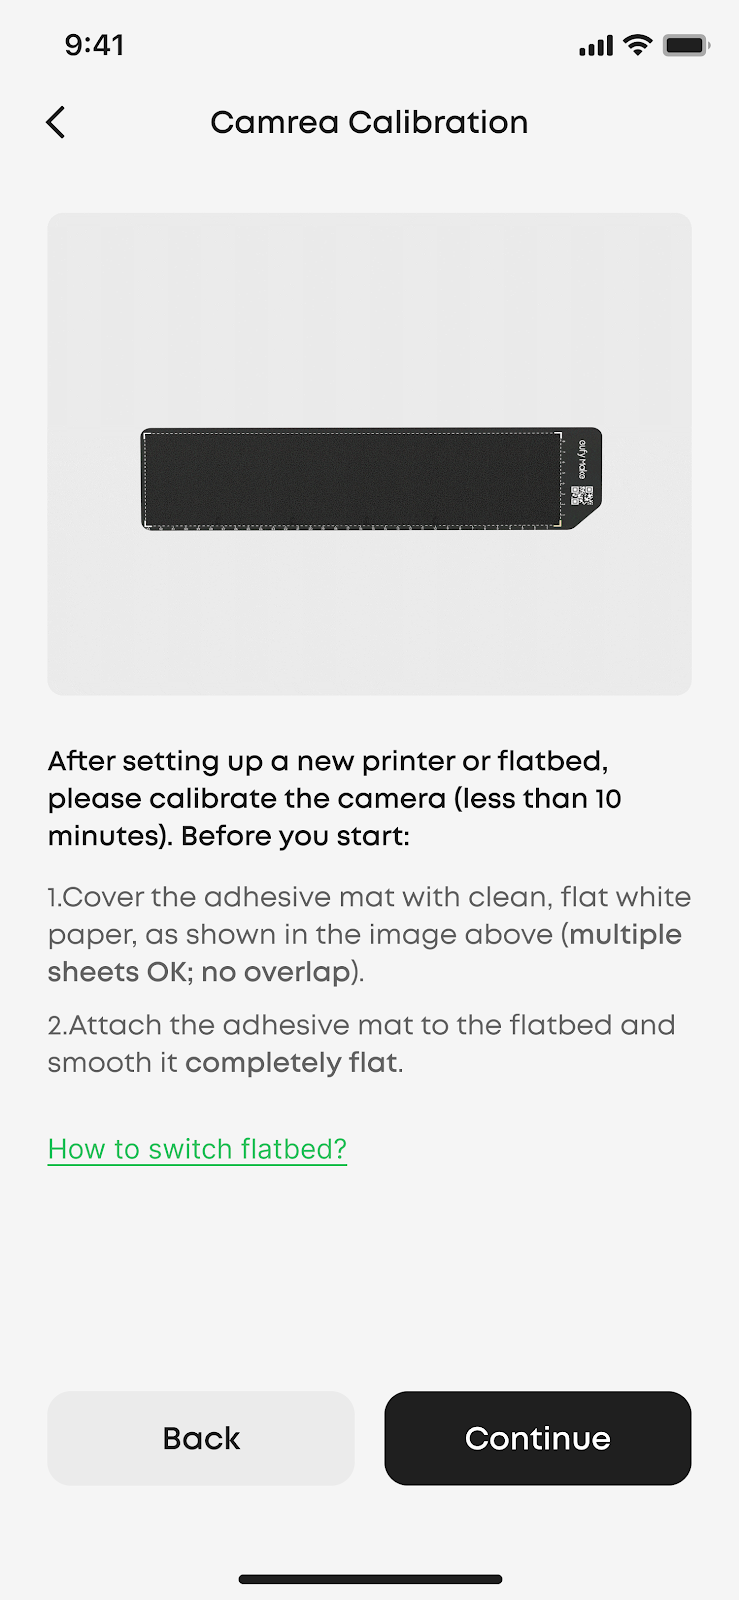
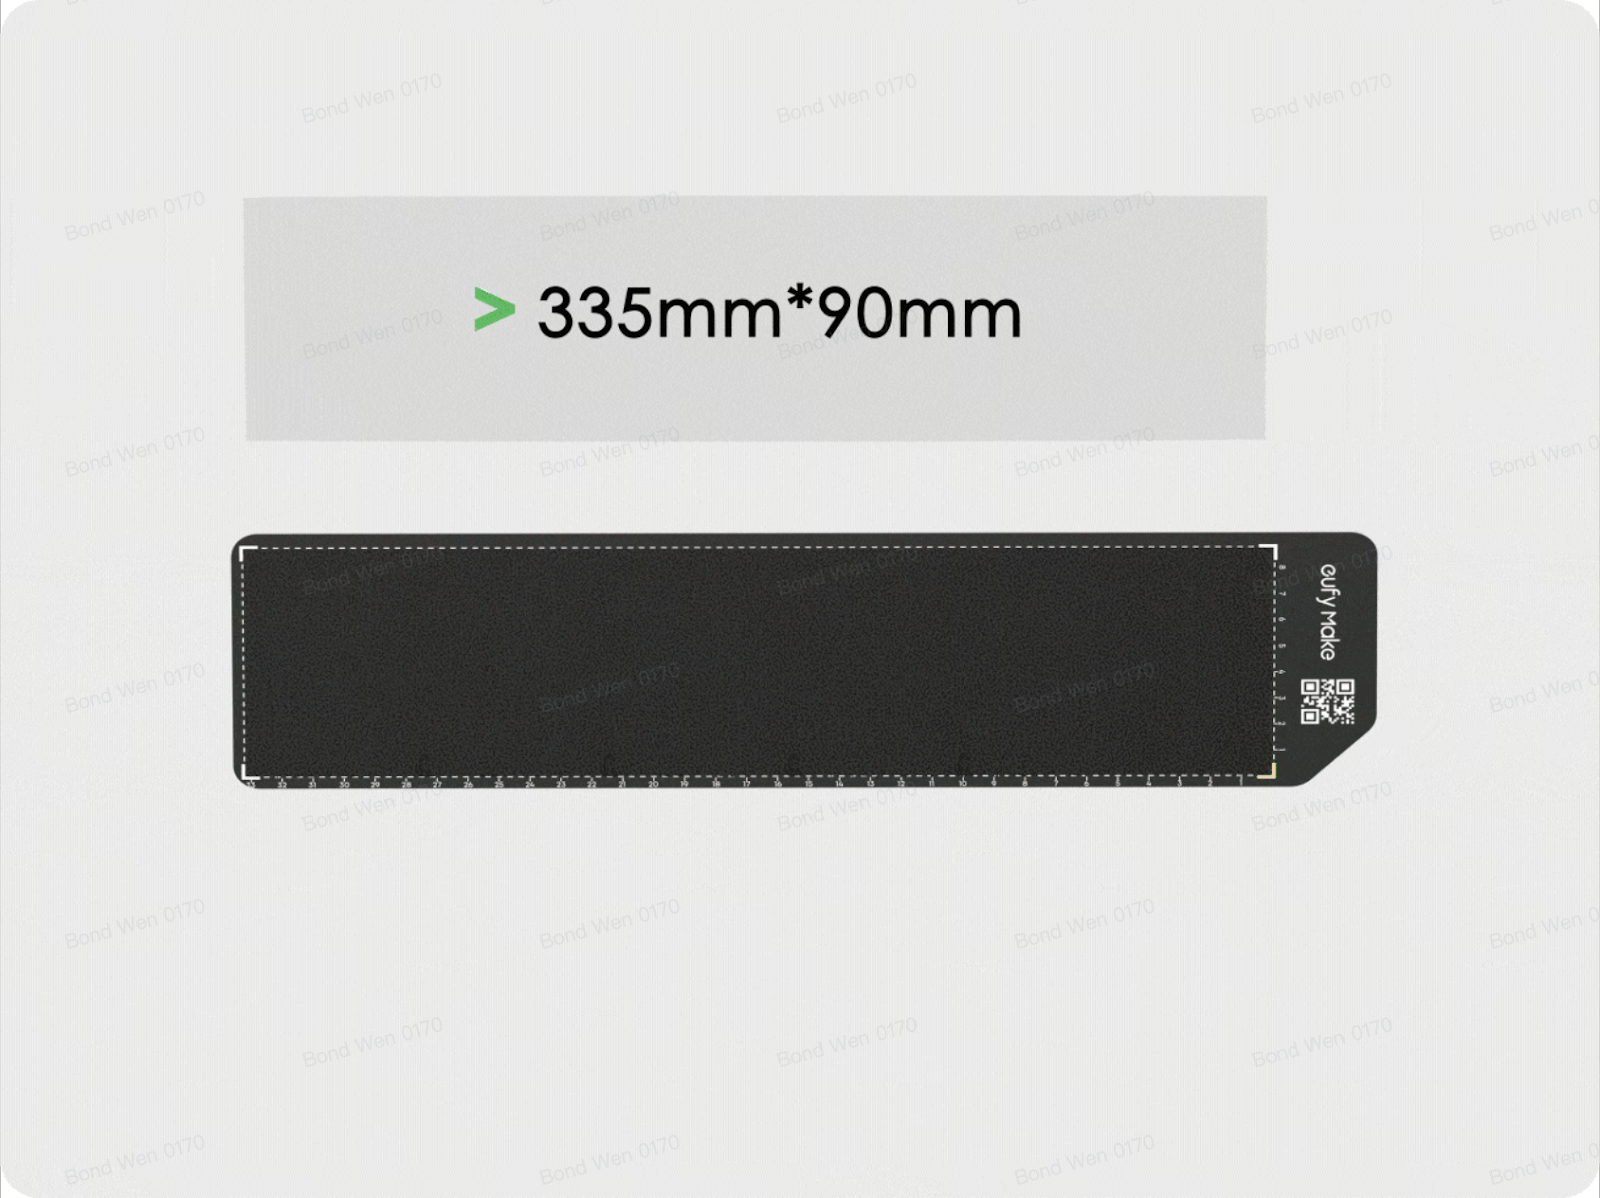
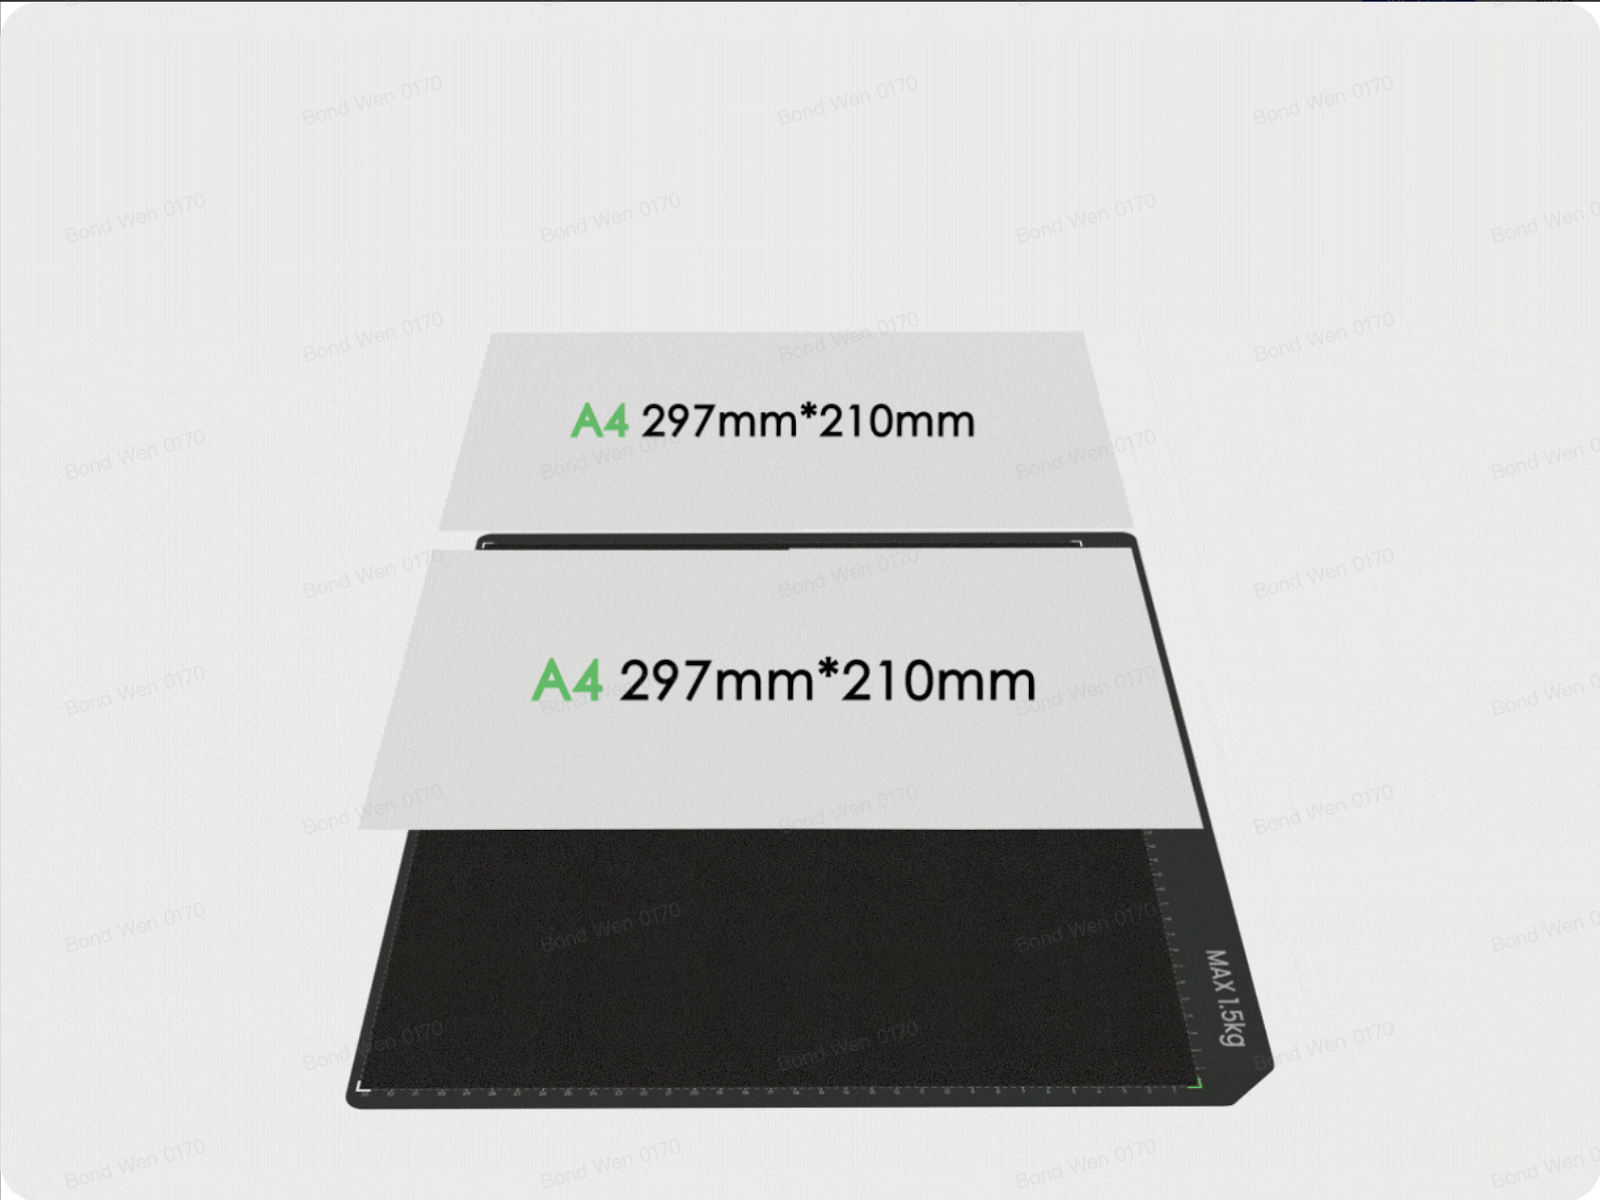
Routine calibration (non-first-time)
For routine recalibration, black stickers must be applied, and the printer will print and recognize calibration patterns on a clean white surface.
Please note the following:
-
Different platform boards require different paper sizes. Follow the guide shown in the interface.
-
Ensure the sticker surface is clean, flat, and free of dust or debris.

Step 3: Device Self-Check
Click Continue to start the process.
Before calibration begins, the printer will perform a status self-check.
Key check item:
-
The system verifies that the platform board is installed correctly.
-
If another accessory (such as a rotary module) is detected, the App will prompt you to replace it with a platform board before continuing.
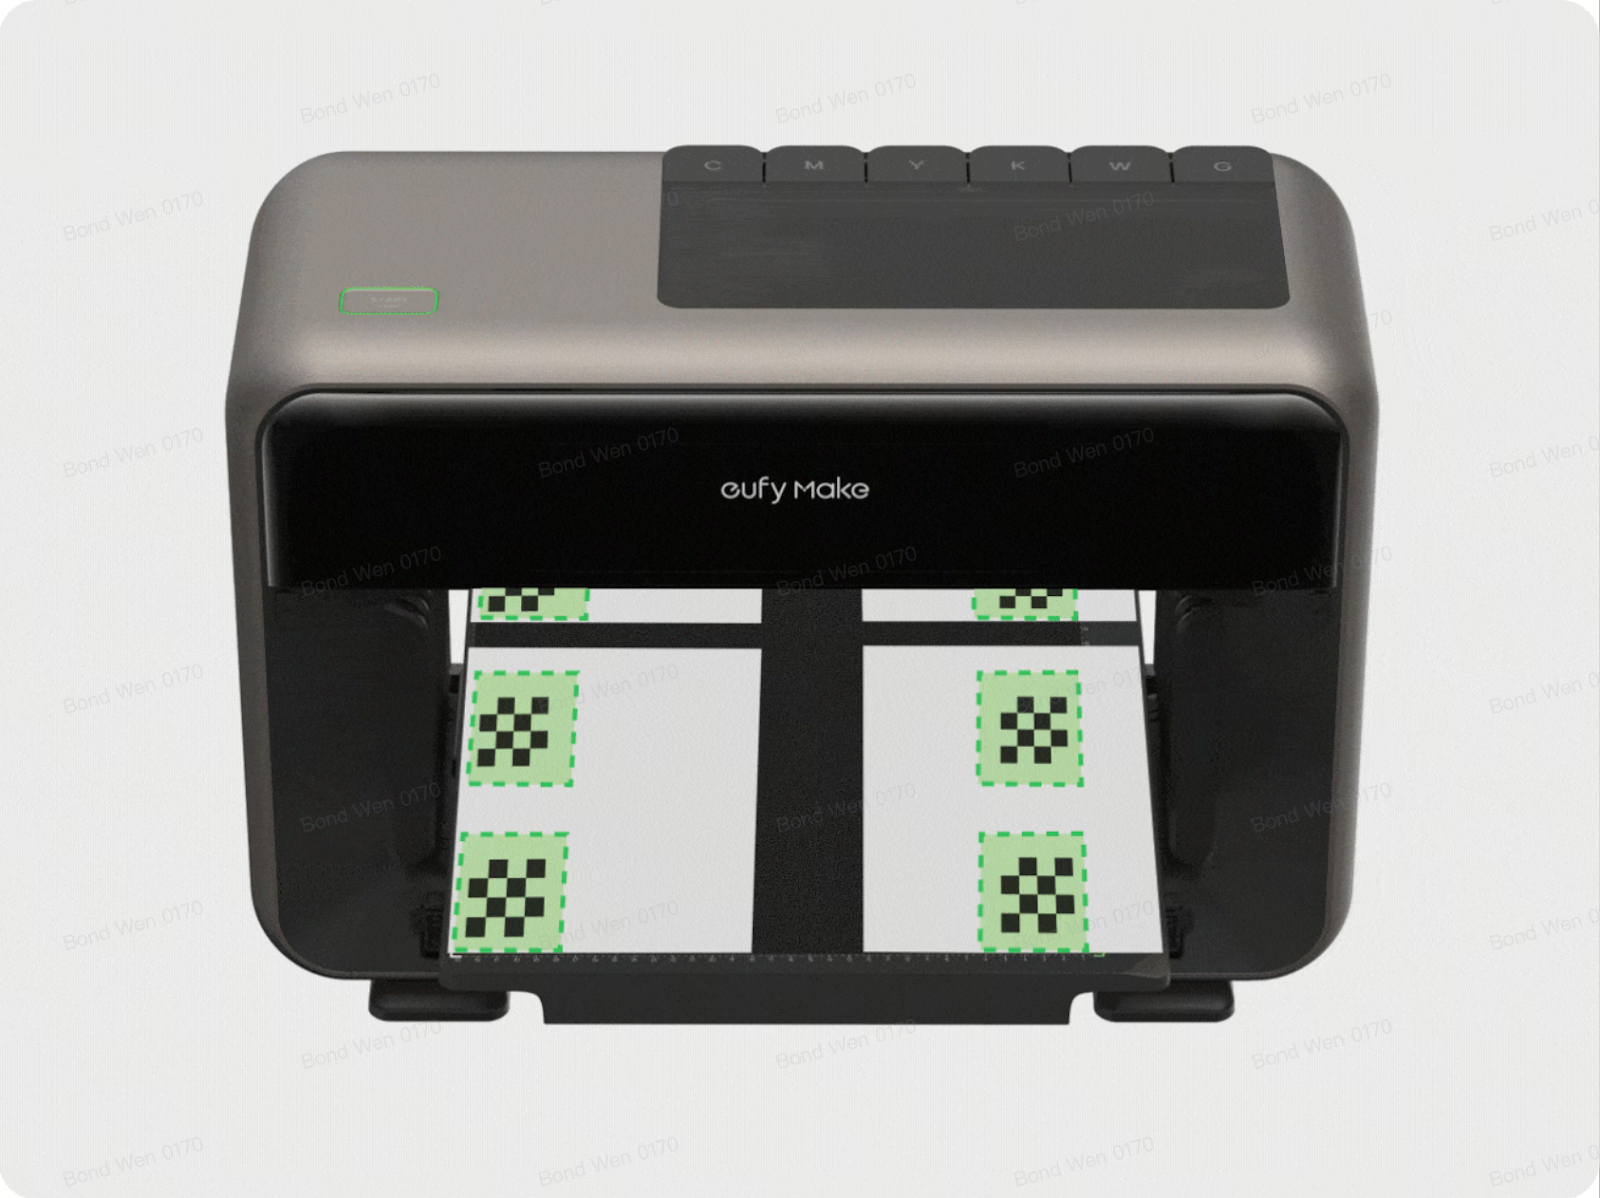
Step 4: Fully Automatic Execution and Waiting
After the self-check is complete, the process is fully automatic. The printer will:
-
Print calibration patterns
-
Capture images using the camera
-
Analyze positional data
-
Calculate compensation values
-
Save the updated calibration data
Estimated time:
-
Mini platform: approximately 5 minutes
-
Standard platform: approximately 10 minutes
No user interaction is required during this stage.
Step 5: View Calibration Results
Calibration Successful
-
A confirmation message will appear, indicating that print accuracy has been restored.
Calibration Failed
-
If calibration fails, refer to the related knowledge base article "What to Do When Camera Calibration Fails? (Error Code Troubleshooting Guide)" and retry based on the specific error message shown.
Precautions
-
Before starting calibration, ensure that the platform surface or calibration paper is clean, flat, and free of wrinkles or foreign objects. Surface conditions directly affect calibration accuracy and success rate.
-
Manual camera calibration is independent of first-time initialization. It does not perform ink filling, print testing, or other maintenance actions.
Frequently Asked Questions (FAQ)
Q: The print position is still offset after calibration. What should I do?
A: Possible causes include:
-
The material position during printing differs from the position used during calibration.
-
The material thickness differs from that used during calibration.
-
A hardware issue exists (such as print head or motion system abnormalities).
Suggested actions: Recalibrate using consistent materials and placement, or contact technical support.
Q: Will calibration data be lost?
A: No. Calibration data is stored in the device firmware and remains valid even if the software is restarted, reinstalled, upgraded, or used on a different computer. The data is only updated when calibration is performed again.


